1. Important Safety Instructions
Please read these instructions carefully before installation and use. Keep this manual for future reference.
- Always disconnect the power supply at the main circuit breaker before performing any installation, maintenance, or bulb replacement.
- Installation should be performed by a qualified electrician if you are unsure about the process.
- Ensure all electrical connections are secure and comply with local electrical codes.
- Do not exceed the maximum wattage specified for the bulb (60W).
- Do not use damaged or modified components.
- This product is designed for indoor use only.
2. Product Overview
The Generic E27 Nordic Mid-Century Pendant Light features a distinctive design with a smooth white opaline glass shade and a gold-finished lamp holder. Its adjustable height makes it suitable for various ceiling heights and room applications.
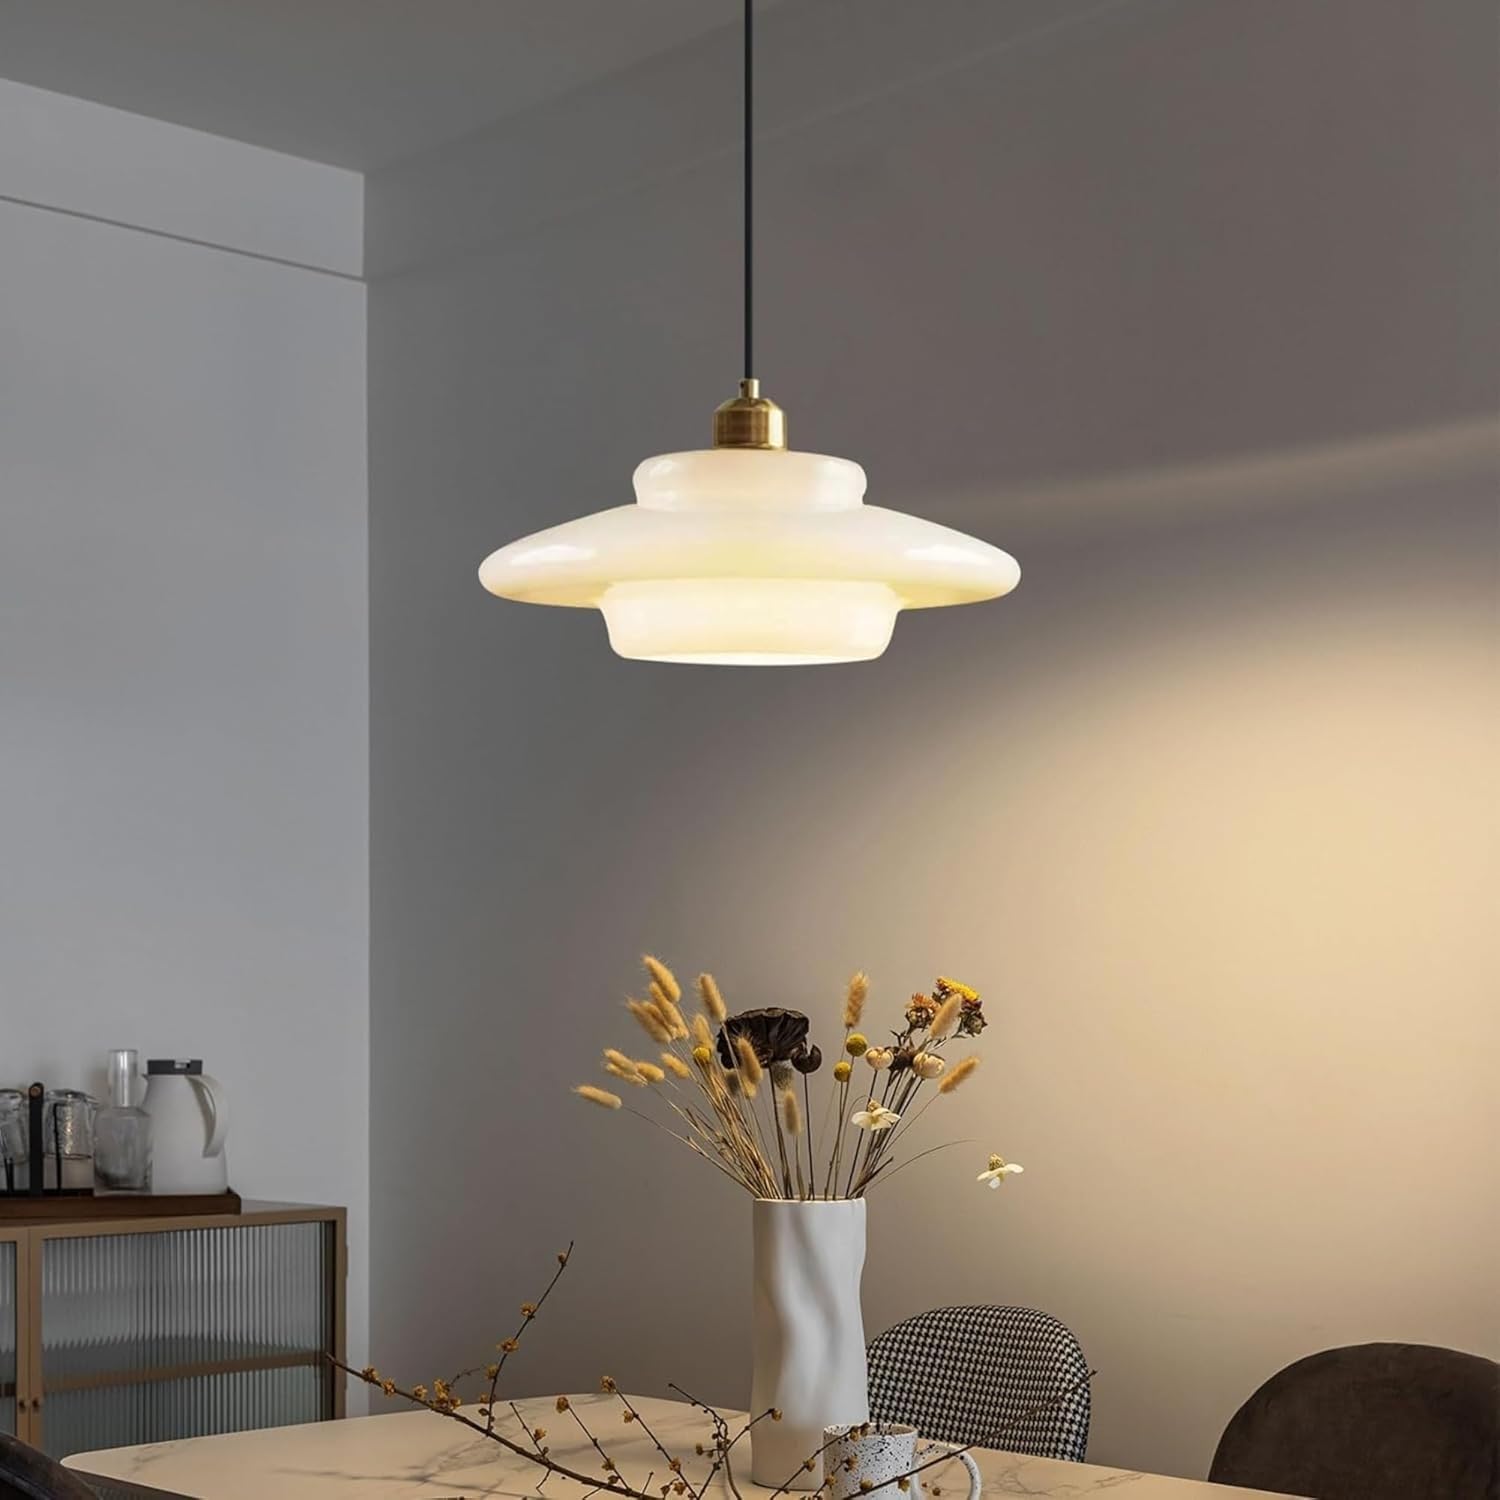
Figure 2.1: The pendant light installed in a hallway with a spiral staircase.

Figure 2.2: Examples of the pendant light's application in different interior spaces.

Figure 2.3: Detailed view highlighting the quality of the metal lamp holder and the milky glass shade.
3. Package Contents
Verify that all components are present and undamaged before beginning installation.
- 1 x Chandelier Fixture (excluding light source/bulb)
- 1 x Instruction Manual
- 1 x Set of Installation Accessories (screws, wire connectors, etc.)
4. Specifications
| Style | Modern / Simple / Bohemian |
| Product Size (approx.) | Shade Width: 32 cm (12.6 in), Shade Height: 14.4 cm (5.66 in) |
| Adjustable Height | Up to 150 cm (59 in) |
| Color | White + Gold |
| Material | Iron + Glass |
| Maximum Bulb Power | 60W per bulb |
| Light Source Base | E27 (bulb not included) |
| Working Voltage | 110V-110V (Globally Compatible) |
| Energy Saving Level | A++ |
| Certifications | CE, 3C |
| Average Life | 50,000 hours |
| Lighting Area | 10-15 square meters |
| Manufacturer | ISDFWETHFE |

Figure 4.1: Product information diagram detailing dimensions, wattage, voltage, and materials.

Figure 4.2: Energy efficiency label. For more details, refer to the EPREL database.
5. Setup & Installation
This pendant light is designed for easy installation. Follow these steps carefully.
5.1 Pre-Installation
- Turn off power at the circuit breaker before starting.
- Unpack all components and inspect for any damage.
- Ensure you have all necessary tools (e.g., screwdriver, wire strippers, ladder).
5.2 Mounting the Fixture
- Attach the mounting bracket to the ceiling junction box using the provided screws.
- Connect the electrical wires: connect the live wire (usually black or red) from the ceiling to the live wire of the fixture, the neutral wire (usually white) from the ceiling to the neutral wire of the fixture, and the ground wire (usually green or bare copper) to the ground wire of the fixture and the mounting bracket. Secure connections with wire nuts.
- Carefully tuck the wires into the junction box and secure the canopy to the mounting bracket with the provided screws.
5.3 Adjusting Height and Attaching Shade
- Adjust the hanging wire length to your desired height. The maximum adjustable height is 150 cm.
- Carefully attach the glass lampshade to the fixture according to the specific design. Ensure it is securely fastened.

Figure 5.1: The pendant light is compatible with various ceiling types, including cambered, pitched, and flat ceilings.

Figure 5.2: Proper handling of the glass lampshade during installation or maintenance.
6. Operating Instructions
After successful installation, the pendant light is ready for use.
- Install Bulb: Screw an E27 base bulb (not included) into the lamp holder. Ensure the bulb's wattage does not exceed 60W.

Figure 6.1: The fixture is compatible with all E27 base bulbs, including LED, CFL, and halogen types.
- Restore Power: Turn on the power at the main circuit breaker.
- Switch On: Operate the light using your wall switch.
7. Maintenance
Regular maintenance ensures the longevity and optimal performance of your pendant light.
- Cleaning: Disconnect power before cleaning. Wipe the glass shade and metal parts with a soft, dry, or slightly damp cloth. Do not use abrasive cleaners, solvents, or harsh chemicals, as these can damage the finish.
- Bulb Replacement: Ensure the power is off and the bulb has cooled completely before attempting to replace it. Unscrew the old E27 bulb and screw in a new one, ensuring it does not exceed 60W.
- Inspection: Periodically check for any loose connections or signs of wear. If any issues are found, disconnect power and consult a qualified electrician.
8. Troubleshooting
If you encounter any issues with your pendant light, refer to the following common problems and solutions:
| Problem | Possible Cause | Solution |
|---|---|---|
| Light does not turn on | No power supply Faulty bulb Loose wiring connection | Check circuit breaker and wall switch Replace bulb with a new, working E27 bulb Ensure all wire connections are secure (power off first) |
| Light flickers | Loose bulb Incorrect bulb type/wattage Loose wiring | Tighten bulb Ensure bulb is E27 and max 60W Check wiring connections (power off first) |
| Humming noise | Incompatible dimmer switch Loose components | Ensure dimmer switch is compatible with LED/CFL bulbs if used Check for any loose parts in the fixture |
9. Warranty Information
This product comes with a 3-month warranty from the date of purchase. This warranty covers manufacturing defects under normal use. It does not cover damage caused by improper installation, misuse, accidents, or unauthorized modifications. Please retain your proof of purchase for warranty claims.
10. Customer Support
If you require further assistance, have questions not covered in this manual, or need to report a defect, please contact your retailer or the manufacturer, ISDFWETHFE, for support.