1. Introduction
This manual provides detailed instructions for the safe and effective operation of the Generic XY6509X CNC DC Adjustable Buck-Boost Module. This device functions as a laboratory power supply, offering constant voltage and constant current output, and is suitable for various applications including solar charging. It features a digital display for precise control and monitoring of output parameters.

Figure 1: Front view of the Generic XY6509X CNC DC Adjustable Buck-Boost Module. It features a digital display showing voltage, current, and power, along with control buttons and a rotary encoder.
2. Safety Information
Please read and understand all safety warnings and operating instructions before using this product. Failure to follow these instructions may result in electric shock, fire, or serious injury.
- Electrical Safety: This module operates with DC voltage. Ensure all connections are made correctly and securely before applying power. Do not exceed the specified input or output voltage/current ratings.
- Ventilation: Ensure adequate ventilation around the module during operation to prevent overheating. The module includes a cooling fan; ensure it is not obstructed.
- Environment: Do not operate the module in wet or damp conditions, or in environments with flammable gases or vapors.
- Qualified Personnel: Installation and operation should ideally be performed by individuals familiar with electronic circuits and power supplies.
- Disassembly: Do not attempt to disassemble or modify the module. Refer all servicing to qualified personnel.
3. Setup
3.1 Physical Installation
The module is designed for integration into a system or enclosure. Consider its dimensions for proper fit and ventilation.

Figure 2: Dimensions of the XY6509X module. The front panel measures approximately 86mm wide by 50mm high, with the display area being 38mm wide by 29mm high.
3.2 Wiring Connections
Connect the input power source and the load to the designated terminals on the back of the module. Ensure correct polarity (positive to positive, negative to negative).
- Input Terminals: Connect your DC power source (e.g., battery, power adapter) to the input terminals.
- Output Terminals: Connect your load (e.g., circuit, device to be charged) to the output terminals.

Figure 3: Internal view of the module showing the input/output screw terminals, inductor, capacitors, and cooling fan. Ensure secure connections to these terminals.
3.3 Initial Power-Up
After all connections are secure, apply power to the input terminals. The display should illuminate, showing the current settings or output status.
4. Operating Instructions
The XY6509X module features a user-friendly interface with a digital display, buttons, and a rotary encoder for precise control.
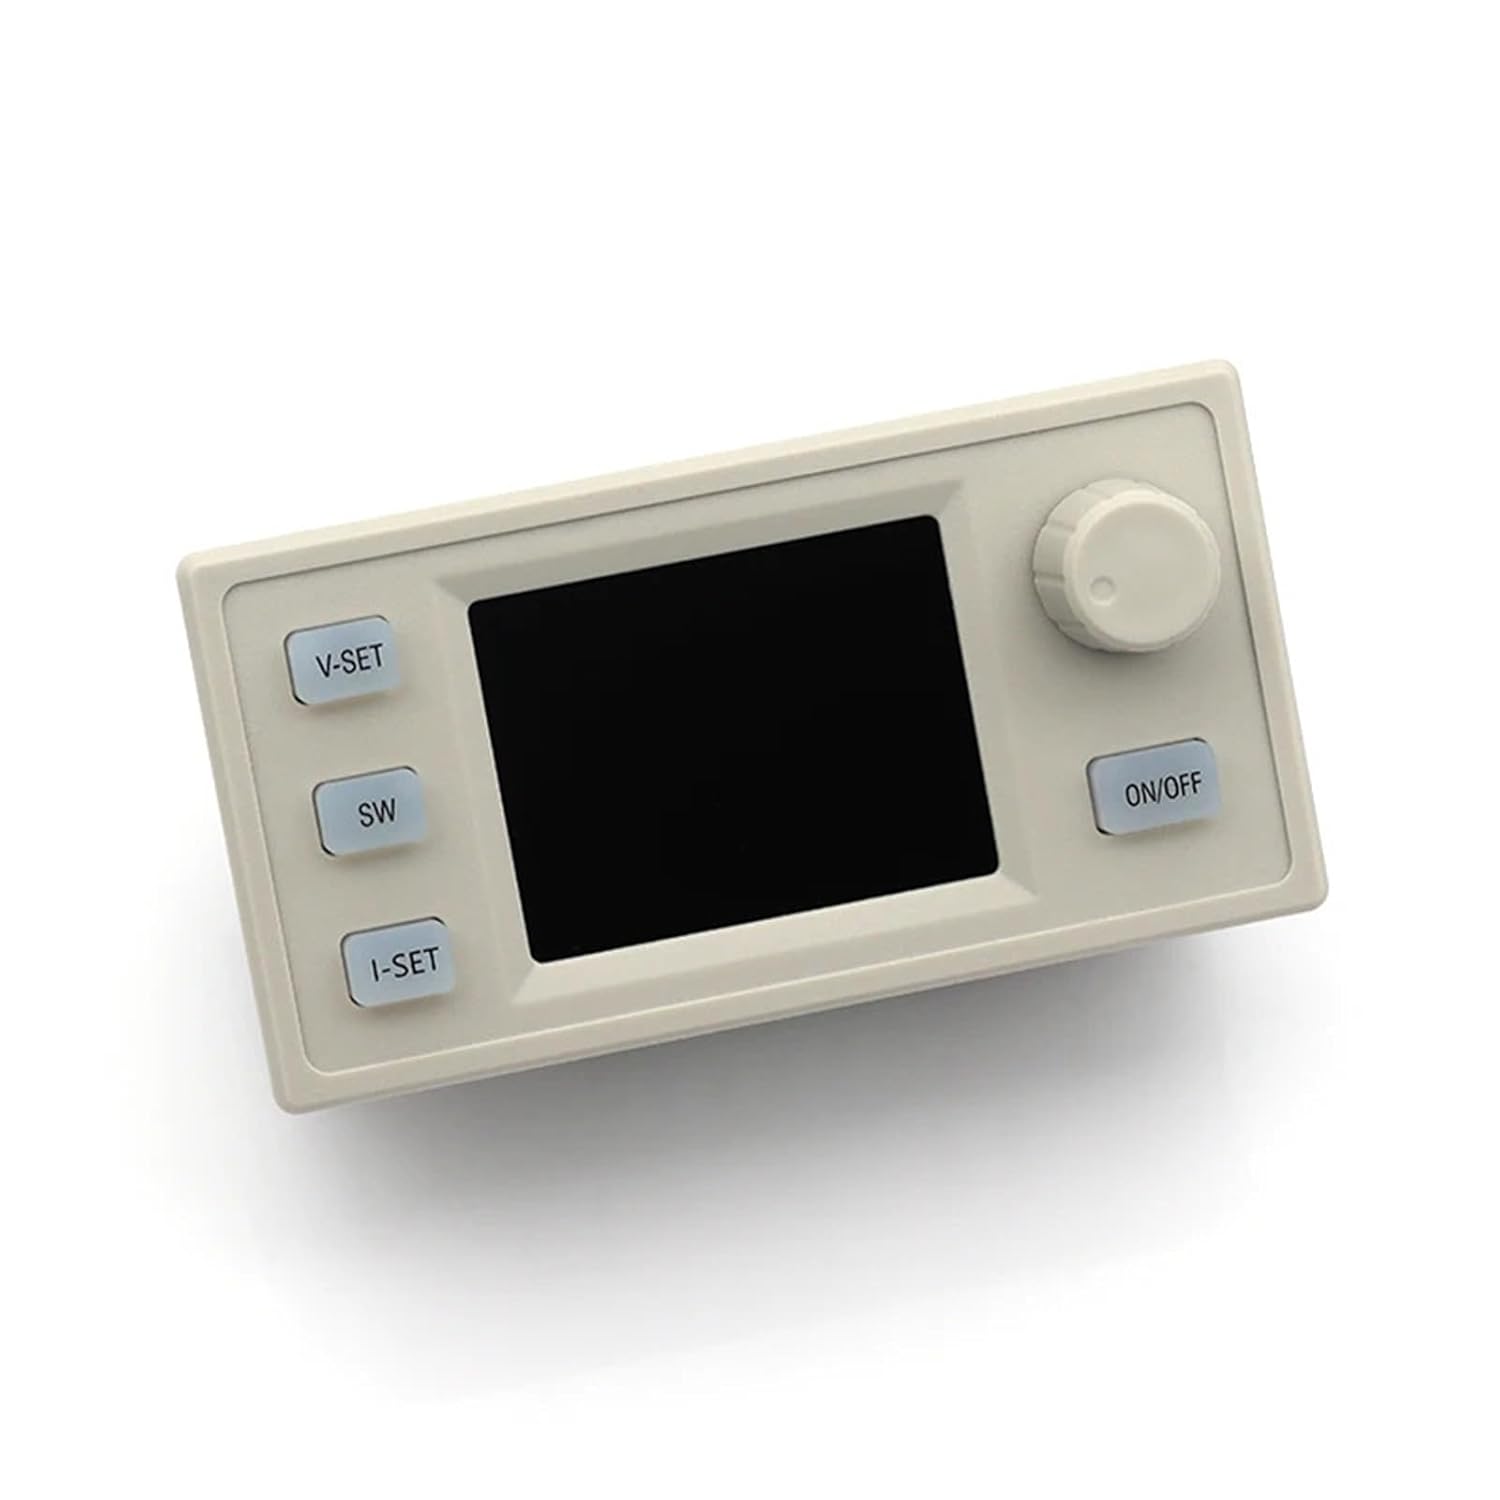
Figure 4: Front panel of the module, illustrating the layout of the V-SET, SW, I-SET buttons, the ON/OFF button, and the rotary encoder.
4.1 Display Overview
The digital display shows real-time output voltage (V), output current (A), and output power (W). It also indicates the Constant Voltage (CV) or Constant Current (CC) operating mode.
4.2 Setting Output Voltage (V-SET)
- Press the V-SET button. The voltage display will start blinking.
- Rotate the encoder knob to adjust the desired output voltage. Turning clockwise increases the value, counter-clockwise decreases it.
- Press the V-SET button again to confirm the setting and exit voltage adjustment mode.
4.3 Setting Output Current Limit (I-SET)
- Press the I-SET button. The current display will start blinking.
- Rotate the encoder knob to adjust the desired output current limit. This sets the maximum current the module will supply.
- Press the I-SET button again to confirm the setting and exit current adjustment mode.
4.4 Output ON/OFF Control
Press the ON/OFF button to toggle the output power. When the output is OFF, the display will still show the set voltage and current, but no power will be delivered to the load.
4.5 Display Switching (SW)
Press the SW button to cycle through different display modes, if available (e.g., input voltage, output power, energy consumed, etc.). Refer to the on-screen indicators for specific display information.
4.6 Encoder Knob Functionality
The rotary encoder is primarily used for adjusting values when in V-SET or I-SET modes. It may also have a push function for confirming selections or navigating menus, depending on the firmware version.
5. Maintenance
- Cleaning: Keep the module clean and free from dust. Use a soft, dry cloth to wipe the exterior. Do not use liquid cleaners or solvents.
- Ventilation: Periodically check that the cooling fan and ventilation openings are not obstructed by dust or debris.
- Connections: Ensure all wiring connections remain tight and secure. Loose connections can lead to poor performance or damage.
6. Troubleshooting
| Problem | Possible Cause | Solution |
|---|---|---|
| No display/No power | No input power; incorrect wiring; faulty power source. | Check input power supply and connections. Ensure correct polarity. |
| Output voltage/current is zero or incorrect | Output is OFF; settings are incorrect; load issue. | Press ON/OFF button to enable output. Verify V-SET and I-SET values. Check load for shorts or open circuits. |
| Module overheats | Insufficient ventilation; excessive load; fan obstruction. | Ensure proper airflow. Reduce load if operating near maximum capacity. Clean fan and vents. |
| Display shows error code | Internal fault; over-voltage/current protection triggered. | Power cycle the module. If error persists, consult support. Check if input/output parameters exceed limits. |
7. Specifications
- Model: XY6509X (PRWCFLAJZ)
- Type: CNC DC Adjustable Buck-Boost Module
- Maximum Output Voltage: 65V
- Maximum Output Current: 9A
- Maximum Output Power: 585W
- Manufacturer: Generic
- Item Model Number: PRWCFLAJZ
- Package Dimensions: 0.39 x 0.39 x 0.39 inches
- Item Weight: 1.76 ounces
8. Warranty and Support
Information regarding product warranty and customer support was not provided in the available product details. Please refer to your purchase documentation or contact the seller directly for warranty claims or technical assistance.
