1. Introduction
This manual provides essential instructions for the safe and efficient installation, operation, and maintenance of your TEMPWARE 10000W Electric Garage Heater. Please read this manual thoroughly before installation and use, and retain it for future reference. This heater is designed for indoor use in garages, workshops, and warehouses, providing powerful fan-forced heating with multiple control options.
2. Safety Information
Your safety and the safety of others are paramount. Always follow basic safety precautions to reduce the risk of fire, electric shock, and injury. This heater operates on 240V and requires professional hardwired installation.
- Professional Installation: The unit must be hardwired by a qualified electrician to a properly sized, grounded circuit breaker in accordance with the National Electric Code and local codes. A power cord is not included.
- Overheat Protection: The heater includes a built-in overheat protection sensor that automatically switches the unit off if it reaches an unsafe temperature.
- Clearance: Maintain adequate clearance from combustible materials. Refer to installation diagrams for specific distances.
- Voltage: Ensure the power supply matches the heater's requirements (240V).
- Grounding: Proper grounding is essential to prevent electric shock.
3. Product Overview
The TEMPWARE 10000W Electric Garage Heater is a robust heating solution for large indoor spaces. It features multiple control methods and adjustable heat distribution.
Key Features:
- Triple Control Methods: Remote, WiFi app, and intuitive touch panel.
- Adjustable Louvers: For precise directional heat distribution.
- Multiple Mounting Angles: Allows for flexible installation.
- High Heat Output: 34,120 BTU and 10,000W power capacity, heating up to 1,500 square feet.
- Programmable Timer: 1 to 12 hours for energy savings.
- Adjustable Thermostat: Temperature range from 45°F to 95°F.
- Overheat Protection: Automatic shut-off for safety.
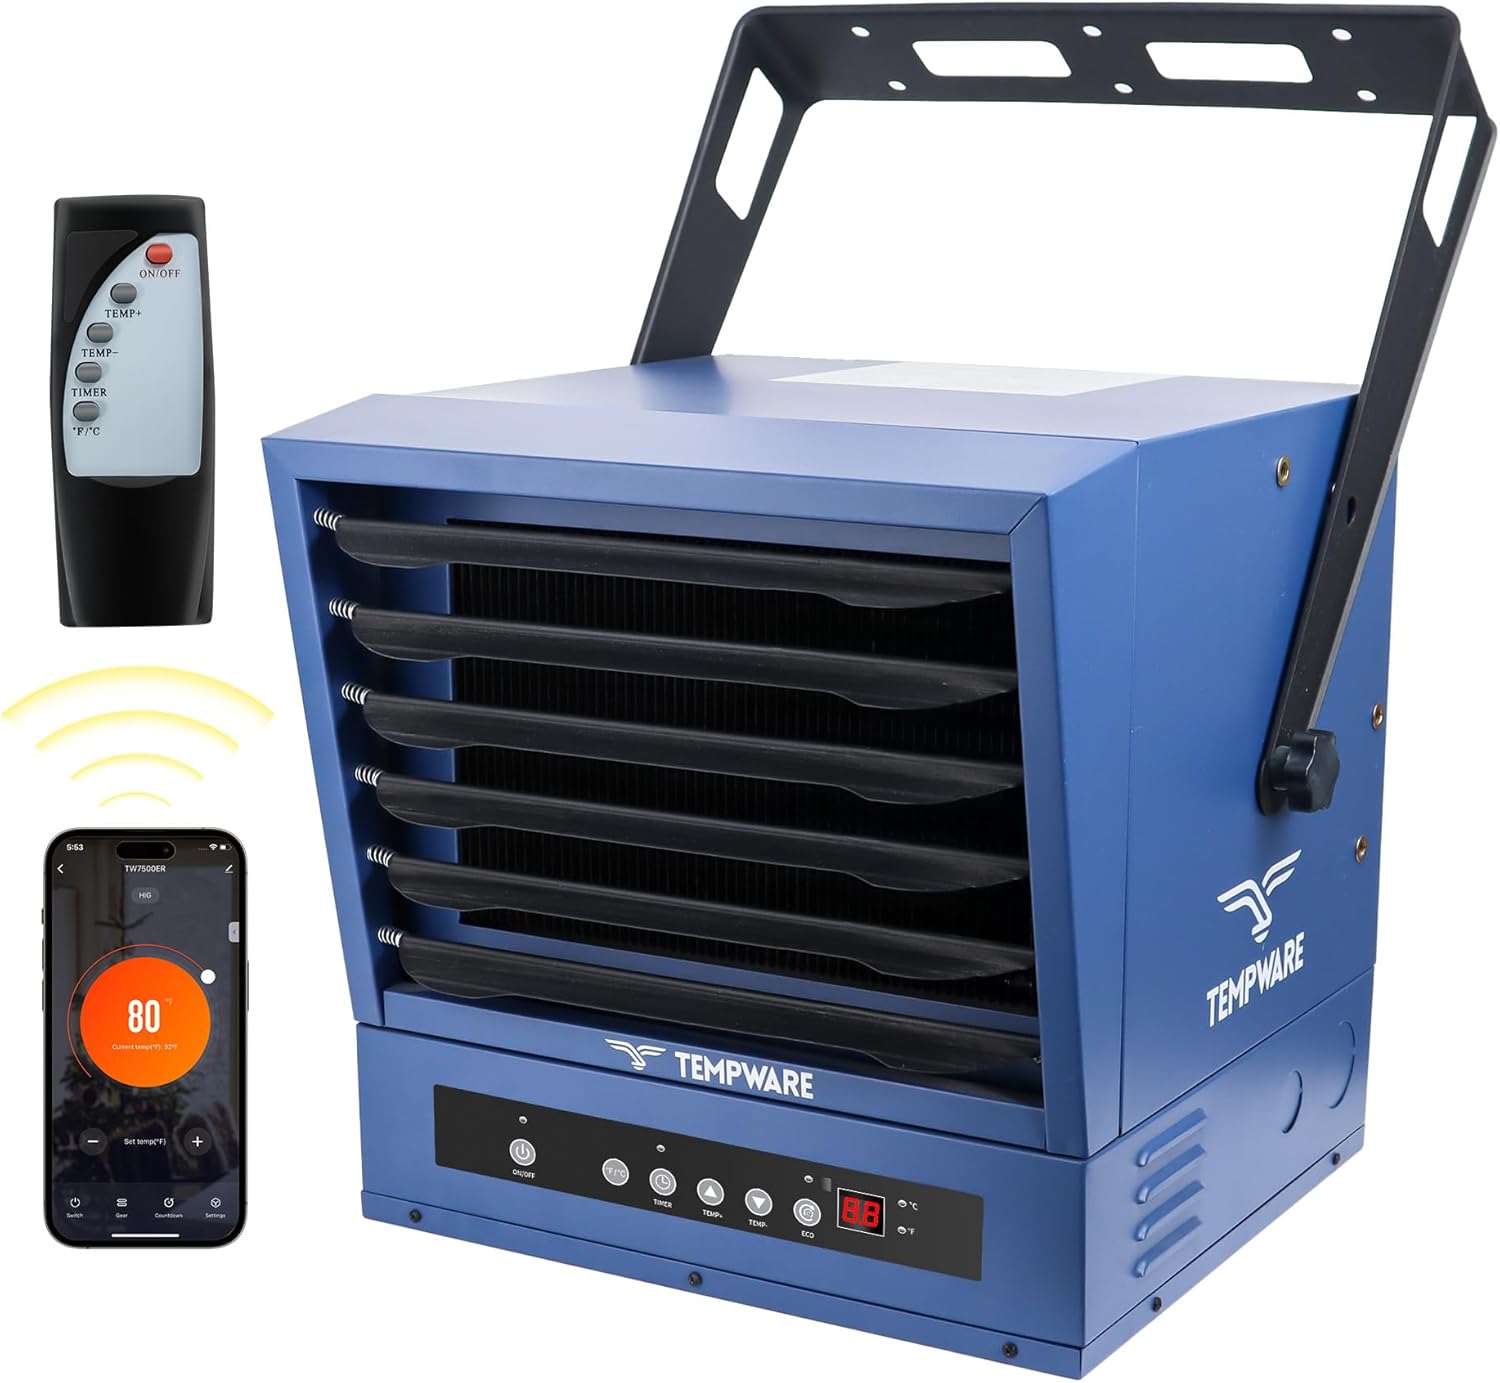
Image 3.1: The TEMPWARE 10000W Electric Garage Heater, showcasing its main unit, remote control, and smartphone app interface.
4. Setup
4.1 Unpacking
Carefully remove the heater from its packaging. Inspect the unit for any signs of damage. Retain packaging materials for potential future transport or returns.
4.2 Mounting
The heater can be mounted on a ceiling or wall. The adjustable bracket allows for multiple vertical angles to direct heat effectively.

Image 4.1: Illustration of the heater's adjustable mounting bracket, demonstrating various vertical angles (0°, 30°, 60°, 90°) for optimal heat direction.
4.3 Electrical Installation
WARNING: Electrical installation must be performed by a qualified electrician. Ensure power is disconnected at the main circuit breaker before beginning any wiring.
- Remove the bottom panel of the heater by unscrewing the 8 screws.
- Identify the appropriate knockout hole (small or large) on the side of the unit based on your wiring size and conduit fittings. Remove the chosen knockout.
- Connect the ground wire to the designated ground screw.
- Connect the two hot leads to the terminal block. Ensure a minimum of 8 AWG copper wire is used.
- Secure the wiring with a strain relief fitting at the knockout entry point.
- Replace the bottom panel and secure it with the screws.
The heater requires a 240V circuit with a 40 Amp breaker. Refer to local electrical codes for specific requirements.

Image 4.2: Electrical specifications for the TEMPWARE 10000W heater, including voltage (208-240VAC, 60Hz), power (10000W), BTU/Hour (34,120), recommended circuit breaker (60A or larger), wire size (6 AWG Copper Only), and lug torques (45 in-lbs or greater).
5. Operating Instructions
Your TEMPWARE heater offers flexible control options for convenience and efficiency.
5.1 Control Methods
- Touch Panel: Directly on the front of the unit.
- Remote Control: Use the included full-function remote for convenience.
- WiFi App: Control and monitor the heater via a smartphone application.

Image 5.1: A smartphone displaying the intuitive WiFi control app for the TEMPWARE heater, allowing users to adjust temperature, set timers, and select modes remotely.
5.2 Basic Operation
- Power On/Off: Press the 'ON/OFF' button on the unit, remote, or app to turn the heater on or off.
- Temperature Adjustment: Use the 'TEMP+' or 'TEMP-' buttons to set your desired temperature between 45°F and 95°F. The heater will automatically maintain this temperature using its built-in thermostat.
- ECO Mode: Press the 'ECO' button to activate energy-efficient heating. This mode optimizes power consumption while maintaining comfort. To disable, press 'ECO' again.
- Timer Function: Press the 'TIMER' button to set an automatic shut-off time from 1 to 12 hours. Scroll through the options until the desired duration is displayed. The timer will stop blinking once set. To deactivate the timer, scroll to '0' hours.
- Fahrenheit/Celsius: Press the '°F/°C' button to switch the temperature display between Fahrenheit and Celsius.
- Mode Selection: Use the 'MODE' button to cycle through available operating modes (e.g., Low, High, Fan Only).
5.3 Adjusting Louvers
The front louvers can be manually adjusted to direct the airflow and heat to specific areas within your space. Gently move the louvers to achieve the desired heat distribution.
6. Maintenance
Regular maintenance ensures optimal performance and longevity of your heater. Always disconnect power before performing any maintenance.
- Cleaning: Periodically wipe the exterior of the heater with a soft, damp cloth. Do not use abrasive cleaners or solvents. Ensure the heater is completely dry before reconnecting power.
- Air Intake/Outlet: Keep the air intake and outlet grilles free from dust and debris to ensure proper airflow. Use a vacuum cleaner with a brush attachment to clean these areas.
- Inspection: Annually inspect the electrical connections and wiring for any signs of wear or damage. If any issues are found, contact a qualified electrician for repair.
7. Troubleshooting
If you encounter issues with your heater, refer to the following common troubleshooting steps:
| Problem | Possible Cause | Solution |
|---|---|---|
| Heater does not turn on. | No power supply, circuit breaker tripped, power button not pressed. | Check power connection, reset circuit breaker, press ON/OFF button. |
| Heater produces no heat. | Thermostat set too low, ECO mode active, overheat protection activated. | Increase desired temperature, disable ECO mode, allow unit to cool down. |
| Remote control not working. | Dead batteries, obstruction, remote out of range. | Replace batteries, remove obstructions, move closer to the unit. |
| Unusual noise during operation. | Loose components, fan obstruction. | Disconnect power and inspect for loose parts or obstructions. If issue persists, contact support. |
If the problem persists after attempting these solutions, please contact customer support.
8. Specifications
Detailed technical specifications for the TEMPWARE 10000W Electric Garage Heater.
| Feature | Specification |
|---|---|
| Brand | TEMPWARE |
| Model Number | TW10000ERSC-EC |
| Power Output | 10000W |
| Voltage | 240V |
| Amperage | 41.67 Amps |
| Heating Coverage | Up to 1500 sq ft |
| Fuel Type | Electric |
| Min Temperature Setting | 45 Degrees Fahrenheit |
| Max Temperature Setting | 95 Degrees Fahrenheit |
| Product Dimensions | 21 x 20.5 x 21.5 inches |
| Form Factor | Cabinet |
| Indoor/Outdoor Usage | Indoor |
| Room Type | Garage |
| Included Components | Remote |

Image 8.1: Dimensional view of the TEMPWARE 10000W Electric Garage Heater, indicating its height (18.1 in / 45.97 cm), width (17.7 in / 44.95 cm), and depth (15.7 in / 39.87 cm).
9. Warranty Information
Warranty details for your TEMPWARE Electric Garage Heater are typically included with your product purchase or can be obtained directly from the manufacturer. Please refer to the documentation provided in your product packaging or visit the official TEMPWARE website for specific warranty terms and conditions.
10. Support
For any questions, technical assistance, or support regarding your TEMPWARE Electric Garage Heater, please contact our customer service team. You can reach us via email at customerservice@albatrossindustry.com. Our local support team is available to assist you and aims to respond within 24 hours. You may also inquire through your Amazon account.