1. Introduction
This manual provides essential instructions for the safe and efficient use of the Generic HY-60W-12V+24V+TA Mini Switching Power Supply. This compact power board is designed to provide stable 12V and 24V DC outputs, making it suitable for various LED Par Lighting and similar low-power applications. Please read this manual thoroughly before installation and operation to ensure proper functionality and to prevent damage.
2. Safety Instructions
- Electrical Hazard: This device operates with AC mains voltage. Installation and servicing should only be performed by qualified personnel.
- Disconnect Power: Always disconnect the power supply from the AC mains before making any connections or performing maintenance.
- Proper Ventilation: Ensure adequate ventilation around the power supply to prevent overheating. Do not cover the unit.
- Environmental Conditions: Do not expose the power supply to moisture, extreme temperatures, or corrosive environments.
- Correct Wiring: Verify all input and output connections are correct and secure before applying power. Incorrect wiring can cause damage to the unit and connected devices.
- Load Capacity: Do not exceed the specified output current for each voltage rail. Overloading can lead to damage or failure.
3. Product Overview
The HY-60W-12V+24V+TA is a compact switching power supply board. It features a wide AC input range and provides two isolated DC output voltages.

Figure 3.1: Front view of the power supply board. This image displays the main components including capacitors, transformers, and the input/output specification label. The label indicates an input of 100-240VAC, 50-60Hz, and outputs of V1 12V 2A and V2 24V 1.5A.
3.1. Key Components and Connectors
- AC Input Terminal: Connects to the mains power supply (100-240VAC).
- DC Output Terminals: Provides regulated 12V and 24V DC power.
- Heatsink: Dissipates heat from power components.
- Capacitors and Inductors: Filter and stabilize the power output.
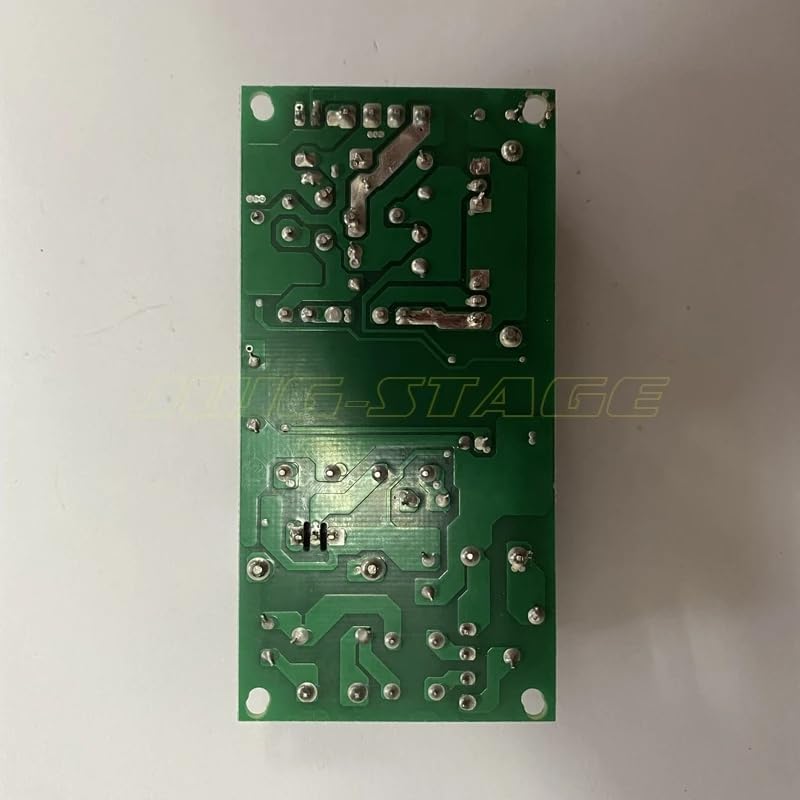
Figure 3.2: Back view of the power supply board. This image shows the printed circuit board (PCB) traces and solder joints, indicating the compact design and component density on the reverse side.
4. Specifications
| Parameter | Value |
|---|---|
| Model | HY-60W-12V+24V+TA |
| Input Voltage | 100-240VAC |
| Input Frequency | 50-60Hz |
| Output 1 (V1) | 12V DC, 2A |
| Output 2 (V2) | 24V DC, 1.5A |
| Total Output Power | Approx. 60W (12V*2A + 24V*1.5A = 24W + 36W = 60W) |
| Dimensions (Approx.) | Refer to Figure 4.1 and 4.2 for visual scale. |
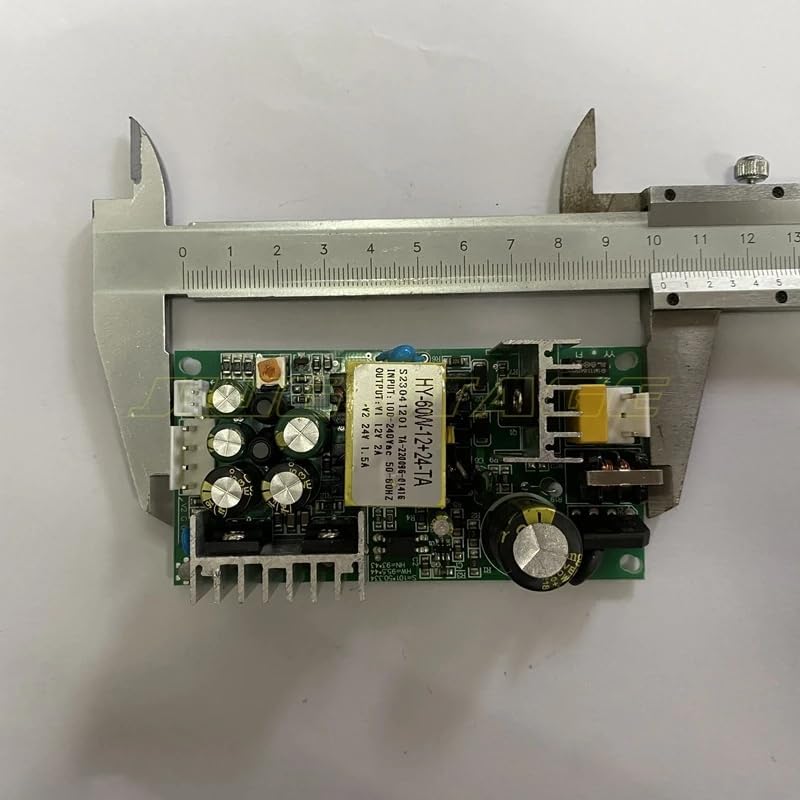
Figure 4.1: Power supply board dimensions (length). A caliper is shown measuring the length of the board, indicating its compact size.
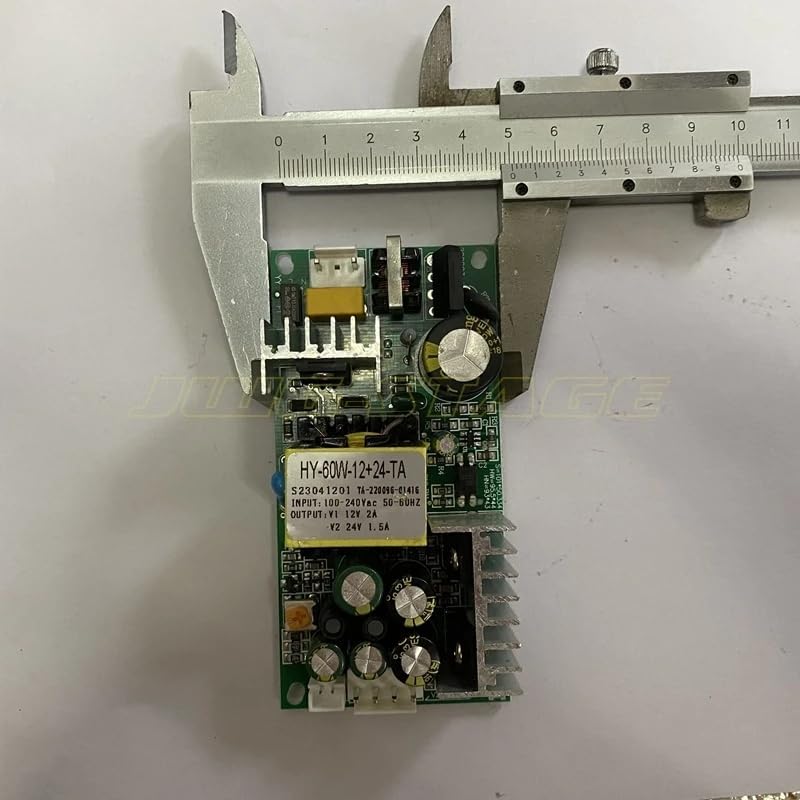
Figure 4.2: Power supply board dimensions (width). A caliper is shown measuring the width of the board, further illustrating its small form factor.
5. Setup and Installation
- Mounting: Securely mount the power supply board in an enclosure or on a non-conductive surface, ensuring proper air circulation around the heatsink.
- AC Input Connection: Connect the AC mains power (100-240VAC, 50/60Hz) to the designated AC input terminals. Ensure correct Live, Neutral, and Ground connections if applicable. Refer to the markings on the board for specific terminal assignments.
- DC Output Connection: Connect your LED Par Lighting or other compatible devices to the 12V and 24V DC output terminals.
- Connect devices requiring 12V DC to the 12V output (V1).
- Connect devices requiring 24V DC to the 24V output (V2).
- Ensure the total current draw for each output does not exceed its specified maximum (2A for 12V, 1.5A for 24V).
- Double-Check Connections: Before applying power, carefully inspect all connections to ensure they are tight, correctly polarized, and free from short circuits.
6. Operating Instructions
Once the power supply is correctly installed and all connections are verified:
- Apply Power: Connect the AC mains power to the power supply. The unit should power on, and connected devices should receive power.
- Monitor Performance: Observe the connected devices for proper operation. If any issues arise, immediately disconnect power and refer to the Troubleshooting section.
- Normal Operation: The power supply is designed for continuous operation within its specified limits. Ensure it is not subjected to excessive loads or poor ventilation.
7. Maintenance
The HY-60W-12V+24V+TA power supply requires minimal maintenance. Follow these guidelines:
- Cleaning: Periodically clean the board and heatsink from dust and debris using a soft, dry brush or compressed air. Ensure power is disconnected before cleaning.
- Inspection: Regularly inspect the wiring and connections for any signs of wear, damage, or loose contacts.
- Environmental Control: Maintain a stable operating environment, avoiding high humidity and extreme temperatures.
8. Troubleshooting
If you encounter problems with your power supply, refer to the following common issues and solutions:
| Problem | Possible Cause | Solution |
|---|---|---|
| No output voltage | No AC input power; Incorrect wiring; Internal fault. | Check AC power source and connections. Verify wiring. If problem persists, unit may be faulty. |
| Output voltage unstable or low | Overload; Loose connections; Faulty connected device. | Reduce load. Check all connections. Test with a different load. |
| Unit overheating | Insufficient ventilation; Overload. | Ensure proper airflow. Reduce load to within specifications. |
| Smoke or burning smell | Severe internal fault. | Immediately disconnect power. Do not attempt to repair. Contact support. |
If the issue is not resolved by the above steps, please contact customer support.
9. Warranty and Support
This product is covered by a standard manufacturer's warranty against defects in materials and workmanship. Please refer to your purchase documentation for specific warranty terms and duration.
For technical support, troubleshooting assistance, or warranty claims, please contact the retailer or manufacturer through the contact information provided at the time of purchase. When contacting support, please have your product model number (HY-60W-12V+24V+TA) and purchase details ready.


