1. Introduction
This manual provides essential information for the safe assembly, operation, maintenance, and troubleshooting of your eAhora Romeo Pro 3 Electric Bike. Please read this manual thoroughly before using your electric bike to ensure proper function and safety. Retain this manual for future reference.
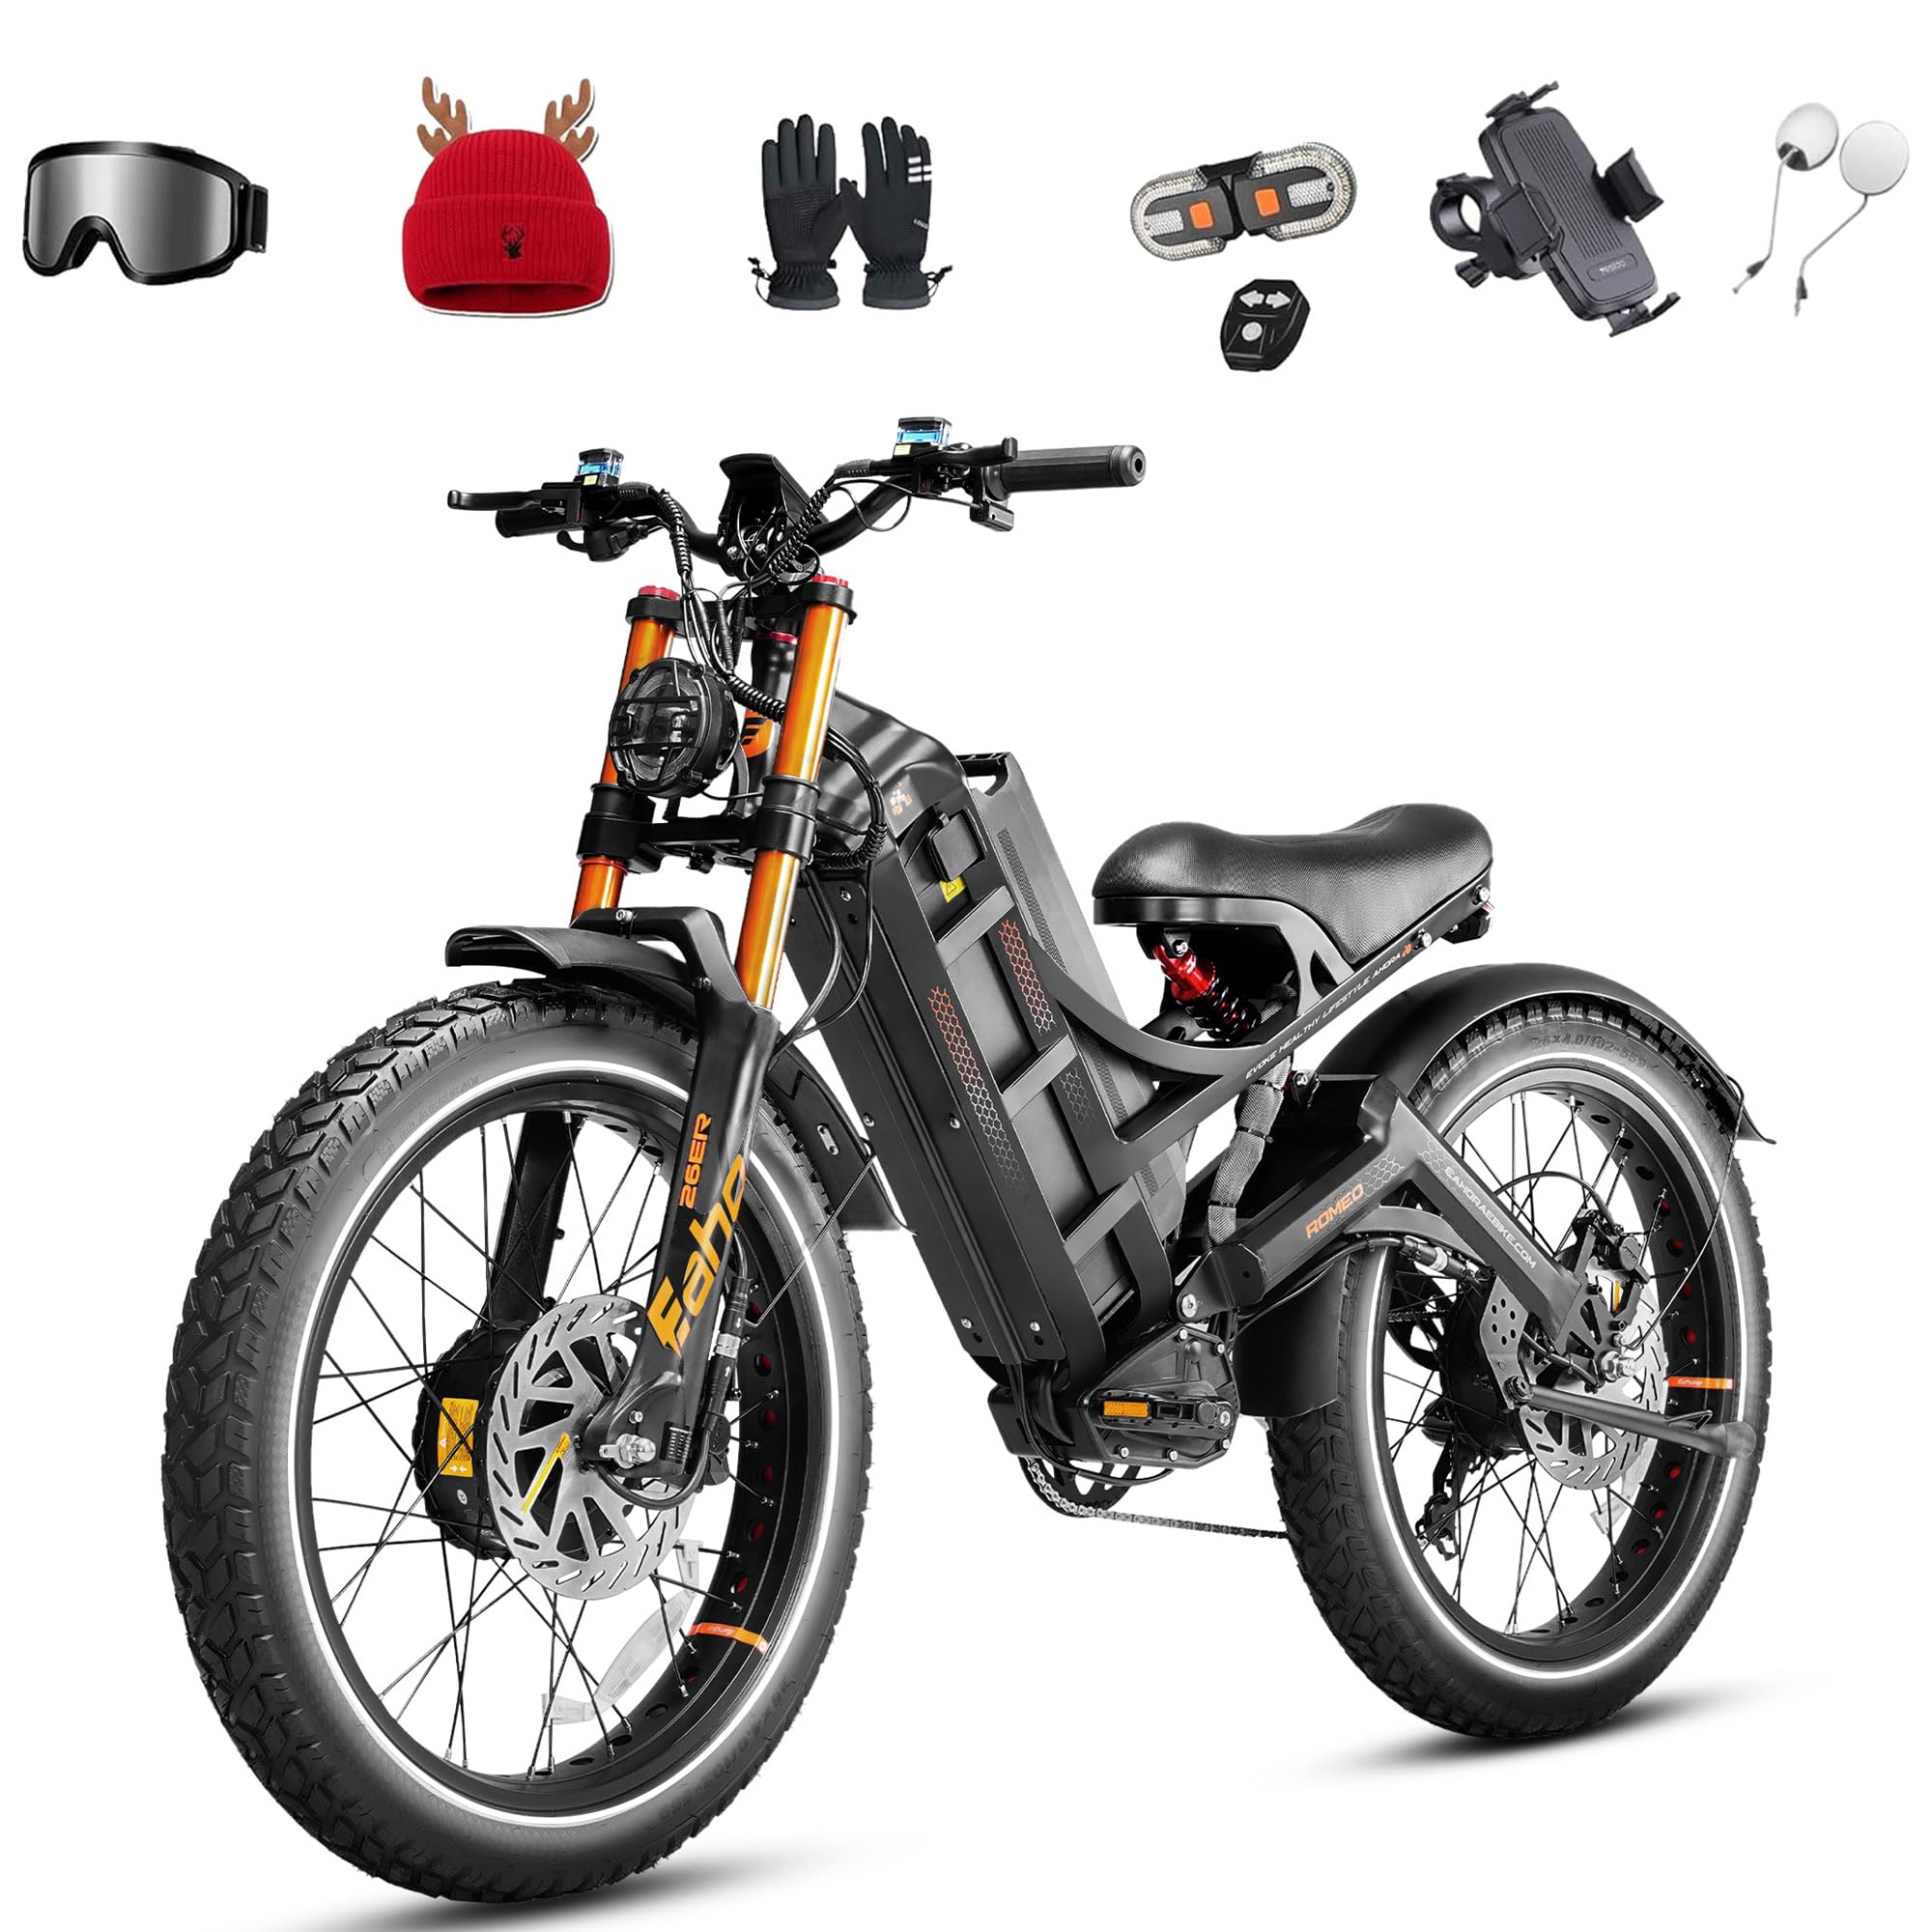
Figure 1: eAhora Romeo Pro 3 Electric Bike Overview
2. Safety Information
Always prioritize safety when operating your electric bike. Failure to follow safety guidelines can result in serious injury or damage to the product.
- Always wear a helmet and appropriate safety gear.
- Familiarize yourself with local laws and regulations regarding electric bikes.
- Perform a pre-ride inspection before each use, checking brakes, tires, and all fasteners.
- Do not operate the bike under the influence of alcohol or drugs.
- Ensure the battery is securely locked in place before riding.
- Avoid riding in extreme weather conditions or on excessively slippery surfaces.
3. Package Contents
Upon unpacking, verify that all components are present:
- eAhora Romeo Pro 3 Electric Bike Frame (partially assembled)
- Front Wheel
- Battery Pack
- Battery Charger
- Tool Kit
- Pedals
- User Manual
4. Setup & Assembly
Assembly is required. Follow these general steps. Refer to specific diagrams in your included printed manual for detailed instructions.
- Unpacking: Carefully remove all components from the packaging.
- Handlebar Installation: Attach the handlebars to the stem, ensuring they are centered and tightened securely.
- Front Wheel Installation: Install the front wheel into the fork dropouts. Ensure the quick-release skewer or axle nuts are properly tightened.
- Pedal Installation: Attach the pedals. Note that pedals are typically marked 'L' for left and 'R' for right. The left pedal tightens counter-clockwise, and the right pedal tightens clockwise.
- Seat Post Adjustment: Adjust the seat post to a comfortable and safe riding height. Ensure the quick-release or bolt is tightened.
- Battery Installation & Initial Charge: Insert the battery into its compartment and lock it. Fully charge the battery before the first ride.

Figure 2: Front View of Assembled Bike
5. Operating Instructions
5.1 Powering On/Off
To power on the bike, press and hold the power button on the display. To power off, repeat the process.
5.2 Throttle Operation
The eAhora Romeo Pro 3 features a twist throttle. Gently twist the throttle grip to engage the motor and control speed. Release the throttle to disengage power.
5.3 Pedal Assist System (PAS)
The bike offers multiple levels of pedal assist. Use the '+' and '-' buttons on the control panel to adjust the assist level. Higher levels provide more motor assistance while pedaling.
5.4 Gear Shifting
The bike is equipped with a 7-speed gear system. Use the trigger shifter on the handlebars to change gears, adapting to terrain and desired pedaling effort.
5.5 Braking System
The eAhora Romeo Pro 3 utilizes hydraulic disc brakes for reliable stopping power. Apply both brake levers smoothly and evenly for optimal braking performance. The brake levers also cut power to the motor when engaged.

Figure 3: Handlebar Controls and Display
5.6 Smart Ride App Control & Monitoring
Connect your eAhora Romeo Pro 3 to the dedicated mobile application for advanced control and real-time data monitoring. The app allows for diagnostic checks and quick control adjustments.

Figure 4: Smart Ride App Interface for Monitoring
6. Battery & Charging
6.1 Charging Procedure
Use the provided 7A fast charger to charge the 60V 80Ah battery. The battery can be charged on or off the bike. A full charge to 80% typically takes 6 hours. Ensure the charging port is clean and dry before connecting the charger.
6.2 Battery Care
The battery features a BMS (Battery Management System) with temperature control, ensuring stable performance in various climates (-4°F to 122°F). The IP65 waterproof design protects against heavy rain. Store the battery in a cool, dry place when not in use.

Figure 5: Battery Pack Detail
7. Maintenance
Regular maintenance ensures the longevity and optimal performance of your eAhora Romeo Pro 3.
7.1 Pre-Ride Checks
- Tires: Check tire pressure (26"x4.0 fat tires) and for any signs of damage or punctures.
- Brakes: Test both front and rear brakes for proper function and responsiveness.
- Fasteners: Ensure all bolts, nuts, and quick releases are securely tightened.
- Battery: Confirm the battery is fully charged and properly seated.
7.2 Brake System Maintenance
The bike features 240*3.0T brake discs with 2-piston oil brake calipers and thickened brake hoses. Regularly inspect brake pads for wear and replace as needed. Ensure the hydraulic fluid reservoir is adequately filled with dual-cup mineral oil to prevent corrosion and maintain braking power.

Figure 6: Hydraulic Brake System
7.3 Suspension Adjustment
The upgraded air fork system allows for precise air pressure adjustment to suit terrain hardness. The rebound damping can also be customized. The rear shock absorber is also adjustable. Refer to your printed manual for specific adjustment procedures.

Figure 7: Front and Rear Suspension Components
7.4 Cleaning
Clean your bike regularly with a damp cloth. Avoid using high-pressure washers directly on electrical components.
8. Troubleshooting
This section addresses common issues you might encounter with your eAhora Romeo Pro 3 Electric Bike.
| Problem | Possible Cause | Solution |
|---|---|---|
| Bike does not power on | Battery not charged or not properly installed. | Ensure battery is fully charged and securely locked. Check connections. |
| Motor not assisting | PAS level set to zero, brake lever engaged, or motor connection issue. | Increase PAS level. Release brake levers. Check motor cable connections. |
| Brakes feel weak | Worn brake pads, low hydraulic fluid, or air in the system. | Inspect and replace brake pads. Check hydraulic fluid level and bleed brakes if necessary. |
| Unusual noises | Loose components, chain issues, or motor/hub problems. | Inspect all fasteners. Check chain for proper tension and lubrication. If motor noise persists, contact support. |
For issues not listed here or if solutions do not resolve the problem, please contact eAhora customer support.
9. Specifications
Key technical specifications for the eAhora Romeo Pro 3 Electric Bike:
| Feature | Specification |
|---|---|
| Bike Type | Electric Bike |
| Motor | Dual 2800W (5600W Peak) |
| Top Speed | Up to 50 Mph |
| Battery | 60V 80Ah (4160 Watt Hours) |
| Max Range | Up to 250 Miles per charge |
| Torque | 150*2 Nm |
| Controller | 60V36A Split Dual Controller |
| Charging Time | 80% in 6 hours (with 7A fast charger) |
| Tires | 26"x4.0 Fat Puncture-Proof Tires |
| Brakes | 240*3.0T Dual Hydraulic Disc Brakes |
| Suspension | Dual (Upgraded Air Fork & Adjustable Rear Shock) |
| Frame Material | High Tensile Steel |
| Max Load Capacity | 500+ LBS |
| Minimum User Height | 4.8 Feet |
| Included Components | Tool Kit, Front Wheel |
| Assembly Required | Yes |
10. Warranty & Support
10.1 Warranty Information
The eAhora Romeo Pro 3 Electric Bike comes with a 12-month limited warranty covering manufacturing defects. Please retain your proof of purchase for warranty claims. For detailed warranty terms and conditions, refer to the official eAhora website.
10.2 Customer Support
For any questions, technical assistance, or support needs, please contact our customer service team:
- Call Center: +1 917-993-6851
- Email Contact: amazon@eahoraebike.com
- Message Center: Via official website (eAhora Store on Amazon)

Figure 8: Customer Support Details


