Introduction
This manual provides comprehensive instructions for the safe and effective use of your YESWELDER Intelligent Auto-Shade Auto Darkening Welding Helmet, Model LYG-M910D. Please read this manual thoroughly before operation to ensure proper setup, function, and maintenance. This helmet is designed for various welding applications including MIG, TIG, MMA (STICK), CUT, and GRIND, offering advanced eye protection and enhanced visibility.
Safety Information
WARNING: Welding arcs produce intense visible and invisible (ultraviolet and infrared) rays that can cause severe eye and skin burns. Always wear appropriate personal protective equipment (PPE) including this welding helmet, safety glasses, and protective clothing.
- Ensure the helmet is properly adjusted to your head for a secure and comfortable fit.
- Inspect the helmet and lenses for any damage before each use. Replace damaged parts immediately.
- Do not use the helmet if the auto-darkening function is not working correctly.
- Always wear ANSI Z87.1 approved safety glasses underneath the welding helmet.
- Avoid direct exposure to welding arc without proper eye protection.
- Keep the helmet clean and free from dust, dirt, and moisture.
Product Features
- Intelligent Auto-Shade Adjustment: Automatically adjusts lens shade based on arc brightness.
- Digital Control Filter: Precision adjustment for sensitivity and delay.
- Blue Light Blocking Technology: Filters harmful blue light for eye comfort and safety.
- Versatile Shade Range: 3/5-9/9-15 for TIG, MIG, MMA (STICK), CUT, and GRIND.
- Integrated LED Light: Removable adhesive LED light with two brightness levels for dark environments.
- Dual Power Source: Solar panel technology and replaceable CR2450 lithium battery.
- Large Viewing Area: 3.93" x 3.27" with 1/1/1/1 optical clarity and True Color technology.
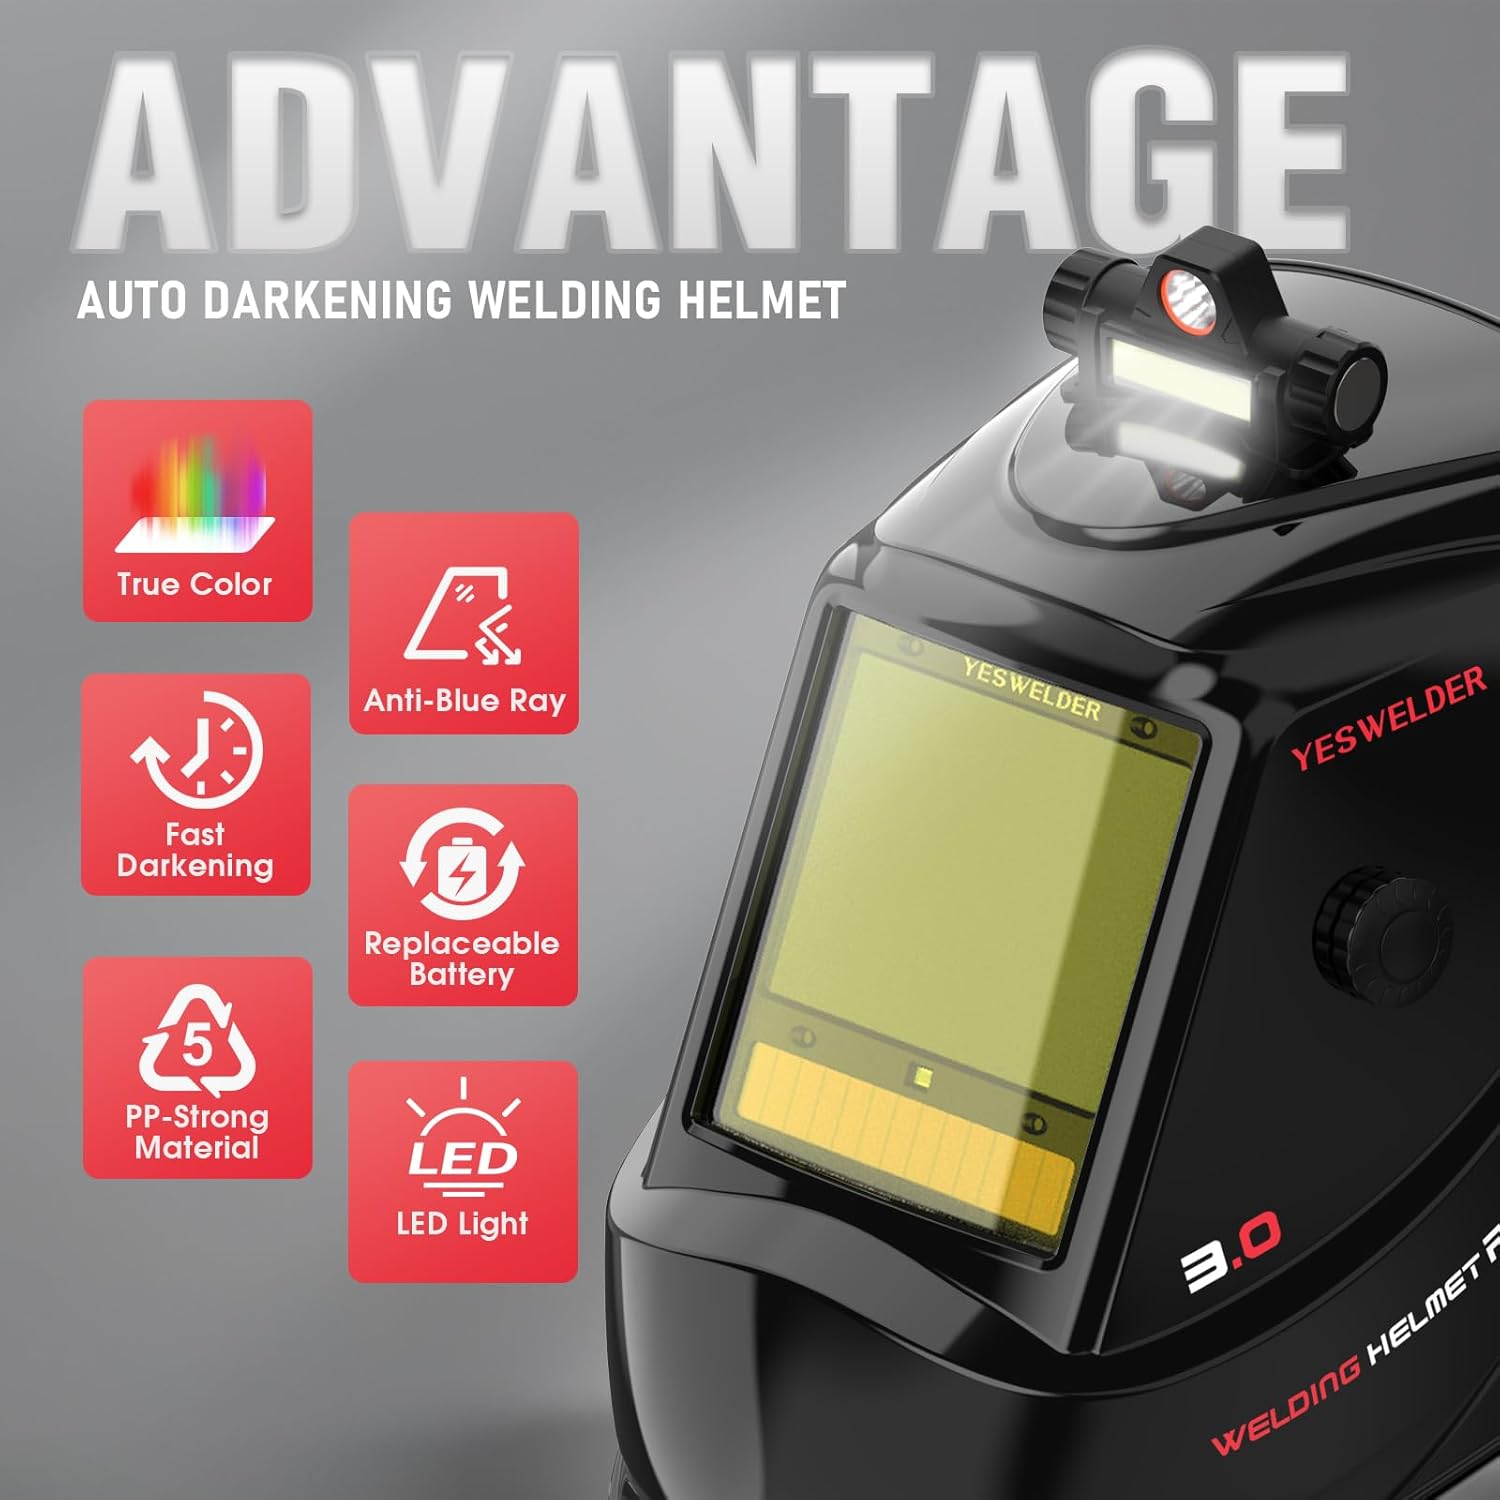
Image: The YESWELDER Auto Darkening Welding Helmet, showcasing its design and integrated LED light.
Setup
1. Headgear Adjustment
Adjust the headgear for a comfortable and secure fit. Use the adjustment knobs to modify the distance, size, angle, and tightness of the helmet on your head. The goal is to position the helmet so that the viewing area is directly in front of your eyes and the helmet feels balanced.

Image: Diagram illustrating the various adjustment points for the helmet's headgear, including distance, size, angle, and tightness.
2. LED Light Installation and Charging
The helmet includes a removable adhesive LED light. Attach the light to the designated area on the helmet using the adhesive. Charge the LED light using the provided charging cable. The light offers two brightness levels, which can be switched as needed for improved visibility in low-light conditions.

Image: The rechargeable LED light mounted on the welding helmet, demonstrating its two lighting modes.
3. Battery Installation
The helmet is powered by a replaceable CR2450 lithium battery and a solar panel. Ensure the CR2450 battery is correctly installed. The solar panel helps extend battery life and provides continuous power during operation.
Operating Instructions
1. Digital Control Panel Overview
The helmet features an internal digital control panel for precise adjustments. This panel allows you to set various parameters for different welding tasks.

Image: Detailed view of the digital control panel and the large viewing lens, highlighting the various adjustment buttons and display.
- Mode/Test Button: Cycles through welding modes and tests the auto-darkening function.
- Sensitivity Controls (+/-): Adjusts the sensitivity of the arc sensors.
- Shade/Auto Controls (+/-): Manually adjusts the shade level or activates auto-shade.
- Delay/Gradual Controls (+/-): Sets the delay time for the lens to return to light state.
- Memory Button: Saves and recalls custom settings.
- Grind Mode Switch: Activates grind mode, disabling the auto-darkening function.
2. Intelligent Auto-Shade Adjustment
When Smart Auto Adjustment is activated, the lens shade will adaptively vary within a ±11-level range based on the brightness of the welding arc. The sensitivity remains fixed in this mode. This feature eliminates the need for constant manual adjustments during welding.

Image: Visual representation of the intelligent auto-shade feature, showing the lens adapting to varying arc light intensity.
3. Setting Shade, Sensitivity, and Delay
Use the digital controls to fine-tune your welding experience:
- Shade: Adjust the shade level from 3 (Grind) to 5-9 (Cut/Low Amp TIG) or 9-15 (MIG/Stick/High Amp TIG).
- Sensitivity: Controls how quickly the lens reacts to the welding arc. Higher sensitivity means faster darkening.
- Delay: Determines how long the lens stays dark after the arc stops. A longer delay is useful for preventing eye strain from residual glow.
4. Grind Mode
Activate the external grind mode switch to disable the auto-darkening function. This allows you to use the helmet as a face shield for grinding operations without the lens darkening. Ensure you switch back to welding mode before striking an arc.
5. Memory Presets
The helmet supports up to 9 sets of customized memory presets. This allows you to save your preferred settings for different welding processes (e.g., MIG, TIG, CUT) and quickly recall them, reducing setup time and improving workflow efficiency.

Image: Display showing the customized memory presets for different welding applications like MIG, TIG, and CUT.
Maintenance
1. Cleaning
- Clean the helmet shell with mild soap and water. Avoid harsh solvents.
- Clean the auto-darkening filter (ADF) and protective lenses with a soft, lint-free cloth. Do not use abrasive cleaners or solvents.
- Regularly clean the arc sensors to ensure proper function.
2. Lens Replacement
Replace the outer and inner protective lenses regularly, especially if they become scratched, pitted, or dirty, to maintain optimal visibility and protection. Refer to the helmet's internal mechanism for specific instructions on how to safely remove and install new lenses.
3. Battery Replacement
When the battery indicator shows low power, replace the CR2450 lithium battery. Ensure correct polarity during installation. The solar panel will help maintain charge, but periodic battery replacement is necessary for consistent performance.
Troubleshooting
| Problem | Possible Cause | Solution |
|---|---|---|
| Lens does not darken | Low battery; dirty sensors; incorrect sensitivity setting; helmet not facing arc. | Replace battery; clean sensors; adjust sensitivity; ensure helmet is positioned correctly. |
| Lens flickers | Low battery; sensitivity too high; interference from other light sources. | Replace battery; reduce sensitivity; shield from other bright lights. |
| Poor visibility | Dirty or scratched protective lenses; incorrect shade setting. | Clean or replace lenses; adjust shade to appropriate level. |
Specifications
| Feature | Detail |
|---|---|
| Model | LYG-M910D |
| Viewing Size | 3.93" x 3.27" |
| Optical Clarity | 1/1/1/1 True Color |
| Shade Range | 3/5-9/9-15 |
| Arc Sensors | 4 |
| Switching Time | 1/30,000 sec |
| Power Supply | Solar Panel & Replaceable CR2450 Lithium Battery |
| Material | Polycarbonate, Plastic |
| Item Weight | 1.14 Kilograms |
| Standards | ANSI ISEA Z87.1-2015, CSA |

Image: Visual summary of key specifications and safety certifications (ANSI, CSA, CE).
Warranty and Support
YESWELDER products are designed for durability and performance. For warranty information, technical support, or service inquiries, please refer to the contact information provided with your product packaging or visit the official YESWELDER website. Keep your purchase receipt as proof of purchase for warranty claims.