1. Introduction and Safety Information
This manual provides essential instructions for the safe installation, operation, and maintenance of your WARM TECH 1000W Ceramic Inertia Radiator. Please read this manual thoroughly before using the appliance and retain it for future reference.
Important Safety Precautions:
- Ensure the power supply voltage matches the rating label on the radiator.
- Do not cover the radiator, as this can cause overheating.
- Keep flammable materials away from the appliance.
- This appliance is designed for indoor use only.
- Do not operate the radiator with a damaged cord or plug.
- Installation must be performed by a qualified electrician in accordance with local regulations.
- The appliance is rated IP24, meaning it is protected against solid objects over 12.5mm and splashing water from any direction. This makes it suitable for bathroom use, but it must not be directly exposed to water jets.
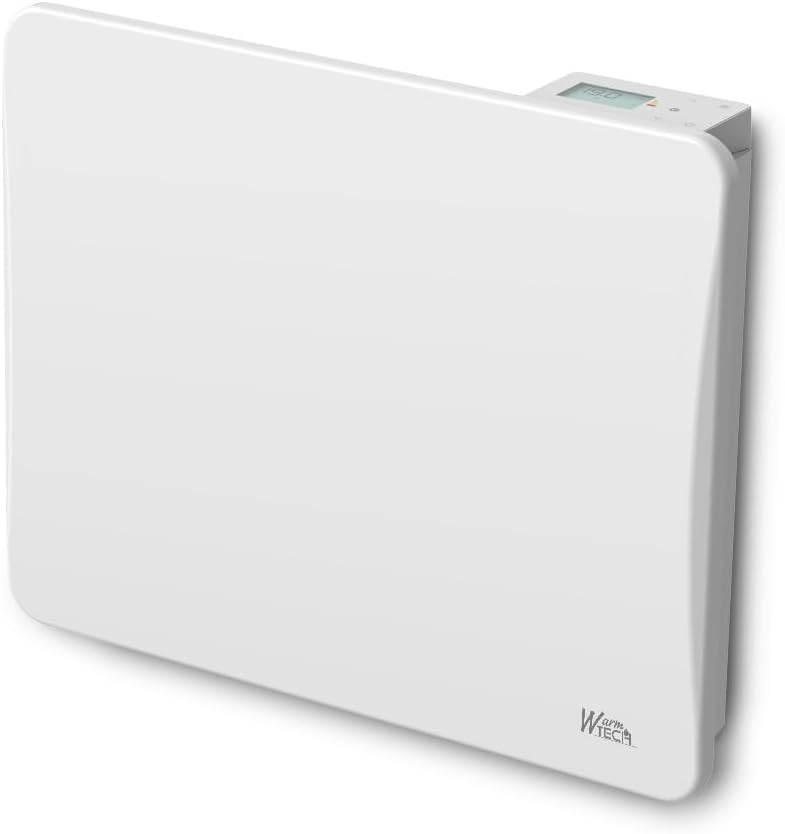
2. Product Overview
The WARM TECH 1000W Ceramic Inertia Radiator utilizes a ceramic stone system to provide efficient and consistent radiant heat. It features a digital display for easy control and offers multiple operating modes to suit various heating needs.
- Power Output: 1000 Watts
- Protection Rating: IP24 (Splash-proof)
- Control: Digital LCD Display
- Thermostat Range: 5°C to 29°C
- Operating Modes: 5 (Comfort, Comfort -1°C, Comfort -2°C, Eco, Frost Protection)
- Pilot Wire: 6-order pilot wire for centralized control systems.

3. Setup and Installation
The WARM TECH Ceramic Inertia Radiator is designed for wall mounting. Professional installation is recommended to ensure proper and safe operation, especially concerning the pilot wire connection.
3.1 Wall Mounting
- Choose a suitable wall location, ensuring adequate clearance from furniture and curtains.
- Use the provided mounting bracket as a template to mark drilling points on the wall.
- Drill holes and insert appropriate wall plugs (not always supplied).
- Securely attach the mounting bracket to the wall.
- Carefully hang the radiator onto the mounting bracket, ensuring it is firmly seated.
3.2 Electrical Connection
The radiator requires a permanent electrical connection. It is equipped with a 6-order pilot wire for integration into a centralized heating control system. If you do not have a pilot wire system, the pilot wire can be left unconnected or connected as per local electrical codes for basic operation.
- Phase (Brown/Red wire): Connect to the live terminal.
- Neutral (Blue wire): Connect to the neutral terminal.
- Pilot Wire (Black/Grey wire): Connect to the pilot wire terminal of your central control unit, if applicable.
- Ensure all connections are secure and insulated.
WARNING: Disconnect power at the main circuit breaker before performing any electrical connections.


4. Operating Instructions
The radiator is controlled via its integrated digital LCD display and control buttons.
4.1 Digital Display and Controls
The LCD display shows the current temperature setting and operating mode. Buttons typically include Power, Mode selection, and Temperature adjustment (Up/Down arrows).
4.2 Setting the Temperature
Use the Up and Down arrow buttons to adjust the desired room temperature. The thermostat range is from 5°C to 29°C. The display will show the set temperature.
4.3 Operating Modes
Press the 'MODE' button to cycle through the available operating modes:
- Comfort: Maintains the set temperature.
- Comfort -1°C: Maintains a temperature 1°C below the set Comfort temperature.
- Comfort -2°C: Maintains a temperature 2°C below the set Comfort temperature.
- Eco: Maintains a reduced temperature, typically 3.5°C below the set Comfort temperature, for energy saving.
- Frost Protection (Hors Gel): Maintains a minimum temperature (e.g., 7°C) to prevent freezing.
5. Maintenance
Regular cleaning helps maintain the efficiency and appearance of your radiator.
- Cleaning: Disconnect the radiator from the power supply before cleaning. Use a soft, damp cloth to wipe the exterior surfaces. Do not use abrasive cleaners, solvents, or harsh chemicals.
- Internal Components: The internal ceramic elements do not require user maintenance. Do not attempt to open the radiator casing.
6. Troubleshooting
If you encounter issues with your radiator, refer to the following common problems and solutions:
| Problem | Possible Cause | Solution |
|---|---|---|
| Radiator does not turn on. | No power supply. | Check the circuit breaker and ensure the radiator is properly connected to the power supply. |
| Radiator is not heating. | Temperature setting too low or incorrect mode. | Increase the set temperature or select a Comfort mode. |
| Radiator emits unusual odors. | New appliance odor or dust accumulation. | Initial odors are normal and will dissipate. Clean the radiator exterior if dust is present. If odor persists, discontinue use and contact support. |
| Display shows an error code. | Internal fault. | Note the error code and contact customer support. Do not attempt to repair. |
If the problem persists after attempting these solutions, please contact WARM TECH customer support.
7. Technical Specifications
| Feature | Specification |
|---|---|
| Brand | WARM TECH |
| Model | Ceramic Inertia Radiator 1000W |
| Power Output | 1000 Watts |
| Protection Rating | IP24 |
| Heating Method | Radiant (Ceramic Inertia) |
| Thermostat Range | 5°C to 29°C |
| Control Type | Digital Display |
| Pilot Wire | 6-Order |
| Dimensions (D x W x H) | 12 cm x 55 cm x 45 cm |
| Weight | 7.3 Kilograms |
| Mounting Type | Wall Mount |
| Thermal Coverage | Up to 10 square meters |
| Recommended Use | Indoor, Home |
8. Warranty and Support
For warranty information and customer support, please refer to the documentation provided with your purchase or visit the official WARM TECH website. Keep your proof of purchase for any warranty claims.
Contact Information: Please refer to the contact details provided on the WARM TECH product packaging or official website for technical assistance and service inquiries.