Introduction
This manual provides detailed instructions for the setup, operation, and maintenance of your Vehipa Smart Fish Aquarium Kit 4 Gallon. This innovative aquarium integrates a 4-in-1 silent water pump, an automated feeding system, adjustable LED lighting, a real-time temperature display, and an independent aromatherapy humidifier. Please read these instructions carefully before use to ensure proper function and longevity of your product.
Product Components
The Vehipa Smart Fish Aquarium Kit includes the following main components:
- Aquarium Tank (4 Gallon, 93% High-Transparency Ultra-Clear Glass)
- Top Lid with Integrated Control Panel
- 4-in-1 Silent Water Pump (integrates filtration, oxygenation, circulation, wave creation)
- Automated Feeding System (80ml capacity)
- Adjustable LED Lighting (8 colors)
- Real-Time Water Temperature Display (LCD)
- Independent Aromatherapy Humidification Box
- Filter Media (e.g., ceramic balls, filter cotton)
- Power Adapter
- Airflow Control Valve
- Extended Rain Pipe
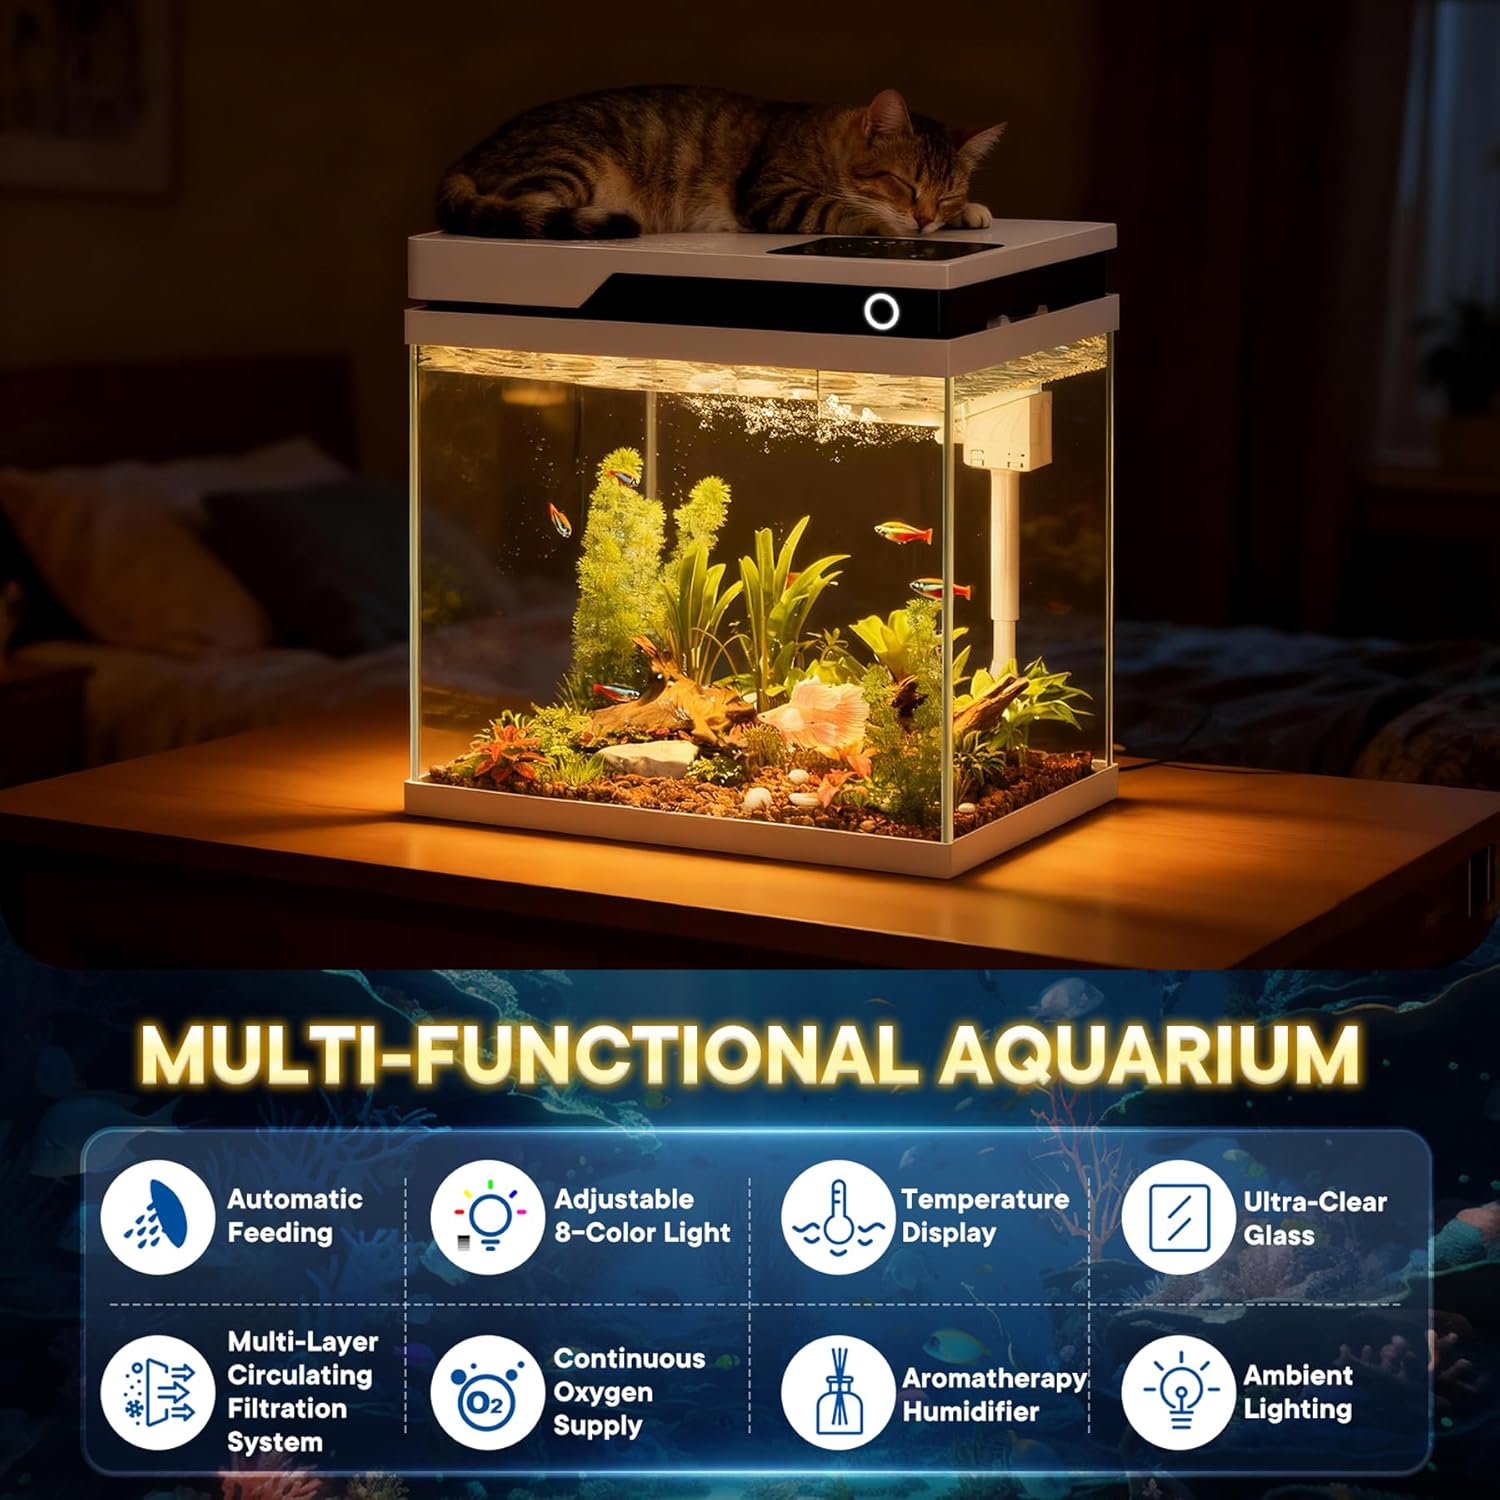
Image: Overview of the Vehipa Smart Fish Aquarium Kit, highlighting its multi-functional features including automatic feeding, adjustable lighting, temperature display, ultra-clear glass, multi-layer filtration, continuous oxygen supply, aromatherapy humidifier, and ambient lighting.
Setup Instructions
Follow these steps to set up your Vehipa Smart Fish Aquarium:
- Unpack Components: Carefully remove all components from the packaging. Ensure all parts listed in the "Product Components" section are present.
- Install Filter Media: Open the top lid of the aquarium. Place the ceramic balls (if included) into the designated filter compartments. Then, place the filter cotton on top of the ceramic balls.
- Assemble Water Pump: Attach the extended rain pipe to the water pump. Ensure the airflow control valve is securely connected to the pump's air intake.
- Position Water Pump: Carefully place the assembled water pump into the designated compartment within the aquarium's top structure. Route the power cord through the provided channel.
- Connect Air Tube: Connect the small air tube from the pump to the air outlet on the top lid.
- Close Lid: Securely close the top lid of the aquarium.
- Connect Power: Connect the power adapter to the aquarium's power input and then plug it into a suitable electrical outlet. Important: Ensure the water pump is fully submerged in water before connecting to power to prevent damage.
Video: This video demonstrates the step-by-step installation process for the Vehipa Smart Fish Aquarium, including placing filter media, assembling the water pump, and securing the top lid.

Image: Diagram illustrating the 4-in-1 circulating filtration system, showing water circulation, oxygen port, airflow control valve, and impurity suction port.
Operating Instructions
Control Panel Overview
The aquarium features an integrated control panel on the top lid for easy management of its functions. The LCD displays the current water temperature.

Image: Close-up of the smart touch control panel, showing options for timed feeding, timed lighting, lamp control, on/off, humidifier, and light brightness adjustment. Examples of 8 different LED colors are also shown.
1. Automated Feeding System
- Filling the Feeder: Open the feeder compartment on the top lid. Fill the 80ml capacity feeder with appropriate fish food.
- Setting Timed Feeding: Double-click the "Timed Feeding" button on the control panel to activate. Long press to select feeding intervals: 12 hours, 24 hours, or 48 hours.
- Adjusting Portion Size: The feeder has an adjustable opening to control the amount of food dispensed, preventing overfeeding.

Image: Details of the intelligent timed feeding system, showing the 80ml capacity, customizable intervals (12h/24h/48h), and adjustable opening to prevent overfeeding.
2. Adjustable LED Lighting
- Changing Colors: Tap the "Lighting" button on the control panel to cycle through 8 customizable LED colors (white, gradient, green, blue, red, cyan, yellow, purple).
- Adjusting Brightness: Use the "-/+" buttons to adjust the light brightness.
- Timed Lighting: Long press the "Timed Lighting" button to set lighting durations (e.g., 8h, 12h, 16h).
- Turning Off Light: Long press the "Lighting" button to turn off the light.
3. Real-Time Water Temperature Display
The integrated LCD on the control panel continuously displays the current water temperature, allowing for easy monitoring of your aquatic environment.
4. Independent Aromatherapy Humidifier
- Adding Water/Essential Oils: Open the independent aromatherapy compartment. Add pure water for humidification or a few drops of essential oils for ambient fragrance. Ensure essential oils do not mix with the aquarium water.
- Activating Humidifier: Use the "Humidifier" button on the control panel to turn the humidifier function on or off.
5. Airflow Control Valve
The built-in airflow control valve allows you to adjust the water flow rate from the pump. This is particularly useful for creating a gentle current suitable for delicate fish species like bettas.
Maintenance
Regular maintenance is crucial for a healthy aquatic environment:
- Filter Media Replacement: Regularly check and replace the filter cotton and ceramic balls as needed (typically every 2-4 weeks, depending on fish load and water quality). This ensures effective filtration and clear water.
- Water Changes: Perform partial water changes (25-30%) weekly or bi-weekly to remove nitrates and replenish essential minerals. Always use dechlorinated water.
- Pump Cleaning: Periodically disconnect the pump and clean any debris or algae buildup from the impeller and pump housing to maintain optimal performance and prevent blockages.
- Aquarium Cleaning: Wipe down the interior and exterior glass surfaces to remove algae and water spots. Avoid using harsh chemicals.
- Humidifier Cleaning: Clean the aromatherapy humidifier box regularly to prevent mineral buildup and ensure efficient operation.
Troubleshooting
| Problem | Possible Cause | Solution |
|---|---|---|
| Water pump not working | Not fully submerged; power disconnected; clogged impeller. | Ensure pump is fully submerged before plugging in. Check power connection. Disconnect and clean impeller. |
| Water is cloudy | Insufficient filtration; overfeeding; new tank syndrome. | Replace filter media. Reduce feeding amount. Perform partial water changes. Allow beneficial bacteria to establish. |
| Automatic feeder not dispensing | Feeder empty; food clumped; incorrect settings. | Refill feeder. Break up food clumps. Verify timed feeding settings. |
| Humidifier not producing mist | Water reservoir empty; mineral buildup; humidifier off. | Refill with pure water. Clean the humidifier unit to remove mineral deposits. Ensure humidifier function is activated on the control panel. |
| LED lights not working | Power issue; light turned off; faulty LED. | Check power connection. Ensure light is turned on via control panel. Contact support if LEDs remain unresponsive. |
Specifications
- Dimensions (L x W x H): 11.8" x 8.3" x 12.8" (30 x 21 x 32 cm)
- Capacity: 4 Gallons
- Aquarium Material: Ultra-Clear Glass (0.2" thickness)
- Pump Voltage: 220V
- Pump Power: 3W
- Pump Flow Rate: 260 L/H
- Light Power: 6W
- Light Input Power: DC5V
- Feeder Capacity: 80ml
- Color: White

Image: The 4-gallon Vehipa fish tank with its dimensions (11.8 inches length, 8.3 inches width, 12.7 inches height) and key features like aromatherapy humidifier, ambient lighting, and temperature display.
Warranty and Support
For warranty information, technical support, or replacement parts, please contact Vehipa customer service through the retailer where the product was purchased or visit the official Vehipa website. Please have your model number (YYG300) and purchase date available when contacting support.