1. Introduction
Thank you for choosing the VEVOR Sewer Camera. This device is designed for efficient and accurate inspection of drains, pipes, and ducts. It features a 4.3-inch color display, an IP68 waterproof camera with 6 adjustable LED lights, a 98 ft (30m) semi-rigid fiberglass cable, and a 4500mAh rechargeable battery for extended operation. This manual provides essential information for safe operation, setup, maintenance, and troubleshooting.
2. Safety Instructions
- Read all instructions carefully before operating the device.
- Keep the device away from children and unauthorized personnel.
- Do not expose the monitor unit to water or extreme temperatures. The camera probe is IP68 waterproof, but the monitor is not.
- Use only the provided charging cable and adapter.
- Ensure the battery is fully charged before use to avoid interruptions during inspection.
- Avoid bending the cable excessively or applying undue force, which may damage the fiberglass core.
- Clean the camera lens and cable thoroughly after each use, especially when inspecting contaminated environments.
- Do not attempt to disassemble or repair the device yourself. Contact qualified service personnel for assistance.
3. Package Contents
Verify that all items are present and in good condition upon unpacking:
- 1 x Display Monitor
- 1 x Camera Probe (attached to cable reel)
- 1 x USB Type-C Cable
- 1 x Lens Protection Cover
- 1 x 16GB SD Card (pre-installed or included separately)
4. Product Overview
The VEVOR Sewer Camera system consists of a monitor unit, a flexible camera probe, and a cable reel for easy deployment and storage.
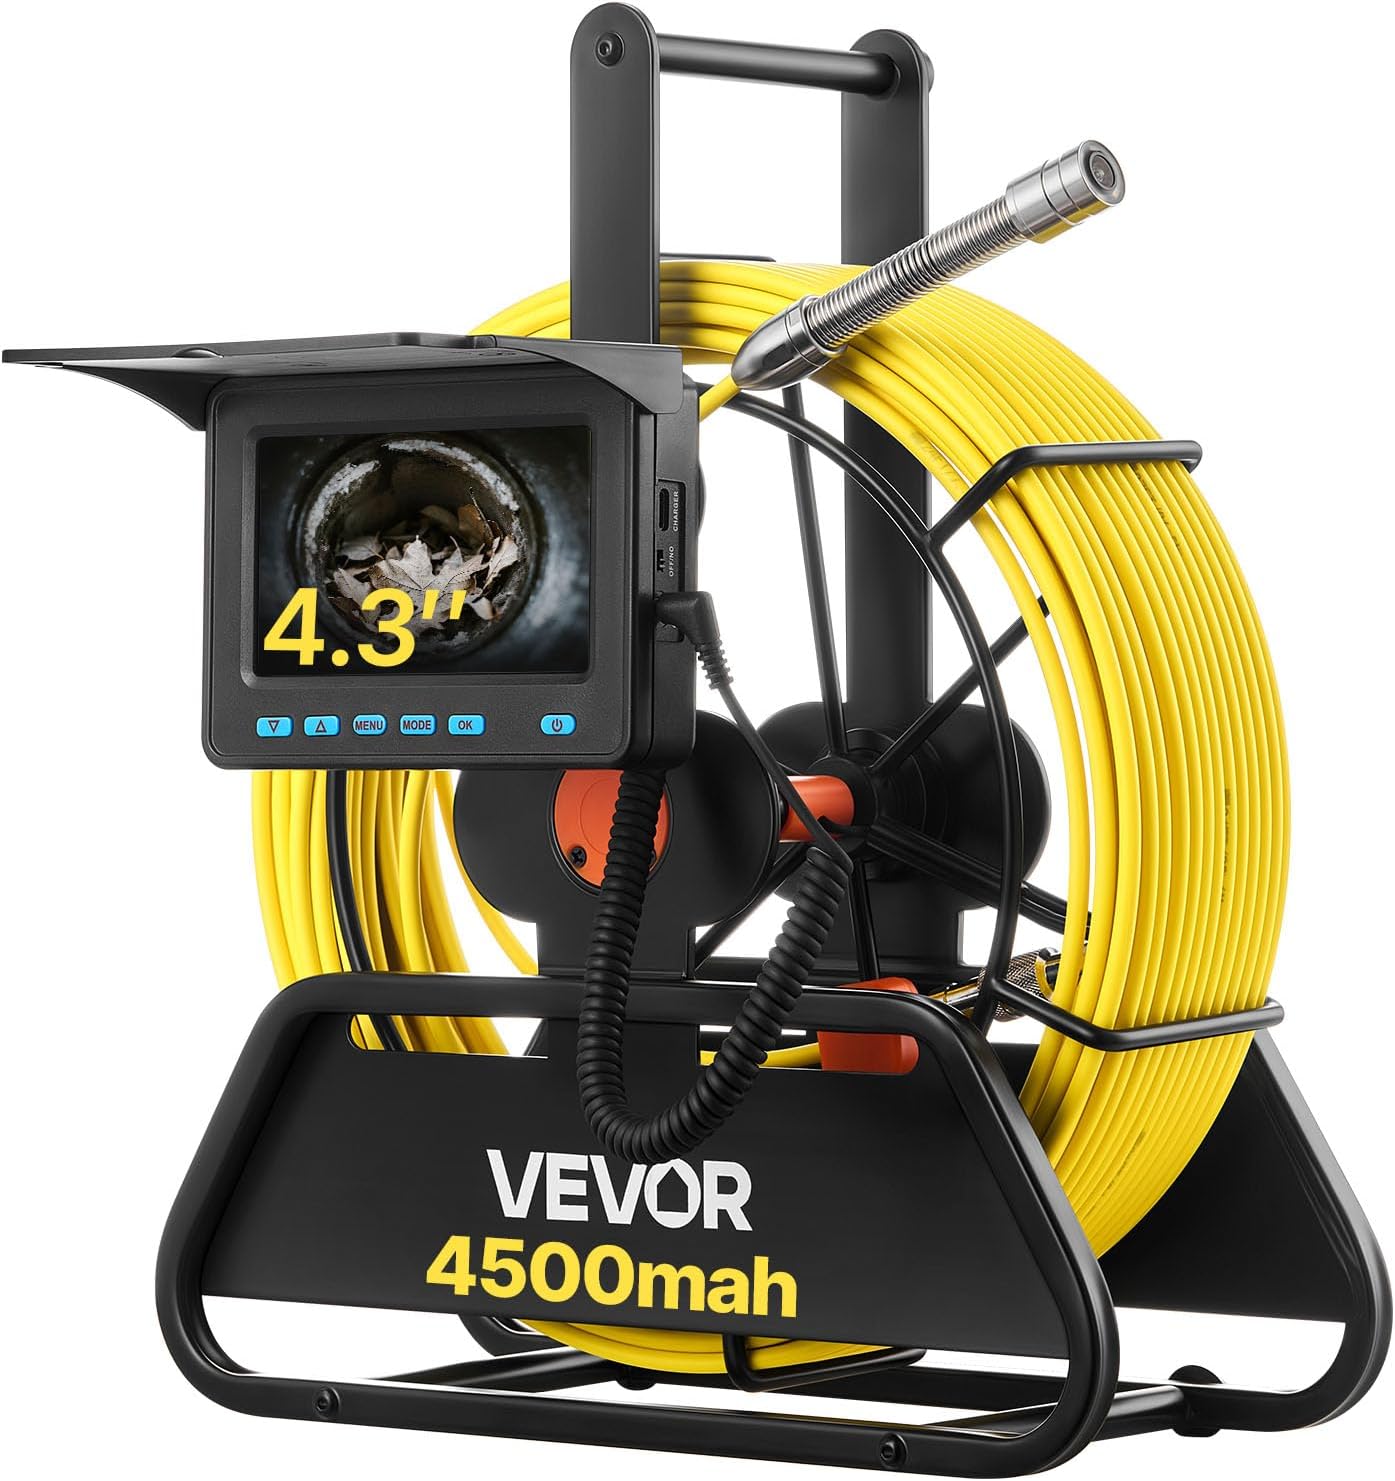
Figure 4.1: VEVOR Sewer Camera complete system. Shows the monitor attached to the cable reel, with the camera probe extended.
4.1. Monitor Unit
- 4.3-inch Color Display: Provides real-time viewing of the inspection area.
- Control Buttons: For power, menu navigation, mode selection, and recording.
- SD Card Slot: For storing recorded videos and photos (16GB card included).
- USB-C Port: For charging the internal battery.

Figure 4.2: Close-up view of the 4.3-inch color display, showing the screen interface and control buttons.
4.2. Camera Probe & Cable
- IP68 Waterproof Camera: Durable and suitable for wet environments.
- 6 Adjustable LED Lights: Provide illumination in dark pipes with 3 levels of brightness adjustment.
- 98 ft (30m) Semi-Rigid Fiberglass Cable: Flexible yet robust, designed to navigate bends in pipes.
- Length Markings: Markings on the cable indicate the depth of insertion.

Figure 4.3: Detail of the camera probe, highlighting the IP68 waterproof rating and the 6 adjustable LED lights.
5. Setup
5.1. Charging the Battery
- Locate the USB Type-C charging port on the monitor unit.
- Connect the provided USB Type-C cable to the monitor and a suitable USB power adapter (not included).
- The charging indicator light will illuminate. A full charge typically takes 3-4 hours and provides approximately 4-5 hours of continuous operation.

Figure 5.1: Battery charging and operational runtime information.
5.2. Inserting the SD Card
The device comes with a 16GB SD card for recording. If not pre-installed, gently insert the SD card into the designated slot on the monitor unit until it clicks into place. Ensure the card is inserted in the correct orientation.
6. Operating Instructions
6.1. Powering On/Off
- To power on, press and hold the Power button until the screen illuminates.
- To power off, press and hold the Power button until the screen turns off.
6.2. Basic Operation Steps
- Prepare the Area: Ensure the inspection area is accessible and safe.
- Release the Cable: Gently pull the camera probe and cable from the reel.
- Insert Camera: Carefully feed the camera probe into the pipe or duct. Observe the live feed on the monitor.
- Adjust Lighting: Use the LED brightness adjustment buttons (usually Up/Down arrows) to optimize visibility in dark environments. There are 3 levels of brightness.
- Navigate and Inspect: Guide the camera through the pipe. The semi-rigid cable allows for navigation around bends.
- Record Findings: Press the OK button to start/stop video recording or capture a photo (depending on the selected mode).
- Determine Distance: Use the length markings on the cable to identify the exact distance to any observed obstacles or points of interest.
- Retrieve Camera: Once inspection is complete, gently pull the cable back and wind it onto the reel.

Figure 6.1: Step-by-step guide for deploying and using the sewer camera.
6.3. Recording and Playback
- Mode Selection: Press the MODE button to switch between video recording and photo capture modes.
- Recording/Capture: In video mode, press OK to start recording; press again to stop. In photo mode, press OK to take a picture.
- Accessing Files: Use the MENU button to access the playback menu. Navigate through files using the Up/Down buttons and select with OK.
- File Formats: Videos are saved as AVI, and photos as JPG.
6.4. Compatible Pipe Diameters
The camera system is compatible with:
- Straight Pipes: Φ1.18-3.93 inches (30-100 mm)
- Right-Angle Pipes: Φ1.97-3.93 inches (50-100 mm)

Figure 6.2: Illustration of the semi-rigid cable's flexibility and compatible pipe sizes.
7. Maintenance
7.1. Cleaning
- After each use, especially in dirty or wet conditions, thoroughly clean the camera probe and the entire length of the cable with a damp cloth.
- Ensure no debris remains on the camera lens to maintain clear image quality.
- Do not use harsh chemicals or abrasive cleaners on any part of the device.
- Wipe the monitor unit with a soft, dry cloth. Avoid getting liquids into the ports.
7.2. Storage
- Wind the cable neatly onto the reel after cleaning.
- Store the VEVOR Sewer Camera in a cool, dry place, away from direct sunlight and extreme temperatures.
- If storing for an extended period, ensure the battery is partially charged (around 50%) to prolong its lifespan.
8. Troubleshooting
| Problem | Possible Cause | Solution |
|---|---|---|
| No image on screen | Device not powered on; Low battery; Loose cable connection; Camera lens obstructed. | Ensure device is powered on. Charge the battery. Check cable connections. Clean the camera lens. |
| Poor image quality | Dirty camera lens; Insufficient lighting; Water/debris on lens; Damaged camera. | Clean the camera lens. Adjust LED brightness. Ensure lens is clear of obstructions. If problem persists, contact support. |
| Cannot record video/take photos | SD card full; SD card not inserted correctly; Incorrect mode selected; SD card faulty. | Delete old files or replace SD card. Reinsert SD card. Ensure video/photo mode is selected. Try a different SD card. |
| Battery not charging | Faulty charging cable/adapter; Loose connection; Damaged battery. | Check charging cable and adapter. Ensure secure connection. If problem persists, contact support. |
| Cable difficult to retrieve or stuck | Obstruction in pipe; Cable tangled. | Do not force the cable. Gently maneuver the camera to free it. If severely stuck, professional assistance may be required. |
9. Specifications

Figure 9.1: Product dimensions and key technical specifications.
| Feature | Detail |
|---|---|
| Item Model Number | WP9602B |
| Cable Length | 98 ft / 30 m |
| Cable Diameter | 0.2 inch / 5 mm |
| Display Screen | 4.3 inch |
| Camera Resolution | 720 x 480 |
| Lens Waterproof Rating | IP68 |
| LED Light | 6 PCS, 3-Level Adjustable Brightness |
| Storage | 16 GB (SD Card) |
| Net Weight | 7.5 lbs / 3.4 kg |
| Lens Diameter | 0.67 inch / 17 mm |
| Viewing Angle | 120° Wide Angle |
| Battery Capacity | 4500mAh |
| Operating Temperature | 14 - 122°F / -10 - 50°C |
| Playback Format | AVI (Video), JPG (Photo) |
| Product Dimensions | 13.6 x 11.4 x 5.0 inches / 345 x 290 x 128 mm |
10. Warranty & Support
For warranty information, technical support, or service inquiries, please refer to the official VEVOR website or contact their customer service directly. Keep your purchase receipt as proof of purchase for any warranty claims.