1. Introduction
This manual provides essential information for the installation, operation, and maintenance of your new generic carburetor kit. This kit is designed to replace faulty carburetor components in various yard and garden tools, ensuring efficient fuel-air mixture and optimal engine performance. Please read these instructions carefully before proceeding with installation or use.
2. Product Overview and Package Contents
The carburetor is a crucial component responsible for mixing air and fuel in the correct ratio for combustion. This kit includes the main carburetor unit and necessary accessories for installation.
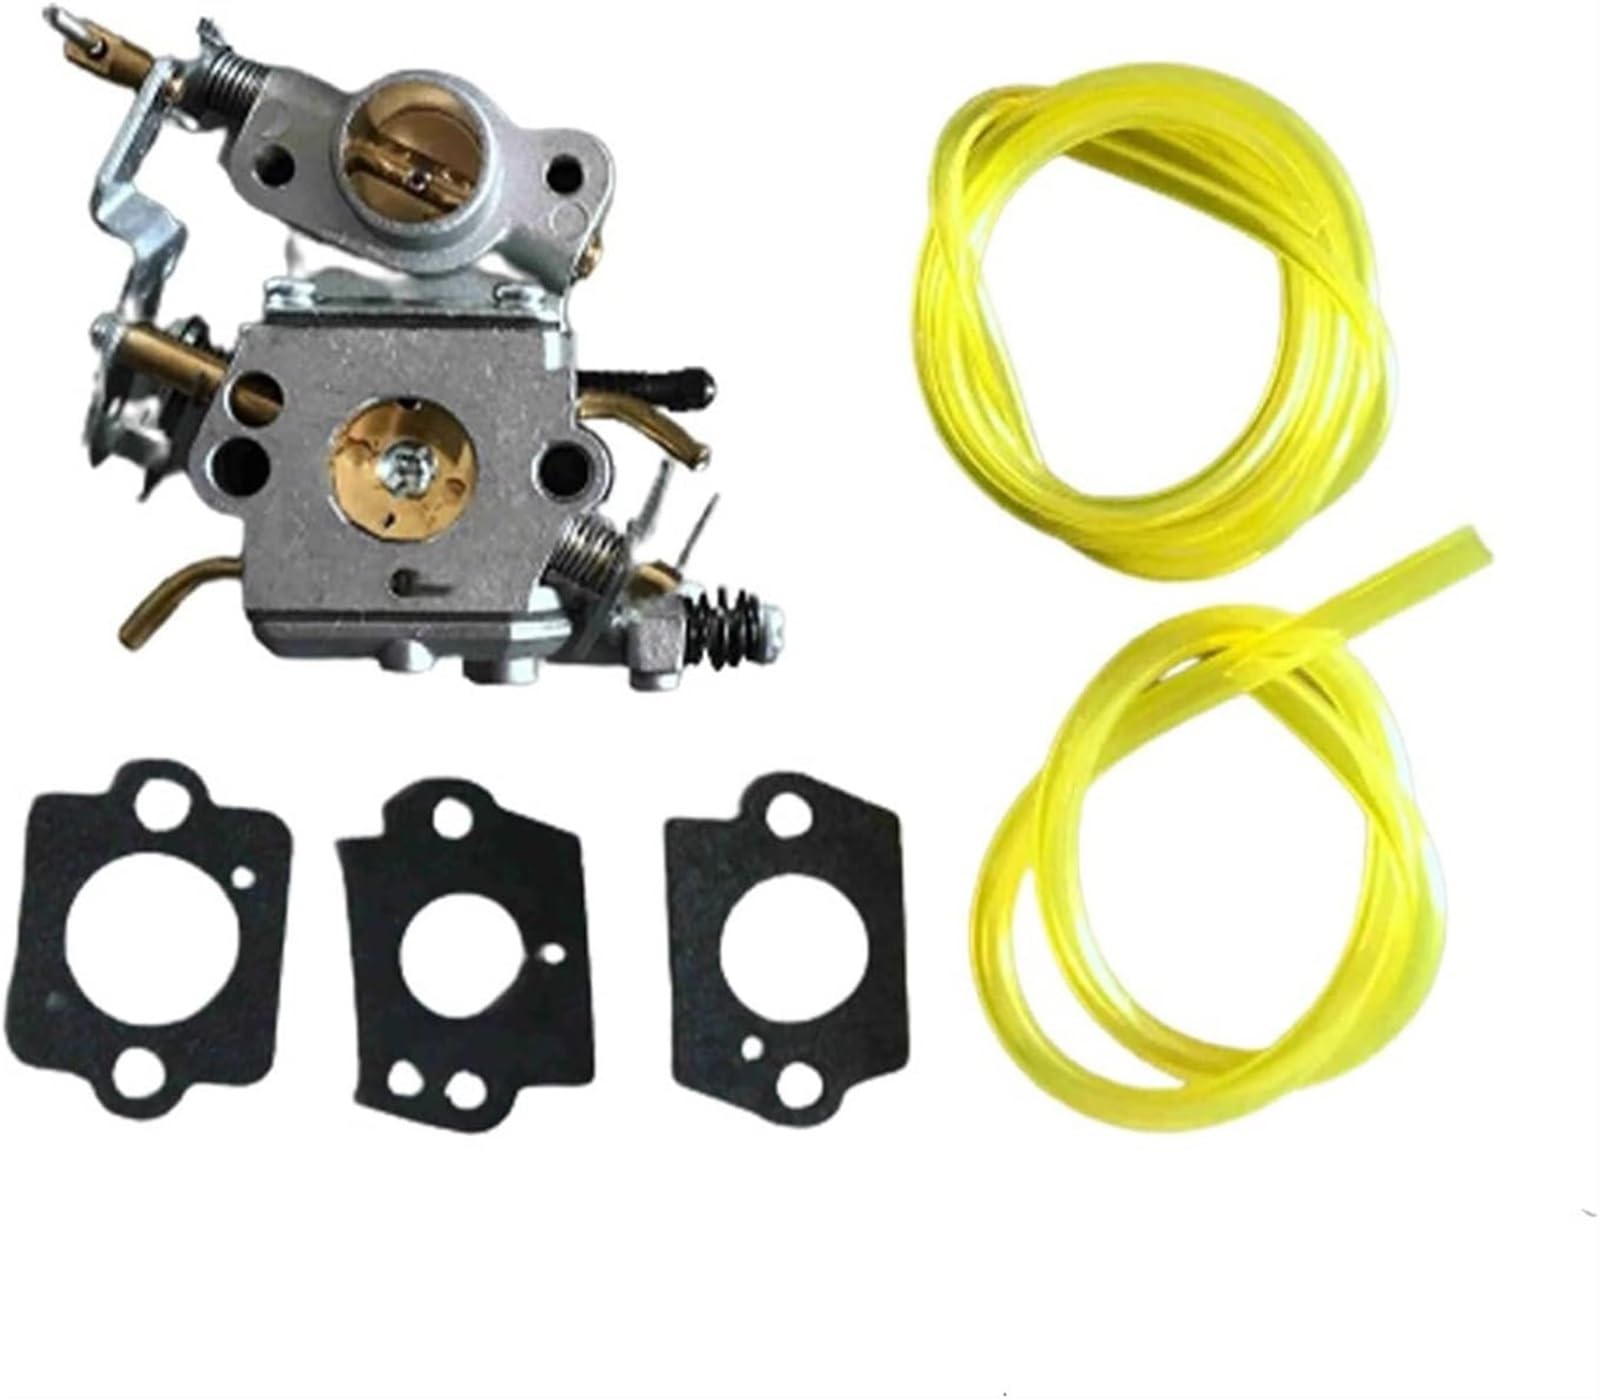
Image 2.1: Main carburetor unit, showing the fuel inlet and adjustment screws.
Package Contents:
- 1 x Carburetor unit
- 3 x Gaskets
- 2 x Fuel lines
Note: You will receive exactly what is shown in the product images.
3. Compatibility
This carburetor kit is compatible with a wide range of models from various brands. Please verify your tool's model number against the list below to ensure compatibility.
Compatible Models:
- For McCulloch: Mac7-38, Mac738, Mac7-40, Mac740, Mac8-42, Mac842, MC3516, MC4218AV
- For XTREME: 8-42, CS330, CS360, CS370, CS400, CS400T, CS420T
- For Partner: P738, P740, P742, P842 GCS, P840
- For Poulan: P3314, P3416, P3516, P3516PR, P3816, P3818, P3818AV, P4018, P4018AV, P4018WM, P4018AVBH, S1970, P4218, SM4218AV, S1970
- For Jonsered: CS2138 C
Replaces Part Numbers: 530035589, 530035590, 545070601, 545040701, Zama C1M-W26 A B C.
4. Key Features
- Efficient Fuel-Air Mixture: Designed to effectively mix oil and gas, ensuring smooth internal operation and preventing fuel starvation or overflow.
- Performance Restoration: Restores engine power and torque by replacing worn or faulty carburetor components.
- Durable Construction: Manufactured from high-quality ABS plastic and metal materials for enhanced durability, high hardness, and extended service life.
- Optimized Engine Control: Assists in controlling fuel levels and maintaining vehicle performance. Its function is to atomize fuel with inhaled air, which aids in resolving cold start issues.
- Precision Gasket Set: The included gasket set offers high precision and sensitivity, contributing to improved operational safety and engine performance.
5. Installation Guidance
Proper installation is crucial for the carburetor's performance. If you are unsure about any steps, it is recommended to seek professional assistance or consult your tool's specific service manual.
General Installation Steps:
- Preparation: Ensure the engine is cool and disconnect the spark plug wire to prevent accidental starting. Drain any remaining fuel from the tank.
- Remove Old Carburetor: Carefully disconnect the fuel lines, throttle linkage, and choke linkage from the old carburetor. Remove the mounting bolts and detach the old unit. Note the orientation of all components.
- Clean Mounting Area: Clean any debris or old gasket material from the engine's mounting surface.
- Install New Gaskets: Place the new gaskets in their correct positions. Ensure they are properly seated to prevent air leaks.
- Mount New Carburetor: Position the new carburetor onto the engine, aligning it with the mounting studs. Secure it with the mounting bolts, tightening them evenly to the manufacturer's specifications (if available).
- Connect Linkages and Fuel Lines: Reattach the throttle and choke linkages. Connect the new fuel lines, ensuring a secure fit and correct routing.
- Final Checks: Reconnect the spark plug wire. Add fresh fuel to the tank. Inspect all connections for leaks.

Image 5.1: Front view of the carburetor, showing throttle and choke linkages. Pay attention to these connections during installation.

Image 5.2: Side view of the carburetor, highlighting fuel line connection points. Ensure fuel lines are securely attached.
6. Operation
After installation, the carburetor will regulate the fuel-air mixture for your engine. Most small engine carburetors are pre-set for optimal performance. However, minor adjustments may be necessary depending on altitude and environmental conditions.
Starting the Engine:
- Engage the choke (if applicable) for cold starts.
- Pull the starter cord until the engine attempts to start or runs briefly.
- Disengage the choke partially or fully and restart the engine.
- Allow the engine to warm up before operating at full throttle.
Carburetor Adjustments (if required):
Some carburetors have high and low-speed adjustment screws. Adjustments should be made incrementally (e.g., 1/8th turn at a time) while the engine is running and warmed up. Incorrect adjustments can damage the engine. Refer to your tool's specific manual for detailed adjustment procedures.
7. Maintenance
Regular maintenance of your carburetor and fuel system will ensure reliable performance and extend the life of your engine.
- Fuel Quality: Always use fresh, clean fuel. Stale or contaminated fuel is a common cause of carburetor issues.
- Fuel Filter: Regularly inspect and replace the fuel filter to prevent debris from reaching the carburetor.
- Air Filter: Keep the air filter clean to ensure proper air intake and prevent dirt from entering the carburetor.
- Storage: Before long-term storage, run the engine until it runs out of fuel, or use a fuel stabilizer to prevent gum and varnish buildup in the carburetor.
- Inspection: Periodically inspect fuel lines and connections for cracks, leaks, or loose fittings.
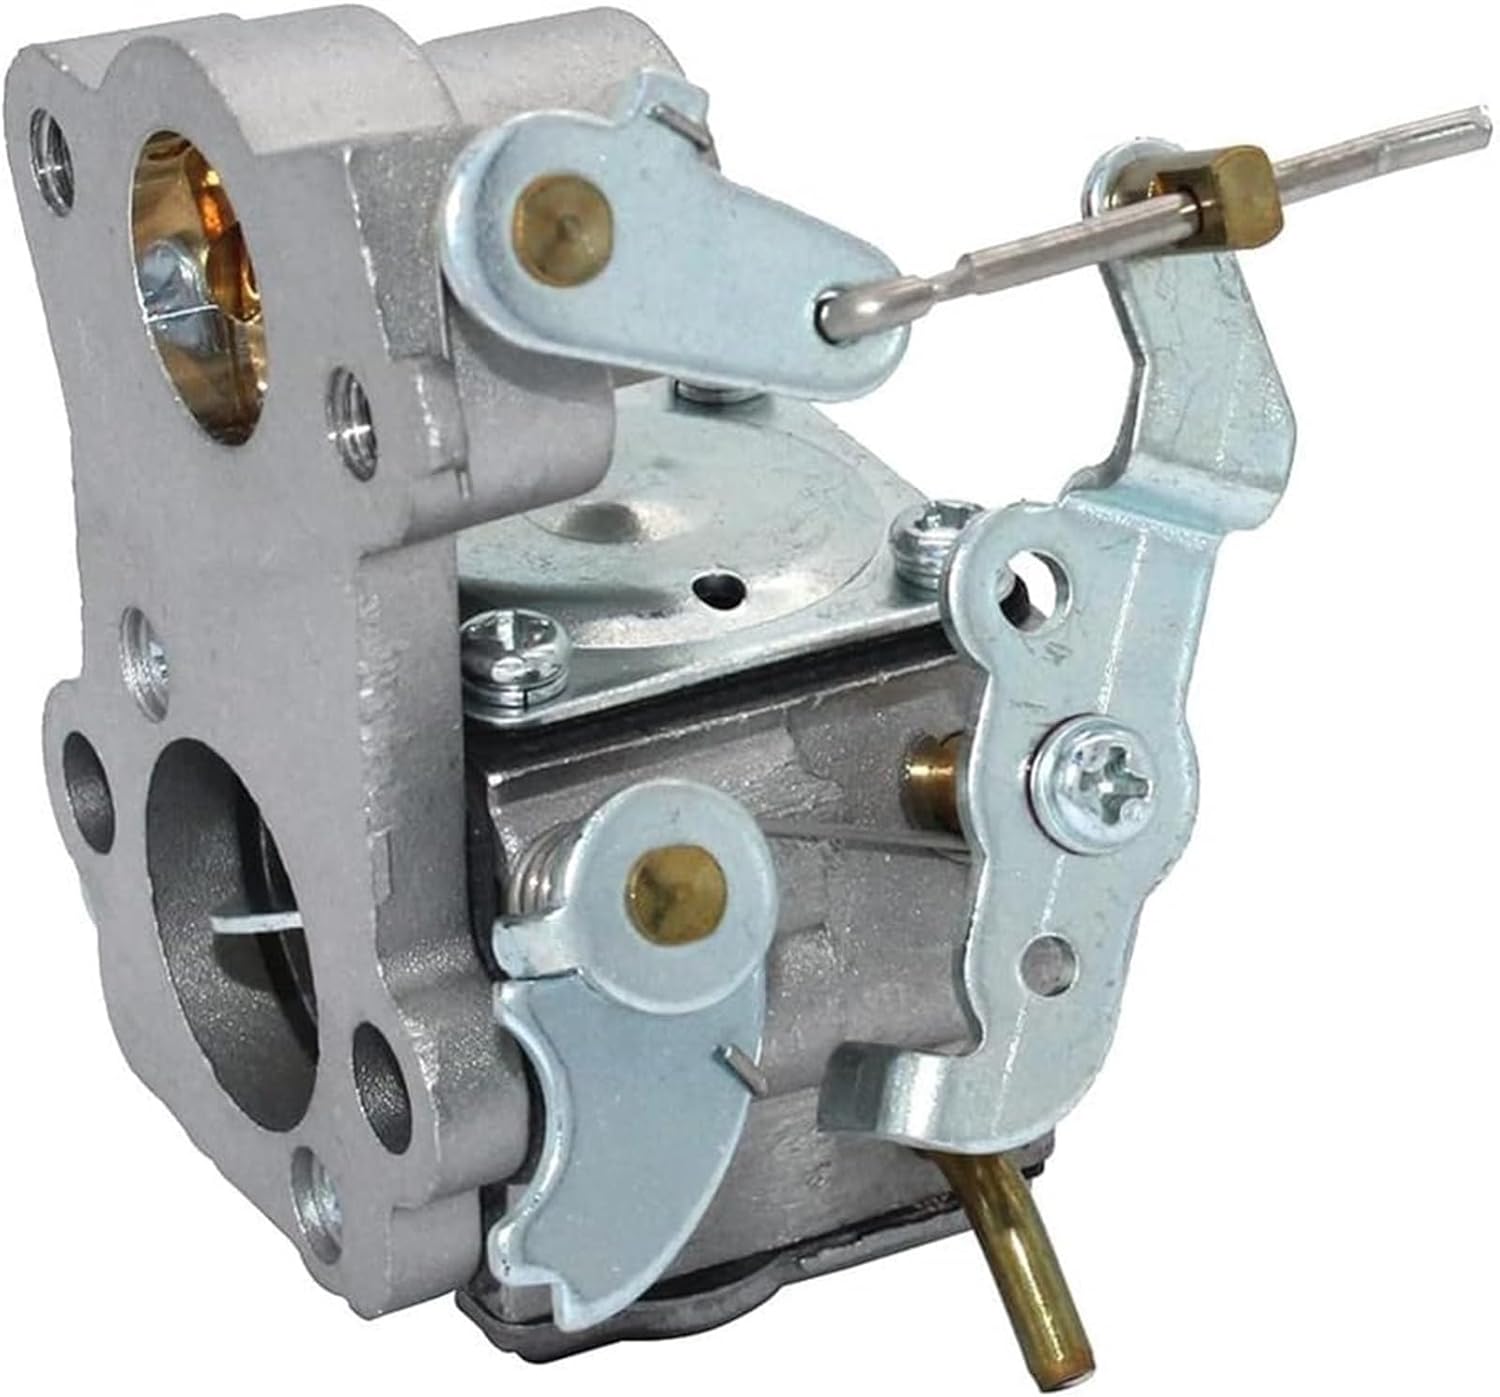
Image 7.1: Top view of the carburetor, illustrating the air intake and fuel bowl area. Keep these areas clean for optimal performance.
8. Troubleshooting
Refer to the table below for common issues and potential solutions. If problems persist, consult a qualified technician.
| Problem | Possible Cause | Solution |
|---|---|---|
| Engine will not start | No fuel, clogged fuel filter, incorrect choke setting, spark plug issue. | Check fuel level, replace fuel filter, adjust choke, inspect/replace spark plug. |
| Engine runs rough or stalls | Dirty carburetor, old fuel, air leak, incorrect idle adjustment. | Clean carburetor, use fresh fuel, check gaskets/fuel lines, adjust idle screw. |
| Engine lacks power | Clogged air filter, restricted exhaust, improper carburetor adjustment. | Clean/replace air filter, check exhaust, adjust carburetor settings. |
| Fuel leaks | Loose fuel lines, damaged gaskets, float needle issue. | Tighten connections, replace gaskets, inspect float assembly. |

Image 8.1: Bottom view of the carburetor, showing the fuel bowl and potential drain points. This area is often involved in fuel leak troubleshooting.
9. Specifications
| Attribute | Detail |
|---|---|
| Brand Name | generic |
| Model Number | 4933948472331 |
| Color | Silver |
| Manufacturer | carLLL |
| ASIN | B0FPX6S3TZ |
| First Available | September 5, 2025 |
10. Warranty and Support
This product comes with a service guarantee. If you encounter any questions or dissatisfaction with the product, you are encouraged to contact customer service at any time. Our support team aims to reply within 24 hours to assist you.
For specific warranty details or to initiate a support request, please refer to the seller's contact information on the purchase platform.