1. Introduction
Thank you for choosing the FAIMEE F9 3-Channel Dash Cam. This manual provides essential information for the proper installation, operation, and maintenance of your device. Please read it thoroughly before use to ensure optimal performance and safety.
The FAIMEE F9 dash cam offers comprehensive vehicle surveillance with its 4K front, 2K interior, and 2K rear cameras, ensuring detailed recording of your journeys and parked vehicle. Key features include high-definition night vision, built-in GPS tracking, dual-band Wi-Fi for app control, G-sensor emergency lock, and 24-hour parking monitoring.
2. What's in the Box
Please verify that all items listed below are included in your package:
- F9 3-Channel Dash Cam (Main Unit)
- Rear Camera
- Car Charger
- 128GB Memory Card
- Installation Tool
- 3*3M Adhesive (for mounting)
- 2*Rear Camera Adhesive
- 5*Cable Clips
- User Manual

Image: All components included in the FAIMEE F9 Dash Cam package.
3. Product Overview
The FAIMEE F9 dash cam features a compact design with integrated cameras for front, interior, and rear recording. It includes a display screen for live view and settings adjustment.
3.1 Main Unit
The main unit houses the front-facing camera, interior camera, display screen, control buttons, memory card slot, and power input.

Image: FAIMEE F9 Main Dash Cam Unit.
3.2 Rear Camera
The compact rear camera connects to the main unit via a cable and is designed for discreet mounting on the rear windshield.

Image: FAIMEE F9 Rear Camera.
4. Setup & Installation
Proper installation is crucial for optimal performance. Follow these steps carefully:
4.1 Mounting the Main Unit
- Clean the area on your windshield where you intend to mount the dash cam. Ensure it does not obstruct your view.
- Attach the suction cup mount to the main unit.
- Remove the protective film from the suction cup and press it firmly against the windshield, then lock the lever to secure it.
4.2 Installing the Rear Camera
- Identify a suitable location on your rear windshield, ensuring a clear view and no obstruction. Clean the area thoroughly.
- Attach the rear camera using the provided adhesive.
- Connect the rear camera cable to the rear camera.
4.3 Cable Routing and Power Connection
- Connect the main unit to the car charger.
- Carefully route the power cable along the edge of the windshield, down the A-pillar, and under the dashboard to your car's 12V power outlet. Use the provided installation tool and cable clips to secure the cable neatly.
- Route the rear camera cable from the main unit along the headliner, down the side pillars, and to the rear camera. Ensure the cable is tucked away and does not interfere with airbags or vehicle operation.
- Plug the car charger into the 12V power outlet.
Video: Official FAIMEE Dash Cam Installation Guide. This video demonstrates the mounting and cable routing process for the dash cam.

Image: Recommended cable routing for a clean installation.
5. Operating Instructions
5.1 Powering On/Off
- Automatic Operation: The dash cam will automatically power on and begin recording when your vehicle's ignition is turned on. It will power off automatically when the ignition is turned off.
- Manual Operation: Press and hold the power button to manually turn the device on or off.
5.2 Recording Modes
- Loop Recording: The camera continuously records video in 1/3/5 minute segments. When the memory card is full, the oldest unlocked video files are overwritten to make space for new recordings.
- G-Sensor Emergency Lock: In the event of a sudden impact or collision, the built-in G-sensor automatically detects the event and locks the current video footage, preventing it from being overwritten by loop recording.
- 24-Hour Parking Monitor: With an optional hardwiring kit (not included), the dash cam can monitor your vehicle for potential damage, theft, or hit-and-runs while parked. It supports time-lapse recording in parking mode.

Image: Built-in Collision G-sensor functionality.
5.3 High-Definition Night Vision
Equipped with an F1.8 large-aperture lens, 6-layer glass optics, and WDR technology, the dash cam delivers clear and balanced video even in low-light or high-contrast conditions, ensuring visibility of license plates and road signs at night.

Image: High-Definition Night Vision capabilities.
5.4 Built-in GPS Tracking
The integrated GPS tracker accurately logs real-time speed, route history, and location coordinates. This data can be reviewed via the FAIMEE app or compatible software, providing an essential record for incident verification or business use.
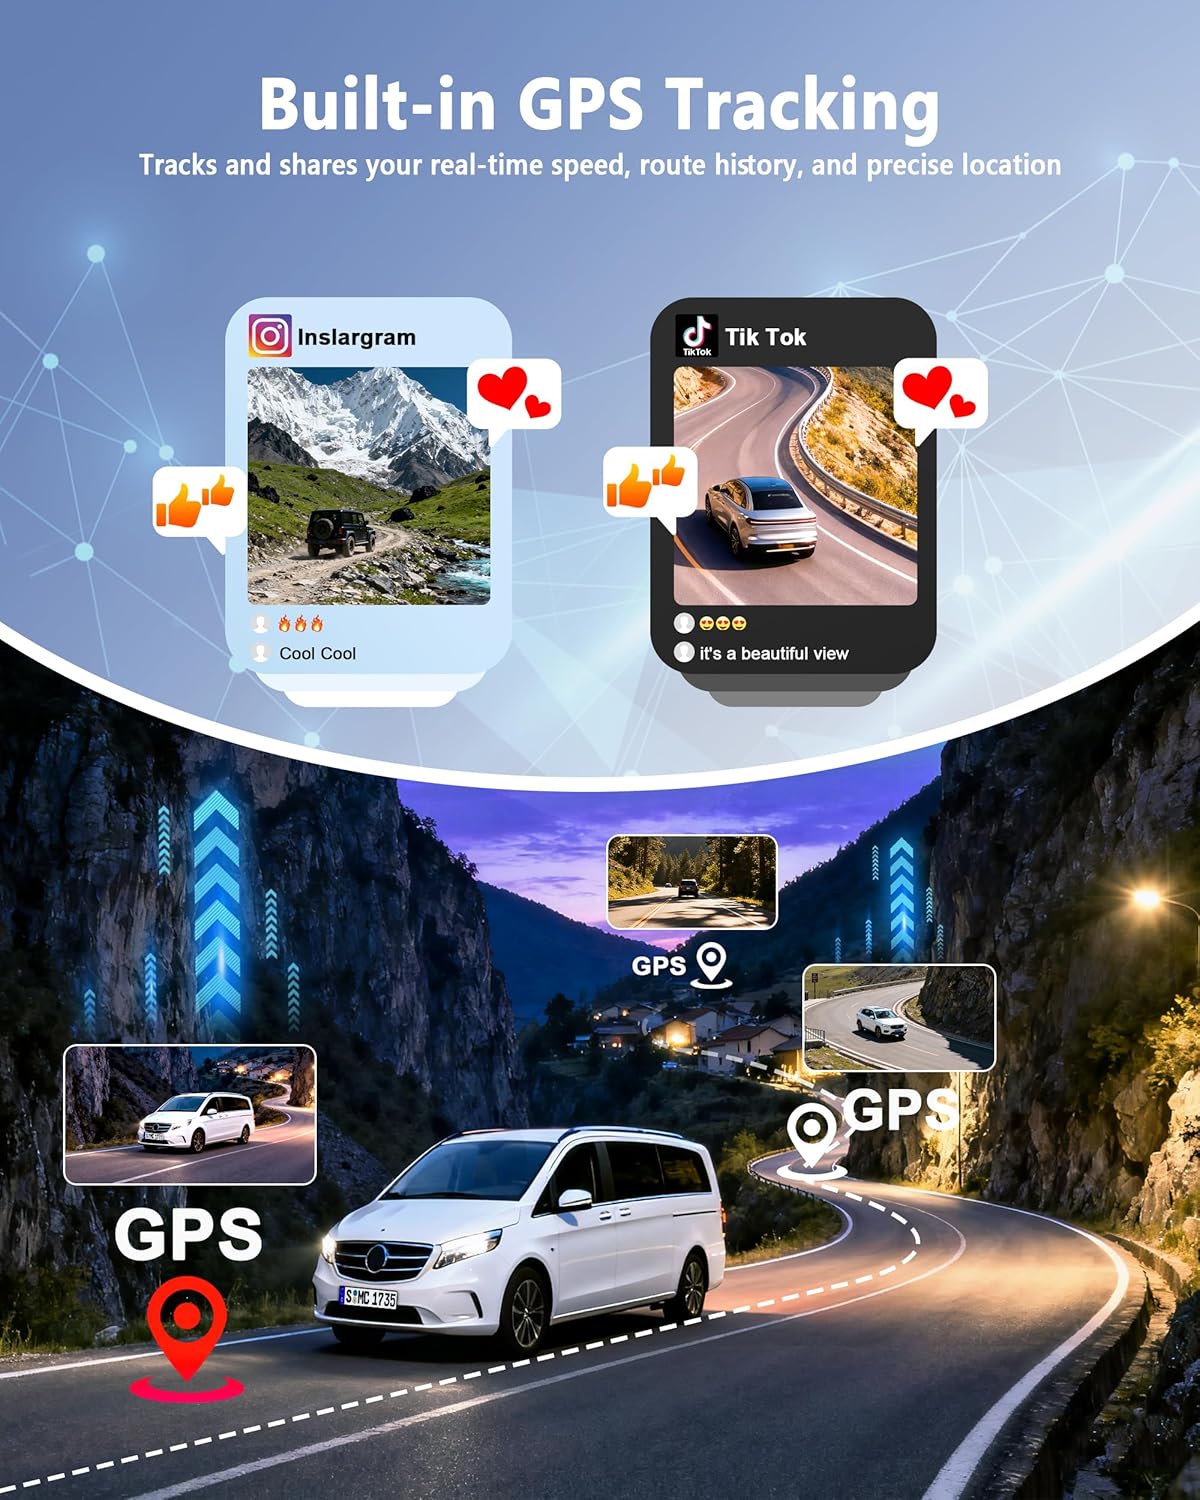
Image: Built-in GPS Tracking features.
5.5 Dual-Band Wi-Fi & App Control
Connect the dash cam to the FAIMEE app on your smartphone via dual-band Wi-Fi (5.8G/2.4G). The app allows you to live-view footage, playback recordings, download files to your phone, and share them easily. This feature is useful for quick access to footage without removing the memory card.

Image: Dual-Band Wi-Fi and App Control interface.
6. Maintenance
- Cleaning: Use a soft, dry cloth to clean the camera lenses and the display screen. Avoid using abrasive cleaners or solvents.
- Memory Card: Regularly format the 128GB memory card (included) within the dash cam's settings to ensure optimal performance and prevent data corruption. It is recommended to format the card once a month. The dash cam supports up to 256GB cards (sold separately).
- Temperature: Avoid exposing the dash cam to extreme temperatures for prolonged periods.
7. Troubleshooting
- Dash Cam Not Powering On:
- Ensure the car charger is securely plugged into the 12V power outlet and the dash cam.
- Check if the vehicle's ignition is on.
- Test the 12V power outlet with another device to confirm it's working.
- Recording Issues (e.g., not recording, corrupted files):
- Ensure the 128GB memory card is inserted correctly.
- Format the memory card using the dash cam's settings.
- If issues persist, try a different high-endurance microSD card (Class 10 or higher).
- Poor Video Quality:
- Clean the camera lenses.
- Ensure the protective film has been removed from the lenses.
- Adjust camera angle to avoid direct sunlight or strong reflections.
- Verify video resolution settings in the menu.
- Wi-Fi Connection Problems:
- Ensure Wi-Fi is enabled on the dash cam and your smartphone.
- Restart both the dash cam and your smartphone.
- Make sure you are within close proximity to the dash cam.
- Check for updates to the FAIMEE app.
8. Specifications
| Feature | Description |
|---|---|
| Brand | FAIMEE |
| Model Name | F9 |
| Vehicle Service Type | Car |
| Connectivity Technology | Wi-Fi |
| Special Features | 128GB Memory Card & 24/7 Protection, 4K+2K+2K Triple Recording, 5.8G/2.4G Dual WIFI & APP Control, Built-in GPS Tracking, High Definition Night Vision |
| Video Capture Resolution | 2160p (Front) |
| Included Components | F9 3 Channel Dash Cam, Rear Camera, Car Charger, 128GB Memory Card, Installation Tool |
| Mounting Type | Dashboard Mount |
| Color | Black |
| Field Of View | 170 Degrees (Front) |
| Control Method | App |
| Screen Size | 3 Inches |
| Flash Memory Type | microSD |
| Maximum Aperture | 1.8 f |
| Photo Sensor Size | 1/3 Inches |
| Auto Part Position | Front, Inside, Rear |
| Are Batteries Included | Yes |
| Display Type | IPS |
| Battery Cell Type | Lithium Metal |
| Frame Rate | 25fps |
| Included Memory Card Size | 128 GB |
| Flash Memory Supported Size Maximum | 256 GB |
| Item Dimensions D x W x H | 1.42"D x 3.38"W x 3.07"H |
| Item Weight | 1.2 Pounds |
9. Warranty & Support
The FAIMEE F9 Dash Cam is backed by an 18-month warranty. For technical assistance, customer support is available 24/7. Please refer to the contact information provided in your package or visit the official FAIMEE website for support.
For warranty claims or technical inquiries, please contact FAIMEE customer service directly.