Introduction
Thank you for purchasing the OSTBA 24 QT French Door Air Fryer Toaster Oven Combo. This appliance is designed to provide versatile cooking options, including air frying, baking, roasting, toasting, and dehydrating, with efficient heat distribution and user-friendly controls. Please read this manual thoroughly before operation to ensure safe and optimal use of your new appliance. Keep this manual for future reference.
Important Safety Instructions
- Always place the appliance on a stable, heat-resistant surface.
- Do not immerse the appliance, cord, or plug in water or other liquids.
- Supervise children closely when the appliance is in use.
- Do not operate the appliance with a damaged cord or plug.
- Ensure proper ventilation around the appliance during operation.
- Avoid touching hot surfaces. Use oven mitts or handles.
- Unplug from outlet when not in use and before cleaning.
- Do not use attachments not recommended by the manufacturer.
- Do not place any materials other than manufacturer-recommended accessories in the oven.
- Do not cover the crumb tray or any part of the oven with metal foil.
Product Components
Familiarize yourself with the parts of your OSTBA Air Fryer Toaster Oven Combo.

Image 1: The OSTBA French Door Air Fryer Toaster Oven Combo, showing the main unit, a recipe book, and various accessories like the air fryer basket and baking pan.
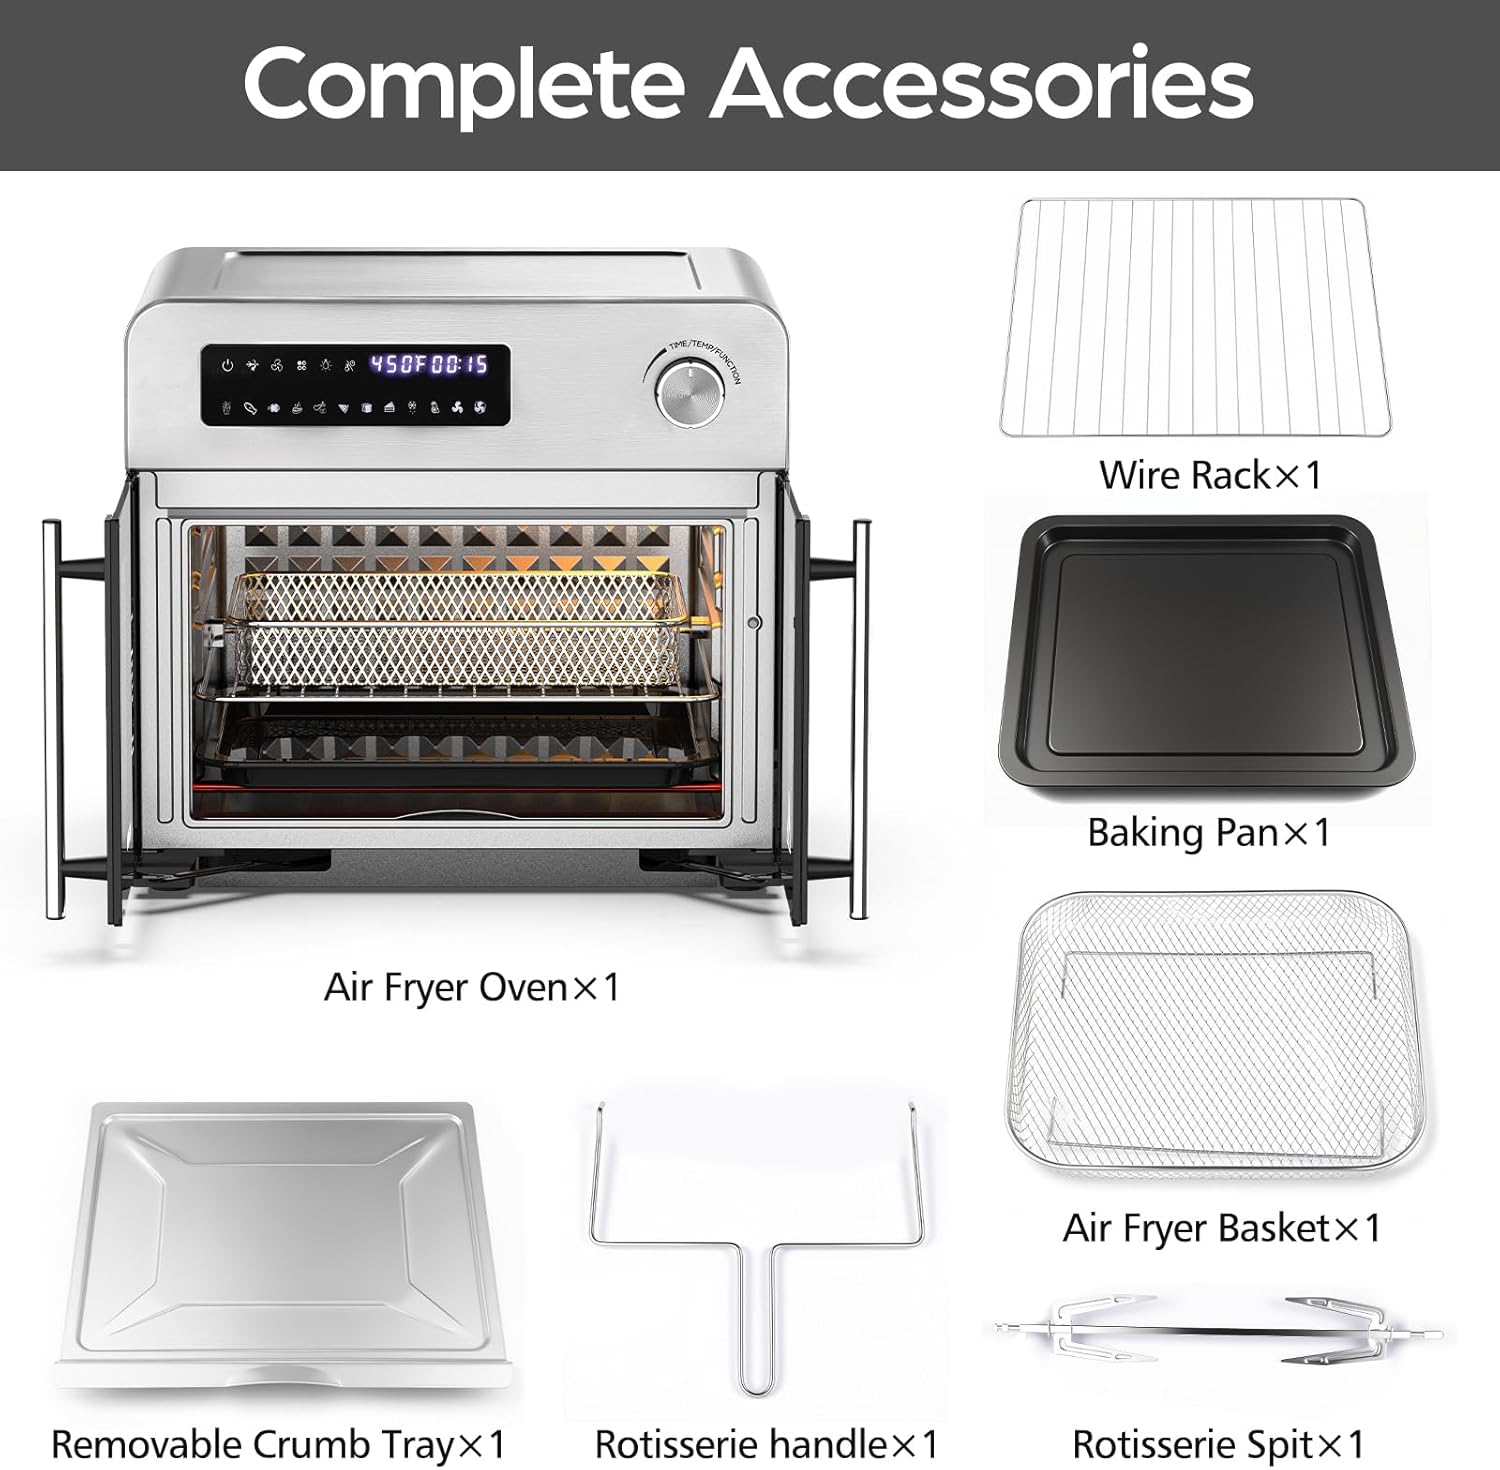
Image 2: A visual representation of the complete accessories included with the oven: Wire Rack, Baking Pan, Air Fryer Basket, Removable Crumb Tray, Rotisserie Handle, and Rotisserie Spit.
Included Accessories:
- Wire Rack: For toasting, baking, and general oven use.
- Baking Pan: For baking, roasting, and catching drips.
- Air Fryer Basket: Designed for air frying foods like fries and chicken wings.
- Removable Crumb Tray: Collects crumbs and drips for easy cleaning.
- Rotisserie Handle: Used to insert and remove the rotisserie spit.
- Rotisserie Spit: For roasting whole chickens or other large cuts of meat.
Setup and First Use
- Unpacking: Carefully remove all packaging materials, including any internal packing and protective films.
- Placement: Place the oven on a flat, stable, heat-resistant surface, ensuring at least 4 inches (10 cm) of clearance on all sides for proper ventilation.
- Initial Cleaning: Before first use, wipe the exterior with a damp cloth. Wash all accessories (wire rack, baking pan, air fryer basket, crumb tray, rotisserie parts) in warm, soapy water. Rinse and dry thoroughly.
- First Burn-in: It is recommended to run the oven empty for about 15 minutes at 400°F (200°C) to burn off any manufacturing residues. Some smoke or odor may be present; this is normal. Ensure the area is well-ventilated.
- Power Connection: Plug the power cord into a grounded 120V AC electrical outlet.
Operating Instructions
Control Panel Overview:
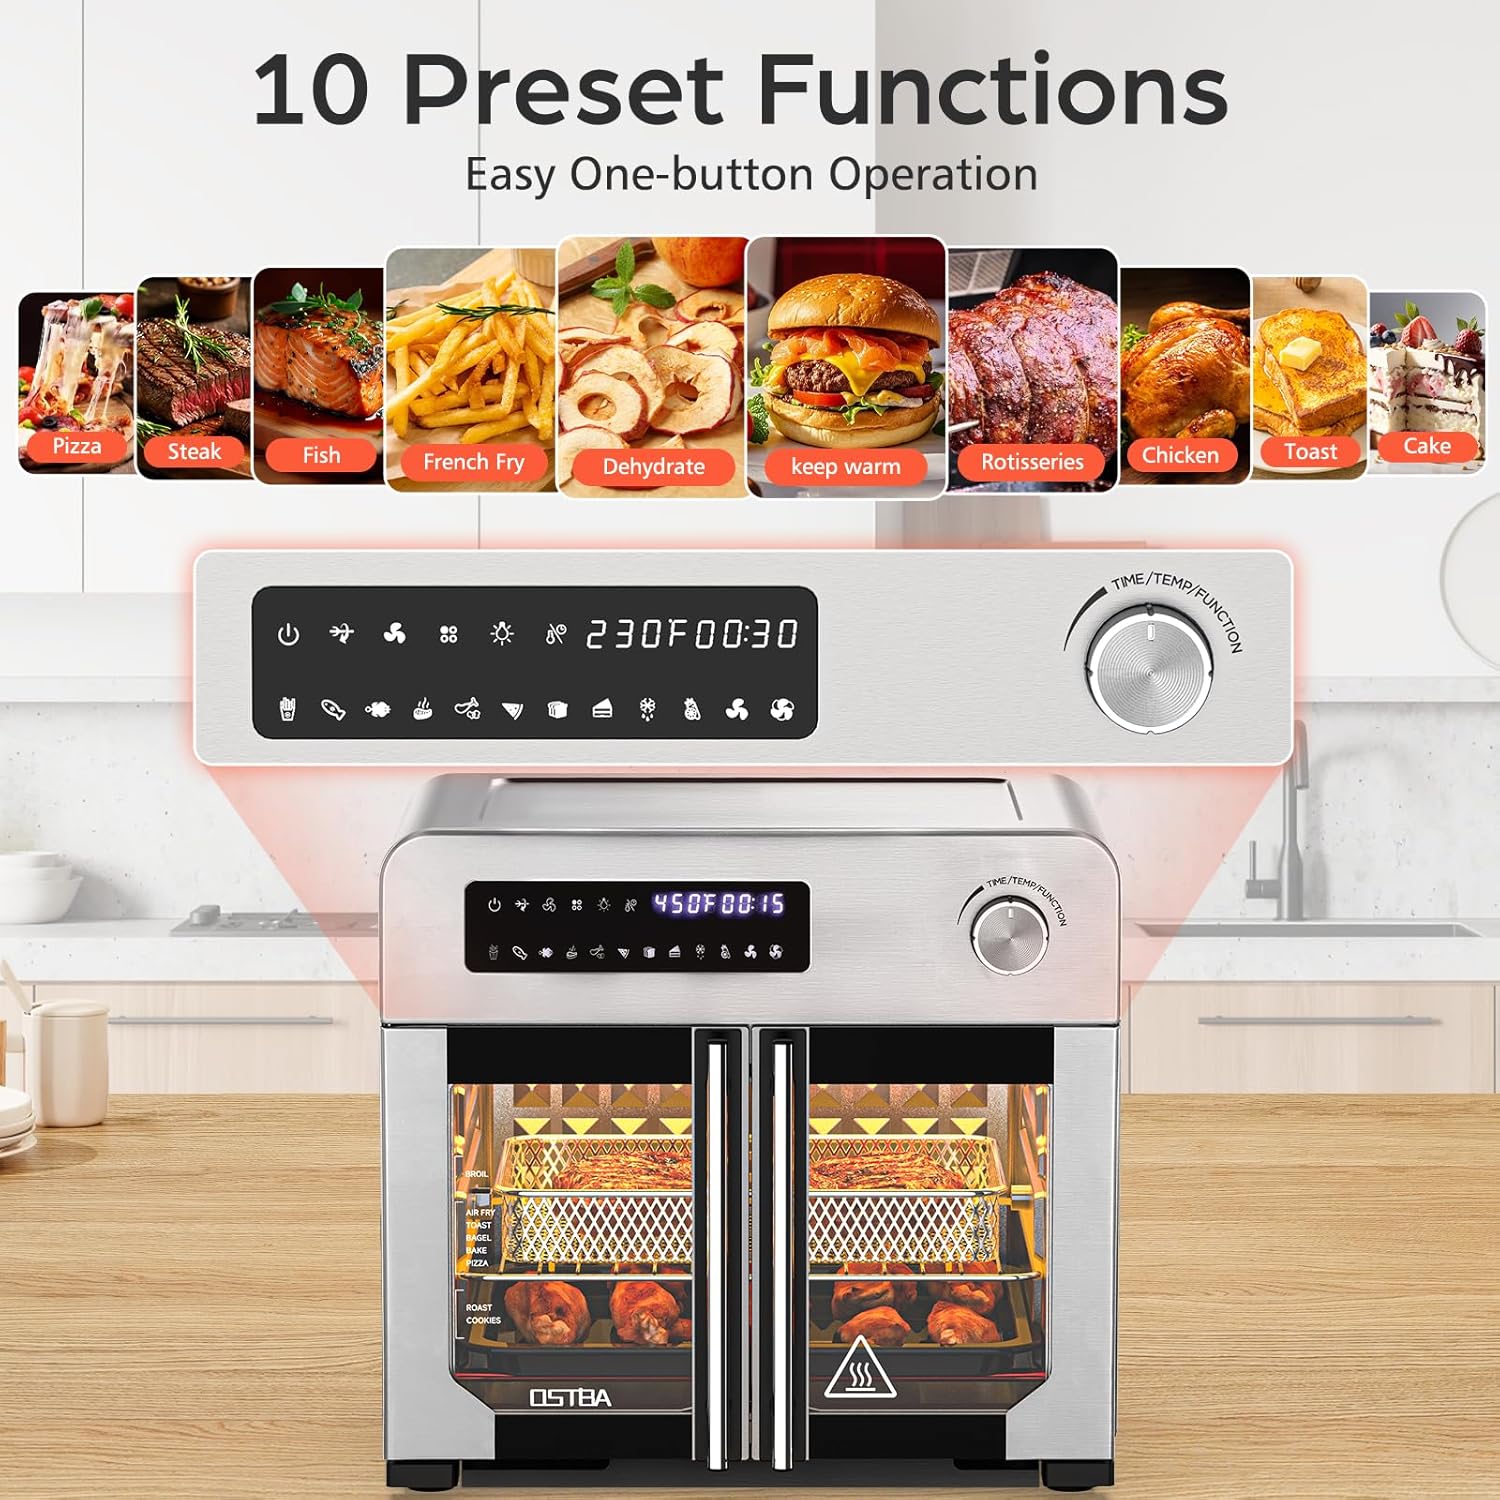
Image 3: The digital control panel and rotary knob, highlighting 10 preset functions including Pizza, Steak, Fish, French Fry, Dehydrate, Keep Warm, Rotisseries, Chicken, Toast, and Cake.
The control panel features a digital display and a multi-function rotary knob for setting time, temperature, and selecting cooking modes.
Cooking Functions:
This appliance offers 10-in-1 functionality, including 8 food presets, Warm, and Dehydrate functions.
- Air Fry: For crispy results with minimal oil.
- Bake: Ideal for cakes, cookies, and casseroles.
- Roast: For meats and vegetables.
- Toast: For bread and bagels.
- Broil: For quick browning and melting.
- Dehydrate: For drying fruits, vegetables, and meats.
- Warm: To keep food at serving temperature.
- Pizza, Steak, Fish, French Fry, Chicken, Cake: Dedicated presets for common dishes.
General Operation Steps:
- Prepare Food: Place food on the appropriate accessory (e.g., air fryer basket for fries, baking pan for chicken).
- Insert Accessory: Slide the accessory into the desired rack position inside the oven.
- Select Function: Turn the rotary knob or press the function button to select the desired cooking mode (e.g., Air Fry, Bake).
- Adjust Settings: Use the rotary knob to adjust temperature and cooking time as needed. The digital display will show the current settings.
- Start Cooking: Press the Start/Pause button to begin the cooking cycle.
- Monitor Progress: The interior light allows you to view food without opening the doors.
- Completion: The oven will beep when the cooking cycle is complete.
- Remove Food: Carefully open the French doors and use oven mitts to remove the cooked food and accessories.
Special Functions:
Rotisserie Function:
The rotisserie function is ideal for roasting whole chickens or other large items, ensuring even cooking and browning.
- Secure the food onto the rotisserie spit using the forks.
- Insert the rotisserie spit into the designated slots inside the oven.
- Select the "Rotisserie" function.
- Set the desired temperature and time.
- Press Start. The spit will rotate during cooking.
- Use the rotisserie handle to safely remove the hot spit after cooking.
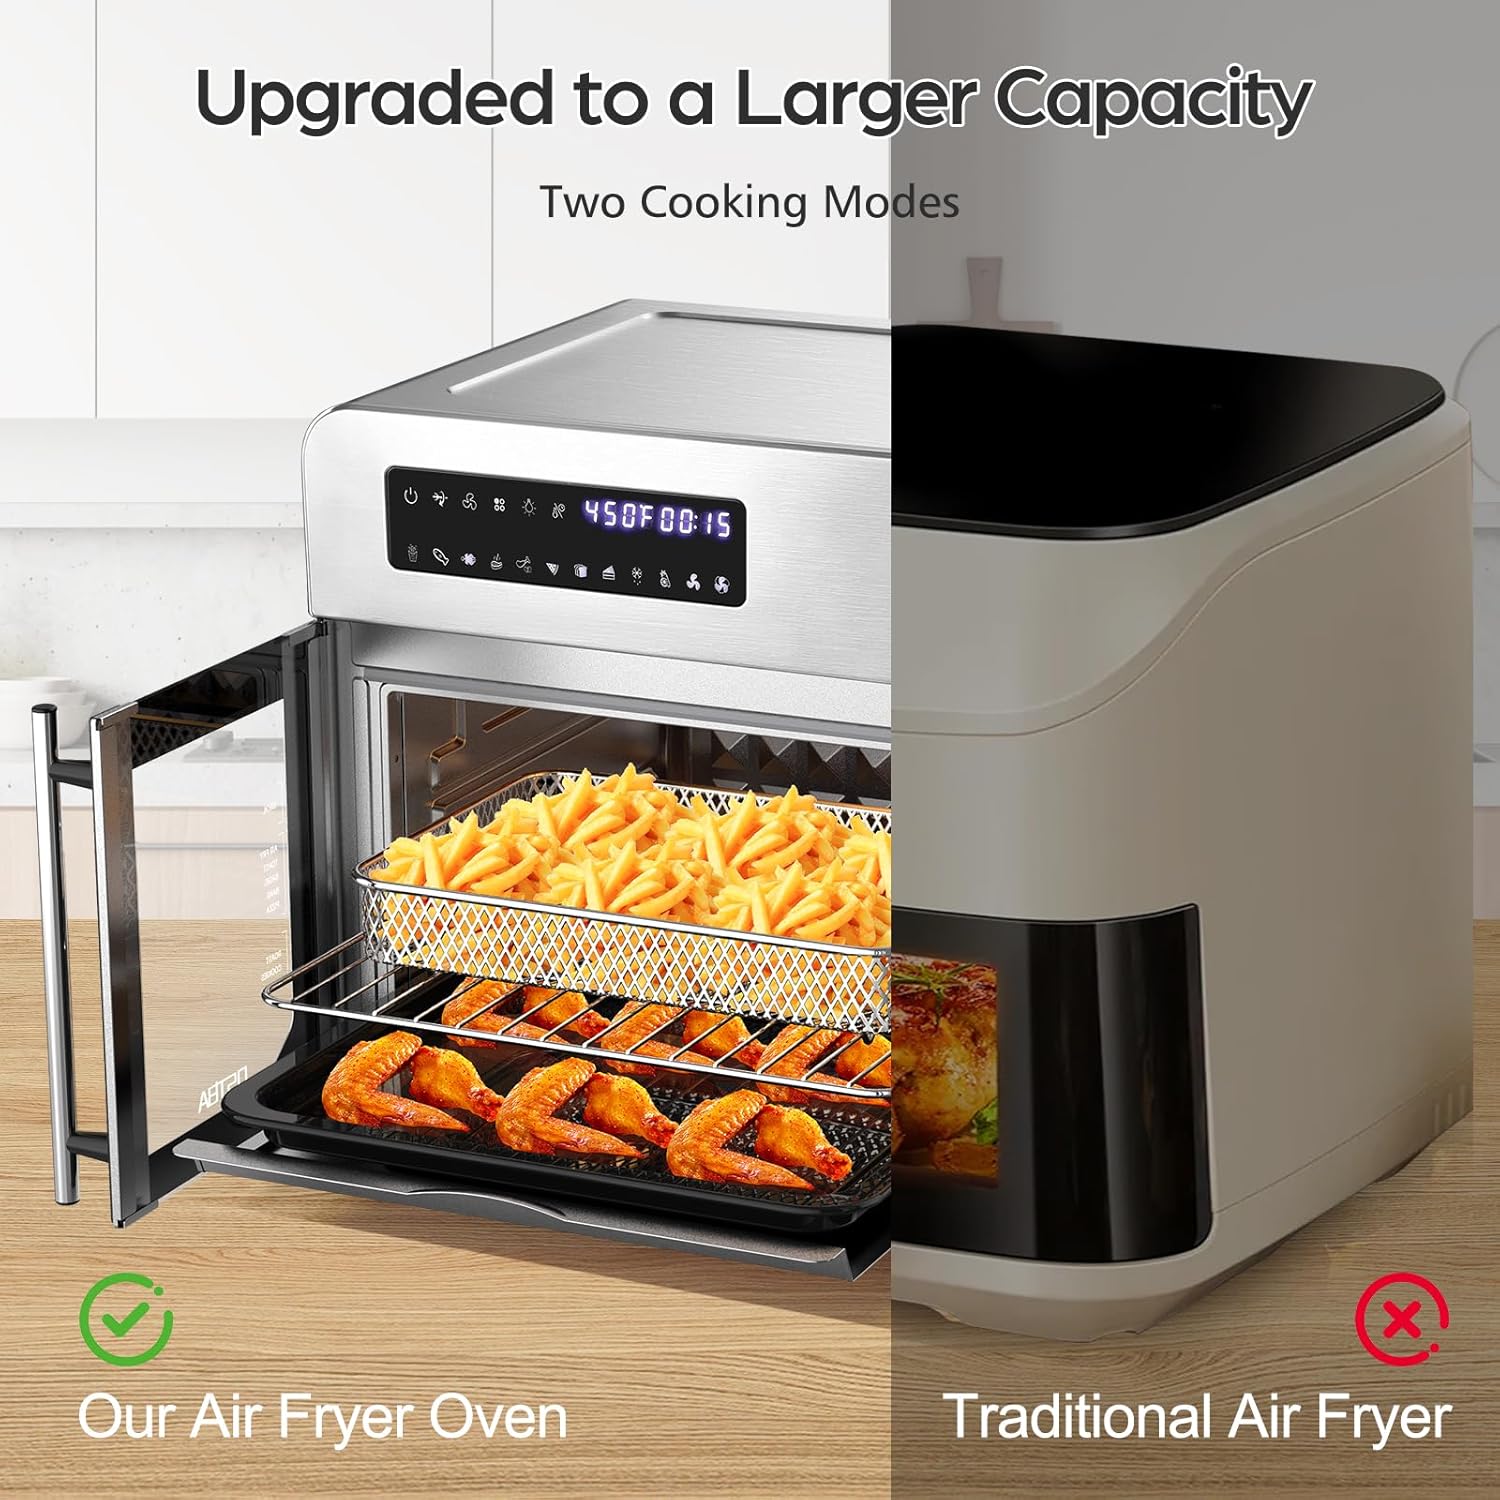
Image 4: The interior of the OSTBA Air Fryer Oven showing chicken roasting on the bottom rack and french fries air frying in the basket above, demonstrating multi-level cooking.
Image 5: An illustration of the 360-degree rapid heat circulation system within the OSTBA Air Fryer Oven, indicating how hot air moves to cook food faster and more evenly.
The 360° air circulation heating system ensures even cooking and crispy results, often 30% faster than traditional ovens.
Automatic Shut-off:
For safety, the appliance features an automatic shut-off function. If left unused for 3 minutes, it will automatically power off.
Care and Maintenance
- Unplug and Cool: Always unplug the oven from the power outlet and allow it to cool completely before cleaning.
- Crumb Tray: Remove the crumb tray and discard accumulated crumbs. Wash the tray in warm, soapy water, rinse, and dry thoroughly.
- Interior Cleaning: Wipe the interior walls with a damp cloth and mild detergent. For stubborn stains, use a non-abrasive cleaner. Do not use steel wool or abrasive pads.
- Exterior Cleaning: Wipe the exterior with a damp cloth. Do not use abrasive cleaners or scourers.
- Accessories: Wash all removable accessories (wire rack, baking pan, air fryer basket, rotisserie parts) in warm, soapy water. They are not dishwasher safe. Rinse and dry thoroughly.
- Storage: Ensure the oven is clean and dry before storing. Store in a cool, dry place.
Troubleshooting Guide
| Problem | Possible Cause | Solution |
|---|---|---|
| Appliance does not turn on. | Not plugged in; power outlet malfunction; automatic shut-off activated. | Ensure plug is securely in a working outlet. Reset the appliance by unplugging and replugging. |
| Food not cooking evenly. | Overcrowding the basket/pan; incorrect temperature/time settings. | Do not overcrowd. Cook in smaller batches if necessary. Adjust temperature and time according to recipe or food type. |
| Smoke or unusual odor during operation. | Food residue on heating elements; initial burn-off; fatty foods. | Ensure oven is clean. Initial burn-off is normal. For fatty foods, use the baking pan to catch drips. If excessive, unplug and contact support. |
| French doors do not close properly. | Obstruction; hinge issue. | Check for any food debris or accessories blocking the doors. If issue persists, contact customer support. |
Product Specifications
- Model: FM9058
- Capacity: 24 Quarts
- Power: 1700 Watts
- Voltage: 120 Volts (AC)
- Dimensions (Product): 16.9"D x 19.2"W x 17.7"H
- Material: Stainless Steel
- Color: Stainless Steel
- Special Feature: Temperature Control, 10-in-1 Functionality
- Manufacturer: OSTBA APPLIANCE INC
Warranty and Customer Support
OSTBA products are designed for reliability and performance. For warranty information, technical assistance, or customer support, please refer to the warranty card included with your purchase or visit the official OSTBA website.
Manufacturer: OSTBA APPLIANCE INC
For further assistance, please contact OSTBA customer service.
Instructional Videos
Watch these videos for visual guidance on using your OSTBA Air Fryer Toaster Oven Combo.
No official seller instructional videos are available at this time. Please refer to the written instructions.