SogesPower B0FPM3344P
SogesPower Pull Up Bar Power Tower Dip Station
Model: B0FPM3344P
1. Introduction
This manual provides essential instructions for the safe and effective use of your SogesPower Pull Up Bar Power Tower Dip Station. This multi-functional fitness equipment is designed for comprehensive strength training in a home gym environment, offering a variety of exercise options.
2. Safety Information
WARNING: Before beginning any exercise program, consult with a physician. Failure to do so may result in serious injury.
- Ensure all bolts, nuts, and connections are securely tightened before each use.
- Place the equipment on a flat, stable surface.
- Do not exceed the maximum weight capacity of 500 lbs.
- Keep children and pets away from the equipment during use.
- Inspect the equipment for wear and tear, loose parts, or damage before each workout. Do not use if damaged.
- Use proper form and technique to prevent injury.
3. Package Contents
Upon unpacking, verify that all components are present and undamaged. The package typically includes:
- Main frame components (vertical supports, base bars)
- Pull-up bar
- Dip station handles
- Lower connecting pipe
- Upper connecting pipe
- Dumbbell rack attachments
- Hardware kit (bolts, nuts, washers, safety pins, adjusting knobs)
- Tools for assembly (wrenches, Allen keys)
If any parts are missing or damaged, please contact customer support.
4. Assembly Instructions
Follow these steps to assemble your SogesPower Pull Up Bar Power Tower. It is recommended to have two people for assembly.
- Assemble the Base Brackets: Attach the horizontal base bars to the vertical support frames using the provided bolts and washers. Ensure all connections are secure.
- Connect Base Brackets with Lower Pipe: Insert the lower connecting pipe between the two assembled base brackets. Secure it with the appropriate bolts, nuts, and washers.
- Install Upper Connecting Pipe: Position the upper connecting pipe onto the designated brackets on the vertical supports. Secure it using the provided hardware.
- Insert Upper Upright Pipes: Carefully slide the two upper upright pipes into the top of the vertical supports. Secure them using the adjusting knobs.
- Install Upper Handle Pipe (Pull-Up Bar): Attach the main pull-up bar to the top of the upper upright pipes. Secure it firmly with the designated bolts, washers, and nuts.
- Attach Dip Station Handles and Dumbbell Racks: Install the dip station handles and dumbbell rack attachments onto the vertical supports at your desired height, securing them with the safety pins and adjusting knobs.
Once assembled, double-check all connections to ensure they are tight and stable before initial use.
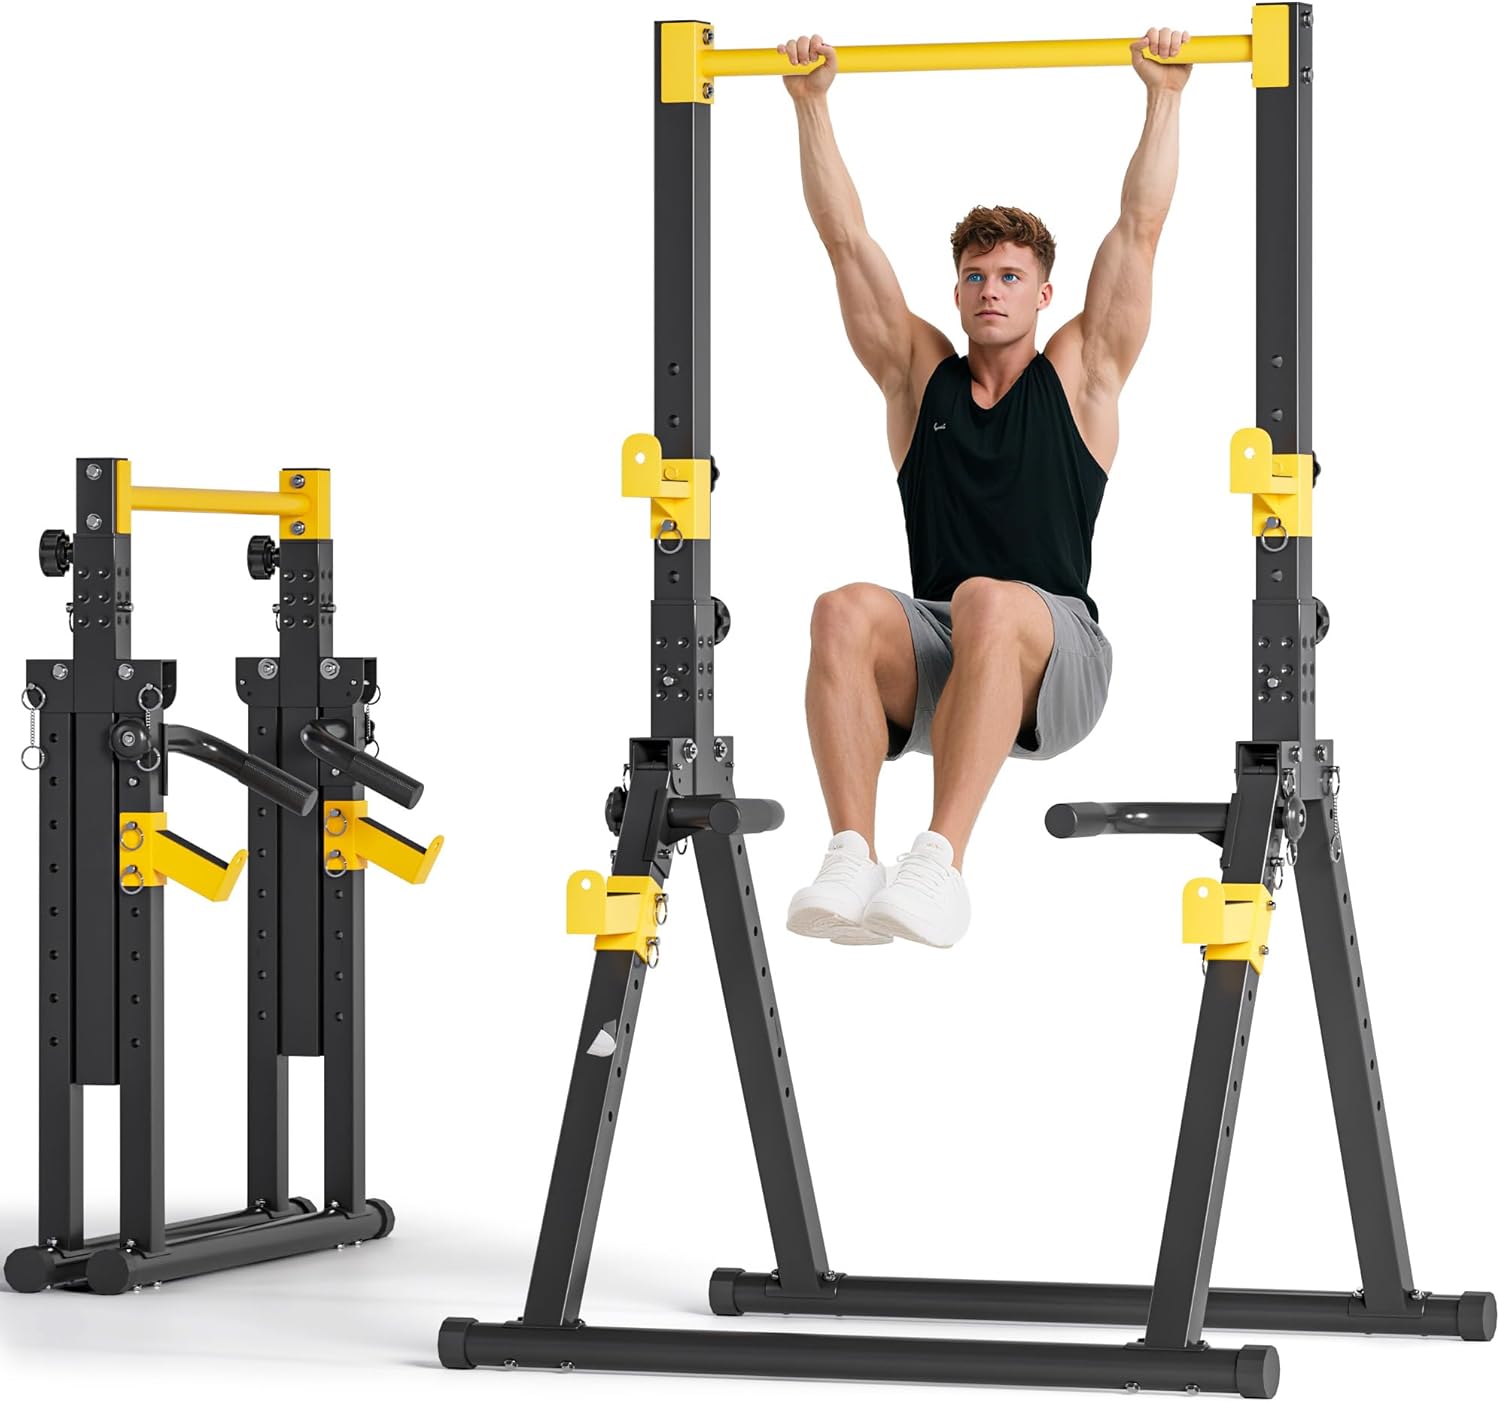
Image: The SogesPower Pull Up Bar Power Tower in both assembled and folded configurations, demonstrating its versatility and space-saving design.
5. Operation and Exercises
The SogesPower Pull Up Bar Power Tower offers diverse functionalities for a full-body workout. Utilize the various stations for targeted muscle group training.
- Pull-ups: Use the top bar for wide-grip, close-grip, or neutral-grip pull-ups to target back and arm muscles.
- Dips: The parallel bars are ideal for dips, engaging your chest, triceps, and shoulders.
- Leg Raises/Knee Lifts: Use the backrest and arm supports for vertical knee lifts or leg raises to strengthen your core.
- Push-ups: The lower handles can be used for elevated push-ups, increasing the range of motion and intensity.
- Inverted Rows: Adjust the bar height to perform inverted rows, targeting your back muscles.
- Weightlifting: The adjustable barbell rack allows for safe weightlifting exercises such as squats and bench presses (when used with a separate bench).

Image: A visual guide demonstrating various exercises possible with the power tower, including pull-ups, dips, leg raises, and weightlifting.
6. Adjustments
The equipment features adjustable components to accommodate various user heights and exercise preferences.
- Height Adjustment: The pull-up dip stand offers 6 levels of height adjustability, ranging from 74.2 inches to 86.6 inches. To adjust, loosen the adjusting knobs, pull out the safety pins, raise or lower the upper upright pipes to the desired height, reinsert the safety pins, and tighten the knobs.
- Handle and Barbell Rack Positions: The triangular base features eight holes for adjusting the height of the dip handles and barbell rack. This allows for customization based on the specific exercise and user's body dimensions.

Image: Diagram illustrating the 6-speed adjustable height feature and 7 adjustable handle positions, suitable for users of various heights.
7. Folding and Storage
The SogesPower Pull Up Bar features a foldable triangular structure for convenient storage, saving up to 80% of room space.
- Remove Safety Pins: Pull out the four safety pins located on the folding mechanism.
- Fold Base: Carefully fold in the pull-up bar base towards the center.
- Rotate Adjustment Knobs: Loosen the adjustment knobs on the upper upright pipes.
- Lower Top Horizontal Bar: Lower the top horizontal bar completely until the unit is in its folded position.
The folded size is approximately 39.4 inches (W) x 7.9 inches (D) x 22 inches (H), allowing it to be easily stored behind a door or under a bed.

Image: A four-panel visual guide detailing the steps to fold the pull-up bar for compact storage.

Image: Detailed dimensions of the power tower, highlighting its space-saving folded configuration.
8. Maintenance
Regular maintenance ensures the longevity and safe operation of your equipment.
- Cleaning: Wipe down the equipment with a damp cloth after each use to remove sweat and dust. Avoid abrasive cleaners.
- Inspection: Periodically check all bolts, nuts, and connections for tightness. Tighten as necessary.
- Lubrication: If any moving parts (e.g., folding mechanisms) become stiff, apply a small amount of silicone-based lubricant.
- Storage: Store the equipment in a dry environment to prevent rust and corrosion.
9. Troubleshooting
If you encounter any issues with your SogesPower Pull Up Bar Power Tower, refer to the following common solutions:
- Equipment feels unstable: Ensure all bolts and nuts are fully tightened. Verify the equipment is on a level surface. The triangular base design and anti-slip foot pads are designed for stability.
- Difficulty adjusting height/folding: Check for any obstructions. Ensure adjustment knobs are fully loosened and safety pins are disengaged before attempting to move parts.
- Squeaking noises: Inspect connections for looseness and tighten if necessary. Lubricate moving parts if the noise persists.
For issues not covered here, please contact customer support.
10. Specifications
| Feature | Detail |
|---|---|
| Brand | SogesPower |
| Model | B0FPM3344P |
| Material | High-carbon steel pipe (Metal) |
| Item Weight | 22 kg (approx. 48.5 lbs) |
| Max. Weight Capacity | 500 lbs |
| Adjustable Height Range | 74.2" to 86.6" (6 levels) |
| Folded Dimensions (approx.) | 39.4" (W) x 7.9" (D) x 22" (H) |
| Assembled Width (approx.) | 39.4" |
| Base Structure | Triangular |
| Special Features | Foldable, Anti-slip handles and foot pads, Dumbbell rack |

Image: Detailed view of the stable triangle structure, dumbbell rack, gasket design, adjusting knob, safety lock, non-slip handle, and anti-slip foot pad.

Image: Illustration of the stability and security features, including the triangle shaped structural design, sturdy support, strong load bearing, and increased foot pad area for stability, with a stated capacity of 500 LBS.
11. Warranty and Support
Information regarding product warranty and specific customer support contact details is not available in the provided data. Please refer to the product packaging or the retailer's website for warranty information and customer service contacts.
Related Documents - B0FPM3344P
 |
DH FitLife Multifunctional Dip Station Power Tower: Assembly and Safety Guide Detailed instructions for assembling and safely using the DH FitLife Multifunctional Dip Station Power Tower. Includes parts list, safety warnings, and step-by-step assembly guidance for home fitness. |
 |
DH FitLife Multifunctional Dip Station Power Tower Assembly and Safety Guide This guide provides essential safety instructions, a detailed parts list, and step-by-step assembly instructions for the DH FitLife Multifunctional Dip Station Power Tower. Learn how to correctly assemble and use your fitness equipment. |
 |
DH FitLife Power Tower Dip Station Installation and User Manual Comprehensive installation guide and safety instructions for the DH FitLife Power Tower Dip Station. Learn how to assemble and safely use your fitness equipment for upper body training. |
 |
Core Strength Station Assembly and User Manual Comprehensive assembly guide, safety information, and maintenance instructions for the Core Strength Station (Keycode: 43476251). Learn how to set up, use, and care for your fitness equipment. |
 |
Core Strength Station - Assembly and Safety Instructions Comprehensive guide for assembling and safely using the Core Strength Station. Includes safety warnings, technical specifications, parts list, assembly steps, exercise guidance, and maintenance instructions. |
 |
Marcy Power Tower TC-3515 Assembly Manual Assembly manual for the Marcy Power Tower TC-3515, providing step-by-step instructions and a parts list for home gym equipment. |
Ask a question about this manual
Ask about setup, troubleshooting, compatibility, parts, safety, or missing instructions. Manuals+ will review the question and use this page’s manual context to help answer it.