Zekkip SYPQ-001
Zekkip Cordless Paint Sprayer Gun SYPQ-001 User Manual
Model: SYPQ-001
Introduction
This manual provides detailed instructions for the safe and efficient operation, maintenance, and troubleshooting of your Zekkip Cordless Paint Sprayer Gun, Model SYPQ-001. Please read this manual thoroughly before initial use and retain it for future reference.
Important Safety Information
- Do not spray towards eyes.
- Use in a well-ventilated area to avoid inhalation of fumes.
- Avoid direct contact with chemicals. Wear appropriate personal protective equipment (PPE) such as gloves and eye protection.
- It is strictly forbidden to clean the motor device with water. Disassemble components for cleaning as instructed.
- Ensure batteries are fully charged before use for optimal performance.
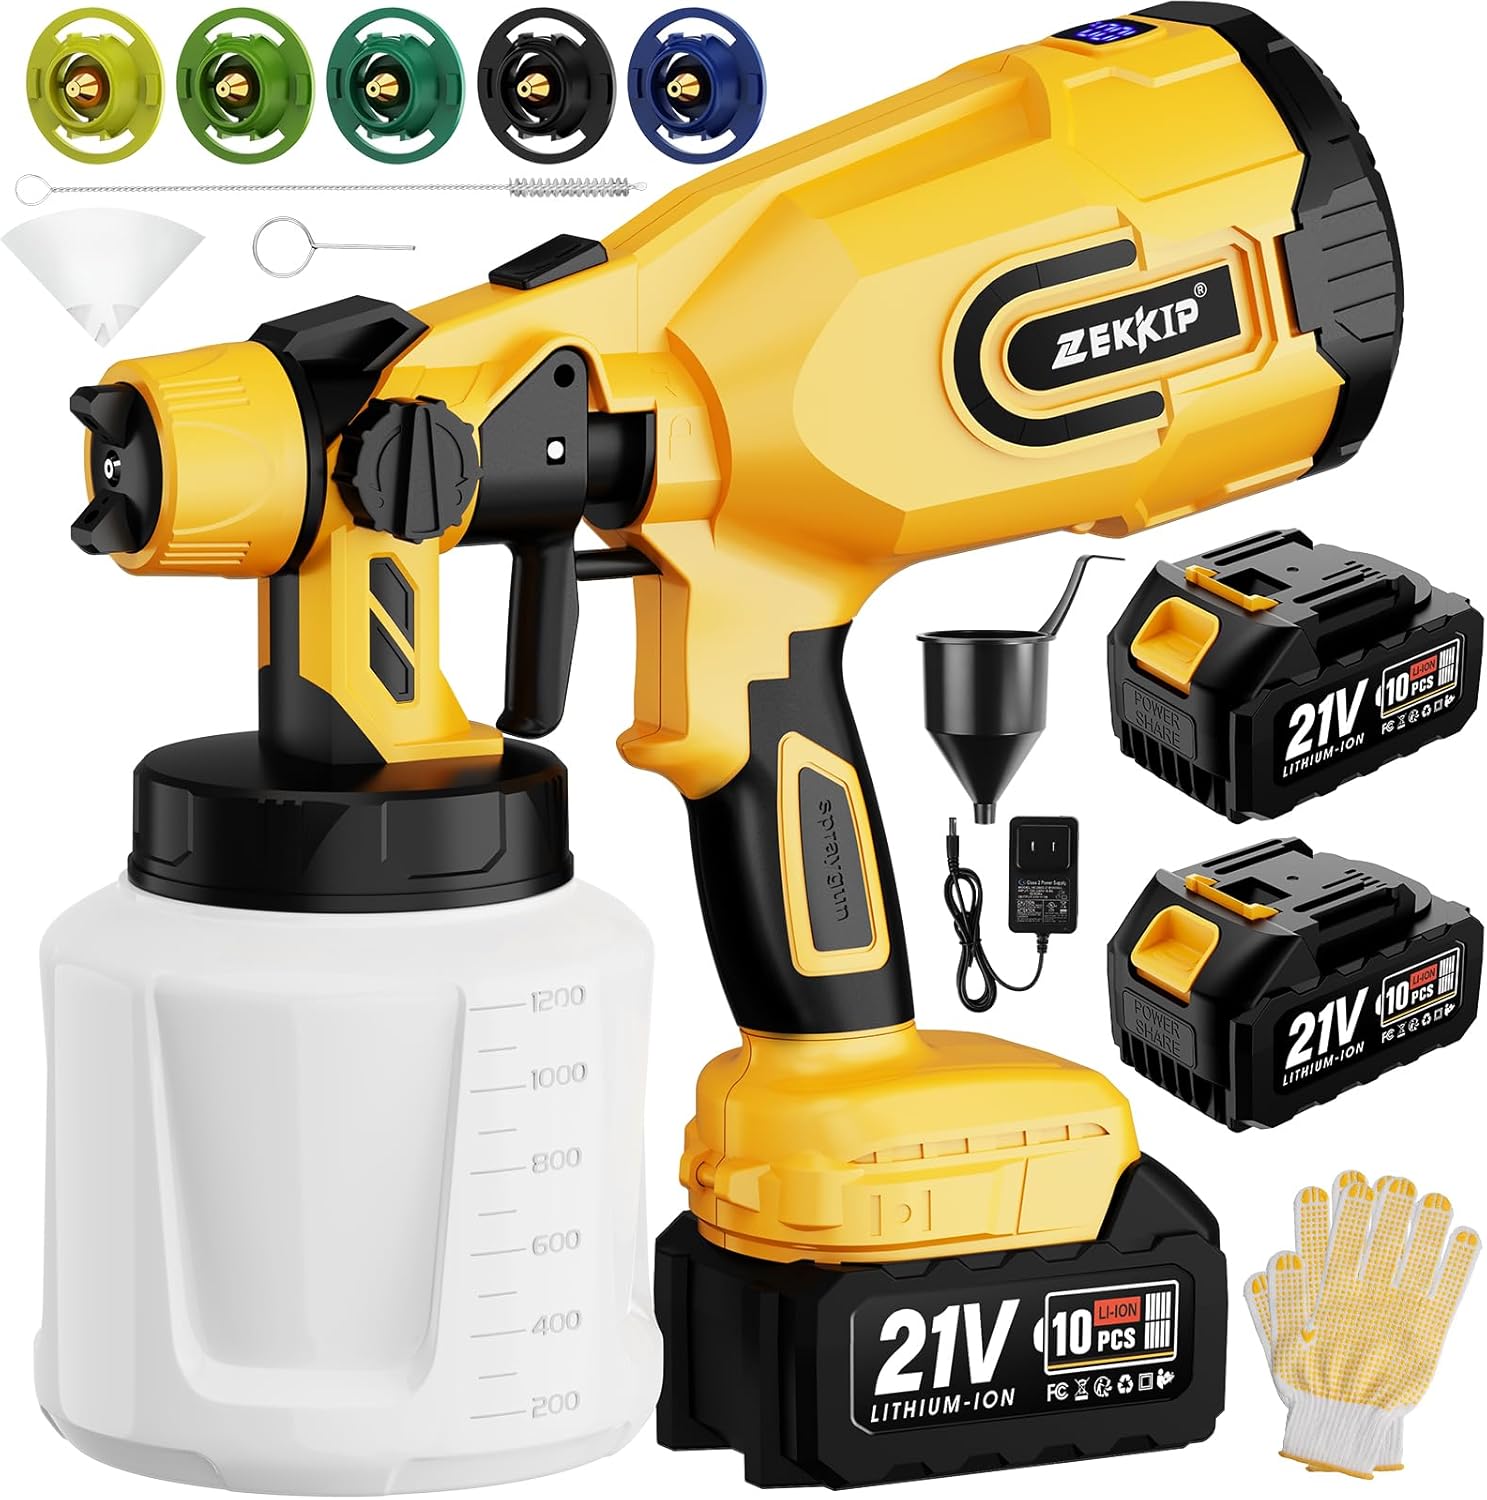
Package Contents
Verify that all items listed below are included in your package:
- 1x Zekkip Cordless Paint Sprayer Gun
- 2x 4000mAh 21V Lithium-Ion Batteries
- 1x US Gauge Charger
- 5x Copper Nozzles (0.8mm, 1.0mm, 1.5mm, 2.0mm, 2.5mm)
- 1x 1200ml Paint Container
- 1x Cleaning Brush
- 1x Cleaning Needle
- 1x Viscosity Cup
- 1x Paint Filter
- 1x User Manual (this document)
- 2x Gloves
- 5x Rubber Rings
Setup and Preparation
- Charge Batteries: Ensure both 4000mAh batteries are fully charged before use. The sprayer features a battery display to monitor charge level.

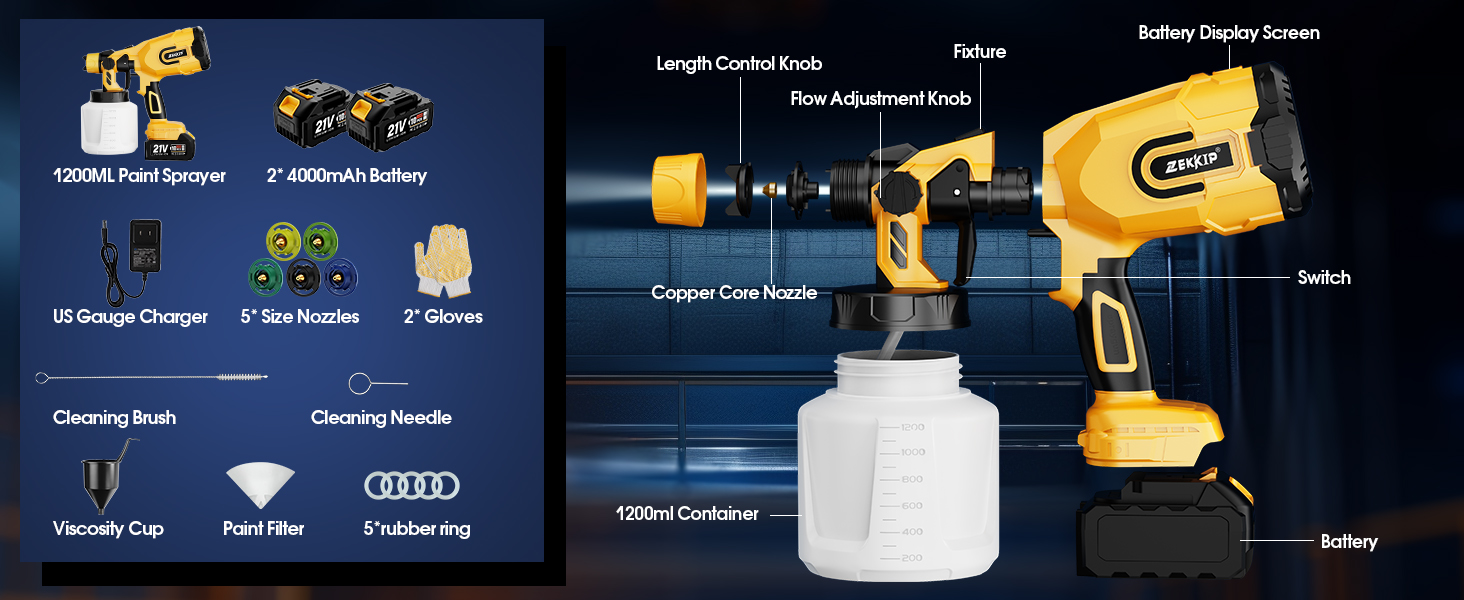
Image: A detailed view of the 4000mAh Lithium-Ion battery, highlighting its internal structure and the battery level display feature. - Assemble the Sprayer: The electric paint sprayer can be easily assembled without tools. Attach the paint container to the sprayer body.

Image: Visual guide demonstrating the simple installation process of the paint sprayer components. - Prepare Paint:
- Always thin paint according to the paint manufacturer's recommendations.
- Use the included viscosity cup to measure paint viscosity. Fill the cup with paint and time how long it takes for the paint to flow out. Refer to your paint's instructions for recommended viscosity.
- Filter paint using the provided paint filter to prevent clogging of the nozzle.
- Select Nozzle: Choose one of the five copper nozzles (0.8mm, 1.0mm, 1.5mm, 2.0mm, 2.5mm) based on the paint viscosity and desired spray pattern.

Image: A visual representation of the five interchangeable copper nozzles, each with a different size for various paint viscosities and applications.
Operating Instructions
- Fill Container: Pour the prepared and filtered paint into the 1200ml container.
- Attach Battery: Securely attach a charged battery to the base of the sprayer. The battery display will activate.
- Adjust Spray Pattern: The sprayer offers three spray patterns: horizontal, round, and vertical. Rotate the air cap to select the desired pattern.

Image: This diagram shows how to adjust the sprayer to achieve horizontal, circular, or vertical spray patterns by rotating the nozzle. - Adjust Flow Control: Use the flow control knob to adjust the paint output volume. Start with a lower setting and increase as needed.
- Test Spray: Before painting your project, always test the spray pattern and flow on a piece of scrap material. Adjust settings until the desired coverage is achieved.
- Begin Painting: Maintain a consistent distance from the surface and move the sprayer in smooth, even strokes. Overlap each pass slightly to ensure uniform coverage.

Maintenance and Cleaning
Proper cleaning after each use is crucial to prevent paint from clogging the sprayer and ensure its longevity.
- Empty Container: Disconnect the battery and empty any remaining paint from the container.
- Add Cleaning Solution: Pour an appropriate cleaning solution (water for latex paint, mineral spirits for oil-based paint) into the container.
- Spray Cleaning Solution: Reattach the battery and spray the cleaning solution through the sprayer until it runs clear.
- Disassemble and Clean: Disconnect the paint sprayer from the container. Disassemble the nozzle, air cap, and other removable parts.
- Brush and Rinse: Use the provided cleaning brush and needle to thoroughly clean all components, especially the nozzle and fluid tip. Rinse with clean water.
- Dry Components: Allow all parts to dry completely before reassembly and storage.
WARNING: It is strictly forbidden to clean the motor device with water. Only clean the paint-contacting parts.
Troubleshooting
| Problem | Possible Cause | Solution |
|---|---|---|
| No Spray or Weak Spray |
|
|
| Uneven Spray Pattern |
|
|
| Paint Dripping |
|
|
| Battery Drains Quickly |
|
|
Specifications
| Brand | Zekkip |
| Model Name | SYPQ-001 |
| Power Source | Battery Powered (2x 4000mAh 21V Lithium Ion batteries included) |
| Motor Speed | 40000 RPM (Max) |
| Max Flow | 1200 ml/min |
| Tank Volume | 1200 Milliliters |
| Nozzle Sizes | 0.8mm, 1.0mm, 1.5mm, 2.0mm, 2.5mm (Copper) |
| Spray Patterns | Horizontal, Round, Vertical |
| Material | Plastic |
| Item Weight | 2.54 Kilograms (5.59 pounds) |
| Product Dimensions | 11.8"W x 9.8"H |
| Color | Yellow |
Warranty and Support
For warranty information, technical support, or assistance with your Zekkip Cordless Paint Sprayer Gun, please refer to the contact information provided at the point of purchase or visit the official Zekkip website. Please have your model number (SYPQ-001) and purchase date available when contacting support.
Additional protection plans may be available for purchase from your retailer. Please consult your retailer for details.
Ask a question about this manual
Ask about setup, troubleshooting, compatibility, parts, safety, or missing instructions. Manuals+ will review the question and use this page’s manual context to help answer it.