1. Introduction
This manual provides essential information for the installation and proper use of the GSPUSA WH22X38697 CKDX38697X Main Control Board for GE washers. This component is designed as a replacement part to restore the functionality of compatible washing machines. Please read these instructions carefully before proceeding with installation to ensure safety and correct operation.
2. Safety Information
WARNING: Risk of Electric Shock. Disconnect power to the appliance before servicing. Failure to do so can result in serious injury or death.
- Always disconnect the washer from its power source before attempting any installation or repair.
- Wear appropriate personal protective equipment, such as gloves and safety glasses.
- If you are unsure about any part of the installation process, consult a qualified appliance technician.
- Keep the control board dry and free from moisture.
3. Compatibility and Model Verification
It is crucial to verify the compatibility of this control board with your specific GE washer model before installation. This part is not universal. Incorrect part selection can lead to malfunction or damage to your appliance.
3.1. Verify Part Number and Connectors
Before ordering and installation, compare the part number and the physical connectors on your old control board with the images provided. Ensure that the terminal connectors and overall board layout match exactly.

Image 3.1: Visual comparison of control board connectors. The left image shows correct terminal connectors and part number matching. The right image shows incorrect connectors, indicating a non-compatible item.
Pay close attention to the size, internal components, and voltage requirements, as some boards may appear similar externally but differ internally.

Image 3.2: Illustration highlighting differences in internal components, size, connectors, and voltage requirements between similar-looking control board modules.
3.2. Locate Your Washer Model Number
The model number of your GE washer can typically be found on a label located on the back, around the door or cabinet door, or on the sides of the appliance. For some models, it may be under the lid on the frame.

Image 3.3: Visual guide indicating common locations for the model number on both top-load and front-load washing machines. A list of compatible GE washer models is also displayed.
3.3. List of Compatible Models
This control board is compatible with the following GE washer models. Please cross-reference your appliance's model number with this list:
- GFW510SCN0WW
- GFW510SCN1WW
- GFW510SCN3WW
- GFW510SCN4WW
- GFW510SCN5WW
- GFW510SCV0WW
- GFW550SPN0DG
- GFW550SPN1DG
- GFW550SPN2DG
- GFW550SPN3DG
- GFW550SPR0RS
- GFW550SPR3RS
- GFW550SPR4RS
- GFW550SPR5RS
- GFW550SSN0WW
- GFW550SSN1WW
- GFW550SSN2WW
- GFW550SSN3WW
- GFW550SSN4WW
- GFW550SSN5WW
4. Installation Instructions
This section provides general guidance for replacing the main control board. Specific steps may vary depending on your washer model. Always refer to your appliance's service manual for detailed, model-specific instructions.
4.1. Preparation
- Disconnect Power: Unplug the washer from the electrical outlet or turn off the circuit breaker supplying power to the appliance.
- Access the Control Board: Depending on your washer model, you may need to remove the top panel, front panel, or rear panel to access the main control board. Refer to your washer's service manual for exact access procedures.
- Document Connections: Before disconnecting any wires, take clear photos or make a diagram of all wire connections to the old control board. This will aid in correct reassembly.
4.2. Removal of Old Control Board
- Disconnect Wires: Carefully disconnect all wire harnesses and connectors from the old control board. Note their positions.
- Remove Mounting Screws/Clips: Unscrew any mounting screws or release clips securing the old control board in place.
- Extract Old Board: Gently remove the old control board from its housing.
4.3. Installation of New Control Board

Image 4.1: Front view of the GSPUSA WH22X38697 CKDX38697X GE Washer Main Control Board, showing various connectors and components.

Image 4.2: Back view of the GSPUSA WH22X38697 CKDX38697X GE Washer Main Control Board, showing solder points and circuit traces.
- Position New Board: Carefully place the new GSPUSA WH22X38697 CKDX38697X control board into the housing, ensuring it aligns correctly with mounting points.
- Secure New Board: Reinstall any mounting screws or clips to secure the new board.
- Reconnect Wires: Using your photos or diagram, reconnect all wire harnesses and connectors to their corresponding terminals on the new control board. Ensure all connections are firm and secure.
- Reassemble Washer: Reattach any panels or covers that were removed to access the control board.
4.4. Post-Installation
- Restore Power: Plug the washer back into the electrical outlet or turn on the circuit breaker.
- Test Operation: Run a short wash cycle to verify that the washer is functioning correctly. Listen for unusual noises and observe for proper cycle progression.
5. Operation
The GSPUSA WH22X38697 CKDX38697X Main Control Board is an internal component that manages the functions of your GE washer. Once correctly installed, it enables the washer to operate according to its designed programs and settings. There are no direct user operational controls on the board itself; all operations are performed via the washer's user interface.
6. Maintenance
The main control board is a sealed electronic component and generally requires no routine maintenance. To ensure its longevity:
- Keep the area around the washer clean and free from dust and debris.
- Ensure the washer is installed in a dry environment to prevent moisture exposure to electronic components.
- Avoid exposing the washer to extreme temperature fluctuations.
7. Troubleshooting
If your washer does not function correctly after installing the new control board, consider the following troubleshooting steps:
- No Power: Check if the washer is properly plugged in and if the circuit breaker has tripped.
- Incorrect Connections: Review your wire connections to ensure all harnesses are securely and correctly attached to the control board. Refer to your photos or diagram.
- Incorrect Part: Double-check that the installed control board is indeed the correct part number and compatible with your specific washer model. Refer to Section 3.
- Other Appliance Issues: The malfunction might be due to another component in the washer, not the control board.
If the issue persists after these checks, it is recommended to contact a qualified appliance technician for further diagnosis.
8. Specifications
| Attribute | Detail |
|---|---|
| Brand | GSPUSA |
| Part Numbers | WH22X38697, CKDX38697X |
| Manufacturer Part Number | WH22X38697-MM |
| Item Weight | 1 pound |
| Product Dimensions | 6 x 4 x 4 inches |
| Included Components | Main Control Board with Instructions |
9. Quality Assurance and Warranty
This GSPUSA control board undergoes rigorous testing to ensure reliability and performance. Each item is tested in real appliances for 100 cycles or more before shipment.
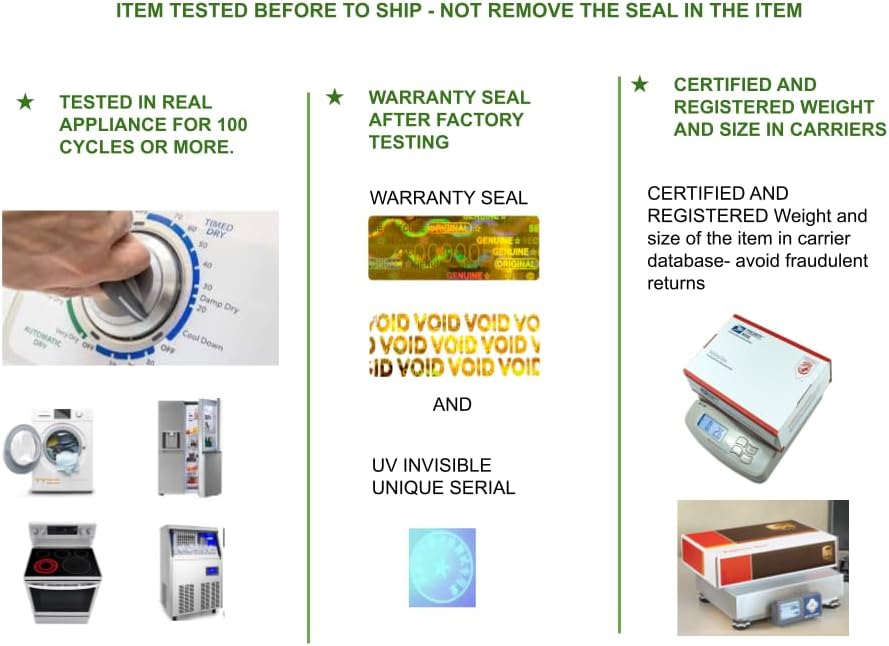
Image 9.1: Depicts the quality assurance process, including testing in appliances, the presence of a warranty seal with UV invisible serial, and certified weight and size verification for shipping.
A warranty seal is applied after factory testing. This seal includes a UV invisible unique serial number for tracking and authenticity verification. Removal of this seal may void the warranty.

Image 9.2: Close-up of a sample unique serial tag, showing "AUTHENTIC GENUINE ORIGINAL" text and a "VOID" pattern that appears upon tampering.
For specific warranty terms and conditions, please refer to the documentation included with your purchase or contact GSPUSA customer support.
10. Support
For technical assistance, compatibility questions, or warranty inquiries, please contact GSPUSA customer support through the retailer where the product was purchased or visit the official GSPUSA store online.
GSPUSA Store: Visit the GSPUSA Store on Amazon