1. Introduction
Thank you for choosing the Kidsera 24V Ride On Dump Truck. This manual provides essential information for the safe assembly, operation, and maintenance of your new vehicle. Please read all instructions carefully before first use and retain this manual for future reference. This product is designed for children aged 3-8 years, with a maximum capacity of 110 lbs.

Figure 1: Kidsera 24V Ride On Dump Truck in use.
2. Safety Information
Your child's safety is paramount. Always ensure proper supervision and adherence to the following safety guidelines:
- Always use the adjustable seat belts to secure the driver and passenger.
- Ensure the co-pilot uses the safety passenger seat handle.
- The vehicle features a soft start function for smooth acceleration, reducing sudden jolts.
- An anti-runaway controller is integrated to prevent loss of control.
- This product is CPSIA ASTM-F963 safety certified.
- Do not operate near roads, steep inclines, or bodies of water.
- Always wear appropriate protective equipment, such as a helmet.
3. Package Contents
Before assembly, verify that all components are present:
- Kidsera 24V Ride On Dump Truck (main body)
- Remote Control (1)
- Shovel (1)
- Safety Helmet (1)
- Traffic Cones (4)
- Charger
- Assembly Hardware (nuts, washers, screws, etc.)

Figure 2: Included accessories and key features.
4. Assembly Instructions
Follow these steps to assemble your Kidsera 24V Ride On Dump Truck. Refer to the assembly video for visual guidance.
Video 1: Detailed assembly guide for the 2-seater ride-on dump truck.
- Unpack the Product: Carefully remove all components from the packaging. Keep all small parts together.
- Install Rear Wheels: Attach the rear wheels to the axle, securing them with the provided washers and nuts. Ensure they are firmly in place.
- Install Front Wheels: Attach the front wheels, following the same procedure as the rear wheels.
- Connect Motors: Connect the motor wires to the corresponding ports on the vehicle's chassis.
- Install Steering Wheel: Place the steering wheel onto the steering column and secure it. Ensure batteries are installed in the steering wheel for horn/music functions.
- Install Seats: Position the seats in the designated area and secure them with screws.
- Attach Dump Bed: Secure the electric auto-lifting dump bed to the rear of the vehicle. Connect any necessary wiring for its operation.
- Install Accessories: Attach the water-spraying chimney and any other accessories like the front hooks.

Figure 3: Installation of the water-spraying chimney.
5. Operating Instructions
Familiarize yourself with the controls and features for an enjoyable and safe driving experience.
5.1 Driving Modes
- Child Manual Control: The child can operate the vehicle using the steering wheel and foot pedal.
- 2.4G Parental Remote Control: Parents can override child control for safety or to assist younger drivers. The remote allows control over steering, speed, and direction.

Figure 4: Driving modes and controls.
5.2 Electric Auto-Lifting Dump Bed
The dump truck features an electric auto-lifting dump bed. Use the designated toggle switch on the dashboard to raise and lower the bed for realistic play.

Figure 5: Automatic tipping bucket in action.
5.3 Sound and Light Features
The vehicle is equipped with various entertainment features:
- Built-in Bluetooth: Connect your device to play music.
- Music and Speakers: Enjoy pre-loaded music or your own tunes.
- Water-Spraying Chimney: Add water to the chimney for a realistic spray effect.
- LED Lights: Front and rear lights enhance visibility and realism.
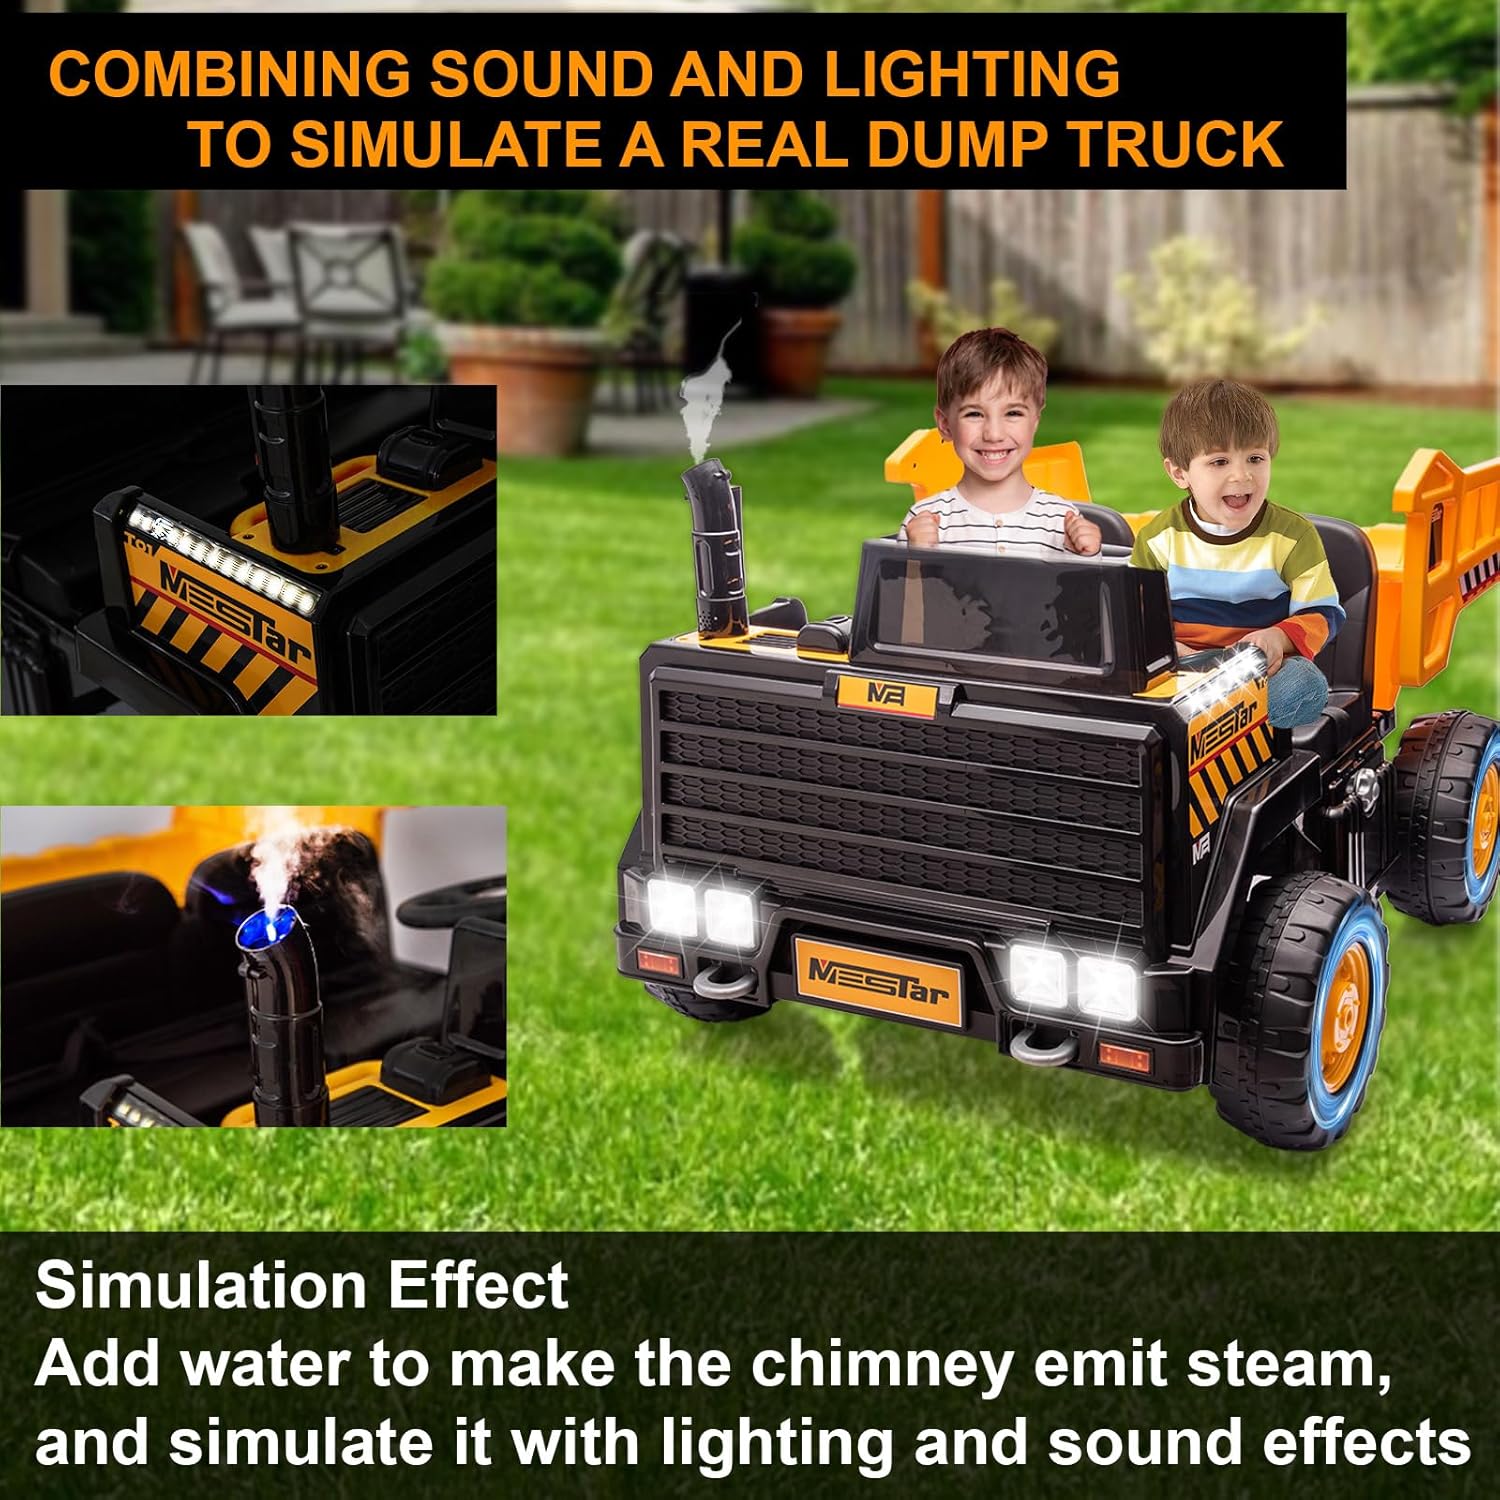
Figure 6: Simulated sound and lighting effects.
6. Charging the Battery
Before first use, fully charge the 24V battery. The low battery reminder function will alert you when charging is needed. A full charge provides approximately 60-90 minutes of intermittent use.
- Locate the charging port on the vehicle.
- Plug the charger into the charging port, then into a standard wall outlet.
- The charging indicator light on the charger will show the charging status (refer to charger manual for specific light indications).
- Once fully charged, disconnect the charger.
7. Maintenance
Regular maintenance ensures the longevity and safe operation of your ride-on truck.
- Cleaning: Wipe the vehicle with a damp cloth. Avoid using harsh chemicals or abrasive cleaners.
- Storage: Store the vehicle in a dry, cool place away from direct sunlight when not in use.
- Battery Care: Charge the battery regularly, even during periods of non-use, to maintain its lifespan.
- Inspections: Periodically check all screws, nuts, and connections to ensure they are secure. Inspect tires for wear and tear.
8. Troubleshooting
If you encounter any issues, refer to the following common troubleshooting tips:
- Vehicle Not Moving: Check if the battery is charged and properly connected. Ensure the power switch is ON. Verify the remote control is paired and has fresh batteries.
- Remote Control Not Working: Replace batteries in the remote control. Ensure the remote is paired with the vehicle according to the pairing instructions (usually found in a separate remote control manual or quick start guide).
- Dump Bed Not Operating: Check the toggle switch for the dump bed. Ensure all connections are secure.
- Unusual Noises: Inspect wheels and axles for any obstructions or loose parts.
If problems persist, please contact Kidsera customer support for assistance.
9. Specifications
| Feature | Detail |
|---|---|
| Brand Name | Kidsera |
| Manufacturer Maximum Age | 96 Months |
| Manufacturer Part Number | Kidsera ride on car 1014 |
| Unit Count | 1.0 Count |
| Manufacturer | Kidsera |
| Size | Large |
| Assembly Required | Yes |
| Battery Voltage | 24V |
| Motors | 4WD |
| Max Speed | Up to 5 Mph |
| Seating Capacity | 2 Seater |
10. Warranty and Support
For warranty information, product support, or to purchase replacement parts, please refer to the contact information provided with your product packaging or visit the official Kidsera website. Keep your purchase receipt as proof of purchase.