1. Product Overview
This manual provides instructions for the Generic HY320 Mini Portable Projector. This device is designed for high-definition projection with versatile connectivity and smart features, suitable for various entertainment and professional applications.
1.1 Key Features
- HD Digital Projection: Delivers sharp images and vibrant colors with 1920x1080 native resolution and 4K support.
- Intuitive Control: Features an easy-to-use remote control for convenient operation and setting adjustments.
- Versatile Design: Equipped with an adjustable base for multiple projection angles, adapting to different environments.
- Extensive Connectivity: Offers multiple input options including HDMI and USB for broad device compatibility.
- Efficient Cooling: Optimized ventilation system ensures effective temperature management for prolonged use.
- Smart OS: Integrated Android 11 operating system provides access to a wide range of applications.
- Advanced Wireless: Dual-band Wi-Fi 6 for faster, wider range, and smoother content transmission, plus Bluetooth 5.0.
- Automatic Keystone Correction: Features automatic ±45° horizontal correction for perfectly aligned images.
- Portable: Compact and lightweight design for easy transport and setup.
1.2 Package Contents
- HY320 Mini Portable Projector
- Remote Control
- Power Adapter (110/220V compatible)
- User Manual
2. Safety Information
Please read and understand all safety instructions before operating the projector to ensure safe and proper use.
- Eye Safety: Do not look directly into the projector lens when the lamp is active, as the bright light can cause eye strain or damage.
- Ventilation: Ensure adequate airflow around the projector. Do not block ventilation openings to prevent overheating.
- Moisture Exposure: Keep the projector away from water, rain, and high humidity to avoid electrical hazards.
- Power Supply: Use only the power adapter supplied with the projector. Ensure the voltage matches your local power supply.
- Children: Keep the projector and its accessories out of reach of small children.
- Stability: Place the projector on a stable, level surface to prevent it from falling.
- Cleaning: Disconnect the power before cleaning. Use a soft, dry cloth for cleaning the exterior. For the lens, use a specialized lens cleaning cloth.
3. Setup
3.1 Physical Placement
Position the projector on a stable, flat surface. The integrated adjustable base allows you to tilt the projector to achieve the desired projection angle on your screen or wall.
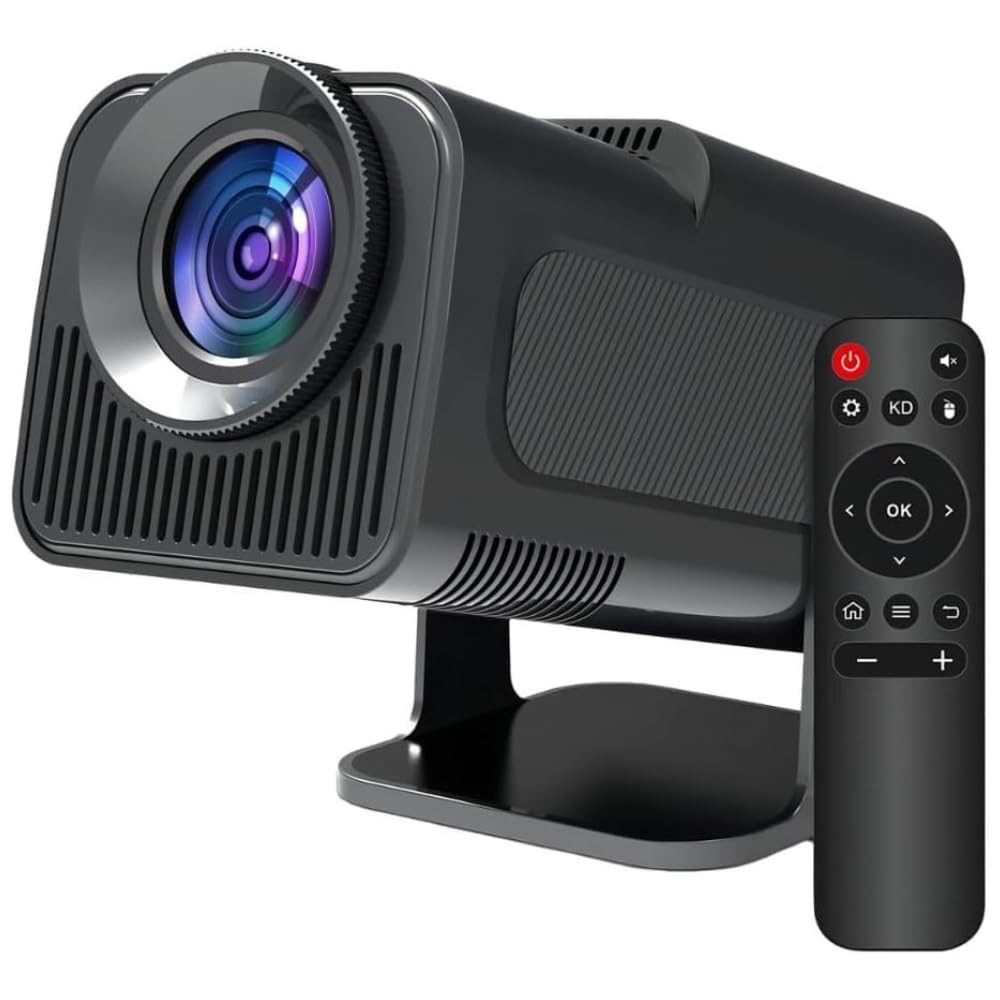
Image: The HY320 Mini Portable Projector, illustrating its compact dimensions (18.5cm length), rubberized base for stability, included remote control, and clearly labeled input ports (USB, HDMI, and 110/220V power input).
3.2 Power Connection
Connect the provided power adapter cable to the projector's 110/220V power input port. Then, plug the adapter into a suitable electrical outlet.
3.3 Initial Power On
Press the power button located on the projector unit or on the remote control to turn on the device. The projector will boot up, displaying the Android 11 interface.
3.4 Focus Adjustment
To achieve a clear and sharp image, gently rotate the focus ring located around the projector lens until the projected image appears crisp.
3.5 Keystone Correction
The HY320 projector features automatic keystone correction (up to ±45° horizontally) to automatically square the image if the projector is not perfectly perpendicular to the screen. If manual adjustments are required, navigate to the display settings within the Android interface.

Image: A visual representation of the projector's automatic keystone correction feature, demonstrating how a distorted, trapezoidal image is automatically adjusted to a perfectly rectangular projection.
4. Operating Instructions
4.1 Navigating the Android 11 Interface
Use the provided remote control to navigate through the Android 11 operating system. The home screen provides access to pre-installed applications, the app store, and system settings.

Image: The projector displaying its Android 11 interface, showcasing a selection of popular streaming applications such as Netflix, YouTube, Prime Video, and Hulu, highlighting its smart functionality.
4.2 Wi-Fi Connection
To connect your projector to a wireless network:
- From the home screen, navigate to "Settings".
- Select "Network & Internet".
- Toggle Wi-Fi to "On".
- Select your desired Wi-Fi network from the list.
- Enter the network password if prompted and select "Connect".

Image: A comparative illustration highlighting the performance benefits of Wi-Fi 6 over Wi-Fi 5, showing faster loading times and smoother streaming for projector content.
4.3 Bluetooth Connection
To pair your projector with Bluetooth devices like external speakers:
- From the home screen, navigate to "Settings".
- Select "Connected Devices" or "Bluetooth".
- Toggle Bluetooth to "On".
- The projector will scan for available devices. Select your device from the list to pair.
4.4 Connecting External Devices
HDMI Connection
Connect an HDMI cable from your source device (e.g., laptop, game console, Blu-ray player) to the HDMI port on the projector. Then, select the HDMI input source from the projector's input menu.
USB Connection
Insert a USB flash drive into the USB port to play media files directly. Use the built-in file manager application on the Android interface to browse and play your content.
4.5 Screen Mirroring (Smartphone Connectivity)
The projector supports screen mirroring from compatible smartphones. Ensure both your smartphone and the projector are connected to the same Wi-Fi network. Use the projector's dedicated screen mirroring app or your phone's native casting feature (e.g., Miracast, AirPlay, Google Cast) to duplicate your phone's screen.

Image: A user interacting with their smartphone while content is being wirelessly projected, illustrating the seamless connectivity and dual-band Wi-Fi 6 capabilities for fast and smooth transmission.
4.6 Adjusting Projection Size
The size of the projected image is determined by the distance between the projector and the projection surface. Below are approximate projection sizes for common distances:
- 1.20 meters (approx. 4 feet): Approximately 40 inches diagonal screen size.
- 2 meters (approx. 6.5 feet): Approximately 80 inches diagonal screen size.
- 4 meters (approx. 13 feet): Approximately 130 inches diagonal screen size.

Image: A visual guide demonstrating how the projected image size scales with the distance from the projector to the screen, providing examples for 1.20m (40"), 2m (80"), and 4m (130").
5. Maintenance
Proper maintenance ensures the longevity and optimal performance of your projector.
5.1 Cleaning the Lens
Use a soft, lint-free microfiber cloth specifically designed for optical lenses to gently wipe the projector lens. Avoid using paper towels, abrasive materials, or chemical cleaners, as these can scratch or damage the lens coating.
5.2 Cleaning the Projector Body
Wipe the exterior surfaces of the projector with a soft, dry cloth. Do not use liquid cleaners directly on the device, and avoid harsh chemicals that could damage the finish.
5.3 Ventilation
Regularly check that the projector's ventilation vents are clear of dust and obstructions. Blocked vents can lead to overheating and reduce the lifespan of the device. Use a soft brush or compressed air to gently clear any dust buildup.

Image: The HY320 projector highlighting its internal cooling system, which is crucial for efficient heat dissipation and maintaining stable operation during extended use.
6. Troubleshooting
This section addresses common issues you might encounter with your projector.
6.1 No Image or Distorted Image
- Power Check: Ensure the projector is properly connected to power and turned on.
- Focus Adjustment: Rotate the focus ring on the lens to sharpen the image.
- Input Source: Verify that the correct input source (HDMI, USB, etc.) is selected in the projector's menu.
- Obstructions: Check for any objects blocking the projector lens or the projection path.
- Keystone Correction: If the image is trapezoidal, ensure automatic keystone correction is enabled or adjust it manually in the display settings.
6.2 No Sound
- Volume Levels: Check the volume settings on both the projector and any connected source devices.
- External Audio: If using external speakers, ensure they are properly connected and selected as the audio output device in the projector's settings.
- App Audio: If streaming from an app, verify the audio settings within that specific application.
6.3 Remote Control Not Working
- Batteries: Replace the batteries in the remote control with fresh ones.
- Line of Sight: Ensure there are no obstructions between the remote control and the projector's infrared (IR) receiver.
6.4 Overheating Warning
- Ventilation: Ensure all ventilation vents are clear and unobstructed.
- Cool Down: Turn off the projector and allow it to cool down completely in a well-ventilated area before restarting.
- Environment: Avoid operating the projector in excessively hot or confined environments.
7. Specifications
| Brand | Generic |
| Model Name | HY320 Mini Portable Projector |
| Product Type | Compact Projector, Electronics |
| Display Technology | LCD |
| Native Resolution | 1920 x 1080 (Full HD) |
| Supported Resolution | 4K |
| Aspect Ratio | 16:9 |
| Connectivity Technology | Wi-Fi (5G, Wi-Fi 6), Bluetooth 5.0 |
| Hardware Interface | AV, HDMI, USB |
| Compatible Devices | Smartphone |
| Special Features | Portable, Automatic Horizontal Correction (180°), Android 11 OS |
| Power Consumption | 50 watts |
| Voltage | 110/220 Volts |
| Refresh Rate | 60 Hz |
| Mounting Type | Tabletop Mount |
| Color | Black |
| Product Dimensions | 20 x 15 x 12 cm |
| Product Weight | 500 g |
| Number of Units | 1 |
| Manufacturer | Imported |
8. Warranty and Support
8.1 Manufacturer's Warranty
This product is covered by a manufacturer's warranty for a period of 90 days from the original date of purchase. This warranty covers defects in materials and workmanship under normal use. Please retain your purchase receipt as proof of purchase for any warranty claims.
8.2 Customer Support
For technical assistance, troubleshooting, or inquiries regarding your warranty, please contact the retailer from whom you purchased the product. Refer to the contact information provided with your original purchase documentation.