Startbuymore QF40QNA85N174NFO66JY8K70NCYM7
Startbuymore 20V Max GearBox DCD771 DCD734 GearCase and Clutch N279940 Replacement Part Instruction Manual
Introduction
This manual provides essential instructions for the proper installation, operation, and maintenance of the Startbuymore N279940 GearBox, GearCase, and Clutch replacement part. This component is designed for use with 20V Max DCD771 and DCD734 power tools. Please read this manual thoroughly before attempting any installation or repair to ensure safety and optimal performance of your tool.
Important Safety Notice: Always disconnect the power tool from its power source (battery or electrical outlet) before performing any maintenance, installation, or repair procedures. Wear appropriate personal protective equipment, such as safety glasses and gloves, during installation.
Product Overview
The N279940 GearBox, GearCase, and Clutch is a critical replacement component for maintaining the functionality of compatible 20V Max power drills. It is constructed from durable metal to ensure long-lasting reliability.
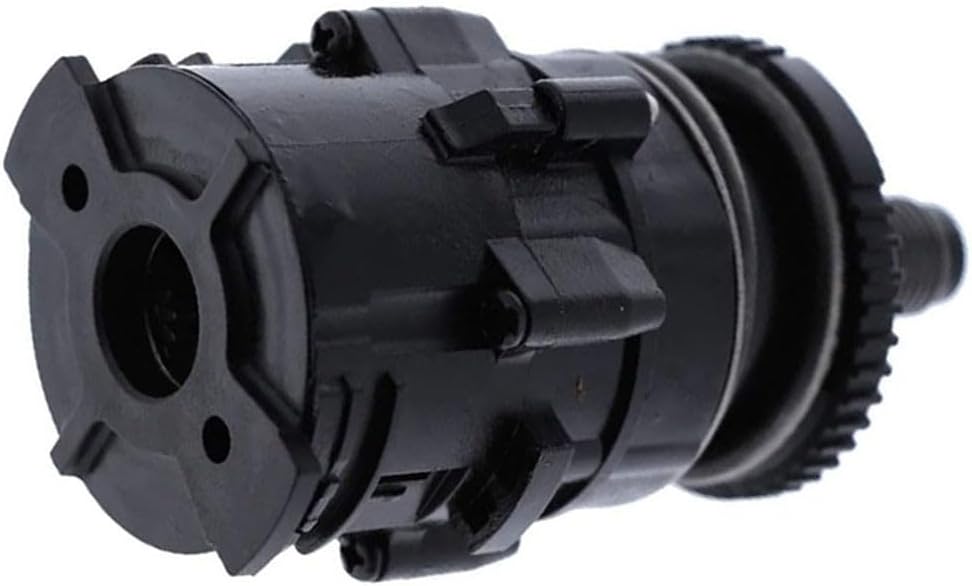
Image 1: The Startbuymore N279940 GearBox, GearCase, and Clutch replacement part. This image shows the overall appearance of the component, featuring its black housing and visible gear mechanisms.
Key Features:
- Precise Fit: Specifically designed for 20V Max DCD771 and DCD734 models.
- Durable Construction: Made from high-strength metal for extended service life.
- Direct Replacement: Engineered for straightforward replacement of the original part.
Specifications
| Attribute | Detail |
|---|---|
| Product Name | GearBox, GearCase, Clutch |
| Part Number | N279940 |
| Compatible Models | 20V Max DCD771, DCD734 |
| Material | Metal |
| Product Dimensions | 3.94 x 3.15 x 1.97 inches |
| Item Weight | 12.3 ounces |
| Manufacturer | Startbuymore |
| Item Model Number | QF40QNA85N174NFO66JY8K70NCYM7 |
Installation (Setup)
Replacing the gearbox assembly requires careful attention to detail. It is recommended that this procedure be performed by individuals with experience in power tool repair. Always refer to the specific service manual for your DCD771 or DCD734 drill for detailed disassembly and reassembly instructions.
General Installation Steps:
- Preparation: Ensure the power tool is disconnected from its power source. Clear a clean, well-lit workspace.
- Disassembly: Carefully disassemble the drill housing to access the existing gearbox assembly. Note the position and orientation of all components and fasteners.
- Removal of Old Part: Remove the faulty or worn gearbox assembly.
- Inspection: Inspect surrounding components for wear or damage, such as motor brushes, bearings, and wiring. Replace any damaged parts as necessary.
- Installation of New Part: Position the new N279940 GearBox, GearCase, and Clutch into the drill housing. Ensure all mating surfaces align correctly.
- Reassembly: Reassemble the drill housing, ensuring all screws are tightened securely but not over-tightened. Verify that no wires are pinched.
- Functionality Check: After reassembly, perform a brief functional test without load to ensure smooth operation and proper clutch engagement.

Image 2: Side view of the N279940 GearBox, showing the clutch mechanism and part of the gear assembly. This angle helps in identifying the component during installation.

Image 3: Angled view of the N279940 GearBox, highlighting the mounting points and the overall shape for proper alignment within the tool housing.

Image 4: Top-down view of the N279940 GearBox, showing the input shaft area and internal components. Useful for verifying the correct orientation.

Image 5: Bottom view of the N279940 GearBox, illustrating the output shaft and connection points. This view assists in confirming the correct fit.
Operation (After Installation)
Once the N279940 GearBox, GearCase, and Clutch is correctly installed, the power tool should operate as intended. The gearbox is responsible for transmitting power from the motor to the chuck and for providing different speed settings and torque control via the clutch mechanism.
- Speed Settings: Ensure the speed selector (if applicable on your tool model) functions smoothly and engages the gears properly.
- Clutch Function: Test the clutch settings to confirm that they engage and disengage at the desired torque levels, preventing over-tightening or stripping screws.
- Smooth Operation: The tool should run smoothly without excessive noise, vibration, or grinding sounds, which could indicate improper installation or a faulty component.
Maintenance
Proper maintenance extends the life of your power tool and its components. While the gearbox itself is a sealed unit, general tool maintenance is crucial.
- Regular Cleaning: Keep the exterior of your power tool clean and free from dust and debris.
- Ventilation: Ensure the tool's ventilation slots are clear to prevent overheating, which can affect internal components.
- Storage: Store the tool in a dry, clean environment away from extreme temperatures.
- Professional Inspection: If you notice any unusual sounds or performance issues, have the tool inspected by a qualified technician.
Troubleshooting
If you encounter issues after replacing the gearbox, consider the following common troubleshooting steps:
- Tool Not Operating:
- Check battery connection or power supply.
- Ensure all internal wiring connections are secure and not pinched.
- Verify the motor is functioning correctly.
- Unusual Noises (Grinding, Clicking):
- Indicates improper gear engagement or foreign objects. Re-open the housing and inspect the gearbox installation.
- Ensure the gearbox is fully seated and all screws are tightened.
- Clutch Not Engaging/Disengaging Properly:
- Verify the clutch mechanism is correctly aligned and assembled.
- Ensure the clutch adjustment ring moves freely and engages the internal components.
- Loss of Power/Intermittent Operation:
- Could be related to motor issues, battery problems, or loose electrical connections within the tool.
- Re-check all connections related to the motor and switch.
If troubleshooting steps do not resolve the issue, contact the manufacturer or a qualified service center.
Important Information and Safety Warnings
Please observe the following warnings and information for safe handling and disposal.

Image 6: Product label showing manufacturing origin, manufacturer contact details, EU representative information, and universal safety symbols.
- Origin: Made in China.
- Manufacturer: ChangShaShiMeiDuoDianZiKeJiYouXianGongSi
- Address: No.25,Room 20061,Building 5,Fudi Xingguang Commercial Plaza Apartment, No.80 Xiangfu Middle Road,Dongjing Street,Yuhua District
- Manufacturer E-mail/URL: CHENXIANGYU1106@yeah.net
- EU Representative: SUCCESS COURIER SL, CALLE RIO TORMES NUM.1,PLANTA 1, DERECHA, OFICINA 3, Fuenlabrada, Madrid, 28947 Spain. Email: successservice2@hotmail.com
- Disposal: Observe local regulations for the disposal of electronic and mechanical components. The crossed-out wheeled bin symbol indicates that the product should not be disposed of with general household waste.
- Falling Hazard: Do not place the product at a high place to avoid falling.
Warranty Information
Specific warranty terms for this replacement part are not provided in this manual. Please refer to the purchase documentation or contact the seller directly for detailed warranty information.
Customer Support
For technical assistance, questions regarding installation, or to report issues, please contact the seller or manufacturer using the contact information provided in the "Important Information and Safety Warnings" section of this manual.