1. Introduction
This manual provides essential information for the proper use and maintenance of your ZWP Replacement Remote Control. This remote is designed to be compatible with JOWLURK M7, OWNKNEW GC357, and HORLAT T10PRO Projectors, offering a direct replacement solution without the need for complex programming.

Image 1.1: The ZWP Replacement Remote Control is built for durability, featuring a long lifespan, advanced internal chip, construction from ABS safety materials, and quality assurance.

Image 1.2: The remote control offers a stable link, fast response time of 0.2 seconds, an ergonomic design for easy grip and control, and power-saving capabilities.
2. Setup
2.1 Battery Installation
The remote control requires two (2) AAA batteries for operation. Batteries are not included with the product. Follow these steps to install the batteries:
- Locate the battery compartment cover on the back of the remote control.
- Slide the cover downwards or press the latch (if present) to open the compartment.
- Insert two AAA batteries, ensuring the positive (+) and negative (-) terminals align correctly with the markings inside the compartment.
- Replace the battery compartment cover by sliding it back into place until it clicks securely.
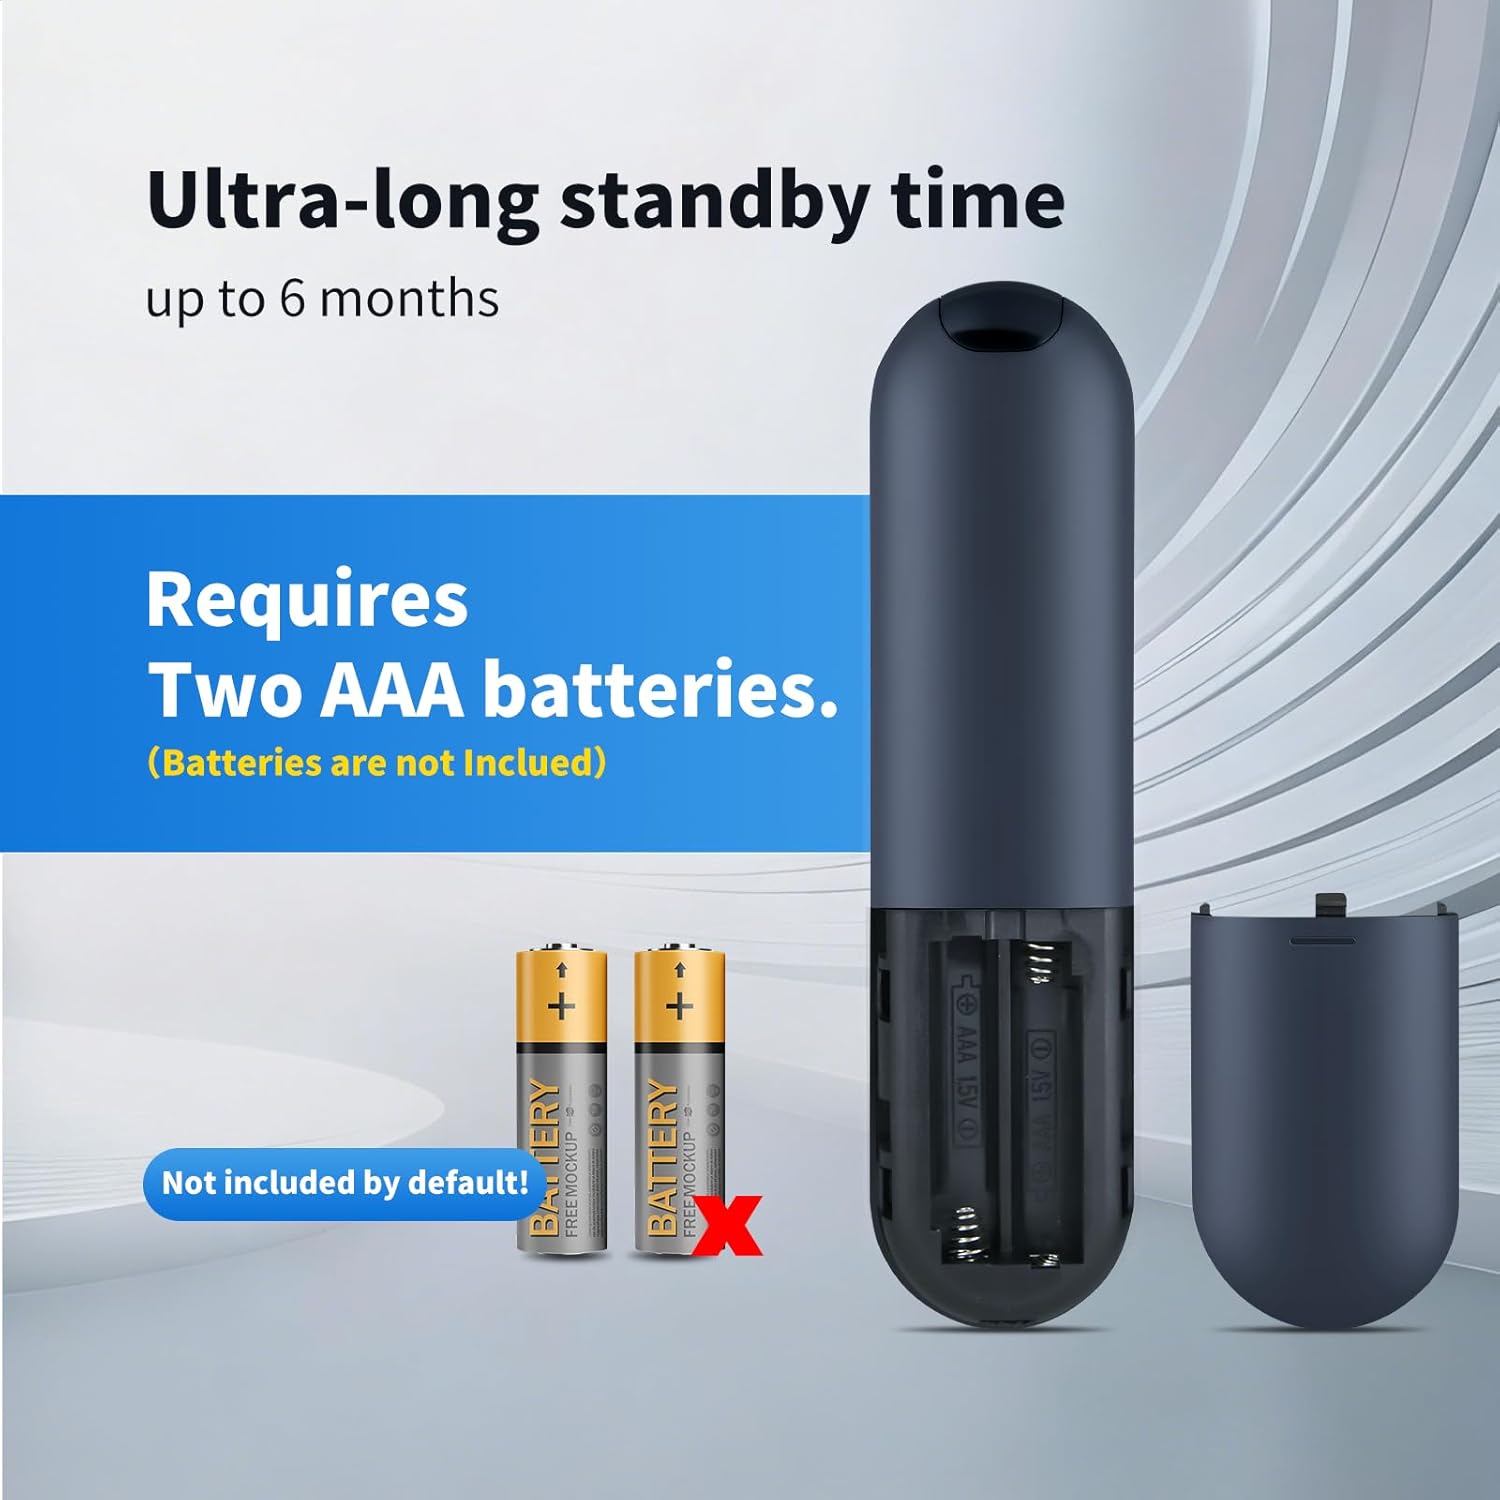
Image 2.1: The remote control requires two AAA batteries, which are not included. Ensure correct polarity when inserting.
2.2 Compatibility and Initial Use
This ZWP Replacement Remote Control is designed for direct use with the following projector models:
- JOWLURK M7 Projector
- OWNKNEW GC357 Projector
- HORLAT T10PRO Projector
No programming or setup is required. Once batteries are correctly installed, the remote control is ready for immediate use with your compatible projector.

Image 2.2: The remote control is perfectly compatible with specified projector models and requires no setup.
3. Operating Instructions
3.1 Button Functions
The remote control features a standard layout for intuitive operation. Refer to the image below for a visual guide to the buttons:
Image 3.1: Overview of the remote control buttons.
- Power Button (⏻): Turns the projector on or off.
- OK Button: Confirms selections or enters menus.
- Navigation Buttons (Up, Down, Left, Right): Navigates through menus and options.
- Volume Up (F+): Increases audio volume.
- Volume Down (F-): Decreases audio volume.
- Mute Button (🔇): Mutes or unmutes audio.
- Menu Button (☰): Accesses the projector's main menu.
- Home Button (⌂): Returns to the home screen or main interface.
- Return/Back Button (↶): Goes back to the previous screen or menu.
3.2 Operating Range and Angle
The remote control operates using infrared (IR) technology. For optimal performance, ensure a clear line of sight between the remote control and the projector's IR receiver. The remote offers:
- Maximum Range: Up to 10 meters (approximately 33 feet).
- Multi-Angle Induction: Effective operation within a 120-degree angle from the projector's IR receiver.

Image 3.2: The remote control supports multi-angle operation up to 120 degrees and has an effective range of up to 40 feet (approximately 12 meters).
4. Maintenance
4.1 Cleaning
To maintain the remote control's appearance and functionality:
- Wipe the surface with a soft, dry cloth.
- For stubborn dirt, lightly dampen the cloth with water or a mild, non-abrasive cleaner.
- Avoid using harsh chemicals, solvents, or abrasive materials, as these can damage the remote's finish or internal components.
4.2 Battery Replacement
Replace batteries when the remote control's response becomes sluggish or it stops functioning. Always replace both AAA batteries at the same time with new ones. Do not mix old and new batteries, or different types of batteries.
5. Troubleshooting
If you experience issues with your ZWP Replacement Remote Control, refer to the following troubleshooting tips:
- Remote not responding:
- Check if the batteries are inserted correctly with the correct polarity.
- Replace the batteries with fresh AAA batteries.
- Ensure there is a clear line of sight between the remote's IR emitter and the projector's IR receiver. Remove any obstructions.
- Confirm the remote is within the effective operating range (up to 10 meters).
- Buttons not working:
- Clean the remote control surface and buttons to ensure no debris is interfering with button presses.
- Replace batteries.
6. Specifications
Detailed specifications for the ZWP Replacement Remote Control:
| Feature | Specification |
|---|---|
| Brand | ZWP |
| Compatible Devices | JOWLURK M7, OWNKNEW GC357, HORLAT T10PRO Projectors |
| Connectivity Technology | Infrared (IR) |
| Controller Type | Button Control |
| Maximum Range | 10 Meters (approx. 33 feet) |
| Multi-Angle Operation | Up to 120 degrees |
| Power Source | 2 x AAA Batteries (not included) |
| Material | High-quality ABS |
| Color | Black |
| Special Feature | Ergonomic Design |
6.1 Product Dimensions

Image 6.1: The ergonomic design of the remote control, with dimensions: Length 6.10 inches, Width 1.57 inches, Height 0.47 inches.
- Length: 6.10 inches (15.5 cm)
- Width: 1.57 inches (4.0 cm)
- Height: 0.47 inches (1.2 cm)
7. Support
For any questions, concerns, or issues not covered in this manual, please do not hesitate to contact the seller or manufacturer. We are committed to assisting you and resolving any problems you may encounter with your ZWP Replacement Remote Control.


