1. Introduction
This manual provides essential instructions for the safe and efficient installation, operation, and maintenance of your KATOOL 4.0HP 12000lbs Two Post Car Lift, Model KT-H120D. Please read this manual thoroughly before attempting to install or operate the equipment. Retain this manual for future reference.
2. Safety Information
WARNING: Failure to follow these safety instructions may result in serious injury or death.
- Only qualified personnel should install and operate this lift.
- Ensure the installation site meets all structural and electrical requirements.
- Always wear appropriate personal protective equipment (PPE).
- Never exceed the maximum rated lifting capacity of 12,000 lbs.
- Ensure the vehicle is properly centered and secured on the lift arms before raising.
- Always lower the lift onto the safety locks before working under the vehicle.
- Keep hands and feet clear of moving parts.
- Disconnect power before performing any maintenance or repairs.
3. Product Overview
The KATOOL KT-H120D is a heavy-duty two-post clearfloor automotive lift designed for professional and home garage use. It features a robust construction and a powerful hydraulic system for reliable vehicle lifting.
Key Features:
- Lifting Capacity: 12,000 lbs (5443 kg)
- Motor: 4.0 HP
- Electrical: 220V/60HZ/1PH
- Lift Height: Maximum 70.86 inches (1800 mm), Minimum 4.25 inches (108 mm)
- Safety System: Single-point release mechanism for simultaneous lowering.
- Design: Symmetric arm design, base plate, dual hydraulic chain-drive cylinders.
- Protection: Rubber pad door opening protection.
- Accessories: Screw-on pads and extension support adaptor sets (+100mm).
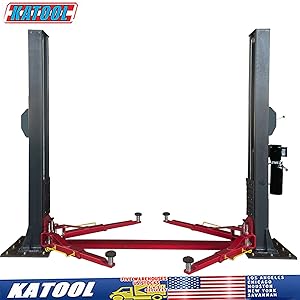
Image: Overview of the KATOOL 12000lbs Two Post Car Lift, showcasing its robust structure and design.
4. Setup and Installation
Proper installation is critical for the safe operation of your lift. It is recommended that installation be performed by certified professionals.
4.1 Unloading and Inspection:
- A forklift or similar heavy lifting equipment is required for unloading the lift components upon delivery.
- Inspect all components for shipping damage immediately upon receipt. Document any damage with photos and contact the seller if necessary.
4.2 Site Preparation:
- Ensure the concrete floor meets minimum thickness and strength requirements (typically 4 inches of 3000 PSI concrete).
- Verify adequate overhead clearance for the lift and the vehicles to be serviced.
4.3 Assembly Steps:
- Positioning Posts: Carefully position the two main posts according to the provided installation diagram. Ensure correct spacing and alignment.
Note: Refer to the specific diagram for your lift model. Incorrect measurements can lead to operational issues.
- Anchoring: Securely anchor the posts to the concrete floor using the specified anchor bolts.
- Hydraulic System Connection: Connect the hydraulic lines between the power unit and the cylinders on each post. Ensure all connections are tight and free of leaks.
- Electrical Connection: Connect the 220V/60HZ/1PH power supply to the motor unit. This should be done by a qualified electrician.
- Cable and Chain Installation: Install the equalization cables and lifting chains as per the diagram. Ensure proper tension and routing.

Image: Close-up view of the chain drive mechanism within the lift post, showing the chain and cable routing.
- Arm Assembly: Attach the symmetric lifting arms to the carriages. Install the screw-on pads and extension adaptors as needed.
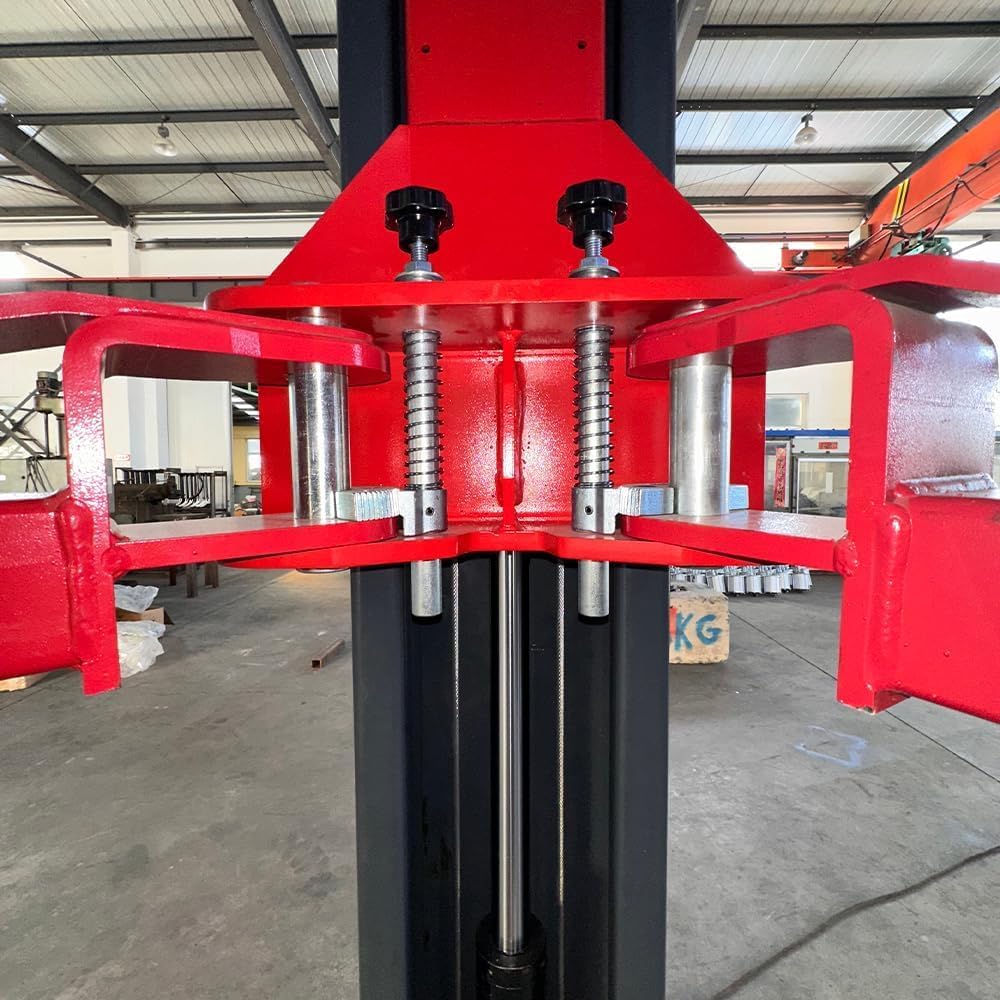
Image: Detail of the lift arm and adjustable screw-on pad assembly, showing the mechanism for vehicle contact.
- Initial Test: Before lifting a vehicle, perform several full cycles of raising and lowering the lift without a load to check for smooth operation and proper engagement of safety locks.

Image: Technical diagram illustrating the overall dimensions and arm configurations of the two-post lift, crucial for installation planning.
5. Operating Instructions
5.1 Preparing the Vehicle:
- Drive the vehicle onto the lift, ensuring it is centered between the posts.
- Position the lifting arms under the vehicle's designated lifting points. Adjust the screw-on pads to make firm contact with the vehicle's frame or pinch welds.
- Ensure the vehicle is stable and balanced on the arms.

Image: A vehicle's undercarriage resting securely on the lift arms, demonstrating proper positioning for lifting.
5.2 Raising the Lift:
- Press and hold the 'UP' button on the power unit.
- Raise the vehicle a few inches off the ground and pause. Re-check the arm placement and vehicle stability.
- Continue raising the lift to the desired working height. The safety locks will engage automatically as the lift ascends.
- Once at the desired height, slightly lower the lift until it rests firmly on the nearest safety lock. This transfers the load from the hydraulic system to the mechanical locks.

Image: A truck elevated on the two-post lift, illustrating the available working height and clearance.
5.3 Lowering the Lift:
- Ensure the area around and under the lift is clear of personnel and obstructions.
- Slightly raise the lift by pressing the 'UP' button to disengage the safety locks.
- Activate the single-point release mechanism. This typically involves pulling a lever or cable from one post.
- Press and hold the 'DOWN' button to lower the lift smoothly.
- Once the lift is fully lowered, carefully drive the vehicle off the lift.

Image: View of the lift's power unit and base, showing the hydraulic reservoir and control panel.
6. Maintenance
Regular maintenance ensures the longevity and safe operation of your KATOOL car lift.
6.1 Daily Checks:
- Inspect all cables, chains, and hydraulic hoses for wear, damage, or leaks.
- Check safety locks for proper engagement and disengagement.
- Ensure all fasteners are tight.
6.2 Monthly Checks:
- Check hydraulic fluid level and top off if necessary. Use recommended hydraulic oil.
- Lubricate all pivot points, rollers, and chain/cable guides.
- Inspect anchor bolts for tightness.
6.3 Annual Checks:
- Perform a thorough inspection of all structural components for signs of fatigue or damage.
- Have a qualified technician inspect the hydraulic system, including pump, cylinders, and valves.
- Replace hydraulic fluid as recommended by the manufacturer.
7. Troubleshooting
This section addresses common issues you might encounter with your lift. For problems not listed here or if solutions do not resolve the issue, contact customer support.
| Problem | Possible Cause | Solution |
|---|---|---|
| Lift does not raise | No power; Low hydraulic fluid; Motor issue | Check power supply and circuit breaker; Check and fill hydraulic fluid; Consult an electrician or technician. |
| Lift lowers unevenly | Unequal cable tension; Hydraulic leak in one cylinder | Adjust cable tension; Inspect hydraulic lines and cylinders for leaks. |
| Safety locks not engaging | Obstruction; Mechanical fault | Clear any obstructions; Inspect lock mechanism for damage. |
| Excessive noise during operation | Low hydraulic fluid; Worn bearings; Loose components | Check hydraulic fluid; Inspect motor and pump bearings; Tighten all fasteners. |
8. Specifications
| Specification | Value |
|---|---|
| Vehicle Service Type | Car, Truck, SUV, Other Vehicles |
| Material | Alloy Steel |
| Load Capacity | 12,000 Pounds |
| Brand | KATOOL |
| Color | Red |
| Model Number | KT-H120D (12000lbs) |
| Included Components | ARM (Lift Arms) |
| Unit Count | 1.0 Count |
| Item Weight | 1780 Pounds |
| Item Dimensions (L x W x H) | 112 x 20 x 39 inches (packaged) |
| Minimum Height | 4.25 Inches |
| Style Name | Hydraulic |
| UPC | 677751120365 |
9. Warranty Information
The KATOOL 4.0HP 12000lbs Two Post Car Lift (Model KT-H120D) comes with a 1-year manufacturer's warranty. This warranty covers defects in materials and workmanship under normal use. Please retain your proof of purchase for warranty claims. The warranty does not cover damage due to improper installation, misuse, neglect, or unauthorized modifications.
10. Customer Support
For technical assistance, parts, or warranty claims, please contact KATOOL customer service. If your item was damaged during shipping, please take photos and mark "damaged" on the receipt before contacting the seller for assistance.
Refer to your purchase documentation for specific contact details or visit the official KATOOL website for support information.