MVBVJMWWW
Generic 32mm Motorcycle Carburetor Instruction Manual
Model: MVBVJMWWW
1. Introduction
This manual provides essential information for the proper installation, operation, and maintenance of your Generic 32mm Motorcycle Carburetor, model MVBVJMWWW. Understanding these instructions will help ensure optimal performance and longevity of the component. This carburetor is designed for various dirt bikes, ATVs, and quads.
2. Compatibility
This 32mm carburetor is compatible with the following vehicle types:
- EXC Dirt Bikes
- XC Dirt Bikes
- XCF Dirt Bikes
- SX Dirt Bikes
- SXS Dirt Bikes
- EXCF Dirt Bikes
- Pit Bikes
- ATVs (All-Terrain Vehicles)
- Quads
- Motorcross vehicles
3. Setup and Installation
Proper installation is crucial for the carburetor's function. It features a standard interface for straightforward replacement. If you are unfamiliar with carburetor installation, it is recommended to seek assistance from a qualified mechanic.
3.1 Pre-Installation Checks
- Ensure the engine is cool and the fuel supply is turned off.
- Gather necessary tools (wrenches, screwdrivers, pliers, etc.).
- Inspect the new carburetor for any visible damage or manufacturing defects.
- Confirm all gaskets and seals are present and in good condition.
3.2 Installation Steps (General Guidelines)
- Remove Old Carburetor: Disconnect the fuel line, throttle cable, and any vacuum lines. Unbolt the old carburetor from the intake manifold and airbox.
- Clean Mounting Surfaces: Thoroughly clean the intake manifold and airbox mounting surfaces to ensure a proper seal.
- Install New Carburetor: Position the new carburetor with new gaskets. Secure it to the intake manifold and airbox using appropriate fasteners. Do not overtighten.
- Connect Lines: Reconnect the fuel line, ensuring it is securely clamped. Attach the throttle cable and adjust for proper tension and free movement. Reconnect any vacuum lines.
- Initial Fueling: Turn on the fuel supply and check for leaks. Allow the float bowl to fill.

Image 1: Front-side view of the 32mm motorcycle carburetor, showing the main body, fuel lines, and adjustment screws.
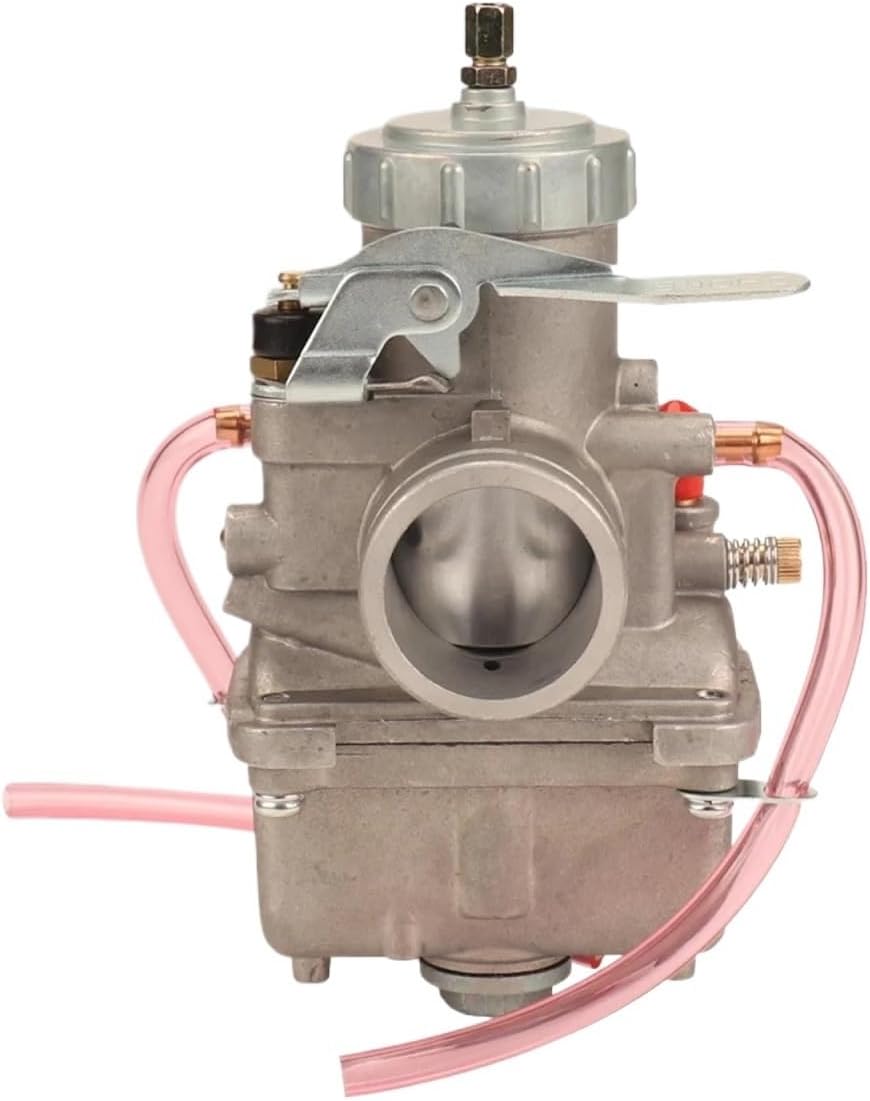
Image 2: Side view of the carburetor, highlighting the throttle linkage and various ports.
4. Operating Instructions
After installation, proper tuning and operation are essential for optimal engine performance.
4.1 Initial Start-up and Adjustment
- Choke Operation: Use the choke for cold starts as needed. Gradually reduce choke as the engine warms up.
- Idle Speed Adjustment: Once the engine is warm, adjust the idle speed screw to achieve the manufacturer's recommended RPM.
- Air/Fuel Mixture Adjustment: The air/fuel mixture screw controls the richness or lean-ness of the mixture at idle and off-idle. Turn it in (clockwise) for a richer mixture or out (counter-clockwise) for a leaner mixture. Adjust in small increments (1/8 to 1/4 turn) until the engine runs smoothly and responds well to throttle input.
- Throttle Response: Ensure smooth throttle operation throughout the range without sticking or hesitation.
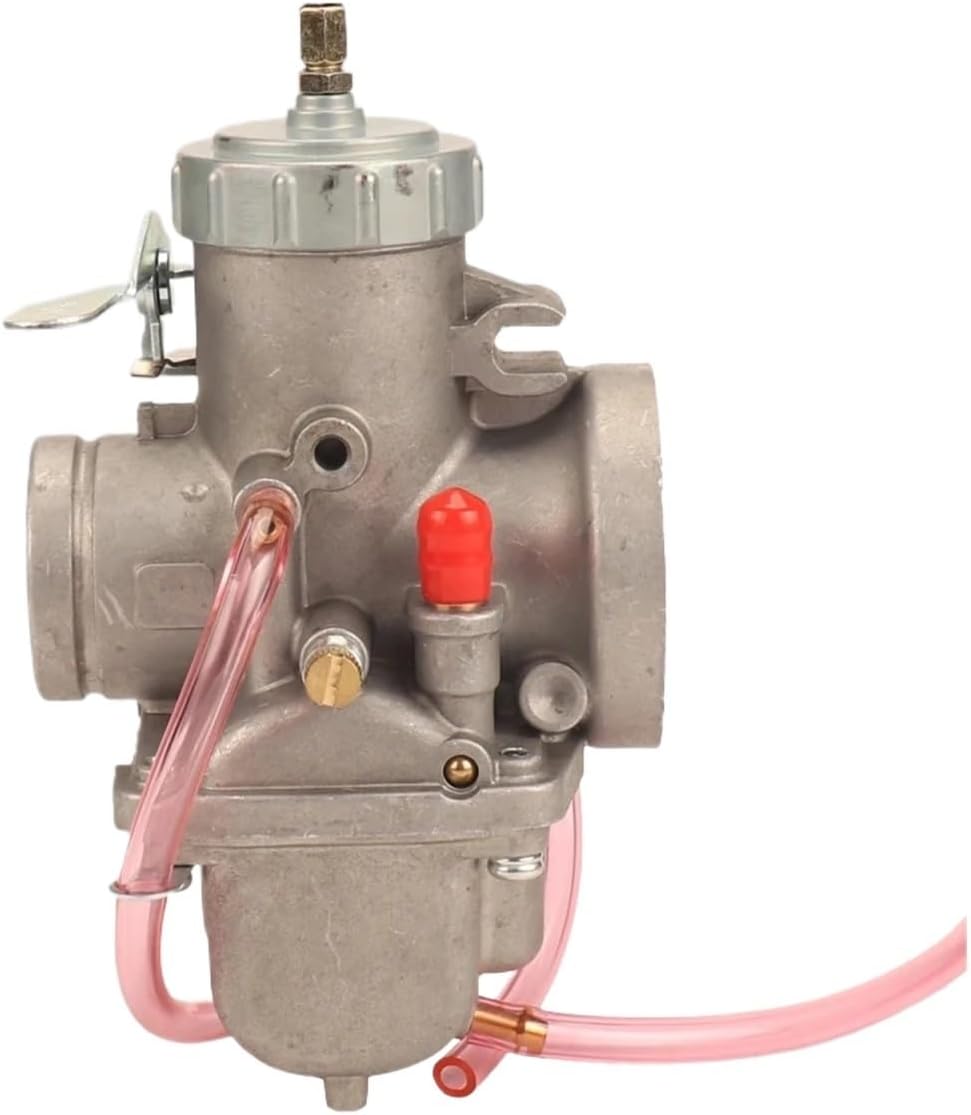
Image 3: Rear view of the carburetor, showing the air intake side and various connections.
5. Maintenance
Regular maintenance extends the life of your carburetor and ensures consistent performance.
- Fuel Quality: Always use clean, fresh fuel. Stale or contaminated fuel can clog jets and passages.
- Fuel Filter: Ensure your vehicle has a clean, functional fuel filter to prevent debris from entering the carburetor.
- Air Filter: A clean air filter is vital. A dirty air filter can cause a rich fuel mixture and poor performance.
- Carburetor Cleaning: Periodically clean the carburetor, especially if the vehicle is stored for extended periods. This involves disassembling, cleaning jets and passages with carburetor cleaner, and replacing gaskets as needed.
- Float Level Check: Verify the float level is set correctly according to your vehicle's specifications to prevent fuel overflow or starvation.

Image 4: Top-down view of the carburetor, showing the cap and various controls.
6. Troubleshooting
Refer to this section for common issues and potential solutions.
- Engine Not Starting:
- Check fuel supply and fuel filter.
- Ensure choke is engaged for cold starts.
- Verify spark plug condition and spark.
- Inspect for clogged jets or passages in the carburetor.
- Poor Idle / Stalling:
- Adjust idle speed screw.
- Adjust air/fuel mixture screw.
- Check for vacuum leaks around the intake manifold.
- Clean pilot jet.
- Lack of Power / Hesitation:
- Check main jet for clogs.
- Ensure air filter is clean.
- Verify proper float level.
- Inspect throttle cable for proper adjustment and free movement.
- Fuel Leaks:
- Check fuel lines and clamps for security.
- Inspect float bowl gasket and drain screw.
- Verify float level is not too high, causing overflow.
7. Specifications
Detailed specifications for the Generic 32mm Motorcycle Carburetor, model MVBVJMWWW.
| Specification | Value |
|---|---|
| Bore Size | 32mm |
| Main Jet | 200 |
| Pilot Jet | 35 |
| Needle Jet | Q-6 159 |
| Throttle Valve | 3.0 |
| Jet Needle | 6DP17 |
| Air Jet | 2.0 |
| Needle Valve | 3.3 (VM34/39) |
| Item Weight | 1kg (Product description) / 1.76 ounces (Specifications) - Note: Discrepancy in source data. Refer to product packaging for accurate weight. |
| Material | Metal main structure |
| Model Number | MVBVJMWWW |

Image 5: Diagram showing key dimensions of the 32mm carburetor, including bore size, height, and width.
8. Warranty and Support
For specific warranty information regarding your Generic 32mm Motorcycle Carburetor, please refer to the documentation provided with your purchase or contact the seller directly. General product support can often be found through the retailer or manufacturer's customer service channels.