1. Introduction
This manual provides comprehensive instructions for the installation, operation, and maintenance of your Cooler Master Atmos II 360 VRM White CPU Liquid Cooler. This all-in-one (AIO) liquid cooling system is designed to efficiently dissipate heat from your CPU, featuring a dual-chamber pump, customizable aRGB lighting, and an integrated VRM fan for enhanced motherboard component cooling. Please read this manual thoroughly before installation and use to ensure proper function and longevity of your product.
2. Safety Information
- Always disconnect power from your computer before installing or performing maintenance on the liquid cooler.
- Handle components with care to avoid damage. Do not bend or crimp the liquid tubes excessively.
- Ensure all connections are secure to prevent leaks.
- Keep the product away from children and pets.
- Do not attempt to open the pump or radiator, as this may void the warranty and cause damage.
- Use only the provided mounting hardware and accessories.
3. Package Contents
Verify that all components are present before beginning installation:
- Cooler Master Atmos II 360 VRM White AIO Liquid Cooler (Radiator with 3 Fans, Pump/Cold Plate Assembly)
- Mounting Brackets for Intel (LGA 1851, 1700, 1200, 1151, 1150, 1155, 1156)
- Mounting Brackets for AMD (AM5, AM4)
- Offset Mounting Brackets for LGA 1851
- Backplate for Intel Sockets
- Fan and Radiator Mounting Screws
- Thermal Paste
- aRGB Controller (if included with your model)
- User Manual (this document)
- Additional Pump Covers (2 styles)
4. Installation Guide
Follow these steps for proper installation. Refer to your motherboard and PC case manuals for specific instructions regarding component access and fan mounting locations.
4.1 Prepare Your System
- Power Off: Shut down your computer and disconnect the power cable from the wall outlet.
- Access: Open your PC case to access the motherboard and CPU area.
- Remove Old Cooler: If replacing an existing cooler, carefully remove it and clean any old thermal paste from the CPU surface using isopropyl alcohol.
4.2 Radiator and Fan Installation
The Atmos II 360 VRM comes with pre-installed fans for simplified setup. Identify a suitable mounting location in your PC case for the 360mm radiator (e.g., top or front panel).

Image: The Cooler Master Atmos II 360 VRM White liquid cooler, showcasing the radiator with three illuminated fans and the pump/cold plate assembly.
- Mount Radiator: Secure the radiator to your chosen case mounting points using the provided long screws. Ensure the fans are oriented to provide optimal airflow (typically exhausting air out of the case).
- Cable Management: The fans connect via a single cable for a cleaner build. Route this cable to your motherboard's fan headers or a fan controller.

Image: Detail of the fan wiring, illustrating how multiple fans connect to a single cable for simplified cable management.
4.3 Pump/Cold Plate Installation
The pump assembly includes an integrated VRM fan for targeted cooling of motherboard components.

Image: An illustration demonstrating the precision VRM cooling provided by the integrated fan on the pump, directing airflow to critical motherboard areas.
- Select Mounting Hardware: Choose the appropriate mounting brackets for your CPU socket (Intel or AMD). For Intel LGA 1851, consider using the included offset mounting brackets for improved thermal contact.
- Apply Thermal Paste: Apply a small amount of thermal paste to the center of your CPU's integrated heat spreader (IHS).
- Mount Pump: Carefully place the pump/cold plate assembly onto the CPU, aligning it with the mounting holes. Secure it with the chosen brackets and screws, tightening in a cross-pattern until snug. Do not overtighten.
- Connect Cables:
- Connect the pump power cable to your motherboard's CPU_FAN or AIO_PUMP header.
- Connect the aRGB cable from the pump to a compatible aRGB header on your motherboard or an aRGB controller.
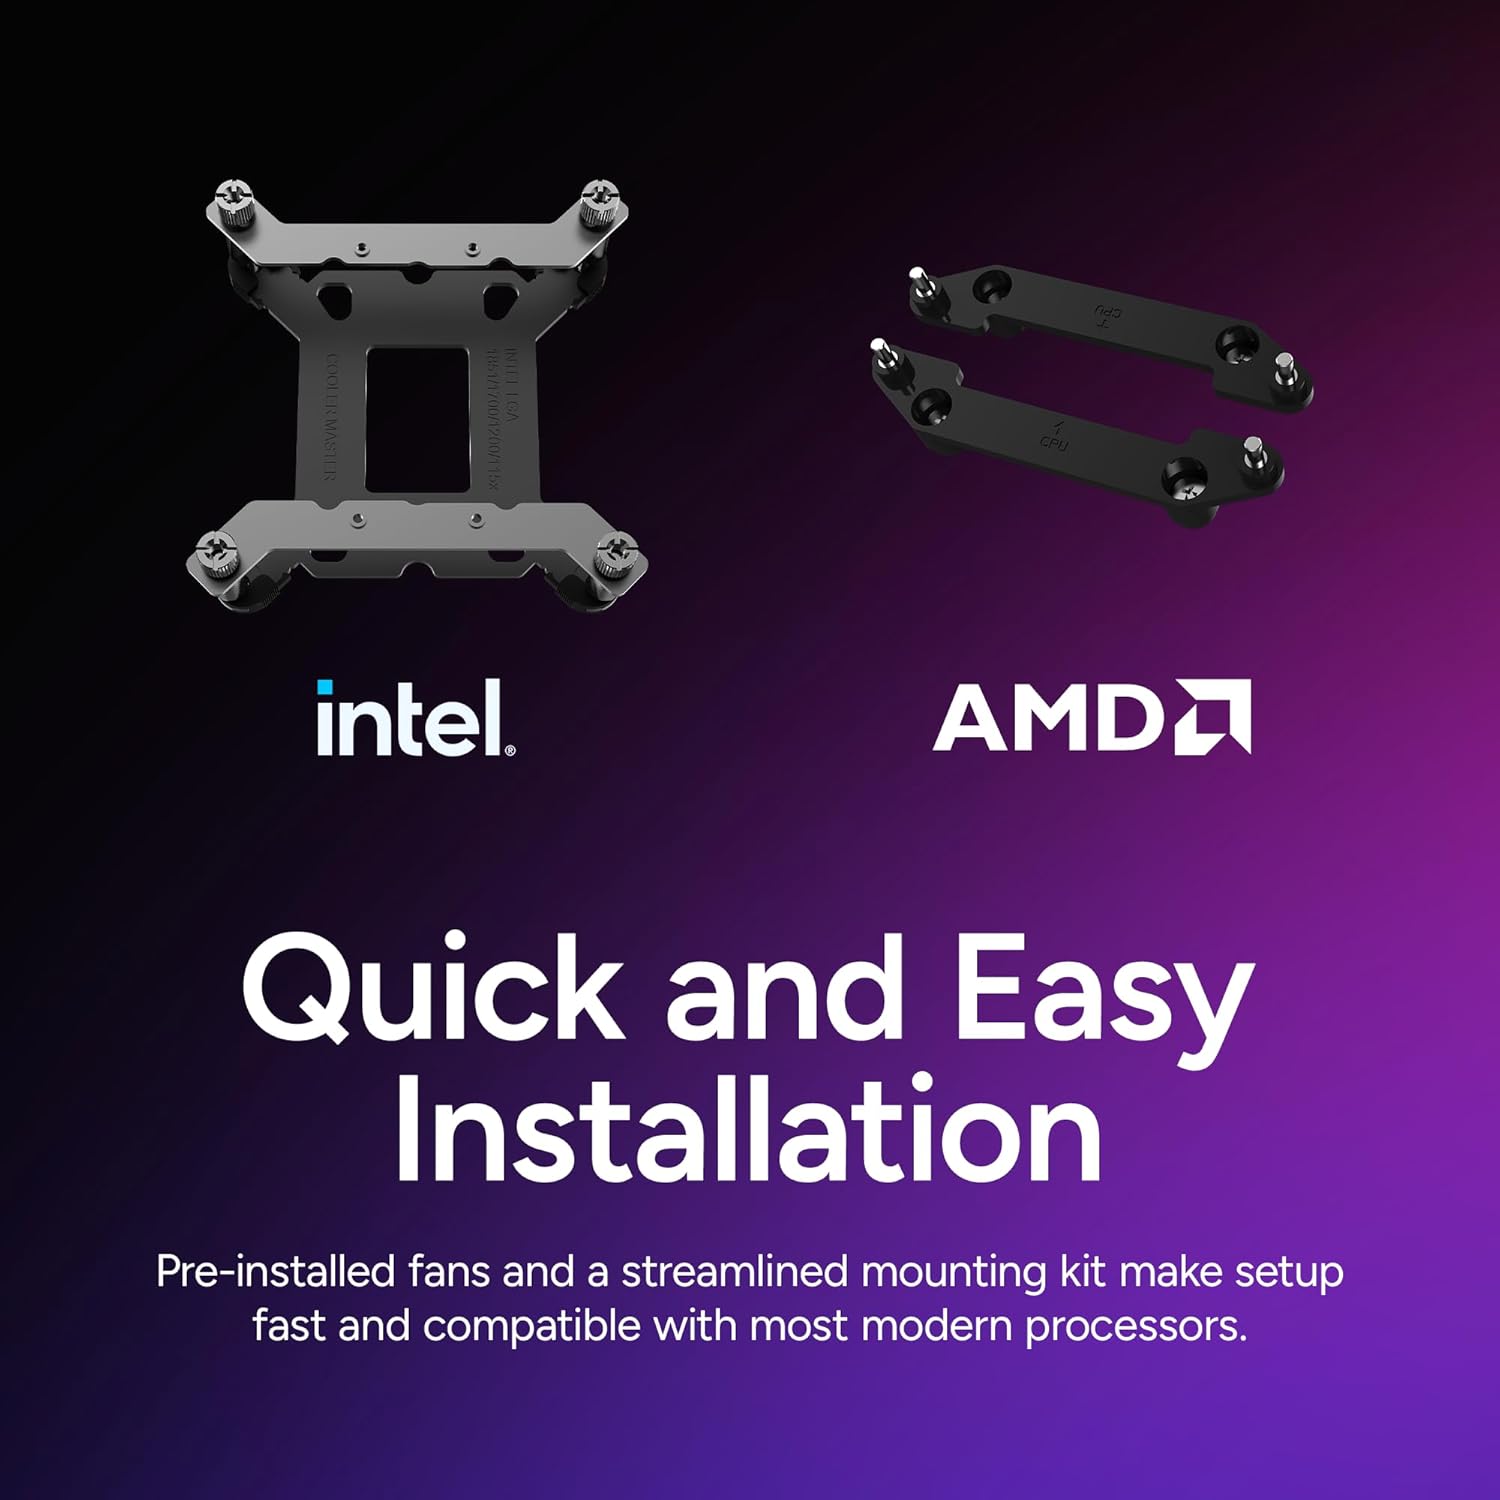
Image: Illustration of the Intel and AMD mounting hardware, highlighting the ease of installation for various CPU sockets.

Image: A visual comparison of thermal performance using standard versus offset mounting brackets for Intel LGA 1700 and LGA 1851, showing improved cooling with offset brackets for LGA 1851.
5. Operating Instructions
5.1 Initial Power On
After installation, close your PC case and reconnect the power cable. Power on your computer. The pump and fans should begin operating, and the aRGB lighting will illuminate.
5.2 aRGB Lighting Customization
The Atmos II features a programmable Pixel LED panel on the pump for custom displays. You can control the aRGB lighting effects, patterns, and system stats using the Cooler Master MasterCTRL software. Download the latest version from the official Cooler Master website.

Image: Two interchangeable magnetic pump covers, demonstrating the dual cover styles available for customization.
The pump also supports swappable decorative top covers, which attach magnetically. You can change these covers to match your system's aesthetic. Additionally, Cooler Master provides open-source mod files for 3D printing custom pump covers, faceplates, or labels, allowing for deeper personalization.

Image: A QR code and various 3D printed parts, illustrating the community customization options for pump covers and other accessories.
5.3 VRM Fan Operation
The integrated VRM fan operates automatically to cool the Voltage Regulator Modules on your motherboard, contributing to system stability under heavy loads. Its speed is typically controlled by the motherboard's fan curves or Cooler Master software, depending on your configuration.
6. Maintenance
- Dust Cleaning: Periodically clean dust from the radiator fins and fan blades using compressed air or a soft brush. Ensure fans are not spinning during cleaning.
- Inspect Tubing: Regularly check the liquid tubes for any signs of kinks, damage, or leaks.
- Pump Longevity: The Atmos II pump is engineered for durability, utilizing PPS and fiberglass for strength and heat resistance. It is designed for long-term performance.

Image: An internal view of the Atmos II pump, illustrating its robust construction designed for endurance.

Image: A cutaway view of the dual-chamber pump design, demonstrating the optimized water pressure and flow to the CPU hotspot.
7. Troubleshooting
| Problem | Possible Cause | Solution |
|---|---|---|
| No Power/Fans Not Spinning | Loose power connection, incorrect header, faulty component. |
|
| High CPU Temperatures | Insufficient thermal paste, improper cold plate contact, air bubbles in loop, fan orientation. |
|
| Unusual Noise from Pump/Fans | Air in pump, fan obstruction, loose mounting. |
|
| aRGB Lighting Not Working | Incorrect aRGB connection, software issue, incompatible header. |
|
8. Specifications
| Model Number | MLX-D36M-A25SZ-VW |
| Brand | Cooler Master |
| Product Dimensions | 14.2 x 4.8 x 1 inches; 3.1 Pounds |
| Cooling Method | Fan, Water |
| Power Connector Type | 3-Pin |
| Compatible Devices | Desktop (AMD Ryzen AM5/AM4, Intel Ultra i9 LGA 1851/1700/1200/115x) |
| UPC | 884102132001 |
| First Available | September 4, 2025 |
9. Warranty and Support
For warranty information, technical support, or to download the latest software and drivers, please visit the official Cooler Master website:
Please retain your proof of purchase for warranty claims.


