Introduction
This manual provides essential instructions for the safe assembly, operation, and maintenance of your Flybar Marvel Spidey 6V Bumper Car Ride-On Toy. Designed for children aged 18 months to 4 years, with a maximum weight capacity of 66 lbs, this ride-on toy offers interactive play with 360-degree spins, LED lights, and dual joystick controls. Please read this manual thoroughly before use and retain it for future reference.
Safety Information
- Adult Supervision Required: Always ensure an adult is present and actively supervising the child during operation of the bumper car.
- Age and Weight Limits: This toy is suitable for children aged 18 months to 4 years and supports a maximum weight of 66 lbs (30 kg). Do not exceed these limits.
- Seat Belt Use: Always secure the child with the adjustable seat belt before operating the bumper car.
- Operating Environment: Use the bumper car on flat, smooth surfaces, free from obstacles, water, or hazards. Avoid stairs, inclines, and public roads.
- Speed: The maximum speed is 1 MPH. Ensure the child understands how to control the speed and direction.
- Bumper Protection: The soft rubber bumper is designed to protect walls and furniture during minor impacts. However, avoid intentional collisions with people or objects.
- Charging: Only use the provided 120V wall charger. Do not overcharge the battery. Keep charging port dry.
- Maintenance: Regularly inspect the toy for damage, loose parts, or wear. Discontinue use if any issues are found.
What's in the Box
Upon unpacking, please verify that all the following components are present:
- Flybar Marvel Spidey 6V Bumper Car Ride-On Toy
- 6V Rechargeable Battery (pre-installed)
- 120V Wall Charger
- Instruction Manual (this document)
- Detachable Flag (if applicable)
Assembly
Assembly is quick and straightforward. Follow these steps:
- Unpack: Carefully remove all components from the packaging.
- Attach Bumper: Securely attach the soft rubber bumper around the base of the car. Ensure it is firmly in place.
- Install Flag (Optional): If included, insert the flag pole into the designated slot at the rear of the car.
- Initial Charge: Before first use, fully charge the battery as described in the "Charging the Battery" section.
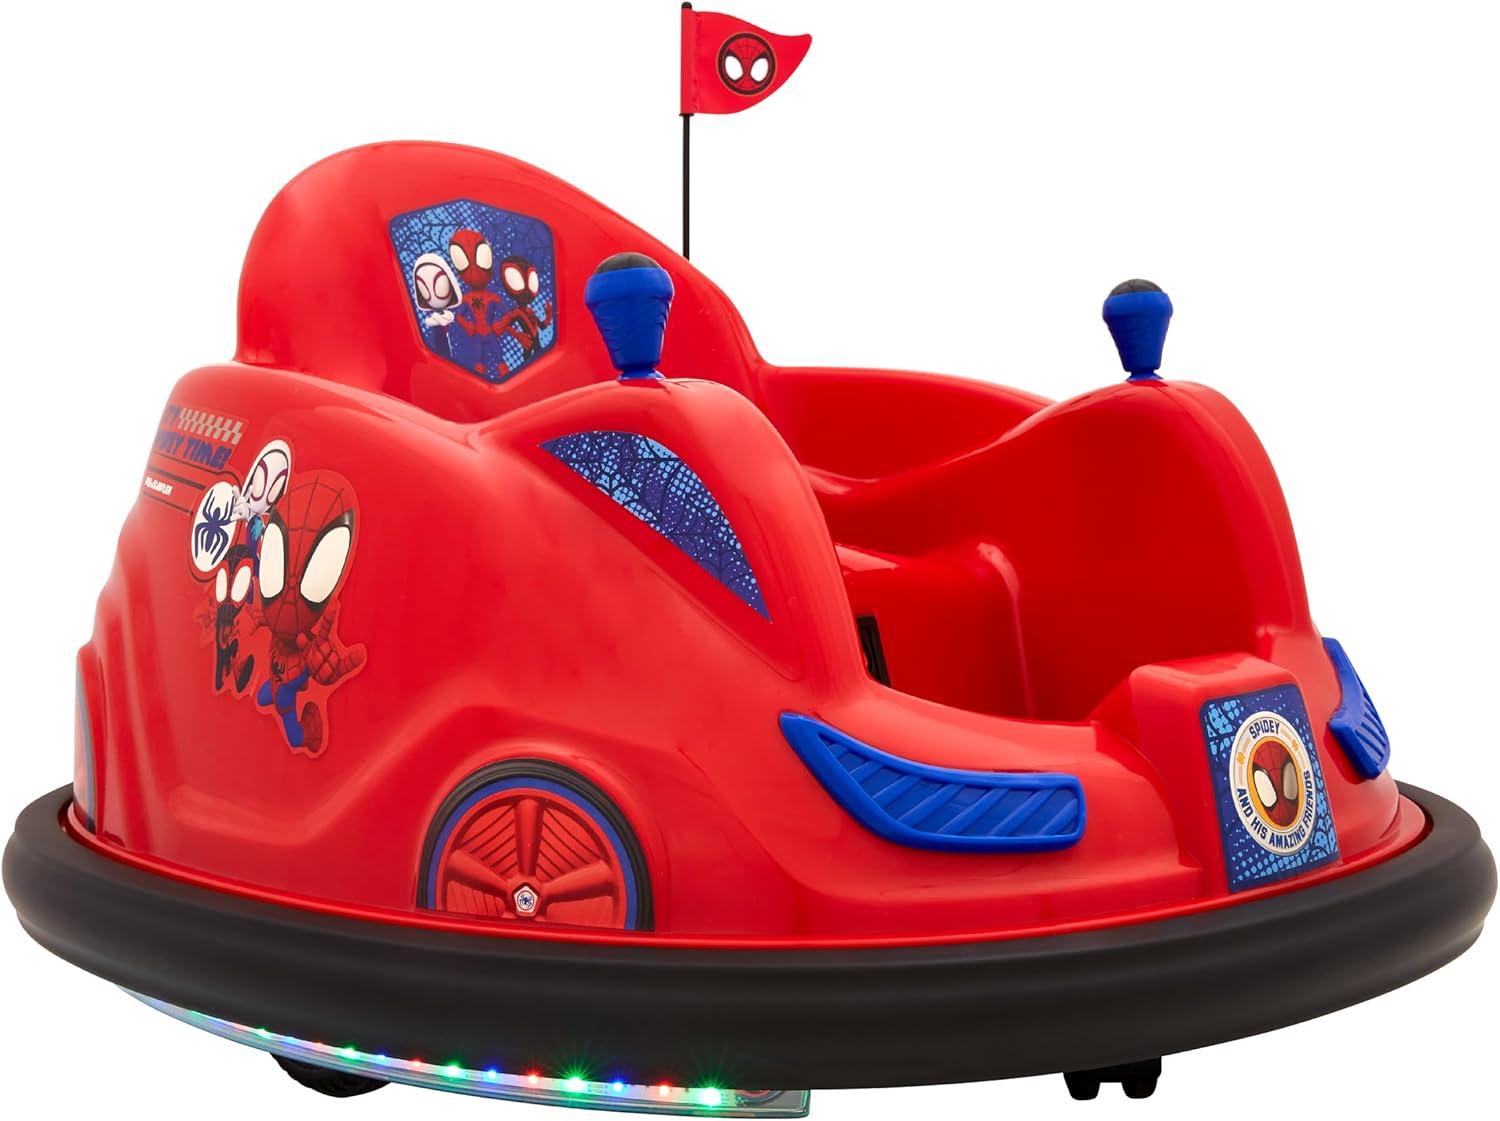
Figure 1: Fully assembled Flybar Marvel Spidey 6V Bumper Car, showcasing its red body, blue accents, Spidey decals, and black rubber bumper.
Charging the Battery
The bumper car is powered by a 6V rechargeable battery. For optimal performance and battery life, follow these charging instructions:
- Locate Charging Port: The charging port is typically located on the main body of the car, often near the seat. Refer to the diagram below.
- Connect Charger: Plug the 120V wall charger into a standard electrical outlet. Then, connect the charger's output plug into the bumper car's charging port.
- Charge Time: Allow the battery to charge for approximately 8-12 hours for the first charge. Subsequent charges typically take 6-8 hours. Do not charge for more than 18 hours.
- Charging Indicator: The charger may have an indicator light (e.g., red for charging, green for fully charged). Consult the charger's specific instructions if available.
- Disconnect: Once charging is complete, disconnect the charger from the car and then from the wall outlet.

Figure 2: Overview of the bumper car's features, including the dual joysticks for steering, the adjustable safety belt, and the location of the power button/charging port (indicated by a small red button and "Charging Port" label).
Operating Instructions
Operating the Flybar Marvel Spidey Bumper Car is designed to be intuitive for young children:
- Power On: Locate the power button (often a red switch near the seat) and press it to turn on the car. The LED lights around the base should illuminate.
- Secure Child: Place the child in the seat and fasten the adjustable seat belt securely.
- Joystick Control:
- Push both joysticks forward to move the car forward.
- Pull both joysticks backward to move the car backward.
- Push one joystick forward and pull the other backward to initiate a 360-degree spin.
- Use individual joysticks to steer left or right.
- Flashing LED Lights: The car features flashing LED lights around its base, enhancing the play experience.
- Power Off: When play is finished, press the power button again to turn off the car.

Figure 3: A child demonstrating proper seating and readiness for operation in the bumper car.

Figure 4: Another view of a child enjoying the bumper car, highlighting the recommended age and weight limits.

Figure 5: The soft rubber bumper designed to protect household surfaces during use.

Figure 6: The adjustable safety belt, an important safety feature for securing the child.
Maintenance
Proper maintenance ensures the longevity and safe operation of your bumper car:
- Cleaning: Wipe down the plastic surfaces with a damp cloth. Avoid harsh chemicals or abrasive cleaners. Ensure the charging port is dry before charging.
- Battery Care:
- Recharge the battery after each use.
- If storing for an extended period, charge the battery fully every 3 months to prevent damage.
- Do not store the battery in extreme temperatures.
- Inspection: Periodically check all screws, connections, and the seat belt for tightness and wear. Ensure the bumper is securely attached.
- Storage: Store the bumper car in a dry, cool place away from direct sunlight when not in use.
Troubleshooting
If you encounter issues with your Flybar Marvel Spidey Bumper Car, refer to the following common problems and solutions:
| Problem | Possible Cause | Solution |
|---|---|---|
| Car does not move or power on. | Battery is low or not charged. Power switch is off. Loose battery connection. | Charge the battery fully. Ensure the power switch is in the "ON" position. Check battery connections. |
| Car moves slowly or intermittently. | Low battery charge. Overload (exceeding weight limit). Operating on uneven surface. | Recharge the battery. Ensure child's weight is within limits. Use on flat, smooth surfaces. |
| LED lights are not working. | Loose wiring. Damaged LED component. | Check for visible loose wires (adult only). If damaged, contact customer support. |
If the problem persists after attempting these solutions, please contact Flybar Customer Support.
Specifications
| Feature | Detail |
|---|---|
| Product Dimensions | 27 x 22 x 25 inches (L x W x H) |
| Item Weight | 17 pounds |
| Recommended Age | 18 months and up (up to 4 years) |
| Maximum Weight Capacity | 66 lbs (30 kg) |
| Battery | 1 x 6V Rechargeable Battery (included) |
| Charger | 120V Wall Charger (included) |
| Max Speed | 1 MPH |
| Special Features | 360° Spins, LED Lights, Adjustable Seat Belt, Dual Joystick Control, Soft Rubber Bumper |
Warranty and Support
Flybar products are manufactured to high-quality standards. For information regarding warranty coverage, product support, or to purchase replacement parts, please visit the official Flybar website or contact their customer service department. Keep your purchase receipt as proof of purchase.
Manufacturer: Flybar, 220 Centennial Ave, Piscataway, NJ 08854
Website: Visit the Flybar Store on Amazon