1. Introduction
This manual provides detailed instructions for the assembly, operation, and maintenance of your knoworld Farmhouse Console Table with LED Light (Model I870100826A1). Please read this manual thoroughly before assembly and use to ensure proper function and safety.
2. Safety Information
- Always follow the assembly instructions carefully.
- Use the recommended tools, such as a screwdriver, for assembly.
- Do not exceed the maximum weight recommendation of 330 pounds (150 kg) to ensure the stability and safety of the table.
- Ensure all connections are secure before use.
- Install the provided anti-tipping device to prevent accidental tipping, especially in households with children or pets.
- Keep electrical components (LED lights) away from water or excessive moisture.

Image: Detail showing the sturdy structure and the anti-tipping device installation point. The anti-tipping device is crucial for safety.
3. Package Contents
Before beginning assembly, verify that all components listed below are present and undamaged. If any parts are missing or damaged, please contact customer support.
- Console Table components (MDF top, solid wood frame parts)
- Assembly Kits (screws, dowels, connectors)
- LED Light Strip with power adapter
- Anti-tipping device
- Instruction Manual (this document)
- Necessary assembly tools (e.g., Allen wrench, screwdriver)
4. Setup and Assembly
Assembly is designed to be straightforward. Please follow the detailed instructions provided in the separate assembly guide included with your package. An installation video may also be available for visual guidance.
- Unpack Components: Carefully remove all parts from the packaging and lay them out on a clean, soft surface to prevent scratches.
- Identify Parts: Refer to the parts list in the assembly guide to identify each component. All components are clearly labeled.
- Assemble Frame: Follow the step-by-step diagrams in the assembly guide to connect the frame pieces using the provided hardware. Ensure all screws are tightened securely but do not overtighten.
- Attach Top: Secure the MDF tabletop to the assembled frame.
- Install LED Light Strip: Adhere the LED light strip to the designated area as shown in the assembly guide. Connect the power adapter.
- Install Anti-Tipping Device: Securely attach the anti-tipping device to the table and to a wall stud, following the specific instructions provided. This step is critical for safety.
Tools Recommended: Screwdriver.
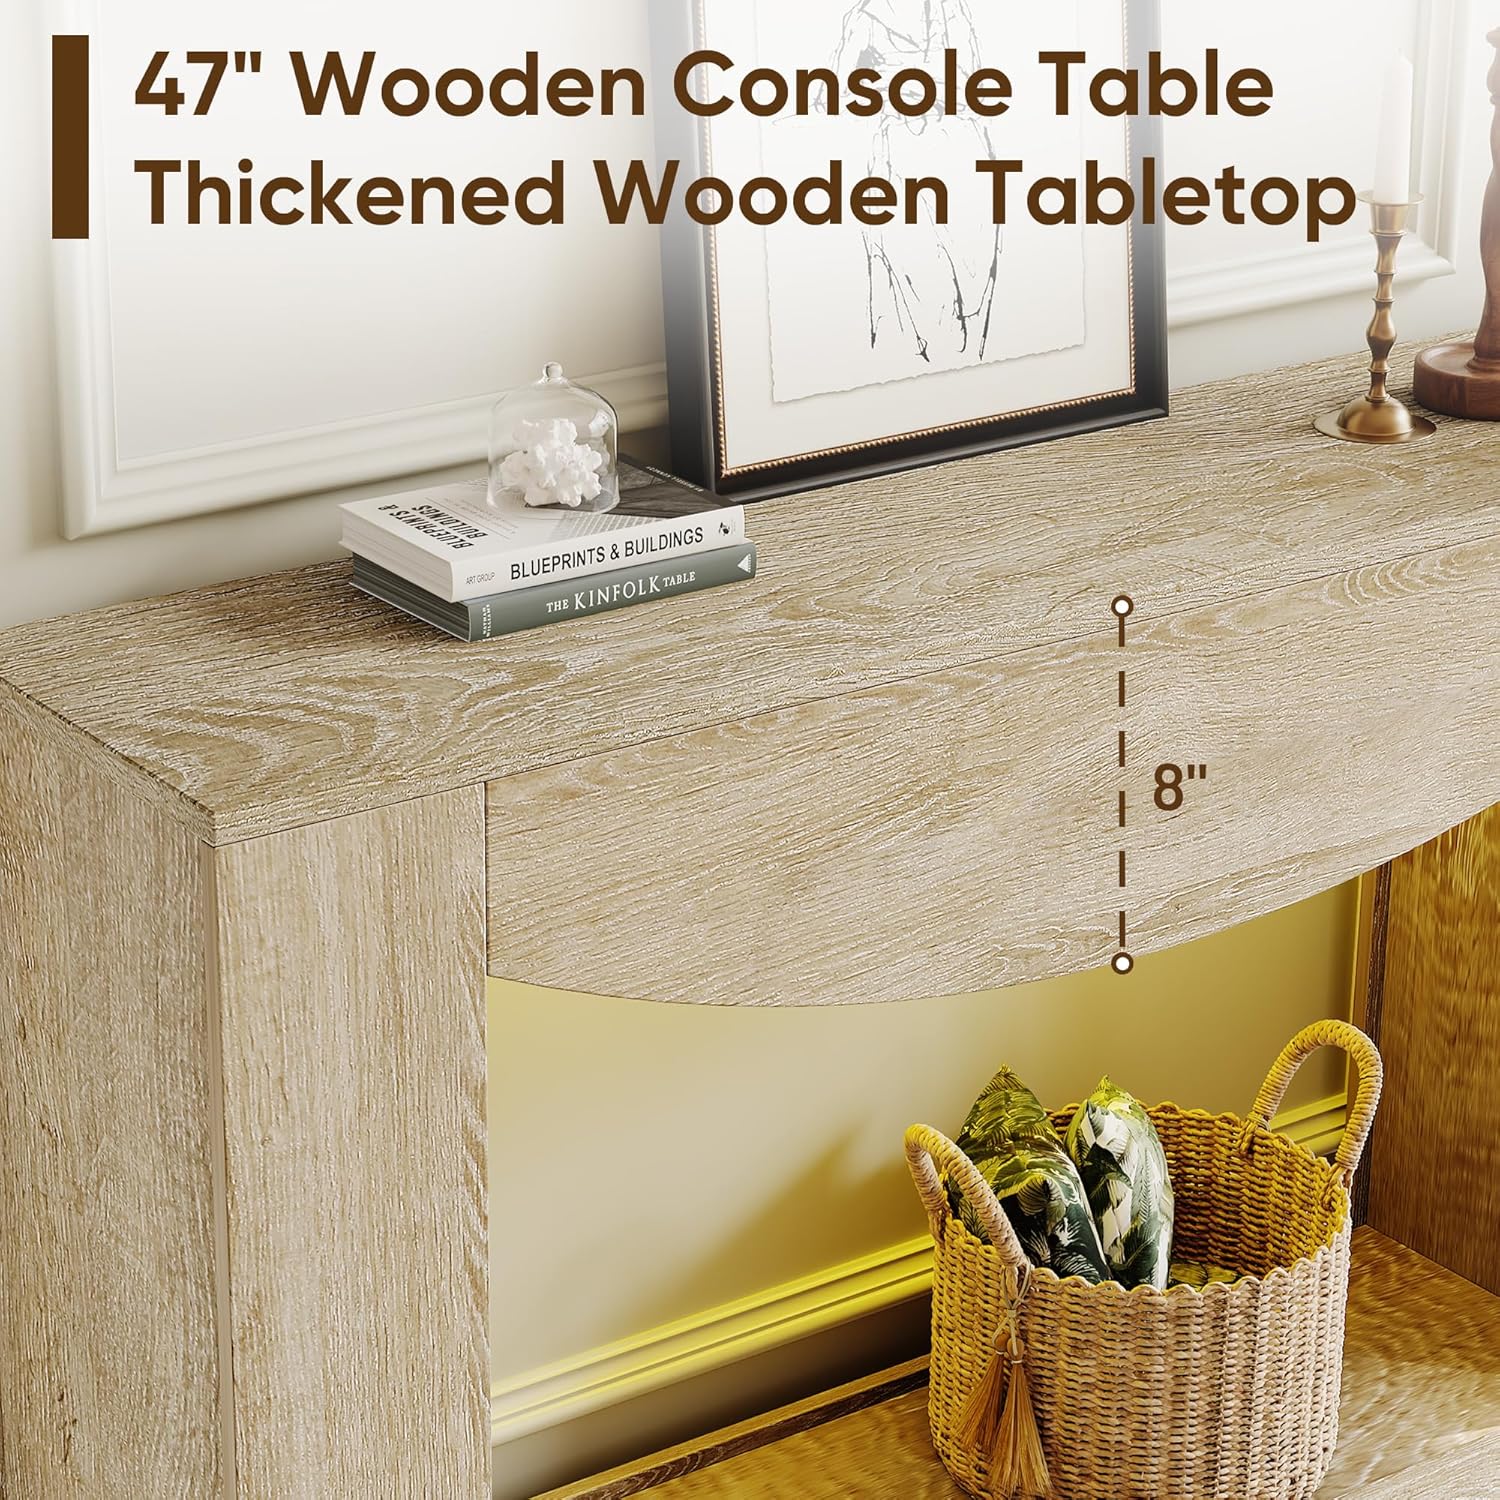
Image: Dimensional diagram of the console table, illustrating overall height, width, depth, and internal clearances.
5. Operating Instructions (LED Light)
Your console table features a built-in RGB LED light strip with customizable colors and adjustable brightness.
- Power On/Off: Plug the LED light strip's power adapter into a standard electrical outlet. The light can be turned on or off using the inline controller or remote control (if included).
- Change Colors: Use the controller to select from 16 million available colors.
- Adjust Brightness: The controller also allows you to increase or decrease the brightness of the LED lights to suit your preference.
- Modes: Some controllers may offer various lighting modes (e.g., fade, strobe, smooth). Refer to the LED light strip's specific instructions for detailed mode operation.

Image: Examples of the console table with the RGB LED light strip illuminated in different colors, demonstrating the customizable lighting options.
6. Maintenance and Care
To maintain the appearance and longevity of your console table, follow these care instructions:
- Cleaning: The stain-resistant, polished surface can be easily wiped clean with a damp cloth. Avoid using harsh chemicals or abrasive cleaners, which may damage the finish.
- Dusting: Regularly dust the table with a soft, dry cloth.
- Spills: Wipe up spills immediately to prevent staining.
- Placement: Avoid placing the table in direct sunlight or near heat sources, as this can cause fading or warping.
- Inspections: Periodically check all screws and connections to ensure they remain tight. Retighten if necessary.
7. Troubleshooting
| Problem | Possible Cause | Solution |
|---|---|---|
| Table is wobbly or unstable. | Loose connections or uneven floor. | Check and tighten all assembly screws. Ensure the table is on a level surface. Adjust leg levelers if present. |
| LED light strip is not turning on. | Power adapter unplugged, faulty connection, or damaged strip. | Ensure the power adapter is securely plugged into both the strip and the wall outlet. Check for any visible damage to the strip or wiring. Try a different outlet. |
| LED light colors or brightness cannot be changed. | Controller issue or battery (if remote). | If using a remote, check or replace its battery. Ensure the controller is properly connected to the LED strip. |
8. Specifications
| Feature | Detail |
|---|---|
| Model Name | I870100826A1 |
| Brand | knoworld |
| Product Dimensions (D x W x H) | 11.8"D x 47.2"W x 31.7"H (30cm D x 120cm W x 80.5cm H) |
| Item Weight | 40.76 Pounds (18.49 kg) |
| Maximum Weight Recommendation | 330 Pounds (150 kg) |
| Frame Material | Wood |
| Top Material Type | MDF (Medium-Density Fiberboard) with wood-like finish |
| Color | Natural |
| LED Lighting | RGB, 16 million customizable colors, adjustable brightness |
| Stain Resistant | Yes |
| Required Assembly | Yes |
| Indoor/Outdoor Usage | Indoor only |
9. Warranty and Support
Specific warranty information for the knoworld Farmhouse Console Table (Model I870100826A1) is not provided in the product data. For details regarding warranty coverage, returns, or technical support, please refer to the seller's policy or contact knoworld customer service directly through their official channels or the platform where the product was purchased.
Always retain your proof of purchase for any warranty claims or support inquiries.