1. Introduction
Thank you for choosing the MekiPow Cordless Snow Shovel. This manual provides essential information for the safe and efficient assembly, operation, and maintenance of your snow shovel. Please read all instructions carefully before using the product to ensure proper function and to prevent injury or damage. Keep this manual for future reference.
2. Safety Information
Always prioritize safety when operating power tools. Failure to follow these safety guidelines may result in serious injury.
- Read All Instructions: Familiarize yourself with the controls and proper use of the snow shovel.
- Wear Appropriate Safety Gear: Always wear eye protection, hearing protection, and sturdy footwear. Avoid loose clothing that could get caught in moving parts.
- Keep Area Clear: Ensure the area to be cleared is free of debris, rocks, or other objects that could be thrown by the snow shovel. Keep bystanders, children, and pets away from the operating area.
- Inspect Before Use: Before each use, check the unit for any loose parts, damage, or wear. Do not operate if damaged.
- Use Correct Batteries: This snow shovel is compatible with DeWalt 20V MAX batteries. Using incompatible batteries may cause damage or injury.
- Safety Lock Switch: The unit features a safety lock switch to prevent accidental operation. Always engage the safety lock when not actively clearing snow.
- Avoid Overloading: Do not attempt to clear snow deeper or heavier than the unit is designed for.
- Maintain Firm Grip: Always hold the snow shovel firmly with both hands during operation.
3. Product Components
The MekiPow Cordless Snow Shovel consists of the following main components:
- Motor Unit: Houses the brushless motor and battery slot.
- Handle Assembly: Includes the main handle with trigger switch and safety lock button, and an adjustable front handle.
- Shovel Head: Contains the auger and adjustable chute for snow discharge.
- LCD Display: Provides real-time battery status.

Figure 3.1: Labeled components of the MekiPow Cordless Snow Shovel.

Figure 3.2: LCD display showing battery charge percentage.
4. Assembly
The MekiPow Cordless Snow Shovel is designed for quick and easy assembly.
- Connect Handle Sections: Align the upper and lower handle sections and push them together until they securely click into place. Ensure the electrical connection is firm.
- Attach Front Handle: Slide the adjustable front handle onto the shaft. Secure it at a comfortable operating height using the locking mechanism.
- Insert Battery: Insert a fully charged DeWalt 20V MAX battery into the battery slot on the motor unit until it locks into position.

Figure 4.1: Quick installation of the snow shovel components.
5. Operation
Follow these steps for safe and effective snow clearing:
- Start the Unit: Press and hold the safety lock button, then squeeze the trigger switch to start the motor. Release the safety lock button once the motor is running.
- Clear Snow: Push the snow shovel forward into the snow. The auger will collect and discharge the snow. Move at a steady pace to avoid overloading the motor.
- Adjust Snow Direction: The shovel features an adjustable chute. Lift the adjustment knob and turn the chute left or right to direct the snow up to 16.5 feet away.
- Optimal Use: This cordless snow shovel is ideal for clearing light to moderate snow accumulation, up to 6 inches deep, from driveways, decks, patios, sidewalks, and steps.
- Stop the Unit: Release the trigger switch to stop the motor.

Figure 5.1: Operating the snow shovel and snow throwing distance.

Figure 5.2: Clearing width and depth capabilities.

Figure 5.3: Adjustable handle for ergonomic use.

Figure 5.4: Cordless design offers unrestricted movement.
Video 5.1: Demonstration of the MekiPow Cordless Snow Shovel in operation, clearing snow from a path.
6. Maintenance
Regular maintenance ensures the longevity and optimal performance of your snow shovel.
- Cleaning: After each use, remove the battery and clean any snow, ice, or debris from the shovel head, auger, and chute. Use a damp cloth for the exterior. Do not use harsh chemicals.
- Storage: Store the snow shovel in a dry, protected area away from direct sunlight and extreme temperatures. Remove the battery before storing for extended periods.
- Battery Care: Follow the manufacturer's instructions for your DeWalt 20V MAX batteries regarding charging, storage, and temperature conditions.
7. Troubleshooting
If you encounter issues with your MekiPow Cordless Snow Shovel, refer to the following common problems and solutions:
| Problem | Possible Cause | Solution |
|---|---|---|
| Unit does not start | Battery not inserted correctly or discharged; Safety lock not engaged; Trigger not fully squeezed. | Ensure battery is fully charged and properly seated. Press safety lock button before squeezing trigger. |
| Reduced snow throwing distance/power | Low battery charge; Overloading with too much snow; Clogged chute. | Recharge battery. Clear snow in smaller passes. Turn off unit and clear any blockages from the chute. |
| Unit stops during operation | Overload protection activated; Battery depleted. | Reduce load on the unit. Allow motor to cool if overheated. Replace or recharge battery. |
8. Specifications
| Feature | Specification |
|---|---|
| Model Number | DW-CXJ-1630 |
| Brand | MekiPow |
| Dimensions (L x W x H) | 8 x 13 x 55 inches |
| Item Weight | 10.33 pounds (4.7 kg) |
| Clearing Width | 12 inches |
| Clearing Depth | Up to 6.2 inches |
| Max Throwing Distance | 16.5 feet |
| Blade Material | Stainless Steel |
| Motor Type | Brushless Motor |
| Battery Compatibility | DeWalt 20V MAX (e.g., DCB210, DCB612, DCB205, DCB208, DCB201, DCB206, DCB204, DCB240, DCB207, DCB230, DCB203, DCB205G, DCB205NNO, DCB201NNO, DCB615, DCB203G, DCB205BT, DCB203BT, DCB200) |
| UPC | 761740102378 |
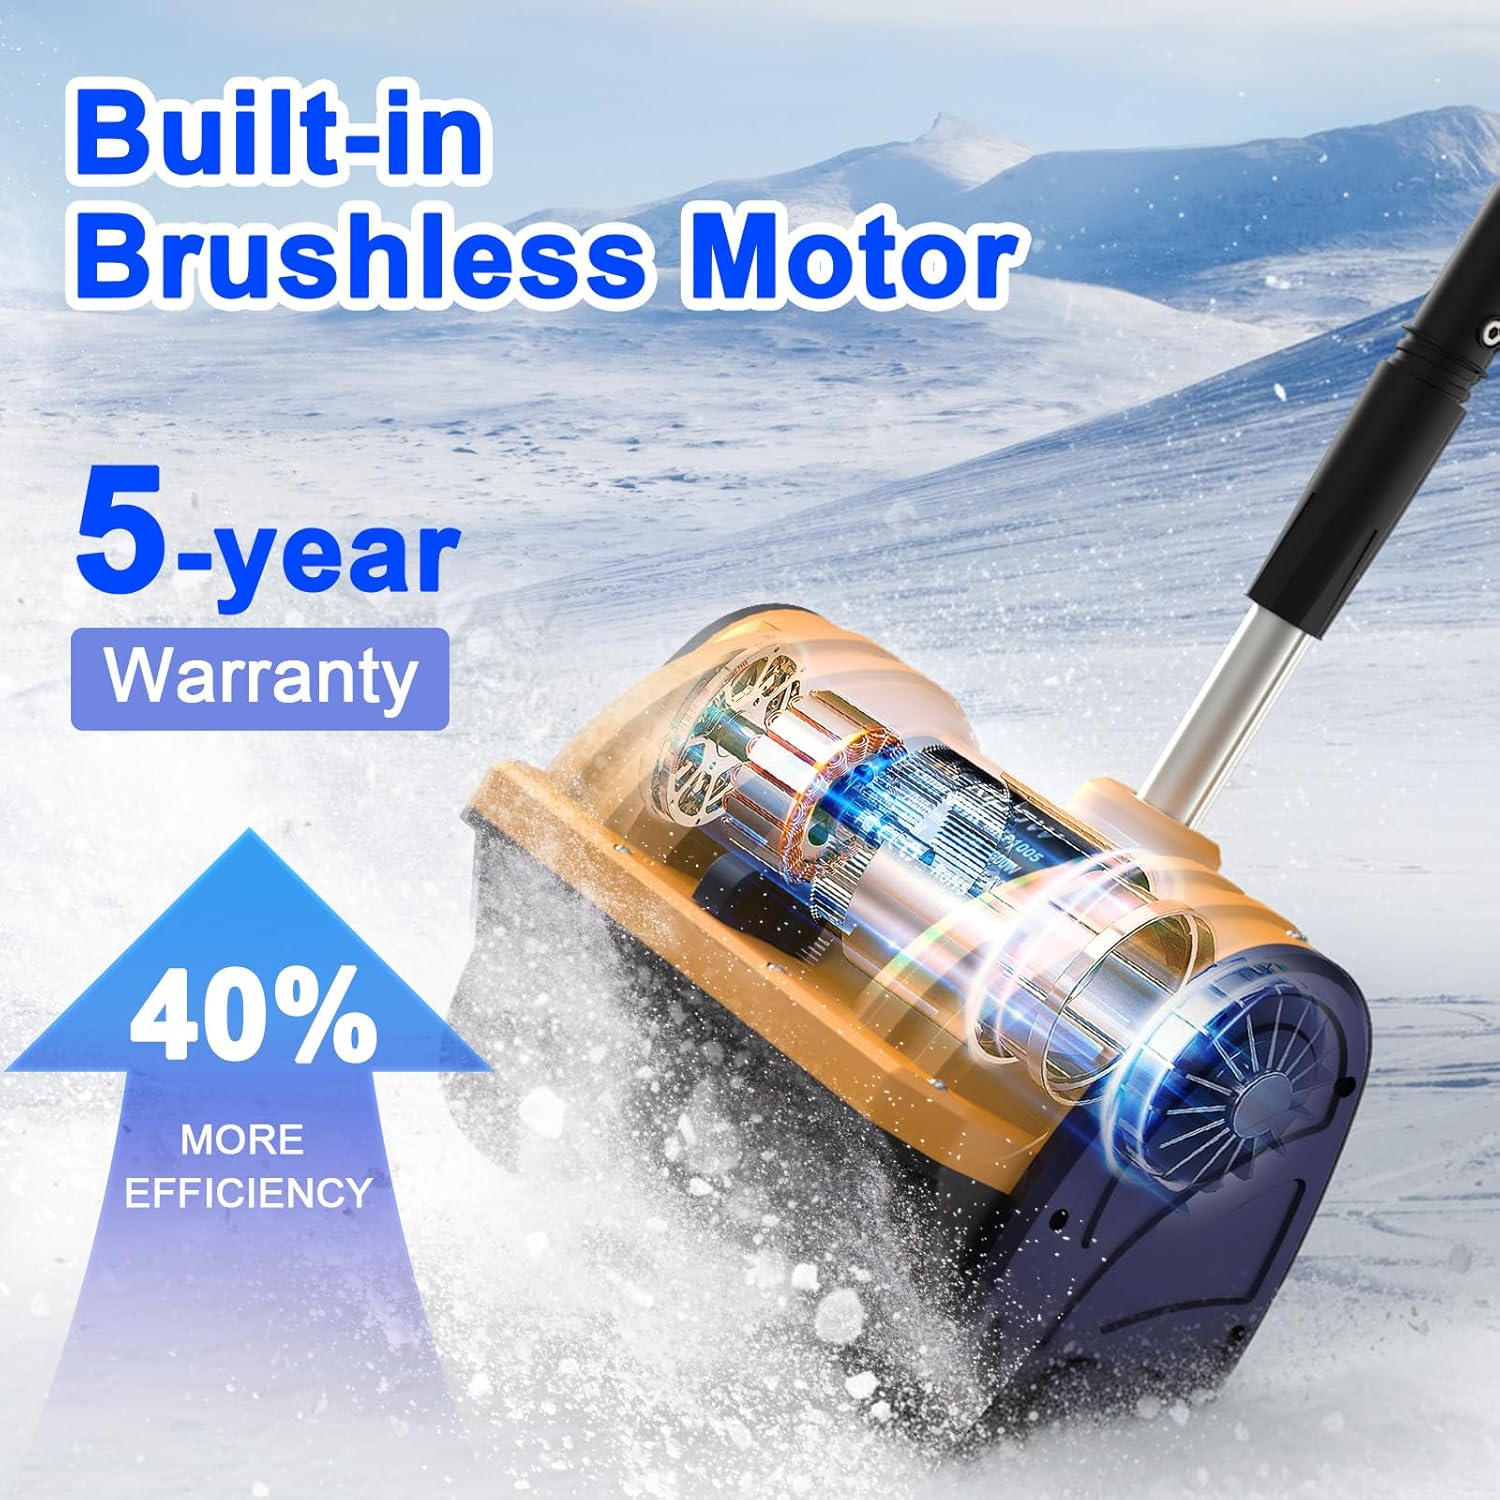
Figure 8.1: Internal view of the brushless motor.
9. Warranty and Support
MekiPow is committed to product quality and customer satisfaction. If you experience any issues with your snow shovel, please contact the seller directly through your purchase platform for assistance. Refer to your purchase documentation for specific warranty details and contact procedures.