
1. Introduction
This manual provides detailed instructions for the setup, operation, and maintenance of your Shaopao Wireless Home Camera 4K (Model X1X1). Please read this manual thoroughly before using the device to ensure proper functionality and safety.
Package Contents
- Camera Set
- Bracket
- Charging Cable
- Mounting Kit
- User Manual

Image 1.1: Shaopao Wireless Home Camera 4K and included accessories.
2. Safety Information
- Do not expose the camera to extreme temperatures, humidity, or direct sunlight.
- Avoid dropping or subjecting the camera to strong impacts.
- Use only the provided charging cable or a certified equivalent.
- Keep the camera away from water and other liquids.
- Do not attempt to disassemble or modify the camera. This will void the warranty.
- Ensure the camera is securely mounted to prevent accidental falls.
3. Product Features
The Shaopao Wireless Home Camera 4K is designed for versatile indoor surveillance, offering a range of features for effective monitoring.
3.1 4K Ultra HD Resolution
The camera captures video in 4K Ultra HD, providing clear and detailed footage for enhanced monitoring. This high resolution ensures that important details are visible.
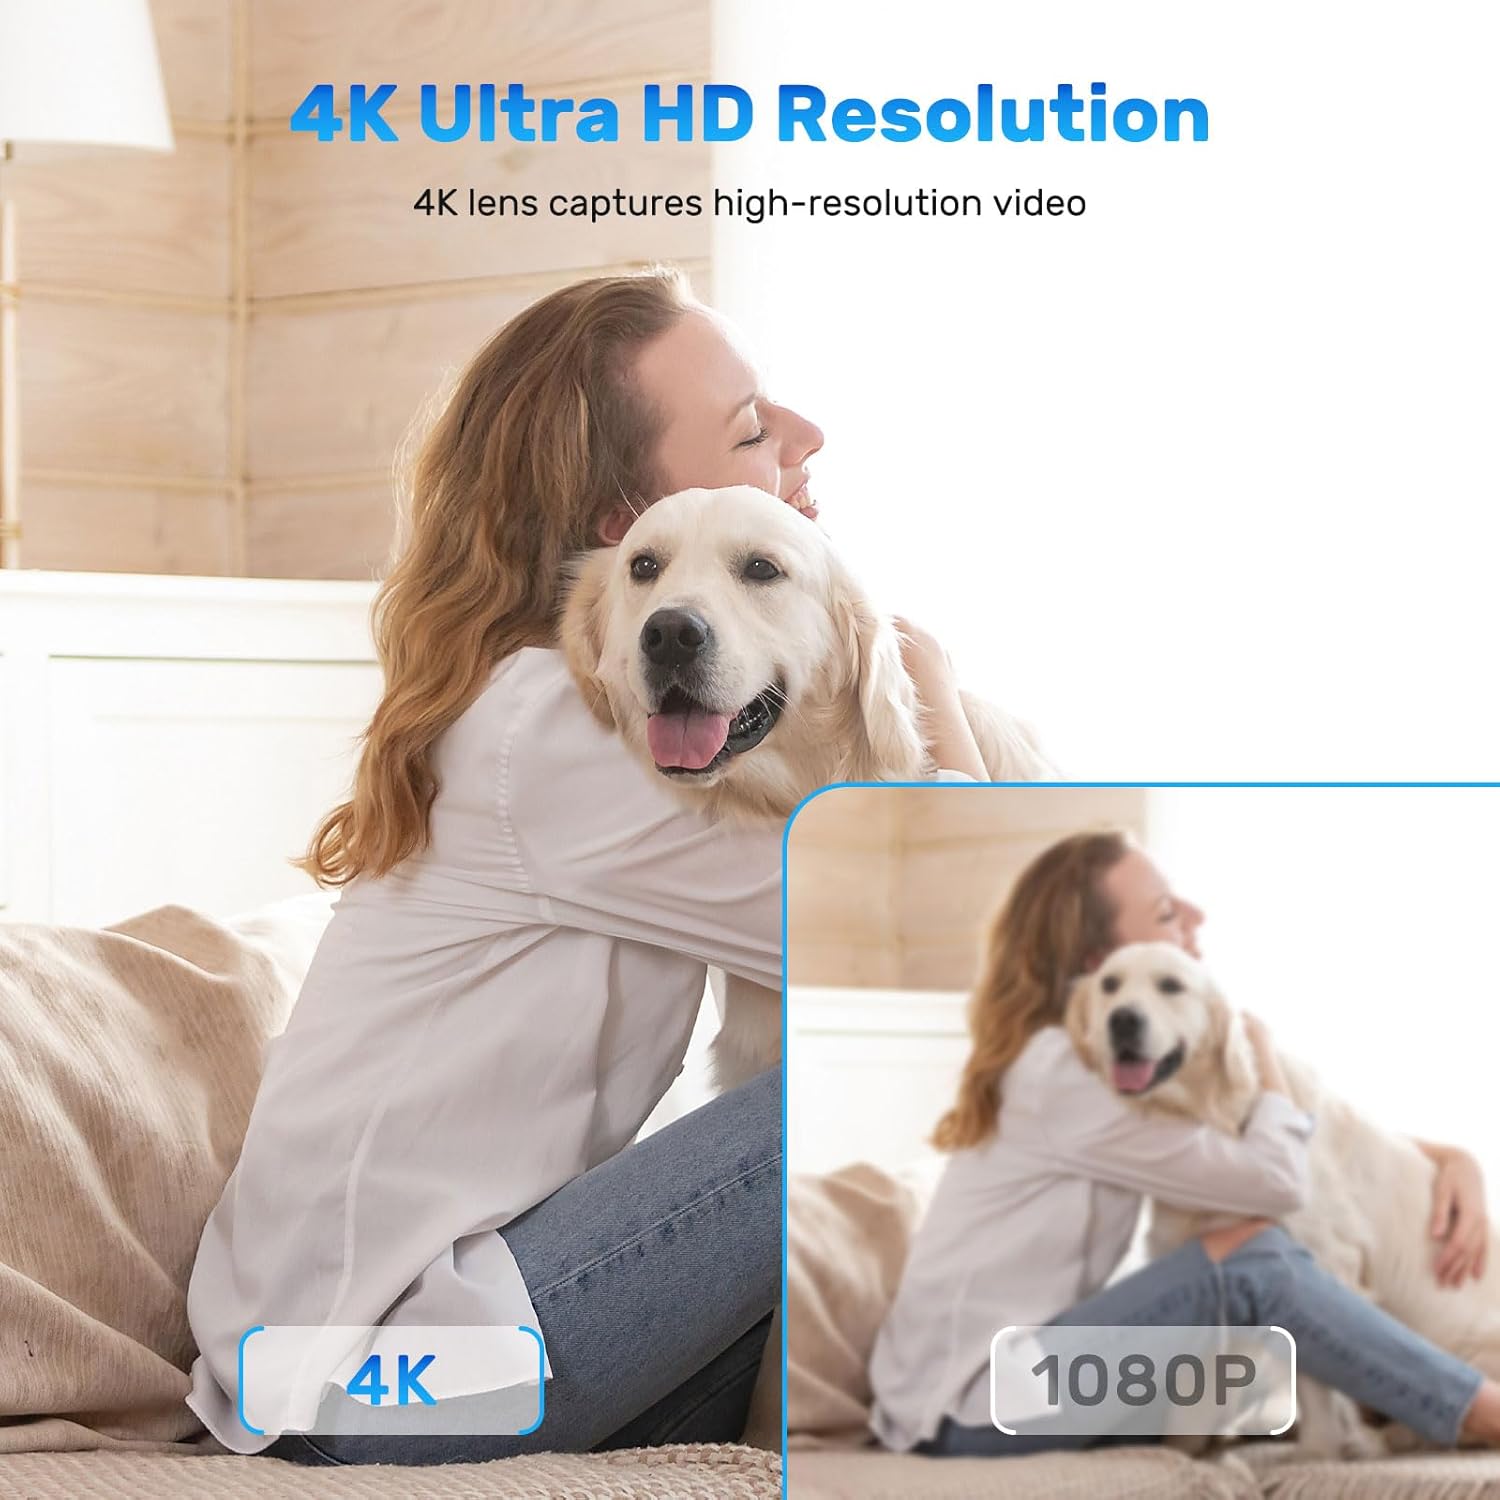
Image 3.1: Visual comparison of 4K Ultra HD resolution versus 1080P.
3.2 Automatic Infrared Night Vision
Equipped with automatic infrared night vision, the camera provides clear visibility up to 20 feet in low-light conditions or complete darkness, ensuring 24/7 monitoring capabilities.

Image 3.2: The camera's automatic night vision feature in action.
3.3 Smart Motion Detection
The camera features smart motion detection, which can trigger recording and send instant alerts to your connected device. This allows for real-time monitoring of activity.

Image 3.3: Example of a motion detection alert received on a smartphone.
3.4 Magnetic Mounting
The camera includes a built-in magnet and a stand, allowing for flexible placement. It can be easily installed on walls, placed on desktops, or attached to iron surfaces like refrigerators without additional mounting hardware.
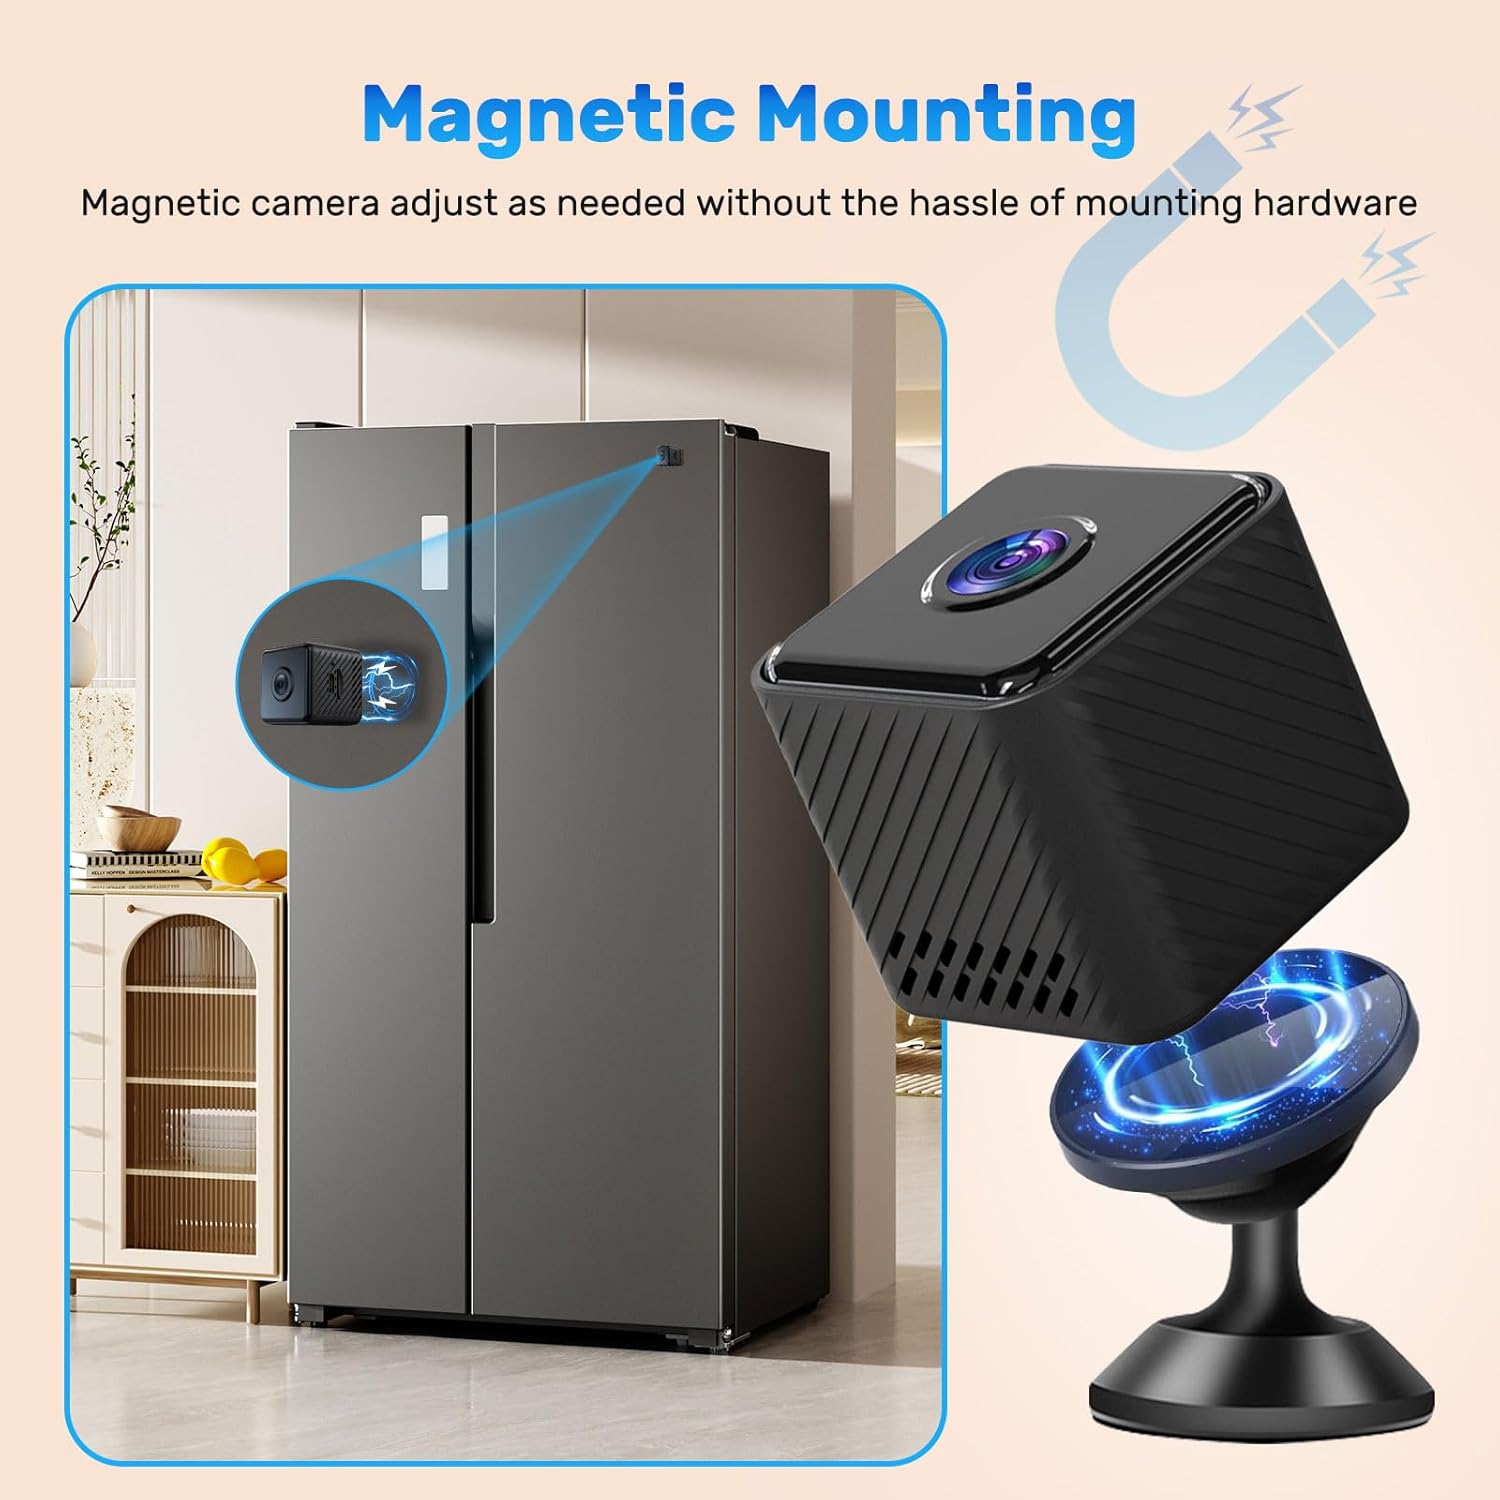
Image 3.4: The camera utilizing its magnetic mounting feature on a metallic surface.
3.5 Wireless Connectivity (Wi-Fi)
The camera connects via Wi-Fi (2.4G) for remote access and control through a dedicated mobile application.
3.6 Built-in Battery and Storage Options
An 1800mAh built-in battery provides approximately 5 hours of continuous wireless operation. The camera supports loop recording with an SD card (not included) and offers optional cloud storage for video backup and playback.

Image 3.5: The camera's built-in battery capacity and operational duration.

Image 3.6: Storage options: Cloud Storage and Micro SD Card support.
3.7 Multi-user Sharing
The camera supports real-time multi-user sharing, allowing multiple family members or authorized individuals to view the live feed simultaneously via the app.
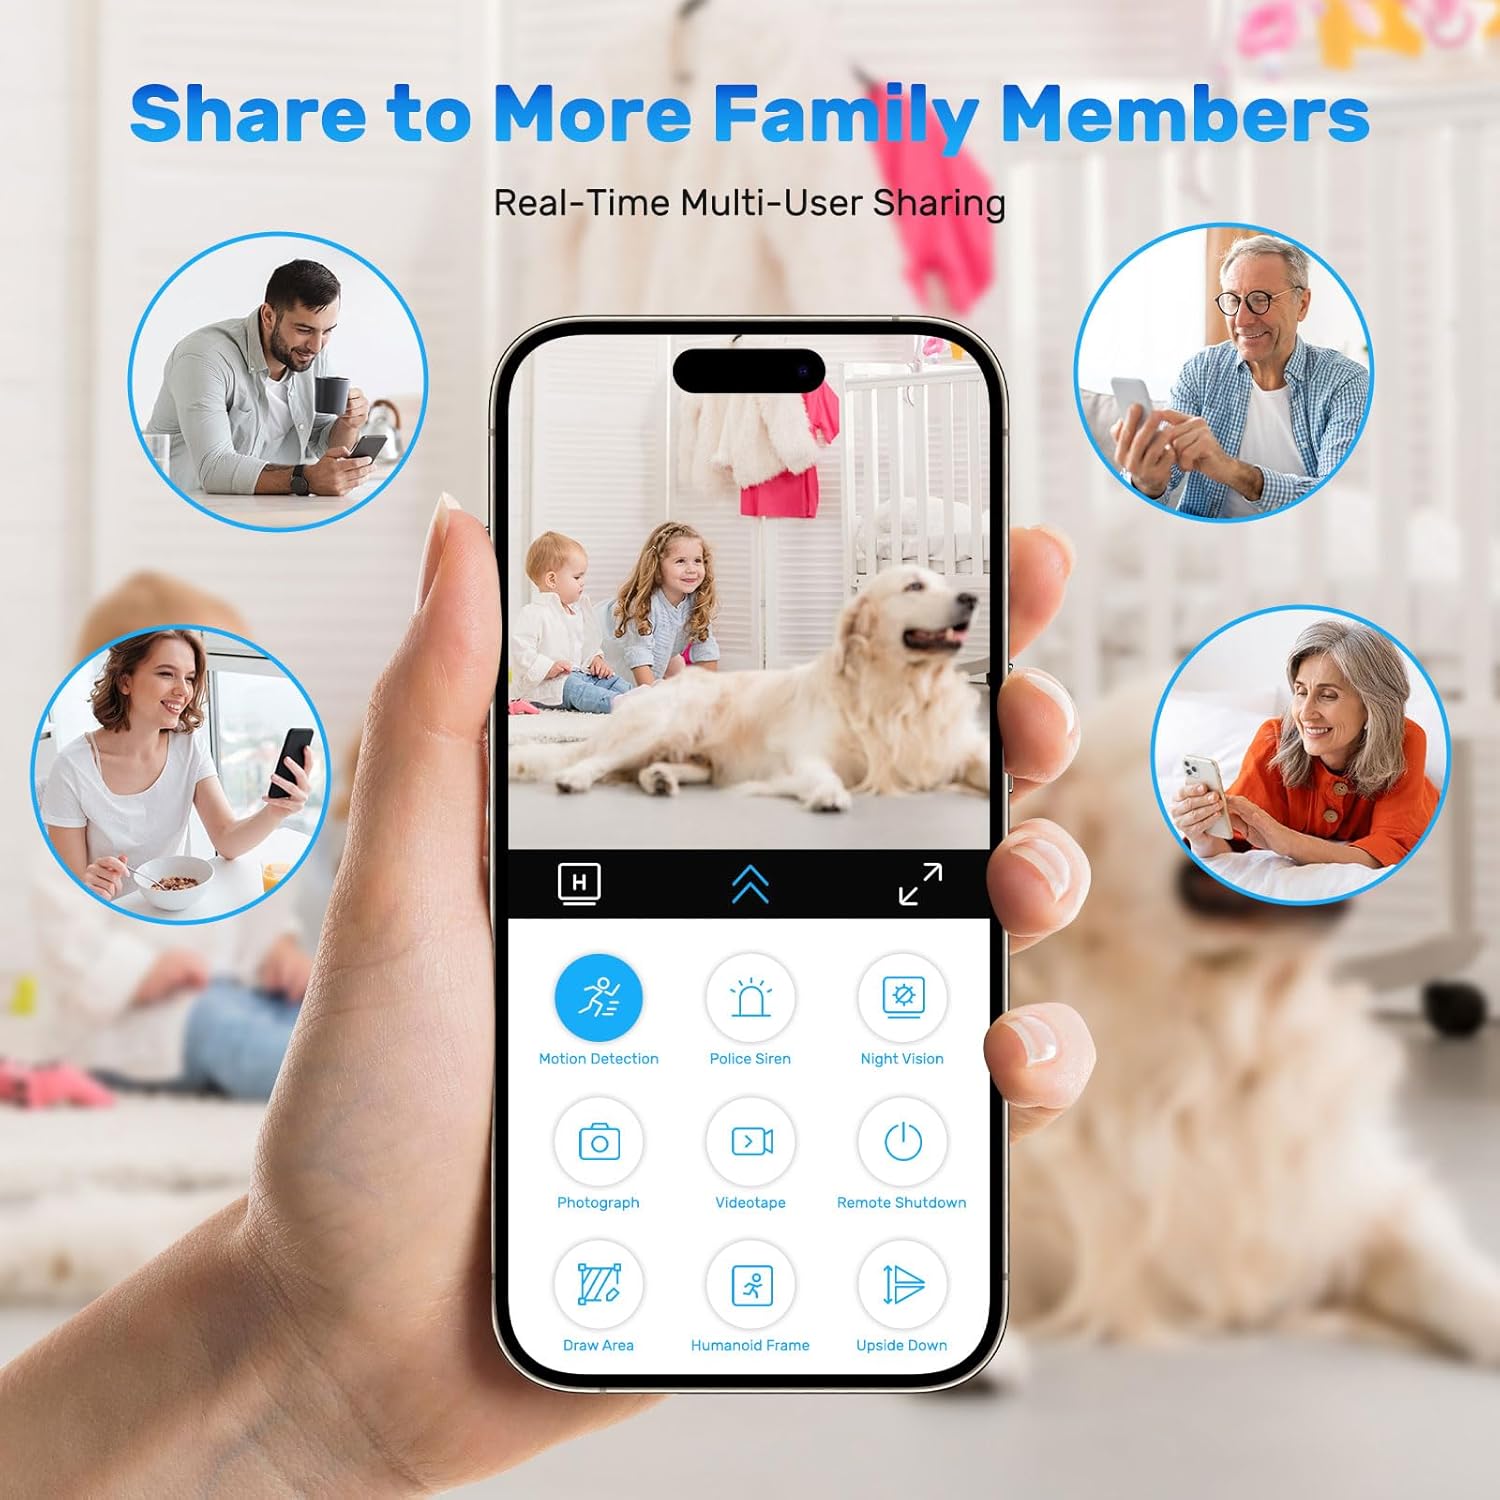
Image 3.7: Illustrating the multi-user sharing capability of the camera.
4. Setup Guide
4.1 Charging the Camera
Before first use, fully charge the camera using the provided USB charging cable. Connect the cable to the camera's charging port and a standard USB power adapter (not included). The charging indicator light will show the charging status.
4.2 Inserting a Micro SD Card
To enable local recording, insert a Micro SD card (up to 128GB, not included) into the designated slot on the camera. Ensure the card is inserted correctly with the contacts facing the proper direction. The camera supports loop recording, overwriting the oldest footage when the card is full.
4.3 Downloading the Mobile Application
Scan the QR code provided in the packaging or search for the dedicated camera application (e.g., 'O-KAM Pro' as seen in images) in your device's app store (App Store for iOS, Google Play Store for Android). Install the application on your smartphone or tablet.
4.4 Connecting to Wi-Fi
- Power on the camera.
- Open the installed mobile application and create an account or log in.
- Follow the in-app instructions to add a new device. This typically involves selecting your Wi-Fi network (2.4GHz only) and entering the password.
- The app may require you to scan a QR code displayed on your phone with the camera lens or listen for an audio pairing signal.
- Once connected, the camera's status indicator will change, and you will see the live feed in the app.
4.5 Mounting the Camera
Utilize the magnetic base or the included mounting kit to position the camera. Ensure the camera is placed in a location that provides the desired viewing angle and is within range of your Wi-Fi network. The 150-degree wide-angle lens offers broad coverage.

Image 4.1: The camera's 150-degree wide-angle field of view.
5. Operating Instructions
5.1 Live View
Open the mobile application and select your camera from the device list to access the live video feed. You can view real-time footage from anywhere with an internet connection.
5.2 Recording
- Continuous Recording: If an SD card is inserted, the camera will continuously record footage, overwriting the oldest files when the card is full.
- Motion-Activated Recording: Enable motion detection in the app settings. The camera will automatically record when motion is detected and send alerts.
5.3 Playback
To review recorded footage, navigate to the playback section within the mobile application. You can select specific dates and times to view recordings stored on the SD card or in cloud storage (if subscribed).

Image 5.1: The mobile application's video playback interface.
5.4 Night Vision Mode
The camera automatically switches to infrared night vision in low-light conditions. No manual intervention is typically required.
5.5 Sharing Camera Access
Within the app, you can invite other users to view your camera's feed. This feature allows multiple authorized individuals to monitor the area simultaneously.
6. Maintenance
6.1 Cleaning the Camera
Use a soft, dry cloth to clean the camera lens and body. Do not use liquid cleaners or abrasive materials, as they may damage the device.
6.2 Battery Care
To prolong battery life, avoid fully discharging the camera frequently. If storing the camera for an extended period, charge it to about 50% and store it in a cool, dry place.
6.3 Firmware Updates
Periodically check the mobile application for available firmware updates. Keeping the camera's firmware updated ensures optimal performance and access to new features.
7. Troubleshooting
7.1 Camera Not Powering On
- Ensure the camera is fully charged. Connect it to a power source using the charging cable.
- Check if the charging cable and adapter are working correctly.
7.2 Unable to Connect to Wi-Fi
- Verify that your Wi-Fi network is 2.4GHz. The camera does not support 5GHz networks.
- Ensure the camera is within range of your Wi-Fi router.
- Double-check the Wi-Fi password entered in the app.
- Restart your Wi-Fi router and the camera.
- If issues persist, try resetting the camera to factory settings (refer to the app or packaging for reset instructions).
7.3 Poor Video Quality
- Ensure the camera lens is clean and free from dust or smudges.
- Check your Wi-Fi signal strength. A weak signal can affect video streaming quality.
- Verify that the camera is set to 4K resolution in the app settings, if applicable.
7.4 SD Card Not Recording
- Ensure the Micro SD card is inserted correctly.
- Check if the SD card is formatted correctly (usually FAT32). You may need to format it via the app or a computer.
- Verify that the SD card is not full. The camera supports loop recording, but a faulty card might prevent this.
- Try using a different, known-good Micro SD card.
8. Specifications
| Feature | Specification |
|---|---|
| Model Name | X1X1 |
| Video Capture Resolution | 4K |
| Indoor/Outdoor Usage | Indoor |
| Power Source | Battery Powered (1800mAh) |
| Connectivity Protocol | Wi-Fi (2.4GHz) |
| Controller Type | APP |
| Special Feature | Motion Sensor, Night Vision |
| Item Dimensions (L x W x H) | 1.2 x 1.2 x 0.6 inches |
| Item Weight | 3.87 ounces |
| Storage Support | Micro SD Card (up to 128GB), Cloud Storage |
| Manufacturer | Shaopao |
9. Warranty and Support
For warranty information and technical support, please refer to the documentation provided with your purchase or contact the seller directly. Keep your purchase receipt for warranty claims.