1. Introduction
This manual provides detailed instructions for the installation, operation, and maintenance of your Kol Air 9000 BTU Mini Split Air Conditioner and Heat Pump, Model 9000BTU-115V. This system is designed to provide efficient cooling and heating for spaces up to 500 square feet, featuring a 19 SEER2 rating for energy efficiency and ultra-quiet operation. Please read this manual thoroughly before installation and use to ensure proper function and safety.

Figure 1: Kol Air 9000 BTU Mini Split System Components
2. Safety Information
- Installation must be performed by qualified personnel in accordance with all local and national electrical codes.
- Ensure the power supply is disconnected before any installation or maintenance.
- Do not insert objects into the air outlet or inlet of the unit.
- Use only the specified refrigerant (R32) for this unit.
- Keep the unit away from flammable materials.
- Regularly clean air filters to maintain efficiency and air quality.
3. Package Contents
Your Kol Air Mini Split system is delivered in two separate boxes. Please verify all components are present before beginning installation.

Figure 2: Detailed Package Contents
Box 1 (Indoor Unit & Accessories):
- Indoor Unit
- Mounting Plate
- Screws
- Remote Control
- Connection Cable
- Instruction Manual
- Installation Template
- 2 Batteries (7#)
Box 2 (Outdoor Unit & Installation Kit):
- Outdoor Unit
- Connecting Pipe (2pc, 9.84ft/PC)
- Drain Pipe (6.56ft)
- Tape
- Luting (putty)
- Wall Sleeve
4. Setup and Installation
Proper installation is crucial for the performance and longevity of your mini split system. It is highly recommended that installation be performed by a certified HVAC technician. The following steps provide a general overview.
4.1. Indoor Unit Placement and Template Fixation
Select a suitable location for the indoor unit, ensuring adequate clearance around the unit for airflow and maintenance. Use the provided installation template to mark the drilling points for the mounting plate and the wall-through hole for the refrigerant lines and electrical connections.
4.2. Mounting Bracket and Wall-Through Hole
Securely attach the mounting plate to the wall using appropriate fasteners. Drill the wall-through hole with a slight downward angle towards the exterior to ensure proper drainage.
4.3. Electrical Connections (Indoor Unit)
Connect the interconnection cord to the indoor unit's terminal block. Ensure all connections are tight and match the wiring diagram in the owner's manual. The wires are typically numbered and color-coded for ease of connection.
4.4. Installing Connection Pipes and Mounting Indoor Unit
Feed the refrigerant pipes, drain hose, and electrical cables through the wall-through hole. Connect the refrigerant pipes to the indoor unit, ensuring proper flaring and tightening. Mount the indoor unit onto the wall mounting plate.
4.5. Outdoor Unit Placement and Connection
Place the outdoor unit on a stable, level surface or a dedicated wall-mount bracket (purchased separately). Connect the refrigerant pipes and electrical wiring from the indoor unit to the corresponding ports on the outdoor unit. Ensure all connections are secure and weatherproofed.
4.6. Vacuum Treatment and Refrigerant Release
Before releasing refrigerant, a vacuum pump must be used to evacuate the system, removing all air and moisture. Once the system holds a vacuum, carefully open the service valves on the outdoor unit to release the pre-charged R32 refrigerant into the system. Check for any leaks at all connection points.
4.7. Final Electrical Connections (Outdoor Unit)
Complete the electrical connections at the outdoor unit, ensuring proper grounding and adherence to the wiring diagram. Verify that the power supply is correctly connected and protected by a safety switch.
5. Operating Instructions
Your Kol Air Mini Split system is controlled via the included remote control. Familiarize yourself with the remote's functions for optimal comfort.

Figure 3: Remote Control Functions
5.1. Basic Functions:
- Power On/Off: Press the power button to turn the unit on or off.
- Mode Selection: Use the 'MODE' button to cycle through operating modes: Cool, Heat, Fan, Dry, Auto.
- Temperature Adjustment: Use the Up/Down arrows to set your desired temperature (range typically 61°F to 88°F).
- Fan Speed: Press the 'FAN' button to adjust fan speed (Auto, Low, Medium, High, Turbo).
- Swing: Use the 'SWING' button to adjust the vertical airflow direction.
5.2. Advanced Functions:
- Sleep Mode: Activates a quiet, energy-saving operation for comfortable sleep.
- Timer: Set a timer for the unit to turn on or off automatically.
- ECO Mode: Optimizes energy consumption for efficient operation.
- Mute: Silences the unit's operational beeps.
- Display: Turns the unit's LED display on or off, useful for dark rooms.
6. Maintenance
Regular maintenance ensures optimal performance and extends the lifespan of your unit.
6.1. Air Filter Cleaning
The indoor unit features a washable filter. It is recommended to clean the air filter every two weeks or more frequently depending on usage and air quality. To clean, open the front panel, remove the filters, rinse them with lukewarm water, and allow them to dry completely before reinserting.
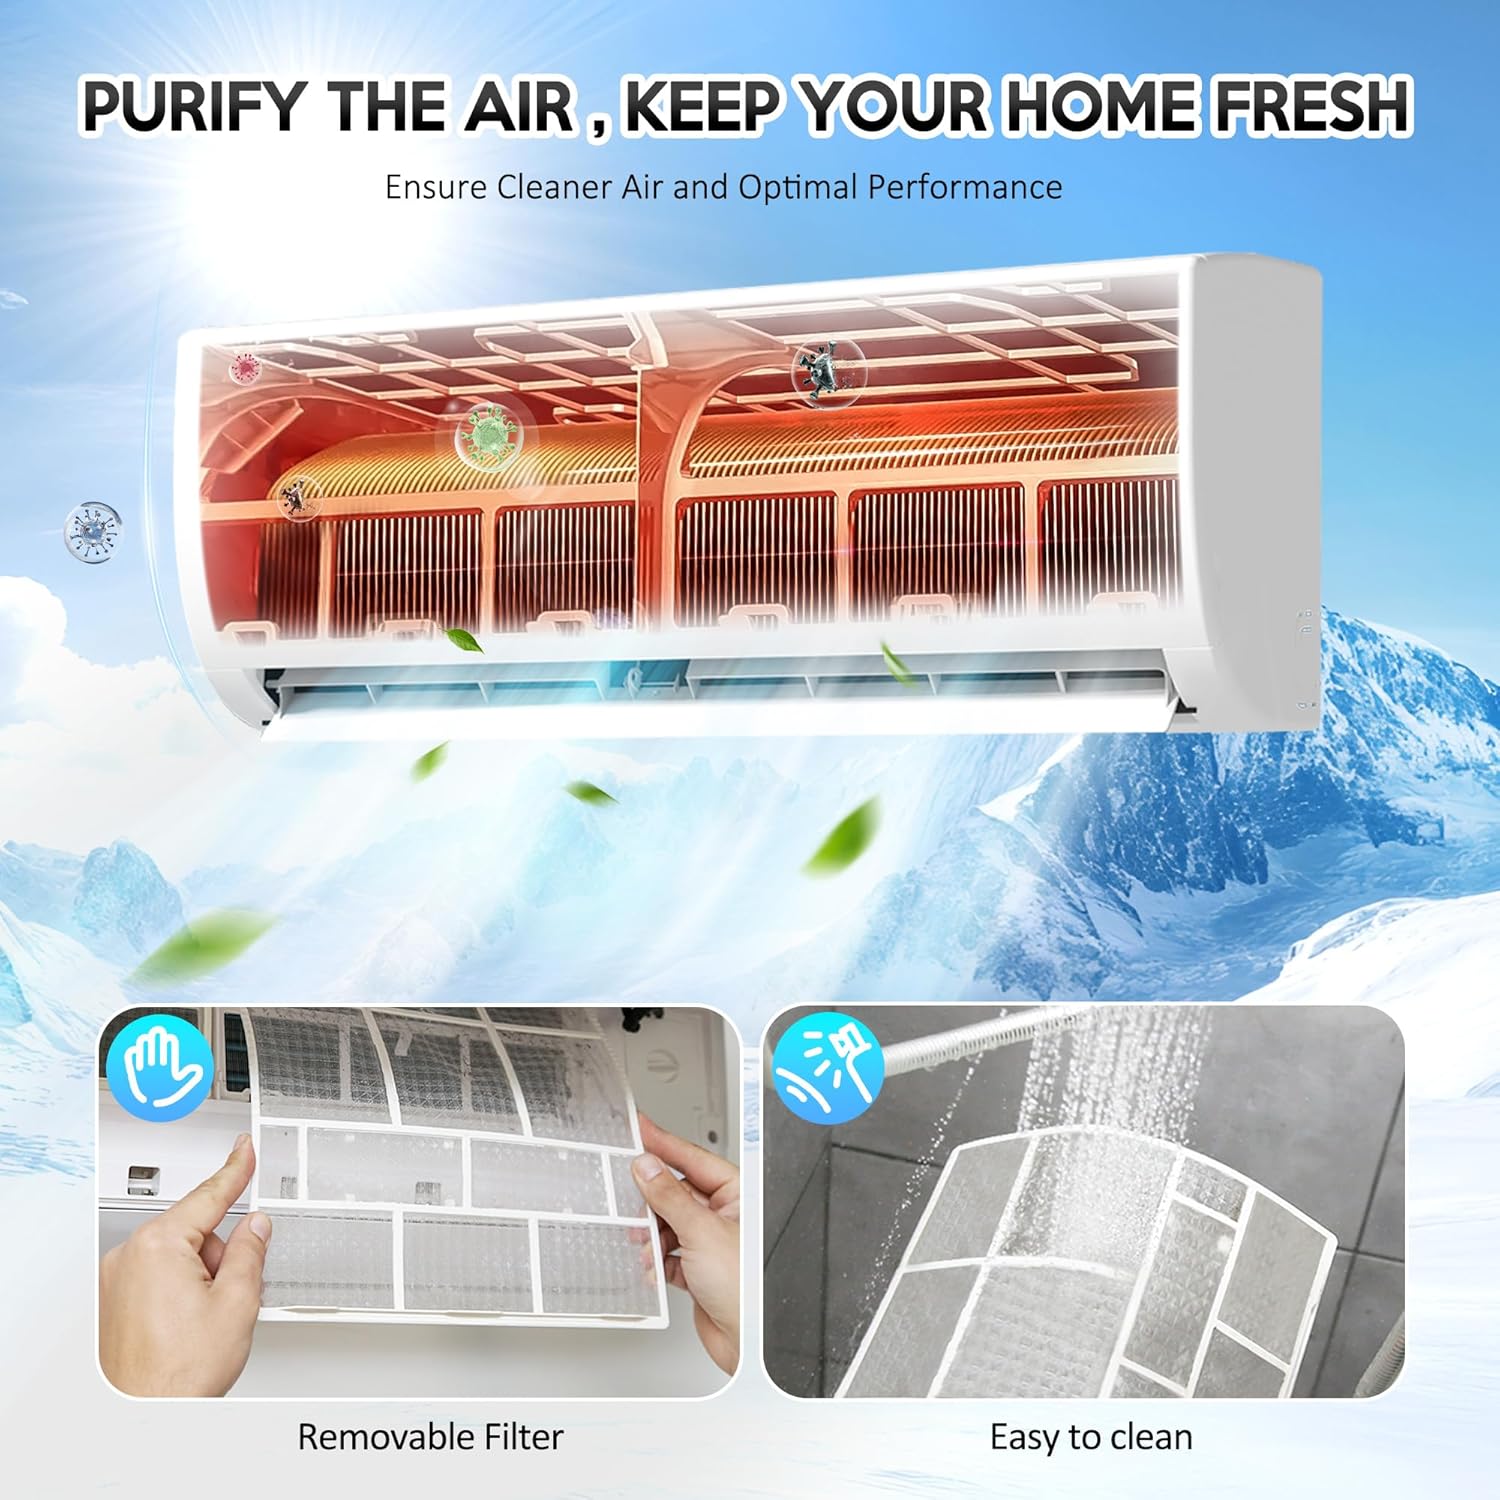
Figure 4: Air Filter Maintenance
6.2. Auto Self-Clean Function
This unit is equipped with an Auto Self-Clean technology that helps prevent odors and maintains healthy air quality by cleaning the indoor coil. Refer to your owner's manual for instructions on how to activate this feature.
6.3. Auto Defrost Function
The outdoor unit features an Auto Defrost function to ensure reliable heating performance even in freezing temperatures as low as -4°F (-20°C). This function operates automatically as needed.
7. Troubleshooting
If you encounter issues with your unit, refer to the following common troubleshooting steps. For more complex problems, contact a qualified technician.
- Unit does not turn on: Check power supply, circuit breaker, and remote control batteries.
- Insufficient cooling/heating: Ensure air filters are clean, doors/windows are closed, and temperature settings are appropriate.
- Unusual noises: Minor noises during operation are normal. If loud or persistent, consult the manual or a technician.
- Water leakage: Check if the drain hose is properly installed and not blocked.
8. Specifications
Key technical specifications for the Kol Air 9000 BTU Mini Split Air Conditioner & Heat Pump, Model 9000BTU-115V:
| Feature | Specification |
|---|---|
| Brand Name | Kol Air |
| Model Info | 9000BTU-115V |
| Product Dimensions | 8.2 x 32.3 x 11.9 inches |
| Efficiency | 19 SEER2 |
| Capacity | 0.75 Tons (9000 BTU) |
| Noise Level | 30 Decibels |
| Installation Type | Split System |
| Form Factor | Mini-Split |
| Color | Pure White |
| Floor Area Coverage | Up to 450 Square Feet |
| Power Source | Corded Electric (115V) |
| Control Method | Remote |

Figure 5: Recommended BTU Coverage Area
9. Warranty and Support
For warranty information, technical support, or service inquiries, please refer to the contact details provided in your owner's manual or visit the official Kol Air website. Keep your purchase receipt as proof of purchase for warranty claims.