Introduction
This manual provides instructions for the proper installation, care, and maintenance of your Benito Juarez Mexican Statesman Metal Wall Art. This metal print is designed to offer a durable and visually appealing display for your home, office, or gallery.
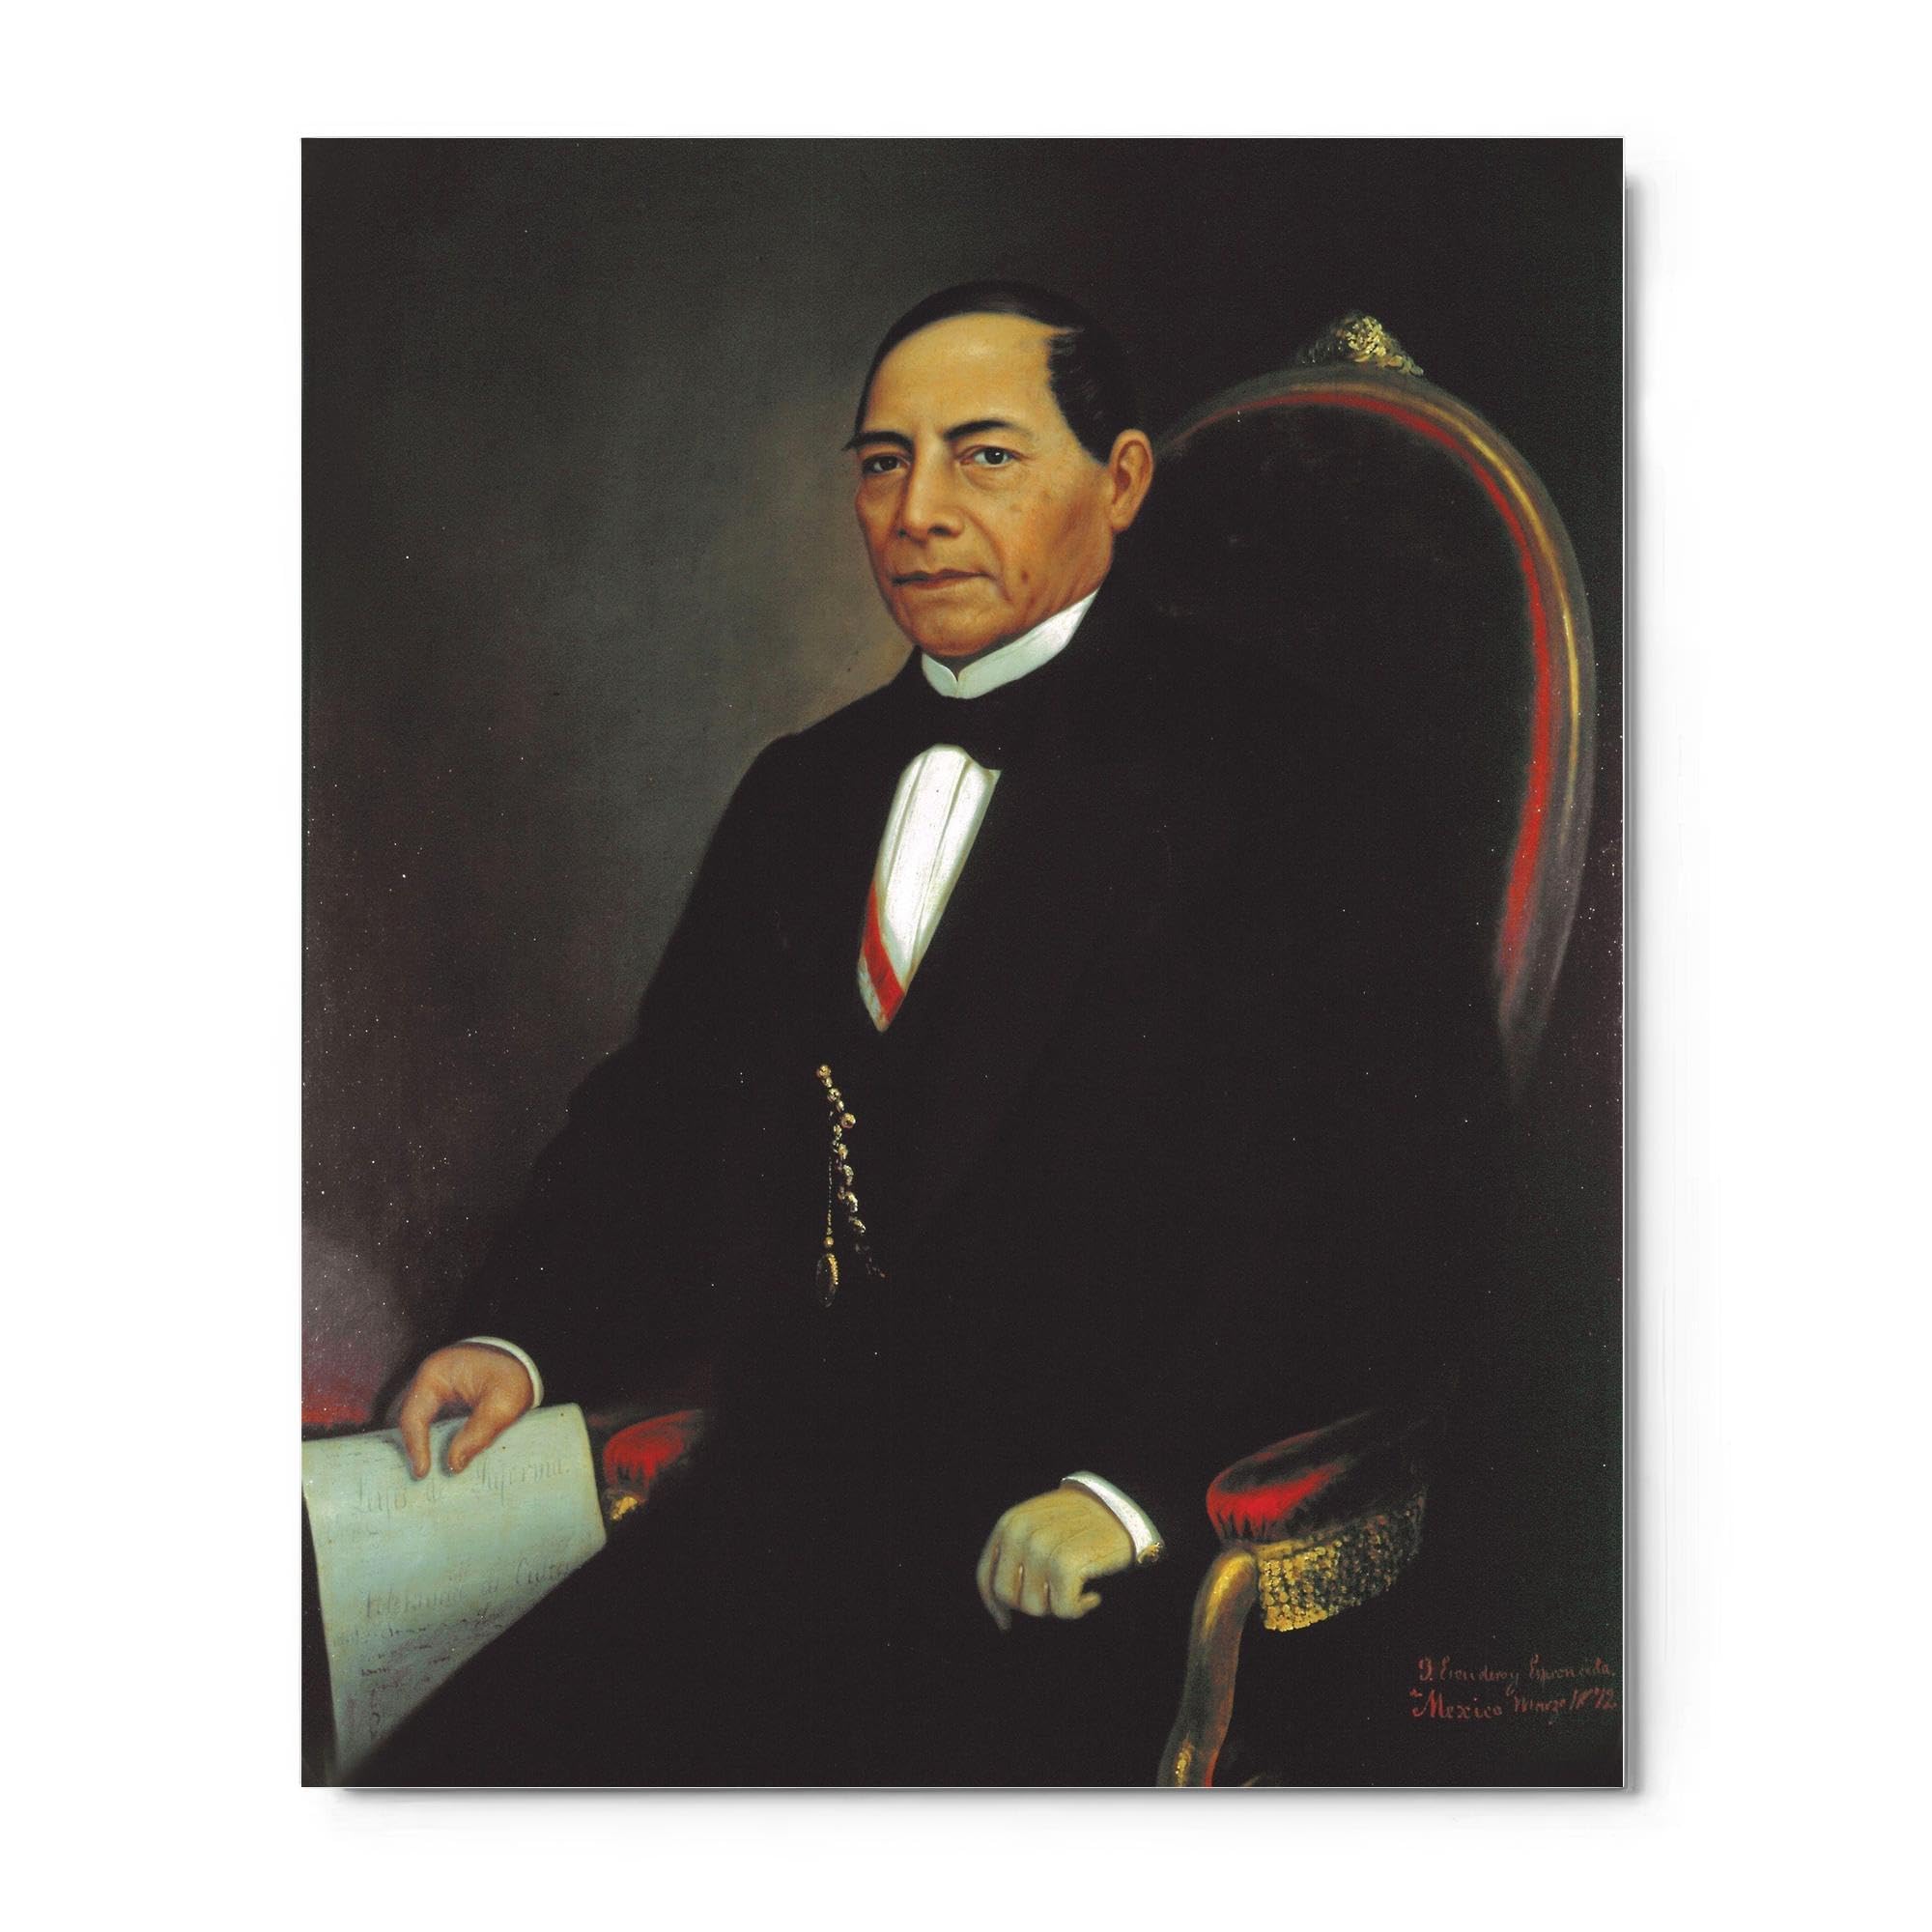
Image: The Benito Juarez Mexican Statesman Metal Wall Art, 16x20 inches, showcasing the portrait.
Product Features
The Benito Juarez Metal Wall Art is crafted with attention to detail and durability:
- Material: Printed directly on premium aluminum composite for a stable, warp-resistant finish.
- Thickness: Rigid 3 mm panel thickness.
- Surface: Silk matte low glare surface to preserve detail and reduce reflections.
- Durability: UV and moisture resistant for indoor display.
- Design: Edge-to-edge printing and crisp tonal rendering for portrait presentation.
- Mounting: Includes a pre-installed mounting system appropriate to size for ready-to-hang display, creating a "floating" effect.
Package Contents
Upon unpacking, please ensure all components are present:
- 1 x Benito Juarez Mexican Statesman Metal Wall Art (16x20 inches)
- 1 x Mounting System (may include magnets, hanger, or French cleat, depending on size)
- Necessary screws and wall anchors (if applicable to the mounting system)

Image: Example of mounting hardware that may be included with the metal print.
Setup and Installation
Follow these steps to properly install your metal wall art:
- Choose Location: Select a suitable indoor location. Ensure the wall surface is clean, dry, and capable of supporting the weight of the art. Avoid direct sunlight or high humidity areas to prolong the life of the print.
- Unpack Carefully: Remove the metal print and mounting hardware from its packaging. Retain packaging for future storage if needed.
- Identify Mounting System: Examine the back of your metal print and the provided hardware to understand the specific mounting system (e.g., magnet, hanger, or French cleat).
- Mark Wall: Hold the art against the wall at your desired height and position. Use a pencil to lightly mark the locations for the mounting hardware. Use a level to ensure the marks are straight.
- Install Wall Hardware:
- For screws and anchors: Drill pilot holes at the marked locations, insert wall anchors, then screw in the mounting hardware.
- For adhesive mounts (if provided): Clean the wall surface thoroughly. Peel the backing from the adhesive and firmly press the mount onto the wall at the marked locations. Allow sufficient time for the adhesive to cure before hanging the art (refer to adhesive instructions if provided).
- Hang Art: Carefully align the pre-installed mounting system on the back of the metal print with the installed wall hardware. Gently lower the art into place, ensuring it is secure and level.

Image: The metal wall art displayed on a wall, demonstrating a typical installation.
Placement Guidelines
To ensure the longevity and best appearance of your metal wall art, consider the following:
- Indoor Use Only: This product is designed for indoor display. Exposure to outdoor elements can damage the print.
- Avoid Direct Sunlight: While UV resistant, prolonged exposure to direct sunlight can cause colors to fade over time.
- Stable Environment: Place in an area with stable temperature and humidity to prevent any potential warping or damage.
- Secure Mounting: Always ensure the art is securely mounted to prevent accidental falls.
Maintenance
Proper care will help maintain the quality and appearance of your metal wall art:
- Cleaning: Gently wipe the surface with a soft, dry, lint-free cloth to remove dust.
- Stubborn Marks: For light smudges or fingerprints, slightly dampen a soft cloth with water and gently wipe. Immediately follow with a dry cloth.
- Avoid Chemicals: Do not use abrasive cleaners, solvents, or harsh chemicals, as these can damage the print surface.
- Handling: When moving or adjusting the art, handle it by the edges to avoid touching the printed surface.

Image: A close-up view of the metal print's edge, illustrating its 3mm thickness and finish.
Troubleshooting
| Issue | Possible Cause | Solution |
|---|---|---|
| Art is not hanging straight. | Uneven wall mounts or incorrect alignment during hanging. | Remove the art, re-check the level of your wall mounts, and adjust as necessary before re-hanging. |
| Scratches or marks on the surface. | Improper cleaning materials or abrasive contact. | Avoid using abrasive cloths or chemical cleaners. For existing marks, minor scratches may be permanent. Handle with care to prevent future damage. |
| Art falls from wall. | Insecure mounting, incorrect hardware for wall type, or wall damage. | Ensure mounting hardware is appropriate for your wall type and installed correctly. Verify the wall is structurally sound. Re-install with stronger anchors if needed. |
Specifications
| Product Dimensions | 20 x 16 x 0.2 inches (50.8 x 40.64 x 0.5 cm) |
| Material | Premium Aluminum Composite (Dibond) |
| Thickness | 3 mm |
| Surface Finish | Silk Matte, Low Glare |
| Environmental Resistance | UV and Moisture Resistant (for indoor use) |
| Mounting System | Pre-installed (magnet, hanger, or French cleat, size-dependent) |
Warranty and Support
This product is covered by a standard return policy. For specific warranty details or support inquiries, please refer to your purchase documentation or contact the retailer directly.
For assistance with installation or product issues, please contact customer support through the platform where the purchase was made.


