1. Introduction
This manual provides detailed instructions for the safe and effective use of the Generic M469A Smart Network Cable Tester. This device is designed to test RJ45 and RJ11 LAN cables, perform wire tracking, and assist in network repair tasks. Please read this manual thoroughly before operating the device and retain it for future reference.
2. Safety Information
- Always handle the device with care to prevent damage.
- Do not expose the device to moisture, extreme temperatures, or direct sunlight.
- Ensure batteries are inserted correctly according to polarity markings.
- Remove batteries if the device will not be used for an extended period.
- Do not attempt to repair or modify the device yourself. Refer all servicing to qualified personnel.
3. Package Contents
Please check the package contents upon receipt. If any items are missing or damaged, contact your vendor.
- M469A Smart Network Cable Tester (Main Unit)
- Remote Unit
- RJ45 Cable
- RJ11 Cable
- User Manual
4. Product Overview
The M469A Smart Network Cable Tester consists of a main unit and a remote unit. It features ports for RJ45 and RJ11 cables, an LCD display for test results, and control buttons for various functions.
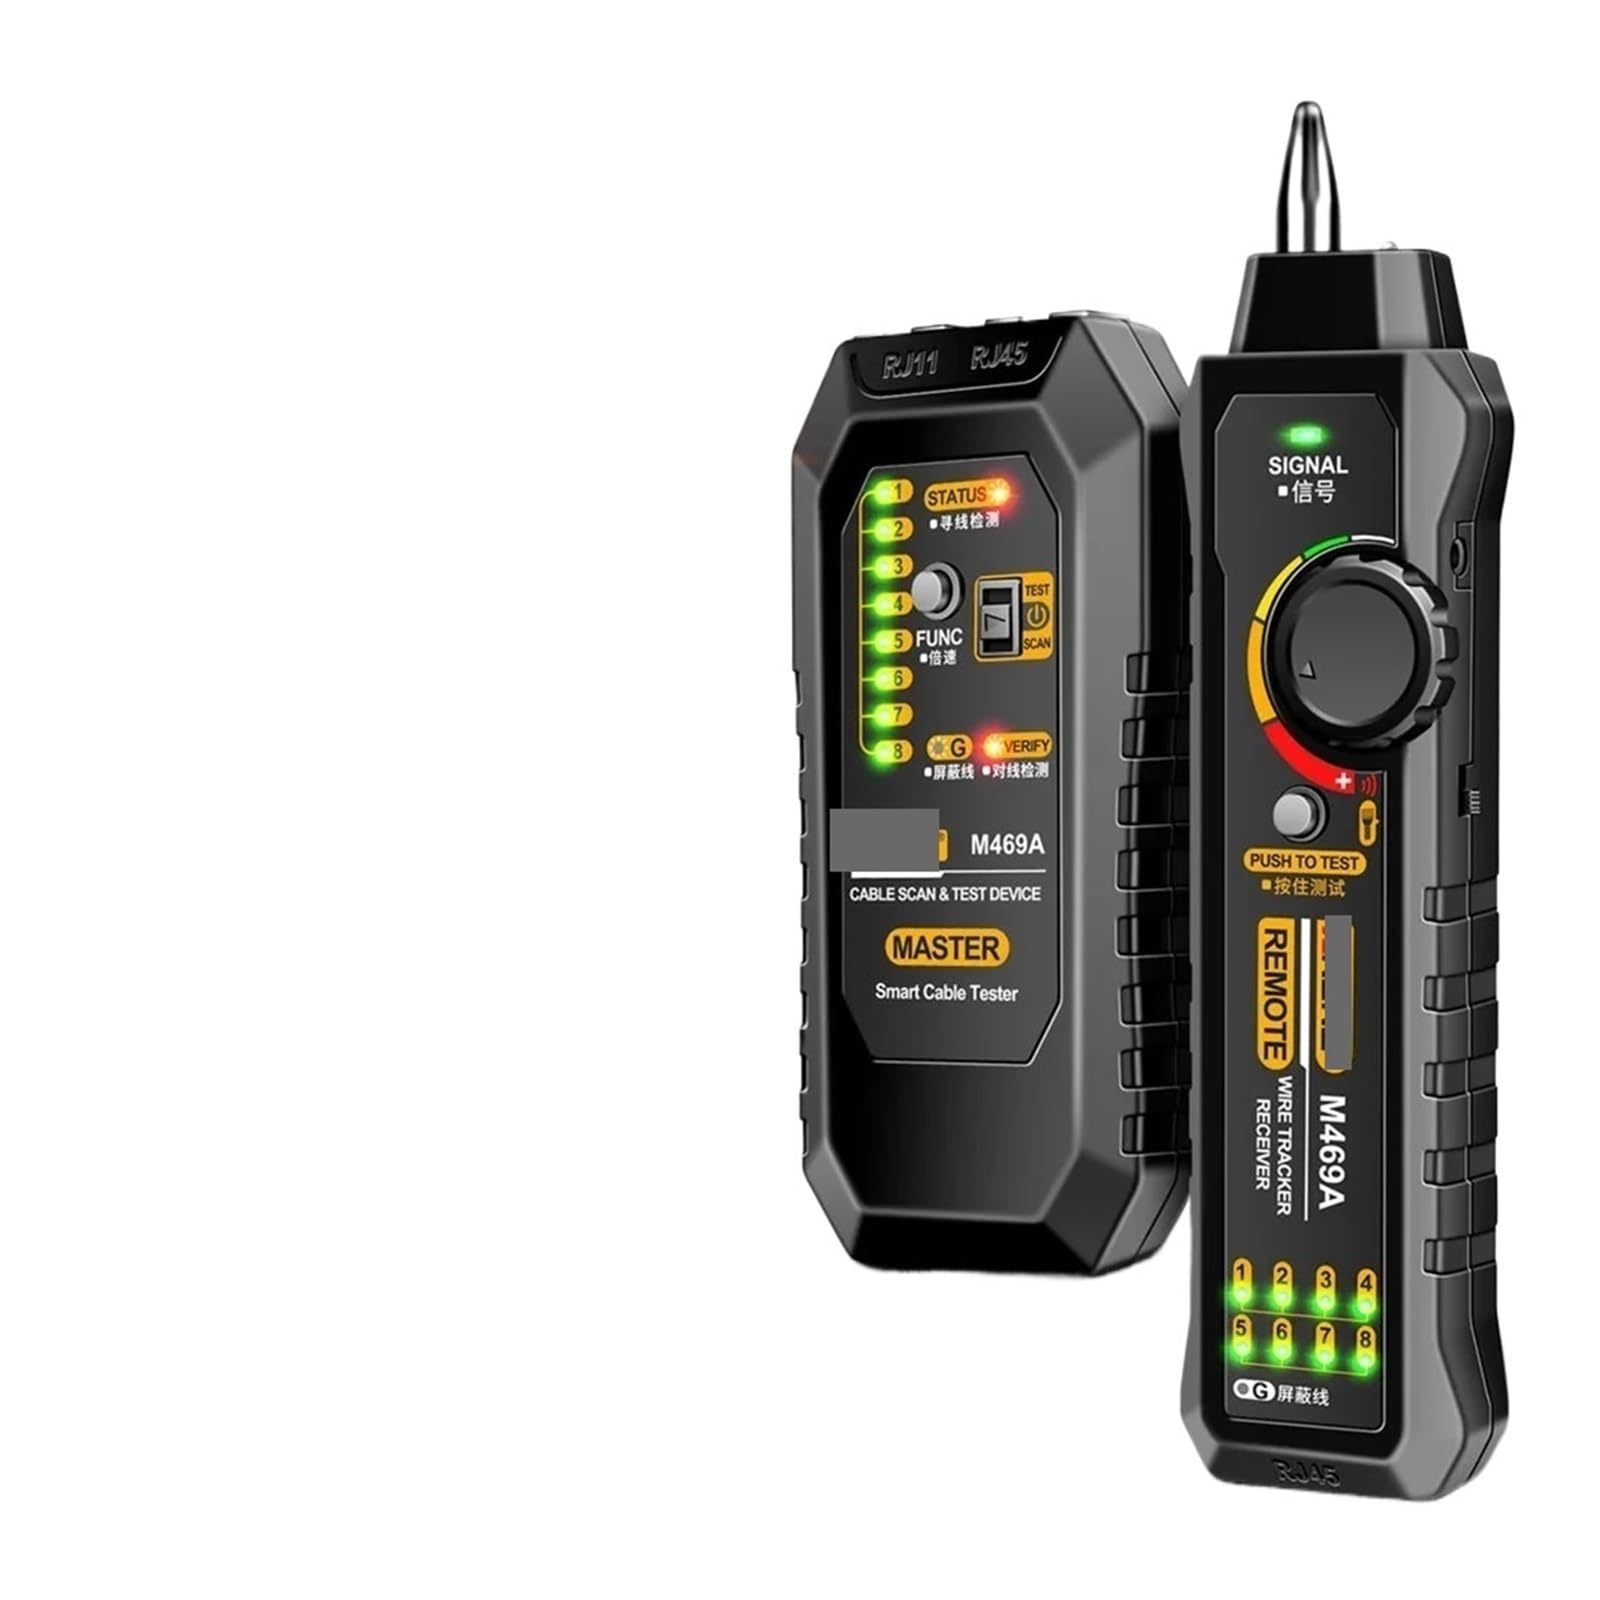
Image 1: M469A Smart Network Cable Tester. This image displays the main unit and the remote unit of the cable tester. The main unit typically features an LCD screen and control buttons, while the remote unit is a smaller, passive component used for end-to-end cable testing.
Main Unit Features:
- LCD Display: Shows test results, cable status, and other information.
- RJ45 Port: For testing Ethernet cables.
- RJ11 Port: For testing telephone cables.
- Control Buttons: For power, mode selection, and test initiation.
- Power Input: Battery compartment for power supply.
Remote Unit Features:
- RJ45 Port: Connects to the other end of an Ethernet cable for testing.
- RJ11 Port: Connects to the other end of a telephone cable for testing.
5. Setup
5.1 Battery Installation
- Locate the battery compartment on the back of the main unit.
- Open the battery compartment cover.
- Insert the required batteries (e.g., 9V battery) according to the polarity markings (+/-).
- Close the battery compartment cover securely.
5.2 Powering On/Off
- To power on the device, press and hold the Power button until the LCD screen illuminates.
- To power off the device, press and hold the Power button again until the LCD screen turns off.
6. Operating Instructions
6.1 Cable Testing (RJ45/RJ11)
- Ensure the device is powered on.
- Connect one end of the cable to be tested into the appropriate port (RJ45 or RJ11) on the main unit.
- Connect the other end of the cable into the corresponding port on the remote unit.
- Select the desired test mode (e.g., standard test, scan) using the mode button.
- Press the Test button to initiate the cable test.
- Observe the LCD display for results, which will indicate continuity, open circuits, short circuits, cross-overs, or split pairs.
6.2 Wire Tracking Function
The wire tracking function helps locate specific cables within a bundle or trace their path.
- Connect the cable to be tracked to the main unit's RJ45 or RJ11 port.
- Select the wire tracking mode on the main unit.
- Use the receiver (often integrated or a separate probe) to trace the cable. The receiver will emit an audible tone when it detects the signal from the main unit, indicating the cable's location.
7. Maintenance
- Cleaning: Use a soft, dry cloth to clean the device. Do not use abrasive cleaners or solvents.
- Storage: Store the device in a cool, dry place away from direct sunlight and moisture when not in use.
- Battery Replacement: Replace batteries promptly when the low battery indicator appears on the display to ensure accurate readings.
8. Troubleshooting
| Problem | Possible Cause | Solution |
|---|---|---|
| Device does not power on. | Dead or incorrectly installed batteries. | Check battery polarity; replace batteries. |
| Inaccurate test results. | Poor cable connection; damaged cable; low battery. | Ensure cables are securely connected; inspect cable for damage; replace batteries. |
| Wire tracking signal is weak or absent. | Cable not properly connected; receiver too far from cable; interference. | Verify cable connection; move receiver closer; minimize sources of electromagnetic interference. |
9. Specifications
- Model: M469A (Part Number: PPZZZAIVV-BLACK)
- Brand: Generic
- Supported Cable Types: RJ45 (Ethernet), RJ11 (Telephone)
- Functions: Cable Testing, Wire Tracking
- Power Source: Battery Powered (e.g., 9V battery, not included)
- Color: Black
- Specification Met: UL
10. Warranty and Support
This product comes with a standard manufacturer's warranty. For specific warranty terms, please refer to the documentation provided at the time of purchase or contact your retailer. For technical support or service inquiries, please contact the vendor or manufacturer through the contact information provided with your purchase.