1. Introduction
Thank you for choosing the Breezestival 10x20FT Lean-to Gazebo Hardtop Metal Pergola. This manual provides essential information for the safe assembly, proper use, and effective maintenance of your new outdoor structure. Please read these instructions thoroughly before beginning assembly and retain this manual for future reference.

Figure 1.1: Breezestival 10x20FT Lean-to Gazebo installed on a patio, providing shade over outdoor furniture.
2. Safety Information
Important: Failure to follow these safety instructions may result in injury or damage to the product.
- Read all instructions carefully before assembly and use.
- Assembly requires at least two adults. Ensure all necessary tools are available.
- Verify all parts are present and undamaged before starting assembly. Do not proceed with assembly if any parts are missing or damaged.
- Always wear appropriate safety gear, such as gloves, during assembly.
- Ensure the gazebo is installed on a level, stable surface.
- Securely anchor the gazebo to a wall and the ground/deck using the provided anchors. This is crucial for stability, especially in windy conditions. The structure is rated for winds up to 38 mph.
- Do not hang heavy objects from the frame. The structure is designed for shade and light decorative items.
- The roof is designed to support a snow load of up to 55 lb/ft² (approximately 6 inches of snow). Clear excessive snow accumulation promptly to prevent structural damage.
- Keep children and pets away from the assembly area.
- Periodically check all bolts and connections to ensure they remain tight.
3. Package Contents
Your Breezestival Lean-to Gazebo ships in two separate packages, which may arrive at different times. Please ensure you have received both packages and all components are accounted for before beginning assembly. All parts are labeled for easy identification. Refer to the included parts list in your physical manual for a complete inventory.

Figure 3.1: Product dimensions and indication of two separate packages for shipping.
4. Setup and Assembly
Assembly of the Breezestival Lean-to Gazebo requires careful attention to detail. It is recommended that two people perform the assembly.
- Preparation: Clear the assembly area. Ensure you have all parts and tools ready.
- Follow Pictorial Instructions: The assembly guide primarily uses diagrams. Follow these pictorial instructions precisely for each step. There are no written explanations for individual steps, so careful observation of the images is essential.
- Frame Assembly: Assemble the main frame components according to the diagrams. Pay close attention to the orientation of parts, especially where holes for connections are located.
- Roof Panel Installation: When installing the polycarbonate roof panels, do not fully tighten any section until all panels for that section are in place and aligned. This allows for minor adjustments and prevents stress on the panels.
- Securing the Structure: Once the frame and roof are assembled, it is critical to securely bolt the gazebo to your deck or ground and mount it to a sturdy wall. Use the provided anchors for both wall and floor connections. The structure may feel unstable until it is fully secured.
- Final Tightening: After the entire structure is assembled and secured, go back and fully tighten all bolts and fasteners. Avoid over-tightening, especially with Allen screws, to prevent stripping.
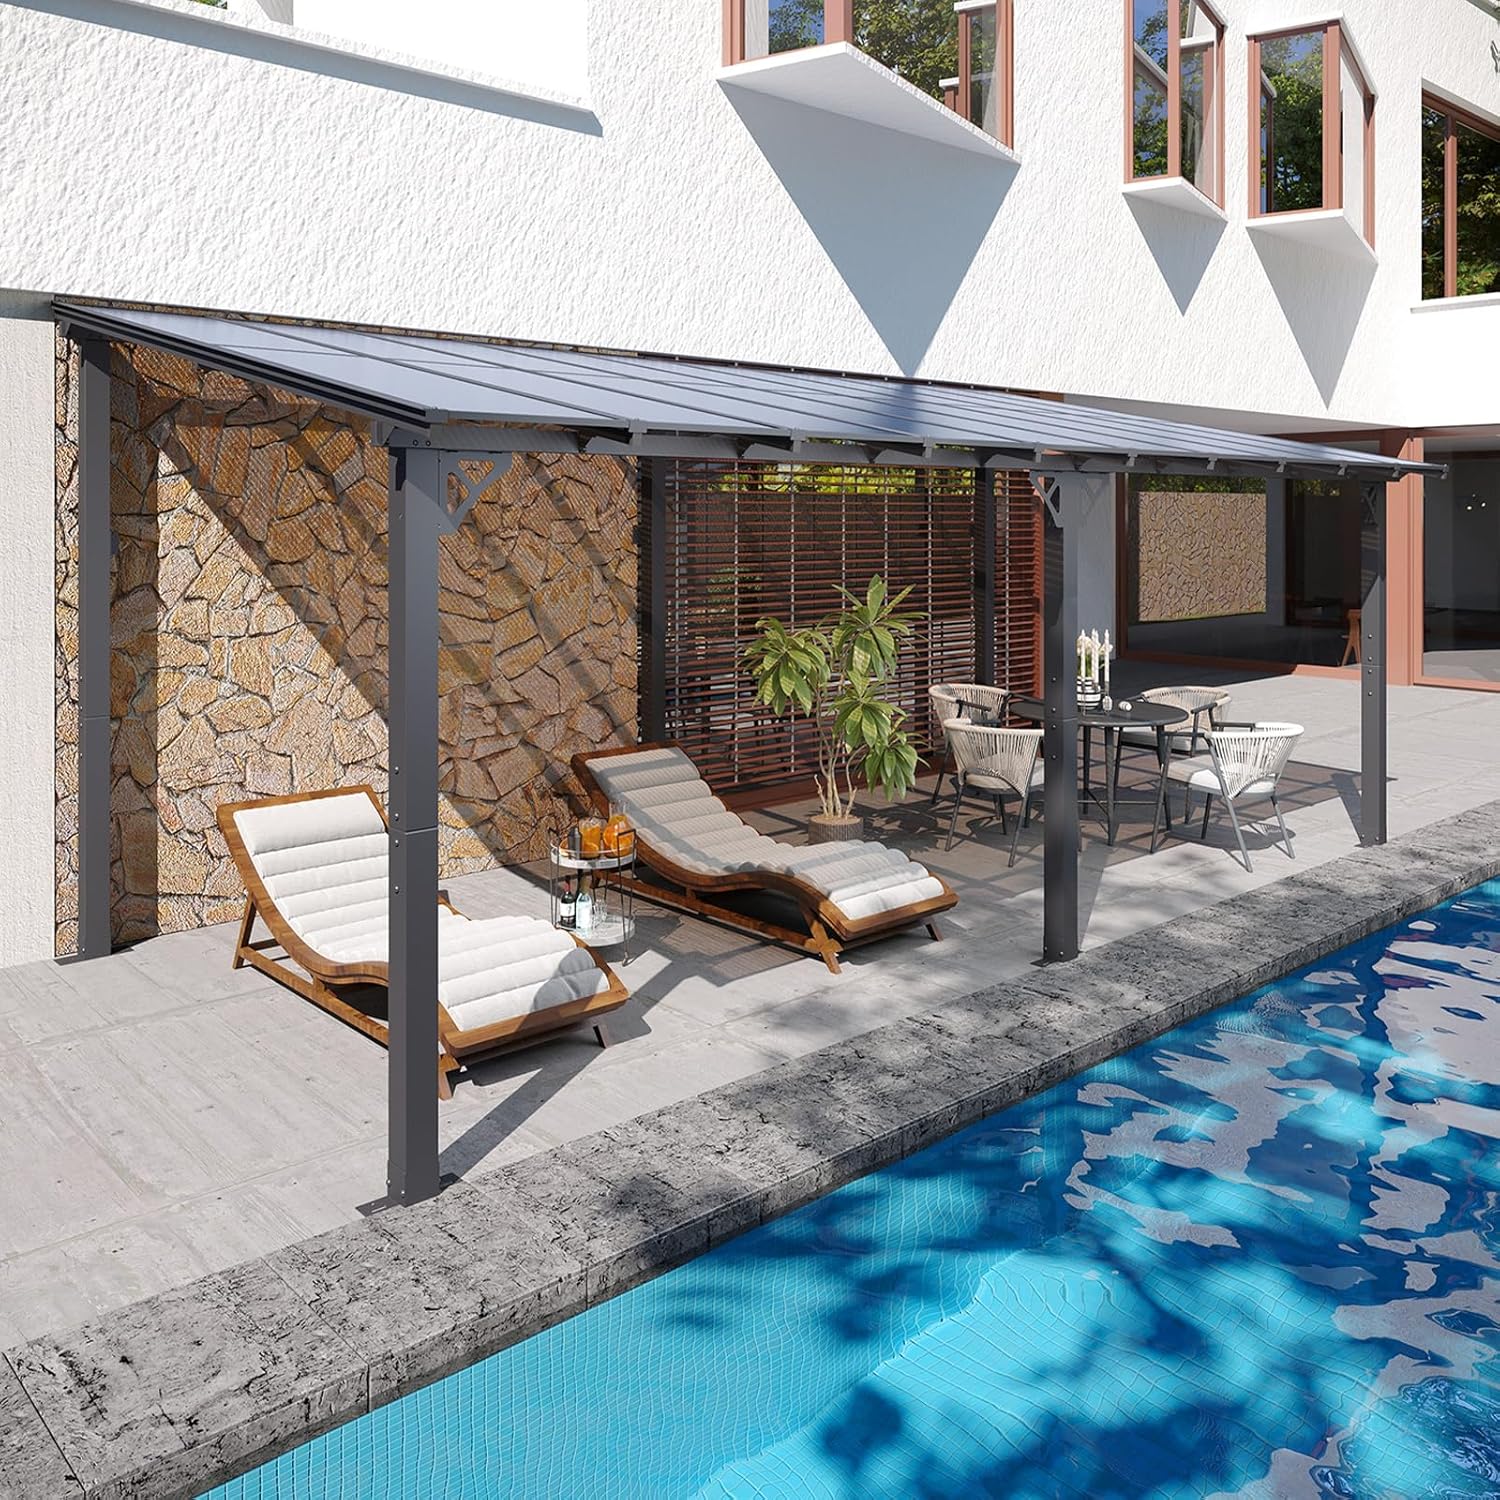
Figure 4.1: Key structural details including the triangular support, wall-mounted bracket, multiple-column support, and metal leg support with pre-drilled holes for anchoring.
5. Operating Instructions
The Breezestival Lean-to Gazebo is designed to provide a comfortable and shaded outdoor living space.
- Shade and UV Protection: The polycarbonate roof panels block up to 99% of harmful UV rays while allowing natural light to filter through, creating a pleasant shaded environment.
- Weather Resistance: The hardtop roof and aluminum frame are designed to withstand various weather conditions, including rain, wind (up to 38 mph when properly anchored), and snow (up to 55 lb/ft²).
- Sloped Roof Drainage: The inclined roof design facilitates efficient rainwater runoff, preventing water accumulation and ensuring the longevity of the structure.

Figure 5.1: Detail of the translucent polycarbonate roof panels, highlighting their UV-resistant and light-transmitting properties.

Figure 5.2: The sloped roof design effectively drains rainwater, preventing accumulation.
6. Maintenance
Regular maintenance will extend the life and appearance of your gazebo.
- Cleaning: Clean the polycarbonate roof panels and metal frame with mild soap and water. Avoid abrasive cleaners or harsh chemicals that could damage the materials. Rinse thoroughly with clean water.
- Fastener Check: Periodically inspect all bolts, screws, and anchors to ensure they are tight. Re-tighten as necessary to maintain structural integrity.
- Snow Removal: While the roof is rated for snow load, it is advisable to remove heavy snow accumulation to prevent excessive stress on the structure, especially during prolonged periods of heavy snowfall.
- Corrosion Inspection: The steel columns are coated with an anti-rust finish. Inspect for any signs of rust or corrosion, especially in areas where the coating might be scratched or damaged. Touch up with appropriate rust-inhibiting paint if needed.
- Drainage System: Ensure the sloped roof and any associated drainage channels are free from debris (leaves, dirt) to allow for proper water runoff.
7. Troubleshooting
This section addresses common issues you might encounter.
- Gazebo feels unstable after assembly: Ensure all bolts are fully tightened and the structure is securely anchored to both the wall and the ground/deck. The gazebo's full stability is achieved once properly secured.
- Water accumulation on the roof: Check if the roof panels are correctly installed and the slope is maintained. Ensure drainage channels are clear of debris.
- Damaged or cracked panels: If panels are damaged during shipping or assembly, contact customer support for replacements. Provide clear descriptions or images of the damage if possible.
- Missing parts: If any parts are missing, refer to the parts list in your physical manual and contact customer support for assistance.
8. Specifications
| Feature | Specification |
|---|---|
| Brand | Breezestival |
| Model Number | G30030BK12A-DL |
| Product Dimensions (L x W x H) | 234.3" x 107.1" x 98.4" (19.5' L x 8.92' D x 8.2' H) |
| Floor Area | Approximately 174 sq.ft |
| Item Weight | 239 Pounds |
| Material | Aluminum (frame), Iron (columns), Polycarbonate (roof) |
| Frame Material | Metal |
| Roof Type | Hardtop, Polycarbonate |
| Water Resistance Level | Waterproof |
| Snow Load Capacity | 55 lb/ft² (approx. 6 inches of snow) |
| Wind Resistance Rating | Up to 38 mph (when properly anchored) |
| Assembly Required | Yes |
| Color | Dark |
9. Warranty and Support
Breezestival stands behind the quality of its products. For specific warranty details, please refer to the warranty card included with your purchase or contact the seller directly.
For any questions, missing parts, or technical assistance, please contact the seller through the platform where you made your purchase. Providing your order number and model number (G30030BK12A-DL) will help expedite your request.