Introduction
The PERSANG Octane 9 is a versatile Bluetooth trolley speaker designed for various audio applications, from parties and events to karaoke and professional use. It features a powerful 15-inch woofer, multiple connectivity options, dual wireless UHF microphones, and recording capabilities. This manual will guide you through its features and ensure optimal performance.
What's in the Box
Please check the package contents upon unboxing:
- 1 x Octane 9 Trolley Speaker - 15 Inch
- 1 x User Manual
- 2 x Microphones
- 1 x Remote Control
- 1 x Power Cable

Image: All components included in the PERSANG Octane 9 package.
Setup
- Charging the Speaker: Before first use, fully charge the speaker using the provided power cable. Connect the cable to the speaker's power input and a standard electrical outlet. The battery provides up to 4 hours of playtime on a single charge.
- Power On/Off: Locate the power switch on the speaker's control panel. Flip it to the 'ON' position to power on the device. Flip to 'OFF' to power down.
- Positioning: Place the speaker on a stable, flat surface. For optimal sound dispersion, ensure no obstructions are directly in front of the speaker. The trolley design allows for easy mobility.

Image: The PERSANG Octane 9 speaker demonstrating its portable trolley design.
Operating Instructions
1. Connectivity Options
- Bluetooth Pairing:
- Turn on the speaker.
- Press the 'MODE' button on the control panel until "Bluetooth" mode is selected. The speaker will indicate it is ready for pairing.
- On your device (smartphone, tablet, etc.), enable Bluetooth and search for "PERSANG Octane 9".
- Select the speaker from the list to pair. A confirmation sound will indicate successful pairing.
- USB/SD Card Playback:
- Insert a USB drive or SD card into the respective slot on the control panel.
- The speaker will automatically switch to USB/SD mode and begin playing compatible audio files.
- Use the playback controls (Play/Pause, Next, Previous) on the speaker or remote.
- AUX Input:
- Connect an external audio device (e.g., laptop, MP3 player) to the AUX input port using a 3.5mm audio cable.
- Press the 'MODE' button to select AUX input.
- Control playback from your connected device.
- TWS (True Wireless Stereo) Function:
The TWS function allows you to pair two Octane 9 speakers of the same size for a stereo audio experience. (Note: A second speaker is not included and must be purchased separately.)
- Ensure both Octane 9 speakers are powered on and in Bluetooth mode, but not yet paired with any device.
- On one speaker, press and hold the TWS button (if available, or a specific pairing button as indicated in the speaker's control panel diagram).
- The speakers will automatically connect to each other. A confirmation sound will indicate successful TWS pairing.
- Once paired, connect your device via Bluetooth to the primary speaker. Audio will play through both speakers in stereo.

Image: Detailed view of the speaker's control panel with various connectivity options.
2. Microphones and Guitar Input
- UHF Wireless Microphones:
The speaker includes two cordless UHF microphones operating on frequencies 707.5 MHz and 747.5 MHz for stable, interference-free performance.
- Insert batteries into the microphones.
- Turn on the microphones. They will automatically connect to the speaker.
- Adjust the 'Mic Volume' knob on the speaker's control panel to control microphone output.
- Use the 'Mic Treble' and 'Mic Bass' controls for vocal tone adjustment.
- Additional Mic Inputs: The speaker provides two additional wired microphone inputs for connecting other microphones.
- Guitar Input: Connect your guitar to the dedicated guitar input port. Adjust the 'Guitar Volume' knob for desired output.

Image: The two UHF wireless microphones provided with the speaker.
3. Audio & Vocal Recording
The speaker supports recording of audio input, including microphone and music playback, directly to a connected USB drive or SD card.
- Ensure a USB drive or SD card is inserted.
- Press and hold the 'REC' button (or equivalent, typically indicated by a microphone icon with a red dot) on the control panel for 3 seconds to start recording.
- Press the 'REC' button again to stop recording. The recorded file will be saved to the USB drive/SD card.

Image: The speaker highlighting its audio recording feature.
4. Sound Control
The control panel features various knobs for fine-tuning your audio output:
- Volume: Master volume control for overall sound output.
- Bass: Adjusts the low-frequency audio levels.
- Treble: Adjusts the high-frequency audio levels.
- Echo: Adds an echo effect to microphone vocals.
- Mic Volume: Controls the volume of connected microphones.
- Mic Treble: Adjusts high frequencies for microphone input.
- Mic Bass: Adjusts low frequencies for microphone input.
- Delay: Controls the delay effect for microphone vocals.
- Guitar Volume: Controls the volume of the connected guitar.

Image: Visual representation of the sound adjustment controls.
5. LED Lights
The speaker features built-in LED lights that enhance the visual experience, especially during parties or events. These lights often synchronize with the music. Refer to the control panel for any dedicated light mode buttons to cycle through different effects or turn them off.
Image: The speaker displaying its dynamic LED lighting feature.
Maintenance
- Cleaning: Use a soft, dry cloth to clean the speaker's exterior. Do not use abrasive cleaners, waxes, or solvents.
- Storage: Store the speaker in a cool, dry place away from direct sunlight and extreme temperatures.
- Battery Care: To prolong battery life, avoid fully discharging the battery frequently. Recharge the speaker regularly, even if not in use for extended periods.
- Water Exposure: The speaker is not waterproof. Avoid exposing it to rain, splashes, or high humidity.
Troubleshooting
| Problem | Possible Cause | Solution |
|---|---|---|
| No power | Battery discharged; Power cable not connected properly. | Charge the speaker; Ensure power cable is securely connected. |
| No sound | Volume too low; Incorrect input mode selected; Device not connected. | Increase volume; Select correct input mode (Bluetooth, USB, AUX); Ensure device is properly connected/paired. |
| Bluetooth not connecting | Speaker not in pairing mode; Device too far; Interference. | Ensure speaker is in Bluetooth pairing mode; Move device closer to speaker; Avoid strong interference sources. |
| Microphone not working | Microphone off; Batteries low/dead; Mic volume too low. | Turn on microphone; Replace batteries; Increase 'Mic Volume' knob. |
| TWS pairing failed | Speakers not in TWS pairing mode; Speakers too far apart. | Ensure both speakers are in TWS pairing mode (not connected to any device); Place speakers within close proximity. |
Specifications
| Model Name | PERSANG Octane 9 Trolley Speaker (15 Inch) |
| Speaker Type | Multimedia, Trolley Speaker |
| Woofer Size | 15 Inches (38.01 cm) |
| RMS Power Output | 50W |
| Peak Power Output | 400W |
| Connectivity | Bluetooth, USB, SD Card, AUX Input, TWS |
| Wireless Microphones | 2 x UHF Wireless Mics (707.5 MHz, 747.5 MHz) |
| Additional Inputs | 2 x Mic Inputs, 1 x Guitar Input |
| Battery | 12V 4000 mAh |
| Playback Time | Up to 4 hours |
| Special Features | Recording Function, LED Lights, Trolley Handle with Wheels |
| Product Dimensions (D x W x H) | 44.3D x 35W x 68.5H Centimeters |
| Item Weight | 13.8 Kilograms |
| Input Voltage | 12 Volts |
| Control Method | Touch |
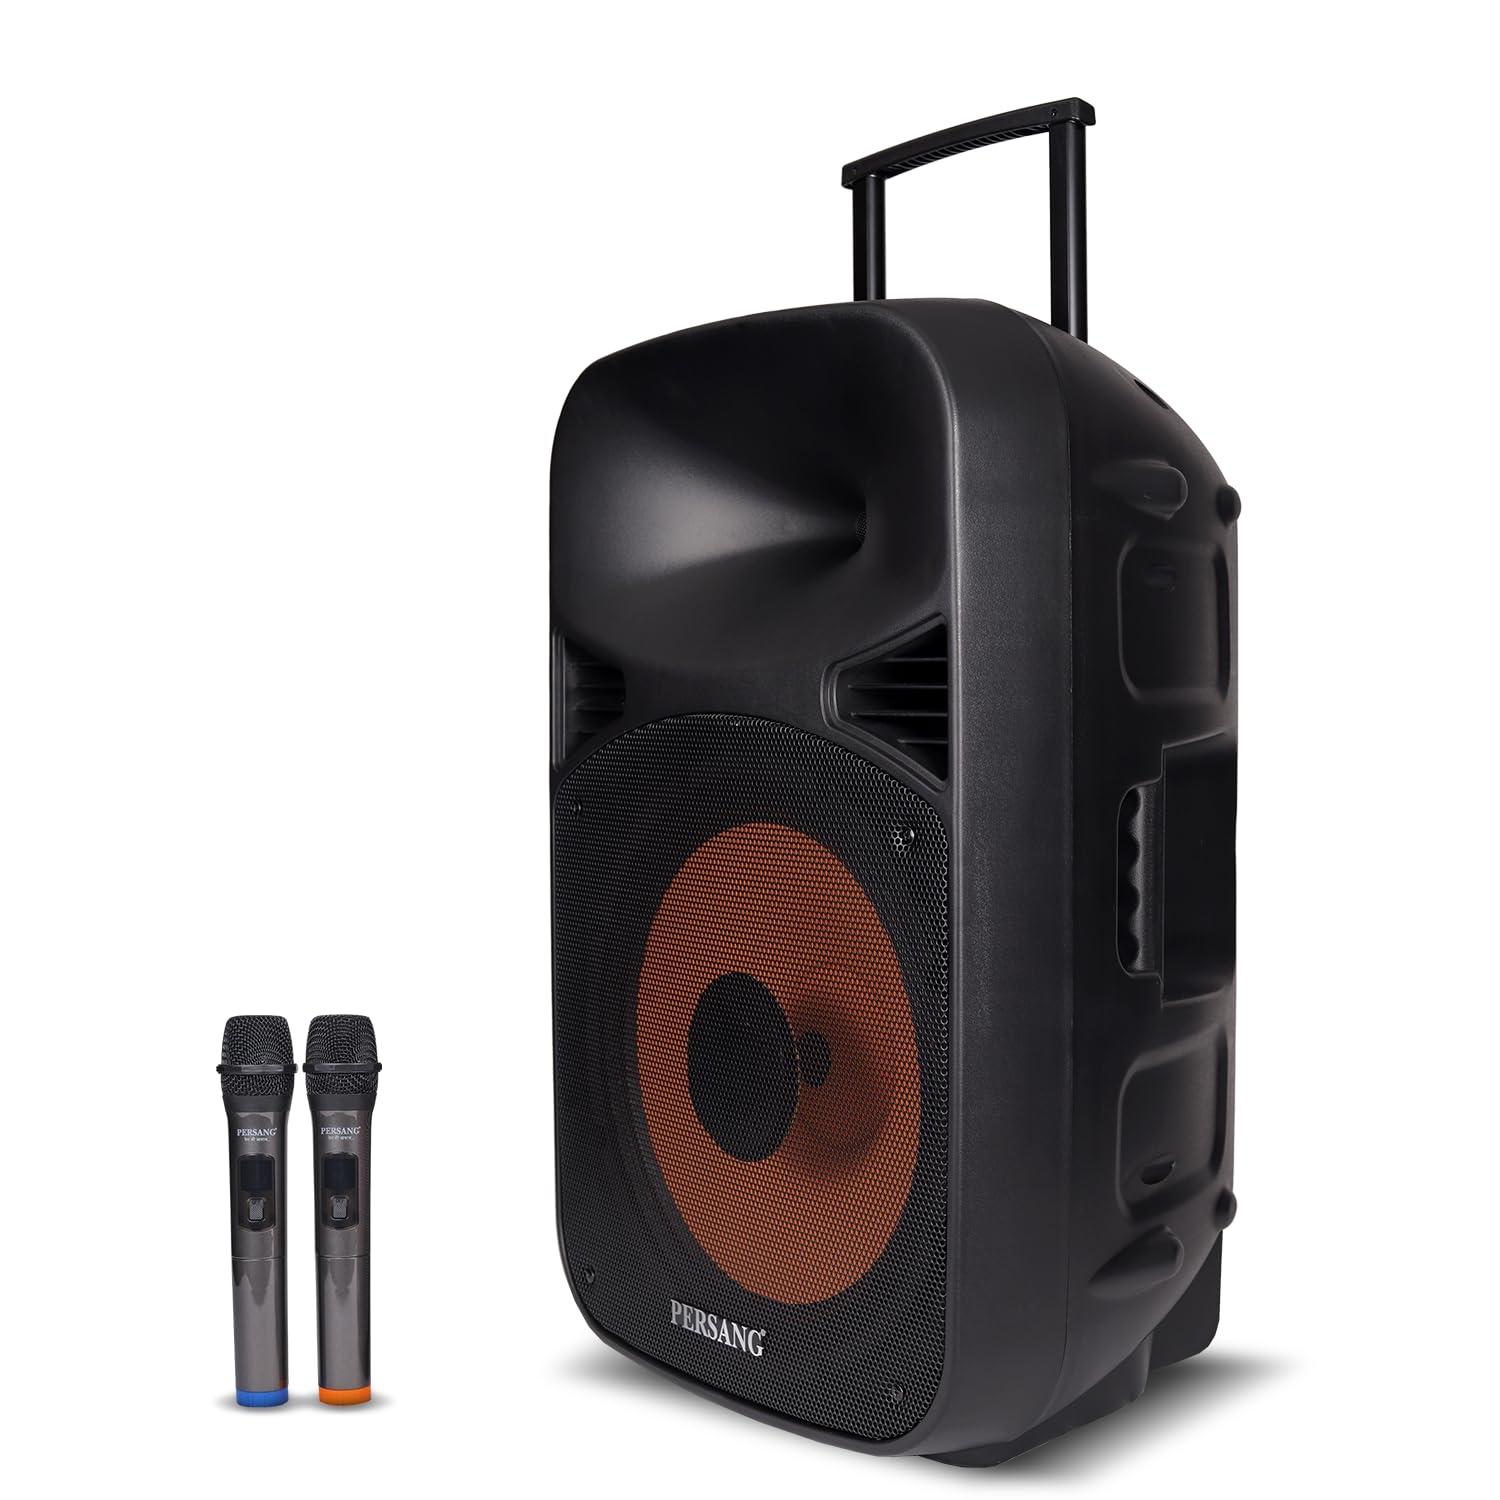
Image: The speaker highlighting its powerful 50W RMS and 400W Peak power output.
Warranty and Support
The PERSANG Octane 9 Bluetooth Trolley Speaker comes with a 1-year limited warranty from the date of purchase. This warranty covers manufacturing defects under normal use.
For warranty claims, technical assistance, or any product-related inquiries, please contact PERSANG customer support. Refer to the contact information provided on the product packaging or the official PERSANG website.
Please retain your purchase receipt as proof of purchase for warranty validation.