1. Product Overview
The Vipbear Smart Toilet with Bidet, Model OPT05, is a one-piece toilet designed for modern bathrooms. It integrates advanced features such as a built-in bidet, heated seat, night light, UV-C sterilization, foam shield technology, and a dual-flush system for water efficiency.
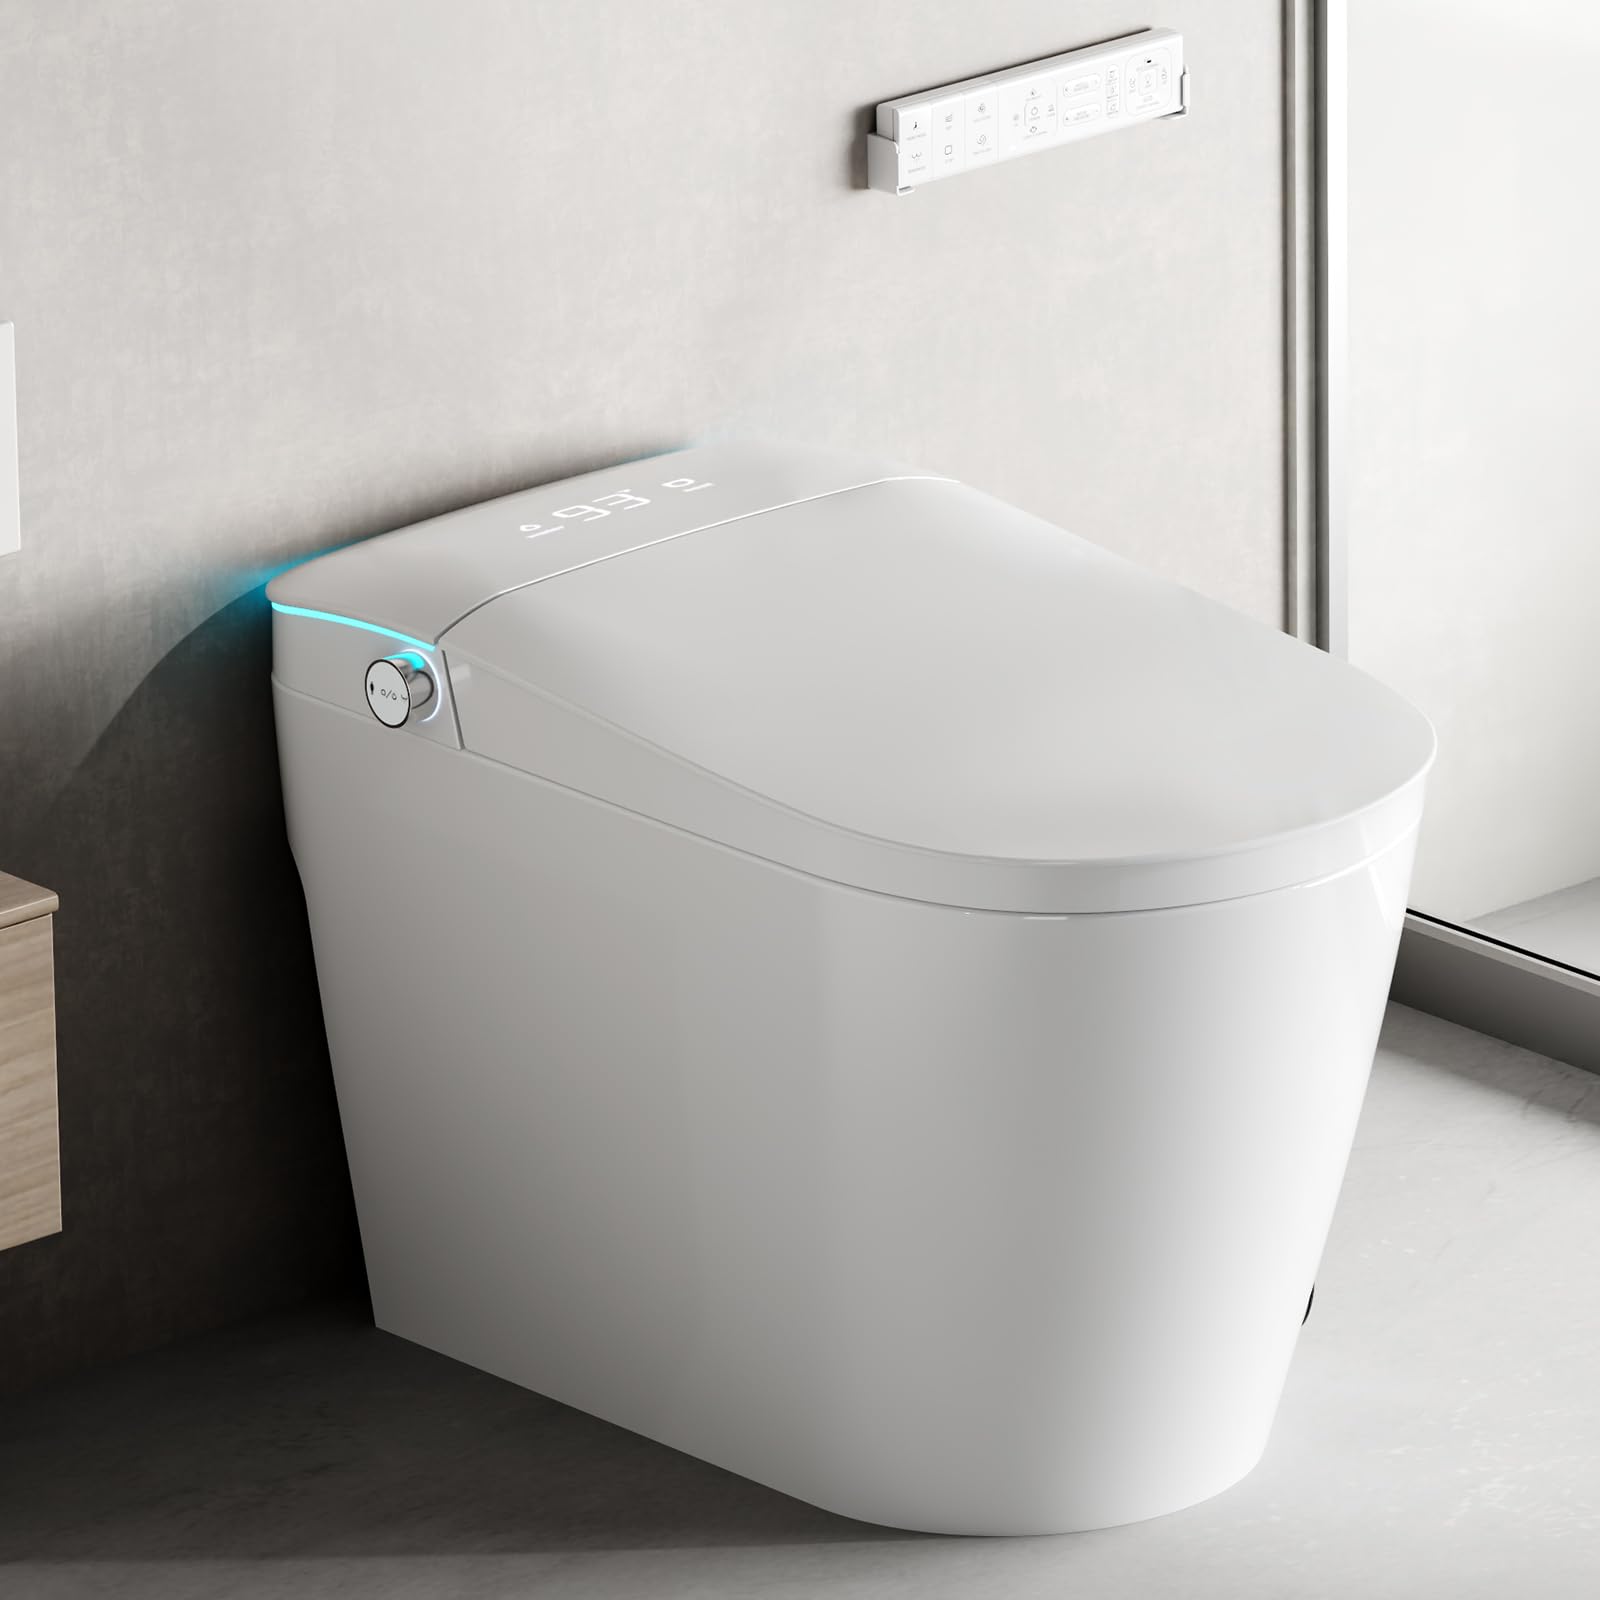
Image 1.1: Vipbear Smart Toilet Model OPT05. This image displays the overall design of the smart toilet.
2. Setup and Installation
The Vipbear Smart Toilet is designed for straightforward installation, typically completed within 20 minutes with the included tools and clear instructions. Professional assistance is generally not required.
2.1 Package Contents
- Smart Toilet Unit (x1)
- Remote Control (x1)
- Water Valve (x1)
- Fixed Disk (x1)
- Flange Ring (x1)
2.2 Installation Steps
- Prepare the Installation Area: Ensure the water supply is turned off and the old toilet is removed. Clean the flange area.
- Install the Flange Ring: Place the flange ring securely over the drain opening.
- Position the Toilet: Carefully align the toilet with the flange bolts and lower it into place.
- Secure the Toilet: Tighten the nuts onto the flange bolts, ensuring a stable and level installation. Do not overtighten.
- Connect Water Supply: Attach the water valve and connect the water supply line to the toilet. Turn on the water supply and check for leaks.
- Connect Power: Plug the smart toilet into a grounded electrical outlet. Smart toilets require a power connection for their advanced features.

Image 2.1: Smart Toilet Dimensions and Installation. This image illustrates the product dimensions and highlights the 12-inch rough-in requirement and the need for a power connection.
3. Operating Instructions
The Vipbear Smart Toilet offers various functions controlled via the remote control or side buttons.
3.1 Bidet Functions
The integrated bidet provides customizable front, rear, and pulsating washes. Adjust water temperature, pressure, and nozzle position using the remote control.
- Rear Wash: For posterior cleansing.
- Female Wash: A gentler spray for feminine hygiene.
- Pulsating Wash: Provides a massage-like sensation.
- Kid-Friendly Cleaning Mode: A gentle water spray specifically designed for children aged 3 and above.

Image 3.1: Bidet Functions and UV-C Light. This image illustrates the rear wash, female wash, automatic clean after use, and oscillating massage functions, along with the UV-C light for sterilization.

Image 3.2: Water Pressure and Temperature Settings. This image shows the adjustable ranges for water pressure (weak to strongest) and water temperature (normal to 104°F).
3.2 Flushing System
The toilet features a dual-flush system (1.6 GPF for full flush, 1.1 GPF for half flush) to conserve water. It also includes four smart flushing modes:
- Remote Flush: Activate flush using the remote control.
- Side Button Flush: Manual flush via buttons on the side of the toilet.
- Off-Seat Auto Flush: Automatically flushes when the user stands up and moves away from the seat.
- Foot Sensor Flush: Activate flush by a foot gesture near the sensor.
A built-in backup battery allows flushing during power outages.

Image 3.3: Dual-Flush Control and Smart Flushing Modes. This image highlights the remote flush, side button flush, off-seat auto flush, and foot sensor flush options, along with the dual-flush capability.

Image 3.4: Powerful Flush Technology. This image illustrates the dual-flush system combining siphon jet and vortex for efficient, low-noise, and rimless cleaning.
3.3 Heated Seat and Warm Air Dryer
The toilet features an instant heated seat with adjustable temperature settings (93°F, 99°F, 104°F). A warm air dryer reduces the need for toilet paper.

Image 3.5: Heated Seat and Warm Air Dryer. This image shows the internal heating elements of the seat and the warm air drying mechanism.

Image 3.6: Thermostatic Comfort Seat. This image highlights the 6-gear seat temperature settings and temperature control safety protection.

Image 3.7: Warm Drying Function. This image illustrates the fast and efficient warm air drying feature, which helps reduce toilet paper usage.
3.4 Foam Shield Technology
The advanced foam shield creates an airtight barrier in the bowl to prevent splashback and waste adhesion, contributing to a cleaner toilet and reducing odors. An auto deodorizer further neutralizes odors.

Image 3.8: Advanced Foam Shield Technology. This image demonstrates how the foam shield prevents splashback and blocks odors, making cleaning easier.
4. Maintenance
Regular maintenance ensures optimal performance and hygiene of your smart toilet.
4.1 Nozzle Cleaning
The bidet nozzles are self-cleaning. Additionally, UV-C light provides sterilization for enhanced hygiene.

Image 4.1: Double Hygienic Protection. This image illustrates the combined action of UV-C sterilization and self-cleaning nozzles for maintaining hygiene.
4.2 General Cleaning
- Use a soft cloth and mild, non-abrasive cleaner for exterior surfaces.
- Avoid harsh chemicals or abrasive pads, which can damage the ceramic or electronic components.
- For the toilet bowl, use standard toilet bowl cleaners as needed.
5. Troubleshooting
This section addresses common issues you might encounter.
5.1 No Power / Features Not Working
- Check Power Connection: Ensure the toilet is properly plugged into a functional electrical outlet.
- Check Circuit Breaker: Verify that the circuit breaker for the bathroom outlet has not tripped.
- Remote Control Battery: Replace batteries in the remote control if functions are unresponsive.
5.2 Flushing Issues
- Weak Flush: Ensure the water supply valve is fully open. Check for any obstructions in the flush mechanism.
- Repeated Flushing: If the toilet flushes repeatedly without user input, disconnect power for 30 seconds and then reconnect. If the issue persists, contact customer support.
- Splashback During Flush: Adjust the water pressure settings if possible. Ensure the foam shield function is active.
5.3 Bidet Not Functioning
- Water Supply: Confirm the water supply to the bidet is open and not obstructed.
- Nozzle Position: Ensure the nozzle is not stuck or blocked. The self-cleaning function should clear minor blockages.
- Water Temperature/Pressure: Check settings on the remote control.
5.4 Pre-Rinse Function (Wet Wall)
This function pre-moistens the inner wall of the toilet bowl to prevent waste adhesion. It is off by default. To activate:
- Press and hold the Close button on the toilet for 3 seconds.
- While holding, press the Front Cleansing button on the remote control.
- One beep ("DI") indicates the function is OFF. Two beeps ("DI-DI") indicate the function is ON.
6. Specifications
| Feature | Specification |
|---|---|
| Model Number | OPT05 |
| Color | Ceramic White |
| Product Dimensions (D x W x H) | 26.78" x 15.79" x 18.35" |
| Item Weight | 90 Pounds |
| Material | Ceramic |
| Installation Method | Floor Mounted |
| Flush Type | Dual Flush (1.6 GPF / 1.1 GPF) |
| Heated Seat Temperature | Adjustable (93°F, 99°F, 104°F) |
| Certifications | CEC, cUPC, EGS Compliant |
| Included Components | Smart Toilet, Remote Control, Water Valve, Fixed Disk, Flange Ring |
7. Warranty and Support
The Vipbear Smart Toilet Model OPT05 is backed by a 1-year warranty from the date of purchase. This warranty covers manufacturing defects and malfunctions under normal use.
For technical assistance, troubleshooting, or warranty claims, please contact our dedicated support team. Refer to the contact information provided with your purchase documentation or visit the official Vipbear website.