Introduction
The Cenroelon Smart Door Knob with Lock provides a secure and convenient keyless entry solution for various applications. This manual will guide you through the installation, operation, and maintenance of your smart door knob to ensure optimal performance and security.
Product Specifications
- Manufacturer: 14CAI500776506
- Part Number: 14CAI500776506
- Colour: Black
- Material: Metal
- Power Source: Built-in Rechargeable Battery (Note: The specification 'No Battery' refers to not requiring disposable batteries.)
- Country of Origin: China
- ASIN: B0FNQPJS8M
- Door Thickness Compatibility: 1.38-2.16 inches (35mm-55mm)
- Backset Compatibility: Adjustable 2-3/8-Inch or 2-3/4-Inch
- Door Hole Diameter: 54mm
Setup and Installation
Follow these steps for proper installation of your smart door knob. Ensure your door meets the specified dimensions for compatibility.
1. Prepare the Door
Verify your door's thickness and backset. The latch is adjustable for 2-3/8-inch or 2-3/4-inch backsets. The door hole diameter should be 54mm.

Image: Diagram showing door knob dimensions and compatibility for door thickness (35mm-55mm), backset (2-3/8" or 2-3/4"), and door hole diameter (55mm).
2. Latch Installation Direction
Choose the correct latch installation direction based on whether your door opens inward or outward. Ensure the latch's square hole is placed horizontally.
Video: Installation guide for the smart door knob, demonstrating how to mark the door, adjust latch length, install the latchbolt horizontally, fix exterior rubber plate, install the shaft, install positioning columns, install screw casings, install exterior assembly, remove the knob, fix interior rubber plate, connect the wire, install interior assembly, secure interior assembly, and mount the knob.
Video: 3D animation demonstrating the installation process of the HL-99 smart door knob, including pre-installation preparation, adjustable latch length, and knob installation.
Video: Easy installation guide for the K10mini smart door knob, showing step-by-step assembly and mounting.
Video: Installation steps for a keyless entry door lock, demonstrating how to install the latch, exterior knob, and interior components.
Video: Installation guide for the Signstek Door Knob with Keypad, showing the process of securing the connecting rod, installing front and back panels, and inserting batteries.
Operating Instructions
The smart door knob offers multiple modes and access methods for enhanced security and convenience.
1. Multiple Mode Functions
Switch between Normal, Passage, and Privacy modes using the intuitive button on the interior knob. This adapts to different privacy needs.
- Normal Mode: Automatically locks 5 seconds after closing. Both administrator and user passwords can unlock.
- Passage Mode: Allows free in and out movement without requiring a code. The door knob remains unlocked.
- Privacy Mode: Only the administrator can unlock the door, providing maximum privacy.

Image: Diagram illustrating the three modes of the smart knob: Normal Mode (automatically locked in 5s), Passage Mode (in and out freely), and Privacy Mode (only admin can unlock).
2. Convenient Keyless Entry
The smart keypad door knob supports 3 master codes and 17 user codes, each 4 to 8 digits long. Two mechanical keys are included for backup access.
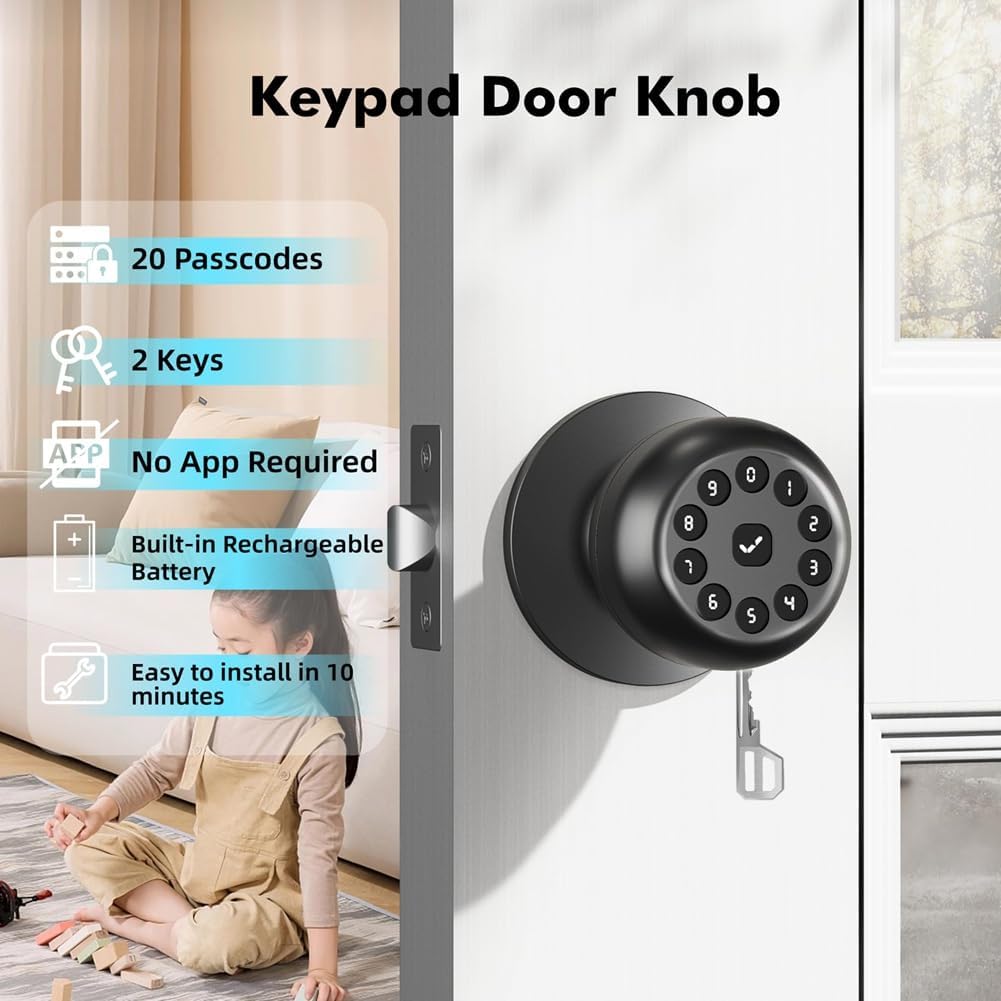
Image: Keypad Door Knob highlighting features such as 20 Passcodes, 2 Keys, No App Required, Built-in Rechargeable Battery, and Easy 10-minute installation.
3. Enhanced Security Features
The door automatically secures 5 seconds after closing. Anti-peep passcodes allow you to add random digits before or after your actual code to prevent unauthorized observation.

Image: Illustration of the Anti-Peep Code feature, showing how random digits can be added before and after the correct code to obscure it.

Image: Illustration of the Mute Mode (4 + tick button) and Auto Lock (5 seconds) features for the smart door knob.
4. Programming Codes and Settings
Refer to the following videos for detailed instructions on programming your smart door knob.
- Changing Master Code: Before programming, change the default master code (4-8 digits) to your own.
- Adding User Codes: Add new user codes (4-8 digits) for family members or guests.
- Deleting User Codes: Remove unwanted user codes.
- Silence Mode: Enable or disable sound feedback.
- Auto-lock Time Delay: Adjust the automatic locking delay (5-99 seconds).
- One-time Code: Set temporary access codes.
- Vacation Mode: Enable a mode where only master code or physical keys can unlock.
Video: Programming guide for the YR04 smart door knob, demonstrating how to change the master code, add user codes, delete user codes, enable/disable silence mode, set auto-lock time delay, set one-time codes, and enable vacation mode.
Video: Instructions on how to add user fingerprints to the F190 smart door lock, emphasizing pressing the fingerprint reader from five different angles for accurate identification.
Video: User guide for the K10mini smart door knob, demonstrating how to add administrator passwords, add user passwords, and switch between normal, passage, and privacy modes.
Maintenance
Proper maintenance ensures the longevity and reliable operation of your smart door knob.
- Battery Life: The built-in rechargeable battery provides up to 10 months of operation on a single 3-hour charge.
- Charging: Recharge the battery when the low battery alarm is indicated. Use a Type-C emergency power source if needed.
- Cleaning: Clean the keypad and knob surfaces with a soft, dry cloth. Avoid abrasive cleaners or solvents.
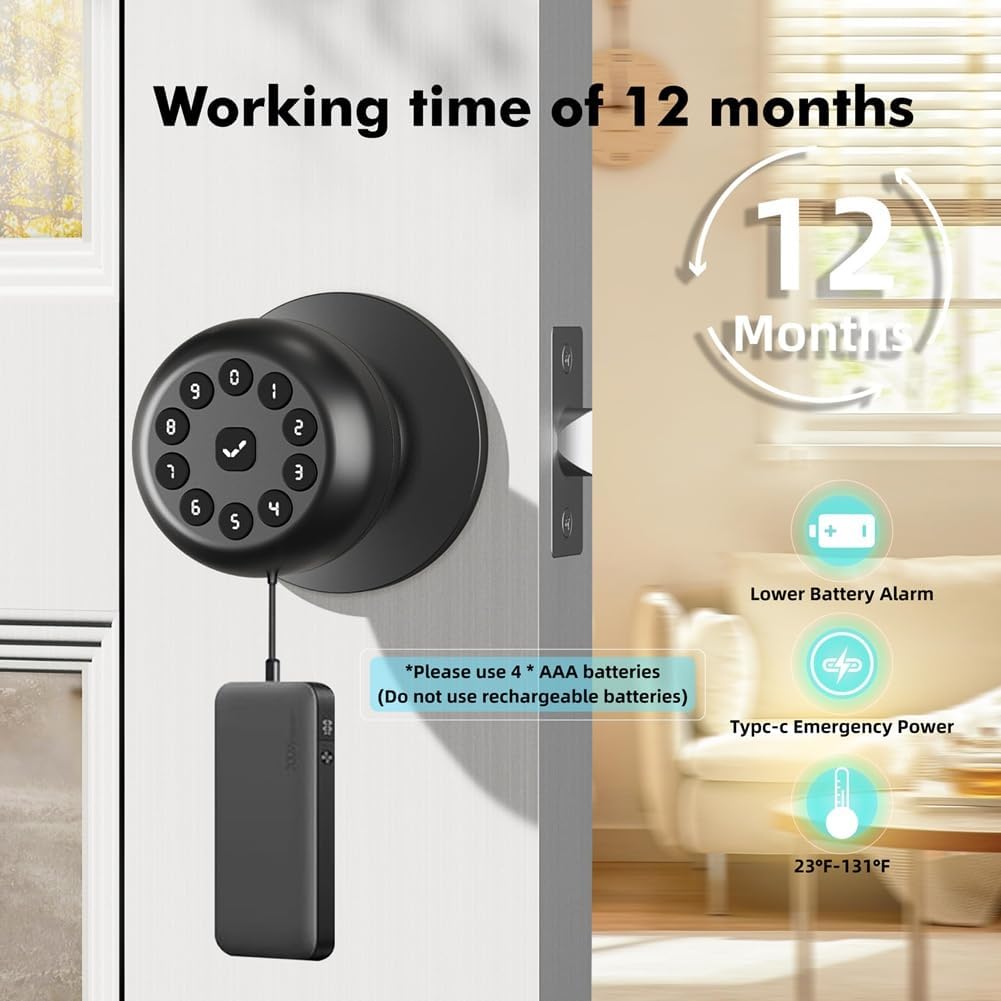
Image: Illustration showing the smart door knob connected to a power bank via Type-C for emergency power, highlighting up to 10 months working time, low battery alarm, and operating temperature range (23°F-131°F).
Troubleshooting
If you encounter issues with your smart door knob, refer to the following common solutions.
- Resetting the Smart Lock: This procedure will delete all user codes associated with the lock.
- Problem: The hole is misaligned with the reset button. The lock does not respond to the pin and gives no voice prompt.
- Solution: Remove the screws on the back cover and press the reset button directly to perform a successful reset.
Video: Demonstrates two methods to reset the smart lock: pressing the reset button for 5 seconds until the green light flashes, and resetting via the TT Lock App.
Warranty and Support
For warranty information or technical support, please contact Cenroelon customer service. Keep your purchase receipt for warranty claims.
- Customer Service: Refer to your product packaging or the seller's website for contact details.
- Online Resources: Visit the Cenroelon official website for FAQs and additional support.