
1. Introduction
This manual provides essential information for the safe and efficient operation of your VEVOR CDI-D02 Digital Fuel Nozzle. This device is designed for precise fuel transfer with a digital display and automatic shut-off feature, suitable for various fuel types including gasoline, diesel, and kerosene. Please read this manual thoroughly before use and retain it for future reference.
2. Safety Instructions
- Always wear appropriate personal protective equipment (PPE) such as gloves and eye protection when handling fuel.
- Ensure the fueling area is well-ventilated and free from ignition sources, open flames, or sparks.
- Do not smoke while operating the fuel nozzle.
- Verify all connections are secure before beginning fuel transfer to prevent leaks.
- This nozzle requires a pump to operate. Ensure the pump is compatible and functioning correctly.
- Do not attempt to bypass or modify the automatic shut-off mechanism.
- In case of a spill, follow local regulations for containment and cleanup.
- Keep out of reach of children.
3. Product Components
The VEVOR CDI-D02 Digital Fuel Nozzle package includes the following items:
- 1 x Fuel Nozzle (with digital display)
- 1 x Barb Connector (1 inch)
- 1 x User Manual (this document)

Figure 3.1: Included components and overall dimensions of the VEVOR CDI-D02 Digital Fuel Nozzle. The image shows the red fuel nozzle with its digital display, the spout, and a separate 1-inch barb connector. Dimensions are indicated as 16.54 inches (420 mm) in length and the outlet diameter as 13/16 inch (20 mm).
4. Setup and Installation
Follow these steps to properly set up your digital fuel nozzle:
- Inspect Components: Before installation, carefully inspect all components for any damage or defects.
- Connect Hose: Attach the 1-inch barb connector to your fuel hose. Ensure a tight and leak-free connection using appropriate clamps (not included).
- Attach Nozzle: Securely connect the fuel nozzle to the barb connector. The nozzle features a 1-inch barb inlet for high compatibility.
- System Check: Before first use, ensure the entire fueling system (pump, hose, and nozzle) is free from leaks and properly assembled.

Figure 4.1: Detailed view of the nozzle's inlet and outlet connections. The image highlights the 1-inch (25.4 mm) barb inlet and the 13/16 inch (20 mm) outer diameter spout, emphasizing the high compatibility and large-diameter flow channel for efficient fuel transfer.
5. Operating Instructions
The VEVOR CDI-D02 Digital Fuel Nozzle is designed for straightforward operation.
5.1 Digital Display Functions
The built-in electronic display provides real-time information during fueling:
- Real-time Refueling Volume: Shows the amount of fuel dispensed.
- Unit Price Display: Allows for tracking of unit cost (if configured).
- Multiple Unit Conversions: Supports Liters (L), Gallons (GAL), Quarts (QT), and Pints (PT). Refer to the display's internal settings for unit adjustment.

Figure 5.1: The digital meter display provides accurate flow output and real-time data. The image contrasts the VEVOR nozzle with its clear electronic fuel meter showing volume and unit price, against a generic nozzle without a display.
5.2 Fueling Process
- Prepare: Ensure the fuel nozzle is securely connected to the hose and the pump is ready.
- Insert Nozzle: Insert the nozzle spout into the vehicle or container's fuel inlet.
- Start Flow: Squeeze the trigger to begin dispensing fuel. The digital display will show the volume.
- Automatic Shut-off: The nozzle will automatically shut off when the tank is full, preventing overfilling and spills.
- Remove Nozzle: Once fueling is complete and the nozzle has shut off, carefully remove it from the fuel inlet.
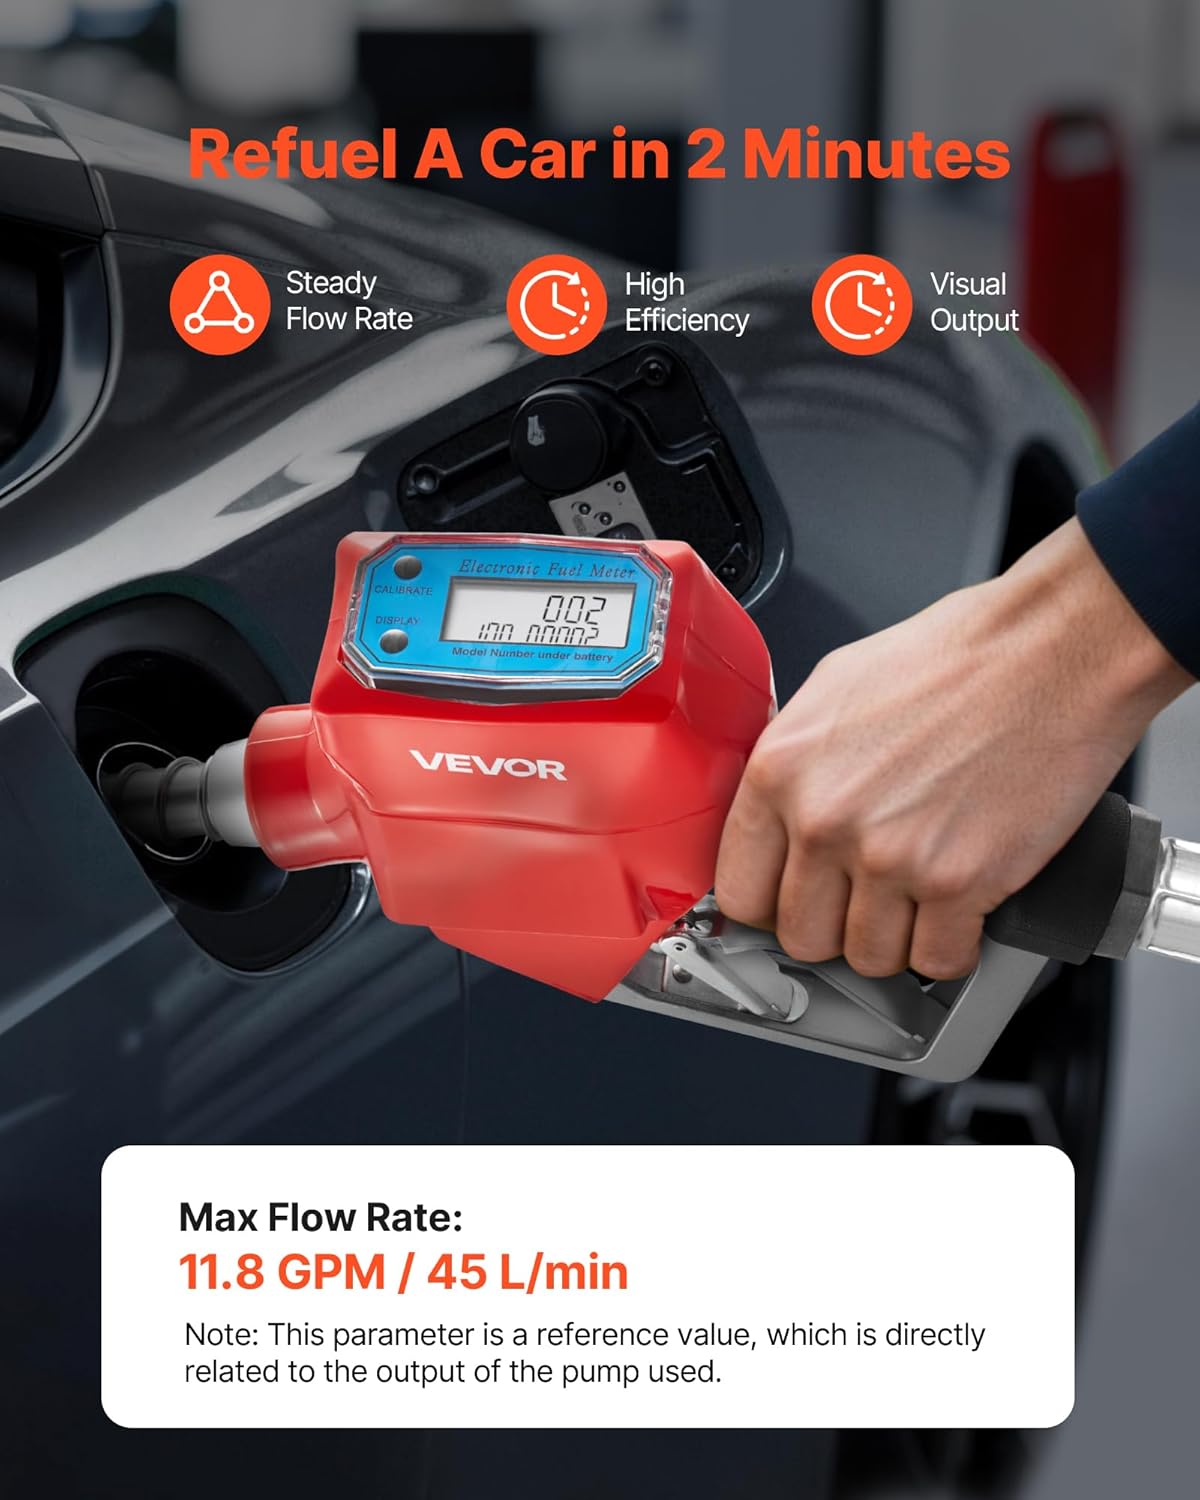
Figure 5.2: Demonstrates the nozzle in use, refueling a car. The image highlights the steady flow rate, high efficiency, and visual output provided by the digital display. A note indicates the max flow rate of 11.8 GPM (45 L/min) is a reference value dependent on the pump output.
5.3 Automatic Shut-off Feature
The integrated automatic shut-off mechanism is designed to enhance safety and prevent fuel waste. It activates when the fuel level reaches the sensor at the tip of the spout, stopping the flow instantly.

Figure 5.3: Illustrates the automatic shut-off function. The image shows a cutaway view of the nozzle, highlighting the internal mechanism that prevents leaks and spills by automatically stopping fuel flow when the tank is full.
5.4 Compatible Fuel Types
This nozzle is compatible with:
- Diesel
- Kerosene
- Gasoline
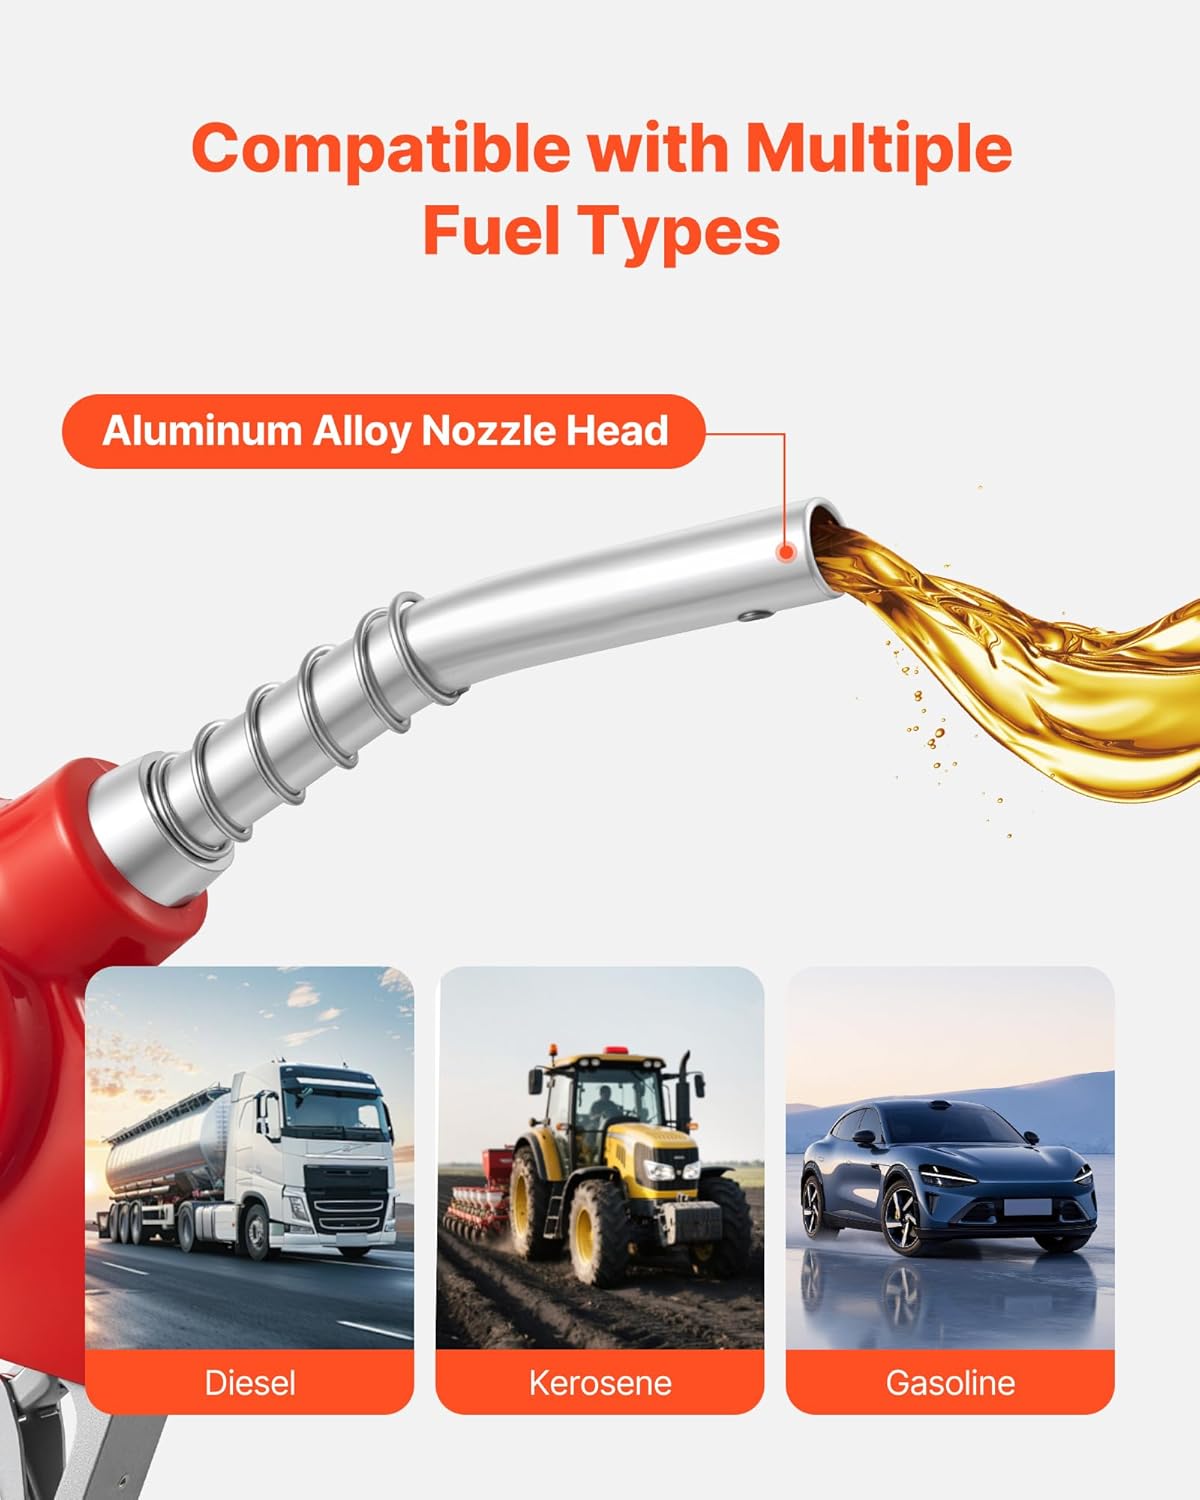
Figure 5.4: Shows the nozzle's compatibility with multiple fuel types. The image displays the aluminum alloy nozzle head and icons representing diesel, kerosene, and gasoline applications, suitable for farm equipment, construction fleets, and general vehicle refueling.
6. Maintenance
Regular maintenance ensures the longevity and optimal performance of your fuel nozzle.
- Cleaning: After each use, wipe the exterior of the nozzle with a clean cloth to remove any fuel residue. Avoid using harsh chemicals that may damage the finish or seals.
- Inspection: Periodically inspect the nozzle spout, trigger, and connections for signs of wear, damage, or leaks. Replace any worn or damaged parts immediately.
- Storage: Store the fuel nozzle in a clean, dry place away from direct sunlight and extreme temperatures when not in use.
- Digital Display: Ensure the digital display is clean and readable. If the display becomes dim or unresponsive, check the battery compartment (usually located under the display cover) and replace batteries as needed.
7. Troubleshooting
If you encounter issues with your VEVOR CDI-D02 Digital Fuel Nozzle, refer to the following common problems and solutions:
| Problem | Possible Cause | Solution |
|---|---|---|
| No fuel flow or reduced flow rate |
|
|
| Fuel leak from connections |
|
|
| Digital display not working or dim |
|
|
| Automatic shut-off not engaging |
|
|
8. Specifications
Detailed technical specifications for the VEVOR CDI-D02 Digital Fuel Nozzle:
| Feature | Specification |
|---|---|
| Model Number | CDI-D02 |
| Material | Metal (Aluminum Alloy exterior finish) |
| Inlet Connection Size | 1 Inch (Barb) |
| Outlet Connection Size | 3/16 inch (OD=20 mm) |
| Max Flow Rate | 12.6 GPM (48 L/min) - Note: Reference value, depends on pump output. |
| Item Dimensions (L x W x H) | 16.54 x 7.87 x 2.36 inches (420 x 200 x 60 mm) |
| Item Weight | 2.71 Pounds (1.23 kg) |
| Number of Ports | 2 |
| Valve Type | Fuel Nozzle |
| Compatibility | Gasoline, Diesel, Kerosene |
9. Warranty and Support
VEVOR products are designed for durability and performance. For warranty information, technical support, or service inquiries, please refer to the official VEVOR website or contact their customer service department. Please have your model number (CDI-D02) and purchase details ready when contacting support.
VEVOR Official Website: www.vevor.com