
Important Safety Instructions
Read all instructions carefully before beginning installation. Failure to follow these instructions may result in electric shock, fire, or personal injury. Save these instructions for future reference.
- Ensure the power supply is disconnected at the circuit breaker before installation or servicing.
- All wiring must be in accordance with national and local electrical codes. If you are unfamiliar with wiring, consult a qualified electrician.
- The mounting structure must be capable of supporting the weight of the fan. Refer to specifications for product weight.
- Do not operate the fan with damaged wiring or if the fan is visibly damaged.
- Keep hands, hair, and clothing clear of the fan blades during operation.
- This fan is designed for indoor use only. Do not expose to water or excessive humidity.
- Use only E12 base bulbs as specified. Do not exceed the maximum wattage.
Package Contents
Verify that all components are present before beginning installation.
- 1 x Ceiling Fan Body Assembly
- 1 x Accessory Kit (screws, wire nuts, etc.)
- 1 x Remote Control (requires 2 AAA batteries, not included)
- 1 x Installation Manual
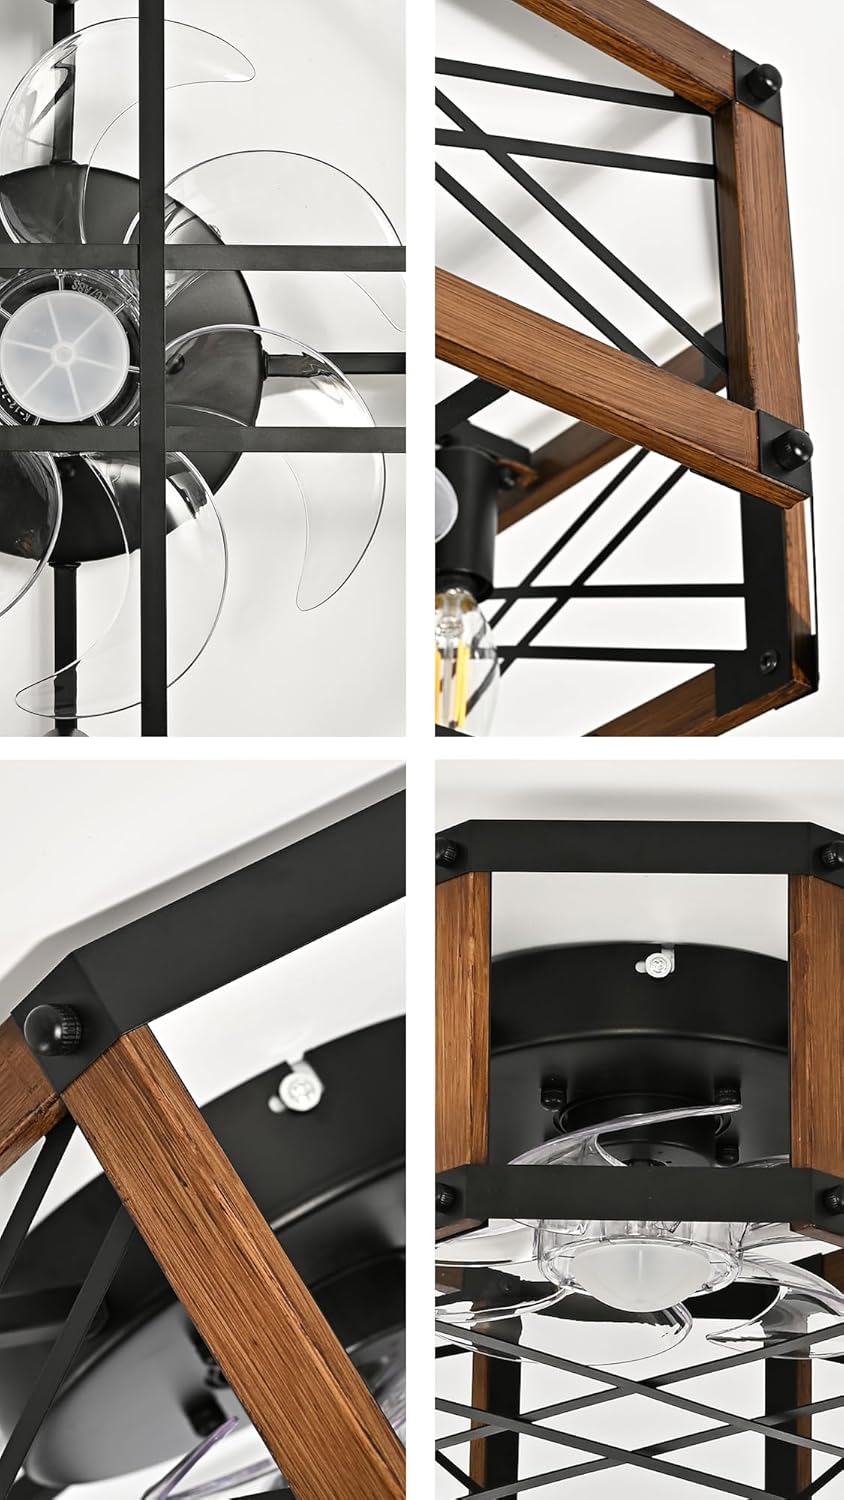
Image: Detailed view of fan components, including wiring and blade assembly.
Specifications
| Brand | Linher |
| Model Number | F232 |
| Color | Black Walnut |
| Dimensions (L x W x H) | 21"L x 21"W x 7.4"H |
| Material | Acrylonitrile Butadiene Styrene (ABS), Metal |
| Mounting Type | Flush Mount |
| Bulb Base | E12 (4 sockets, bulbs not included) |
| Max Wattage per Bulb | 40W (LED recommended) |
| Voltage | 110V AC |
| Control Method | Remote Control |
| Motor Type | Brushless DC Reversible Motor |
| Special Features | 6-Speed Control, Natural Wind Mode, Forward & Reverse Rotation, Timer (1H/2H), Dimmable (with compatible bulbs/switch) |
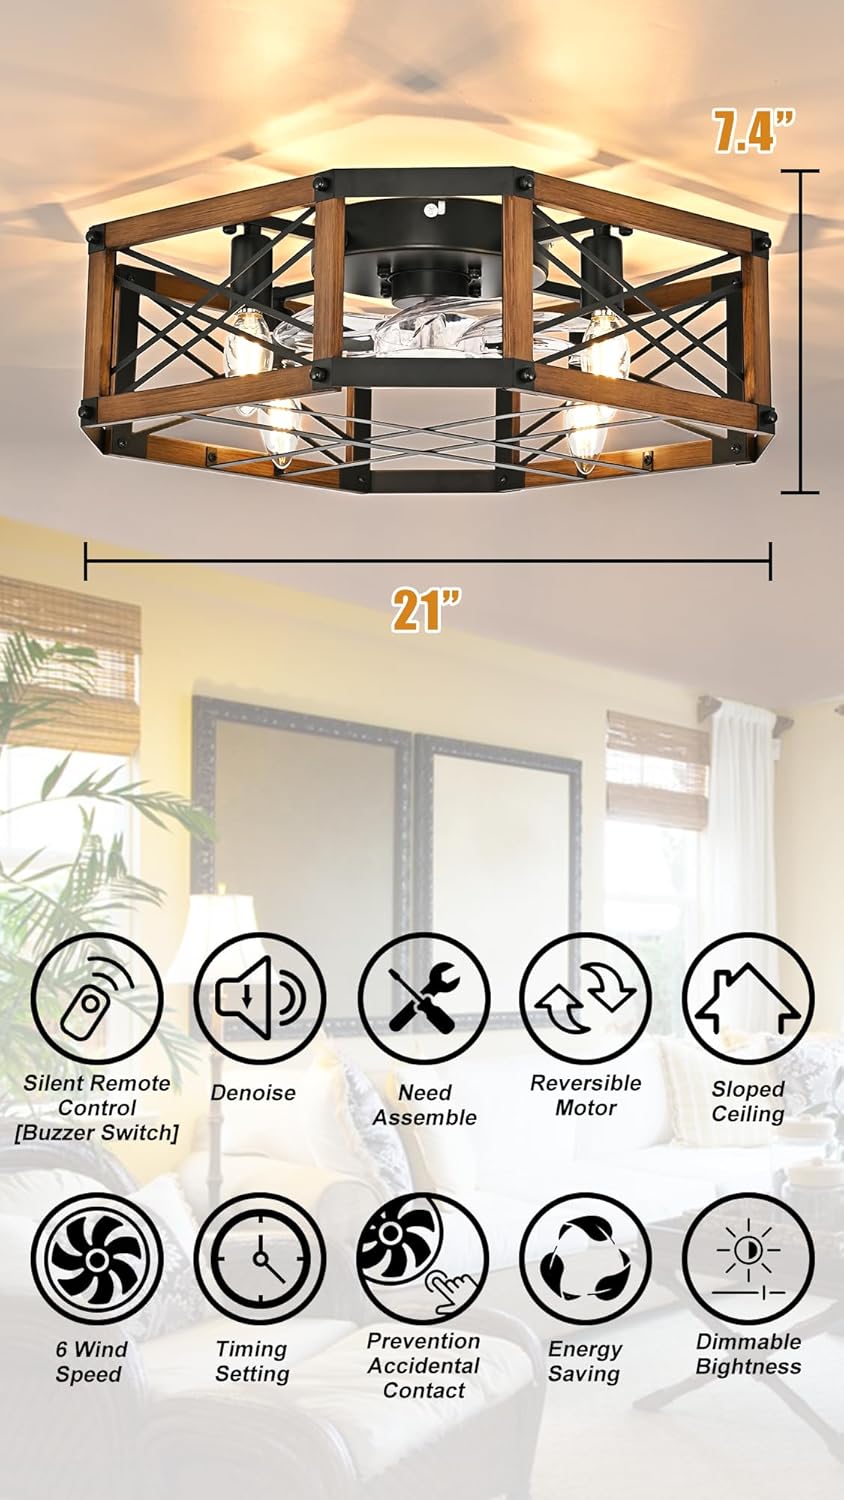
Image: Product dimensions illustrating the compact, low-profile design.
Setup & Installation
This section provides general guidance for installation. For detailed steps, refer to the included installation manual. Professional installation is recommended if you are not experienced with electrical wiring.
1. Pre-Installation Checks
- Power Off: Ensure power is turned off at the circuit breaker.
- Mounting Location: Select a suitable location that can support the fan's weight and allows for proper air circulation. This fan is suitable for low ceilings and can be installed on sloped ceilings.
- Tools Required: Gather necessary tools such as a screwdriver, wire strippers, electrical tape, and a ladder.
2. Assembly
The fan requires some assembly. Follow the step-by-step instructions provided in the separate installation guide included in your package. This typically involves attaching the fan blades and cage components to the motor housing.

Image: Details of the fan's construction, including removable metal mesh for easy bulb access and the hand-painted finish.
3. Wiring and Mounting
- Mounting Bracket: Secure the mounting bracket to the ceiling junction box. Ensure it is firmly attached and can support the fan.
- Electrical Connections: Connect the fan's wiring to your household electrical system according to the wiring diagram in the installation manual. Typically, this involves connecting live, neutral, and ground wires.
- Secure Fan: Carefully lift and attach the fan assembly to the mounting bracket. Ensure all screws are tightened securely.
- Install Bulbs: Insert four E12 base bulbs (not included) into the sockets. For dimming functionality, use compatible dimmable E12 bulbs and a dimmer switch (circuit modification may be required).

Image: Close-up of the ABS fan blades and the efficient brushless DC motor.
Operating Instructions
Your Linher ceiling fan is operated using the included remote control. Ensure 2 AAA batteries are installed in the remote.
Remote Control Functions
- Fan On/Off: Press the fan button to turn the fan on or off.
- Speed Control (1-6): Adjust the fan speed from 1 (lowest) to 6 (highest) to customize airflow.
- Natural Wind Mode: Activates a mode that cycles randomly through different speeds to simulate a natural breeze.
- Forward & Reverse Rotation:
- Summer Mode (Downdraft): Fan blades rotate counter-clockwise to create a cooling downdraft.
- Winter Mode (Updraft): Fan blades rotate clockwise to circulate warm air near the ceiling.
- Light On/Off: Press the light button to turn the light on or off.
- Dimming (if applicable): If using dimmable bulbs and a compatible dimmer switch, the light intensity can be adjusted. The remote primarily controls light switching.
- Timer (1H/2H): Set the fan to automatically turn off after 1 or 2 hours.
- Buzzer Switch (Mute): Press this button to mute the remote's beeping sound for quieter operation.

Image: Illustration of the fan's quiet operation and remote control features, including timer and mute function.

Image: Visual explanation of the reversible function for seasonal comfort.

Image: Demonstration of light switching and dimming options (requires compatible bulbs and switch).
Maintenance
- Cleaning: To clean the fan, ensure power is off. Use a soft, damp cloth to wipe down the exterior. Do not use abrasive cleaners or solvents.
- Bulb Replacement: Turn off power before replacing bulbs. The metal mesh cage is removable for easy access to the E12 bulb sockets. Replace with E12 base bulbs, not exceeding 40W per bulb.
- Tighten Fasteners: Periodically check and tighten all screws and fasteners to ensure safe operation.
Troubleshooting
| Problem | Possible Cause | Solution |
|---|---|---|
| Fan does not operate. | No power; loose wiring; remote control issues. | Check circuit breaker. Ensure all wiring connections are secure. Replace remote batteries. Re-pair remote if necessary (refer to manual). |
| Light does not turn on. | Bulbs not installed or faulty; loose wiring; remote control issues. | Ensure bulbs are correctly installed and functional. Check wiring connections. Replace remote batteries. |
| Fan makes excessive noise. | Loose screws; unbalanced blades; motor issue. | Check and tighten all mounting screws. Ensure fan blades are securely attached. If noise persists, contact customer support. |
| Remote control not working. | Dead batteries; out of range; interference. | Replace AAA batteries. Ensure you are within range of the fan. Minimize interference from other electronic devices. |
Warranty & Support
This Linher ceiling fan comes with a 2-year limited warranty from the date of purchase. This warranty covers defects in materials and workmanship under normal use.
For warranty claims, technical support, or any questions regarding your product, please contact Linher customer service. Refer to the contact information provided in your purchase documentation or visit the official Linher website.
Manufacturer: Linher


