
BARNSMITH YCM09
BARNSMITH Concealed Sliding Barn Door Instruction Manual
Model: YCM09 | Dimensions: 36"x84"
Introduction
This manual provides detailed instructions for the installation, operation, and maintenance of your BARNSMITH Concealed Sliding Barn Door (Model YCM09). Please read all instructions carefully before beginning installation to ensure proper function and safety. Keep this manual for future reference.
Safety Information
- Always wear appropriate safety gear, including gloves and eye protection, during installation.
- Ensure the installation surface (wall and floor) is structurally sound and capable of supporting the door's weight.
- This door is not suitable for carpeted floors. Install only on hard, flat surfaces for optimal performance and stability.
- Keep children and pets away from the installation area.
- If you are unsure about any step, consult a qualified professional.
Package Contents
Verify that all components listed below are present and undamaged before beginning installation. If any parts are missing or damaged, please contact BARNSMITH customer service.

Figure 1: Complete Package Contents
- 1 Pre-grooved barn door (36" wide, 84" high, 1 3/8" thick)
- 1 Top track
- 1 Top roller
- 2 Soft close mechanisms
- 2 End caps
- 2 Bottom rollers
- 1 Bottom track
- 1 Floor guide
- 2 Handles
- All necessary screws and wrench
- Detailed instructions
Specifications
| Feature | Detail |
|---|---|
| Brand | BARNSMITH |
| Model Number | YCM09 |
| Colour | White |
| Material | Aluminum, Wood, HDF |
| Style | Modern |
| Item Weight | 40 Pounds |
| Assembly Required | Yes |
| Door Dimensions | 36" wide x 84" high x 1 3/8" thick |
| Suitable Door Opening | 30"-34" wide x 80" high |
Setup and Installation
1. Pre-Installation Checks
- Floor Type: Ensure the installation area has a hard, flat surface. This door is not suitable for carpeted floors.
- Wall Structure: Verify that the wall where the top track will be mounted is sturdy and can support the door's weight.
- Door Opening Size: The door is 36"x84". It is suitable for door openings of 30"-34" wide x 80" high. Refer to the dimension tables below for detailed guidance.
2. Door and Opening Dimensions
Carefully measure your door opening and compare it with the recommended dimensions. The following tables provide guidance for nominal width and height, actual door slab dimensions, and advised door opening sizes.
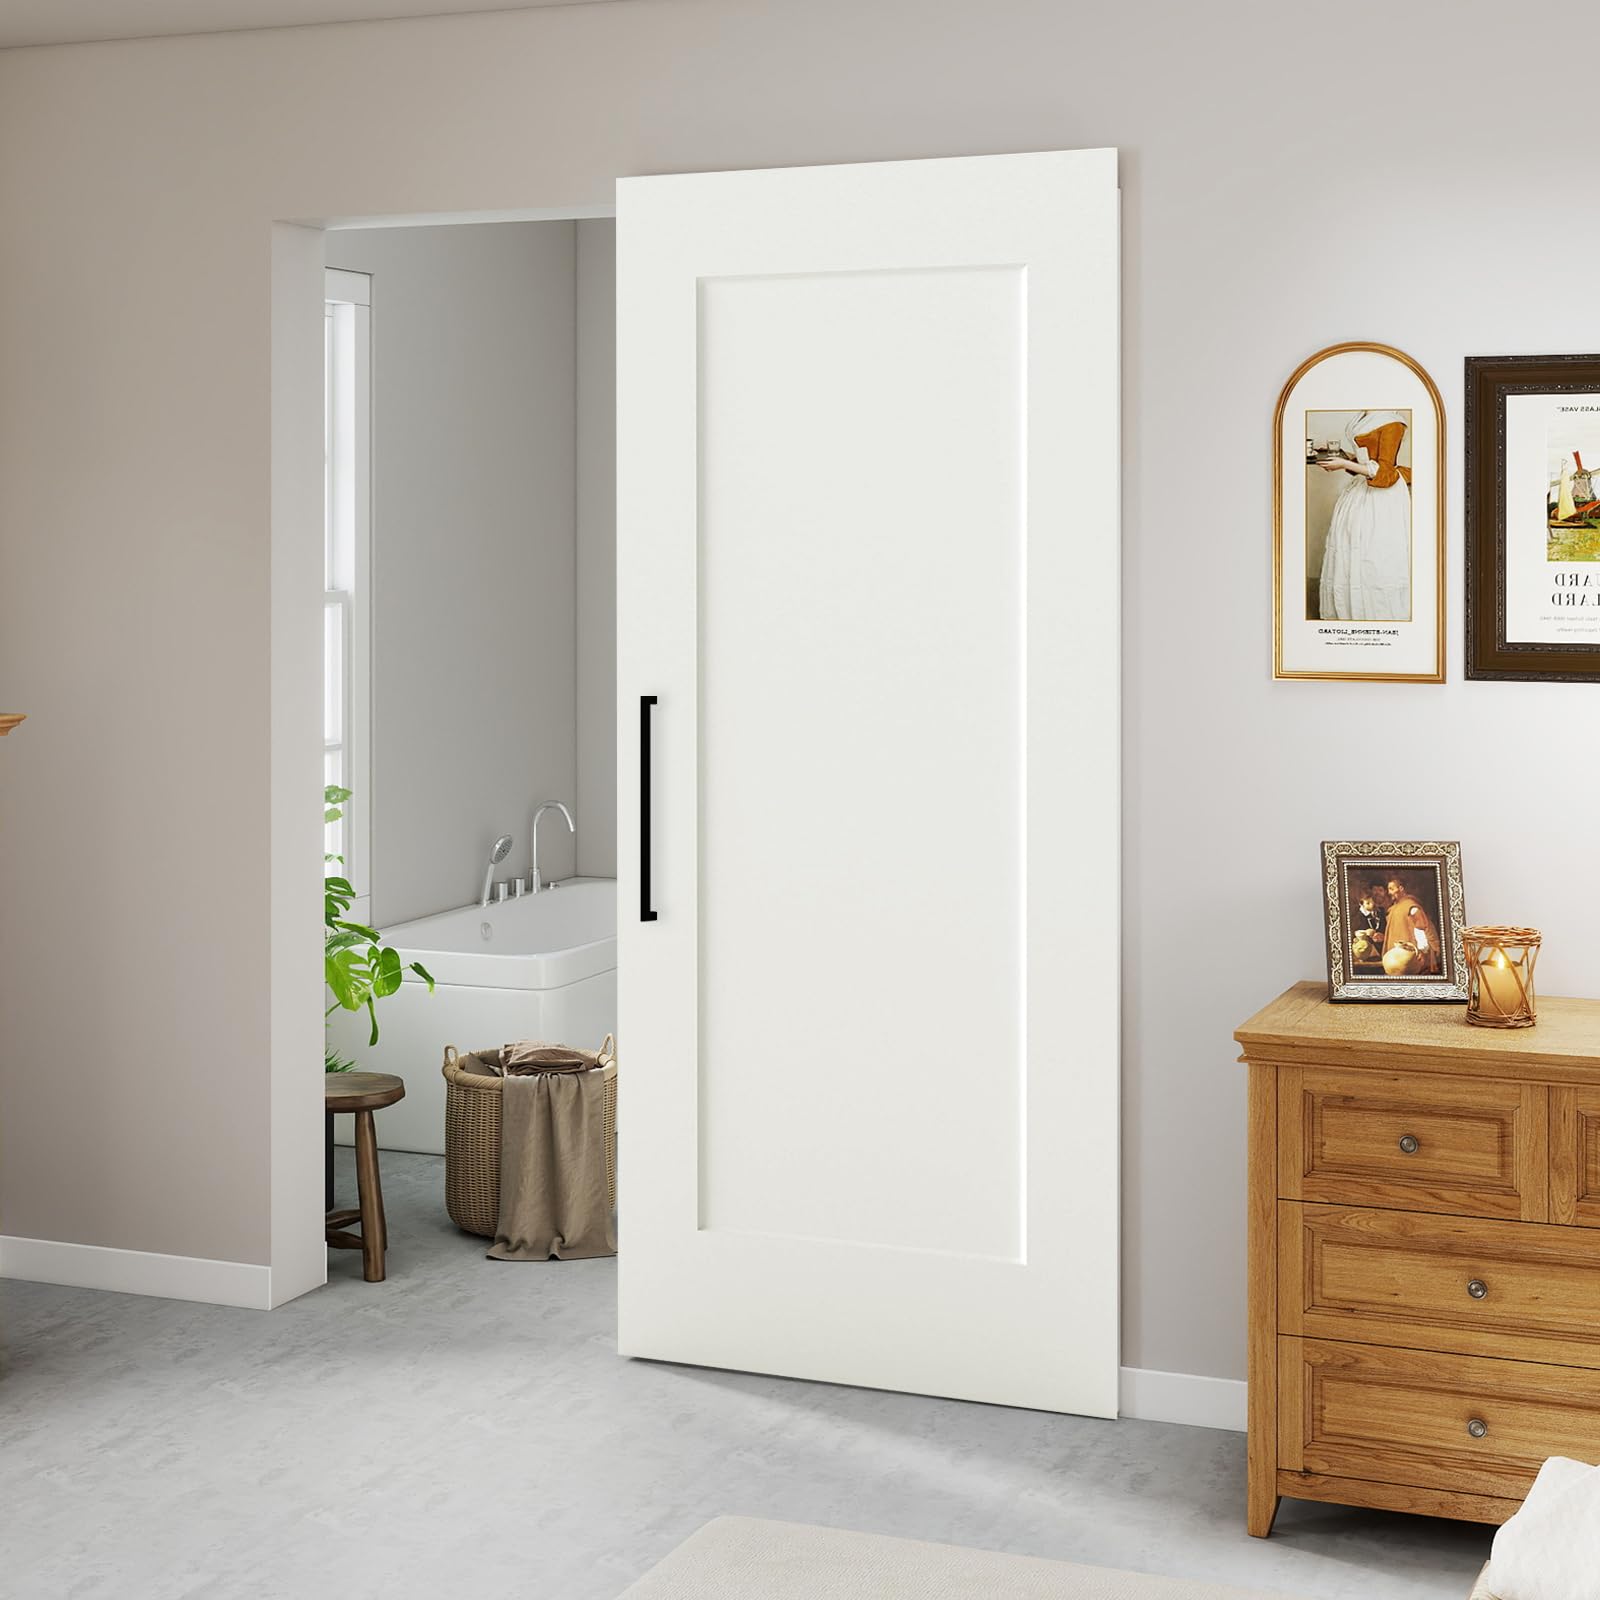
Figure 2: Door and Opening Dimension Guidelines
3. Concealed L-Shape Track Installation
The door panel features a pre-cut L-groove at the top. The top roller is designed to fit into this groove, ensuring smooth sliding and a concealed appearance.

Figure 3: Concealed L-Shape Track Detail
4. Bottom Rail and Floor Guide
The door panel has a U-channel cut at the bottom. The floor guide prevents the door from swinging, and the bottom rollers fix the bottom track sides, allowing the door to slide smoothly without a visible bottom rail.

Figure 4: No Visible Bottom Rail Mechanism
5. Hardware Quality and Installation Direction
The hardware, including the top track (aluminum alloy) and floor guide/hand pull (iron), is designed for durability. The door can be installed to slide left or right, depending on the desired position of the top roller and track setup.

Figure 5: High-Quality Hardware Components

Figure 6: Installation Direction and Floor Type Warning
6. Painting the Door (Optional)
The door comes pre-primed, allowing for easy customization. You can paint it your preferred color to match your interior design without additional preparation.
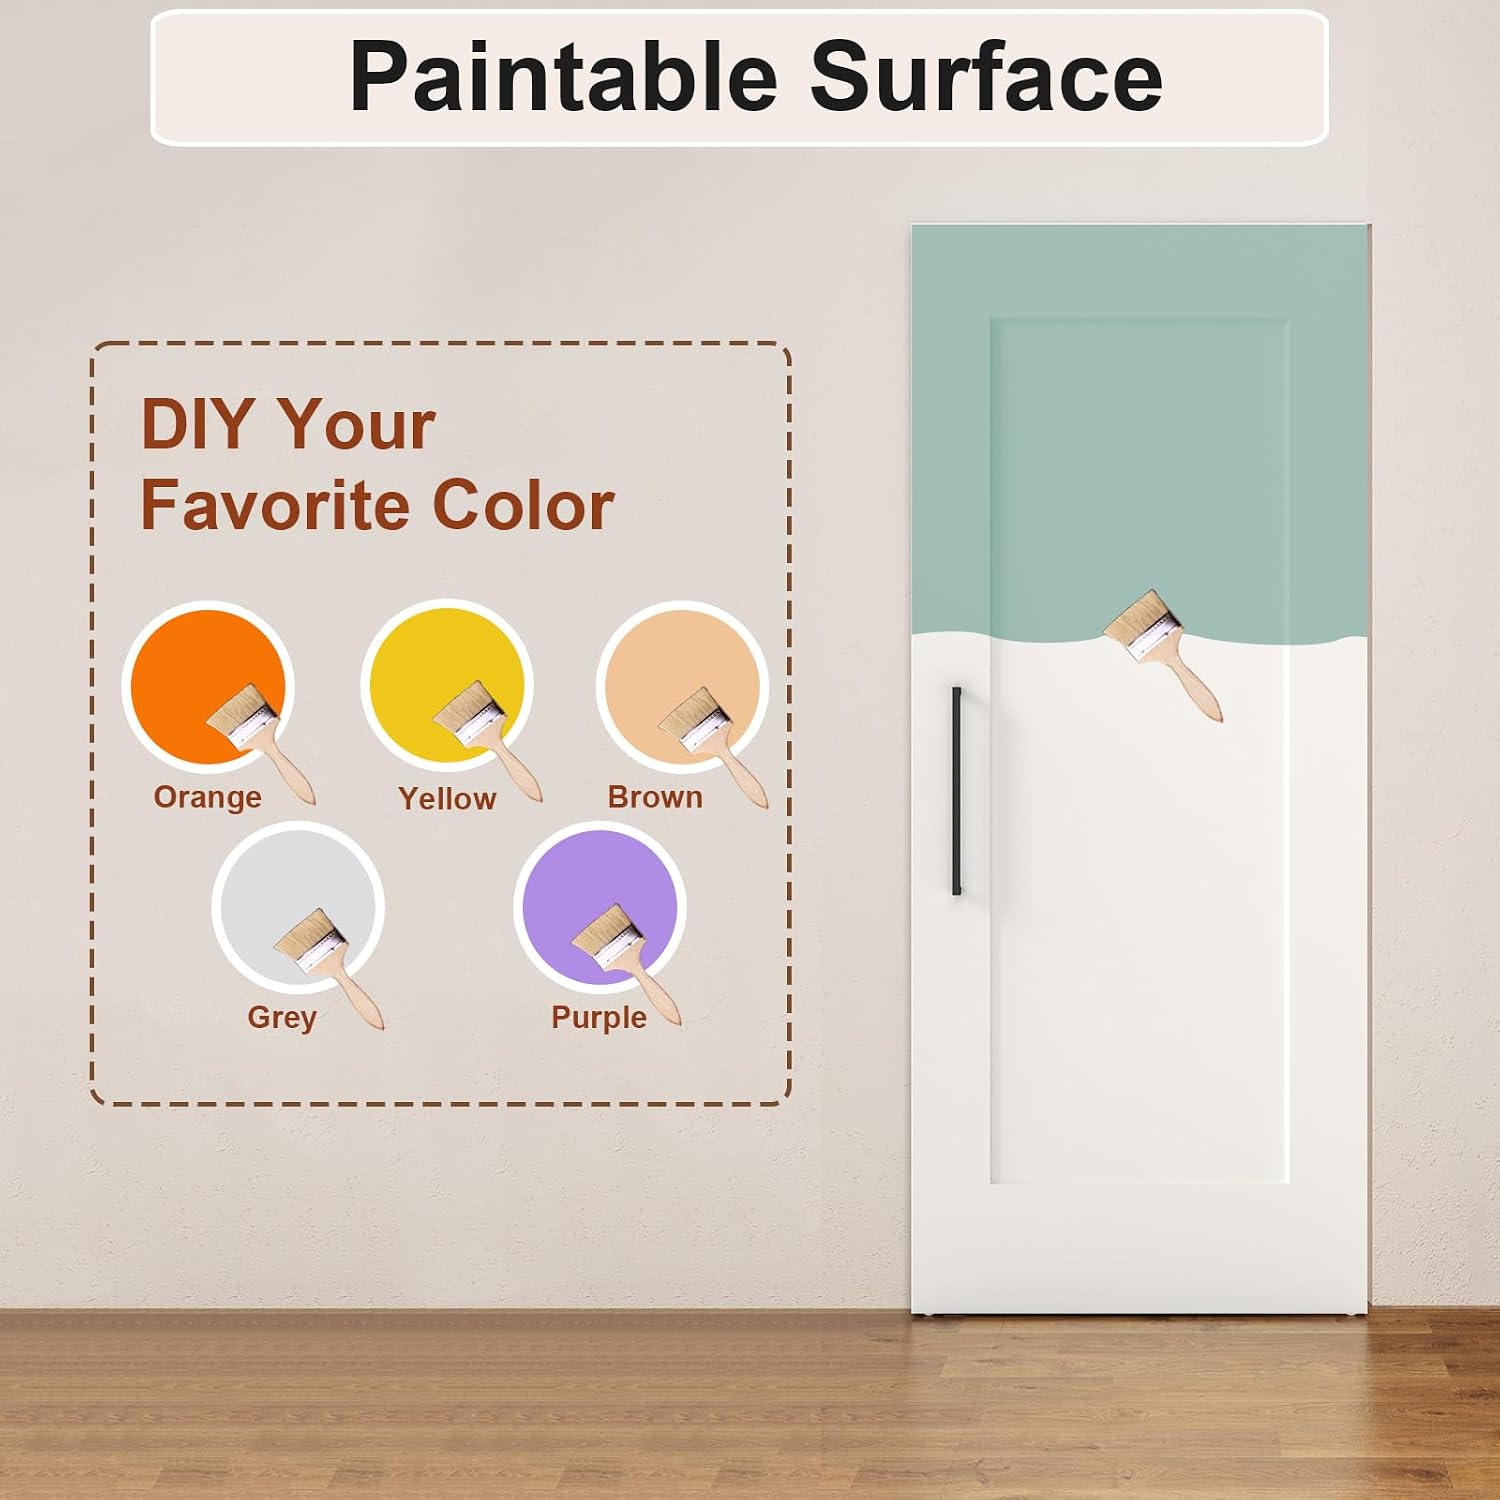
Figure 7: Paintable Surface for Customization
7. General Installation Steps (Summary)
- Measure and mark the installation points for the top track on your wall, ensuring it is level and at the correct height for your door opening.
- Securely mount the top track to the wall using the provided screws and appropriate anchors for your wall type.
- Install the top roller and soft-close mechanisms onto the top track according to the detailed instructions provided in the package.
- Attach the bottom rollers and floor guide to the floor, aligning them with the U-channel of the door.
- Carefully hang the door panel onto the top track, ensuring the top roller engages with the L-groove and the bottom U-channel aligns with the floor guide and bottom rollers.
- Adjust the soft-close mechanisms for desired operation.
- Install the handles on the door panel.
- Test the door's movement to ensure smooth and quiet operation.
Operating Instructions
Your BARNSMITH Concealed Sliding Barn Door is designed for smooth and quiet operation. The integrated soft-close mechanisms ensure the door closes gently without slamming.
- To open or close the door, gently push or pull the handle in the desired direction.
- The soft-close feature will engage as the door approaches its open or closed position, slowing its movement for a quiet stop.
- Avoid forcing the door or attempting to override the soft-close mechanism, as this may cause damage.
Maintenance
Regular maintenance will ensure the longevity and smooth operation of your barn door.
- Cleaning: Wipe the door panel and hardware with a soft, damp cloth. Avoid abrasive cleaners or harsh chemicals that could damage the finish.
- Track Inspection: Periodically check the top track and bottom guide for any debris or obstructions. Clean as necessary to ensure smooth sliding.
- Hardware Check: Every few months, inspect all screws and fasteners to ensure they are tight. Re-tighten if loose.
- Roller Lubrication: If the door's movement becomes less smooth over time, a small amount of silicone-based lubricant can be applied to the rollers. Do not use oil-based lubricants as they can attract dust.
Troubleshooting
If you encounter issues with your BARNSMITH Concealed Sliding Barn Door, refer to the following common problems and solutions:
| Problem | Possible Cause | Solution |
|---|---|---|
| Door does not slide smoothly or gets stuck. |
|
|
| Door slams or soft-close mechanism is not working. |
|
|
| Door wobbles or feels unstable. |
|
|
Customer Support
BARNSMITH is committed to providing quality products and excellent service. If you have any quality problems, missing parts, or installation questions, please do not hesitate to contact us. Our professional customer service team is available to assist you.
For support, please refer to the contact information provided with your purchase or visit the official BARNSMITH website.
Ask a question about this manual
Ask about setup, troubleshooting, compatibility, parts, safety, or missing instructions. Manuals+ will review the question and use this page’s manual context to help answer it.