1. Introduction
The ORICO HS500 NAS Storage is a Network Attached Storage device designed for local private cloud storage, offering extensive capacity and advanced features. It supports up to 136TB storage with 5 HDD slots and 2 M.2 NVMe SSD slots, dual 2.5GbE networking, and 4K HDMI output. Key functionalities include AI Album, Virtual Machine support, Docker, Multi-User Remote Access, and a Media Center. This manual provides detailed instructions for installation, operation, and maintenance of your ORICO HS500 NAS.
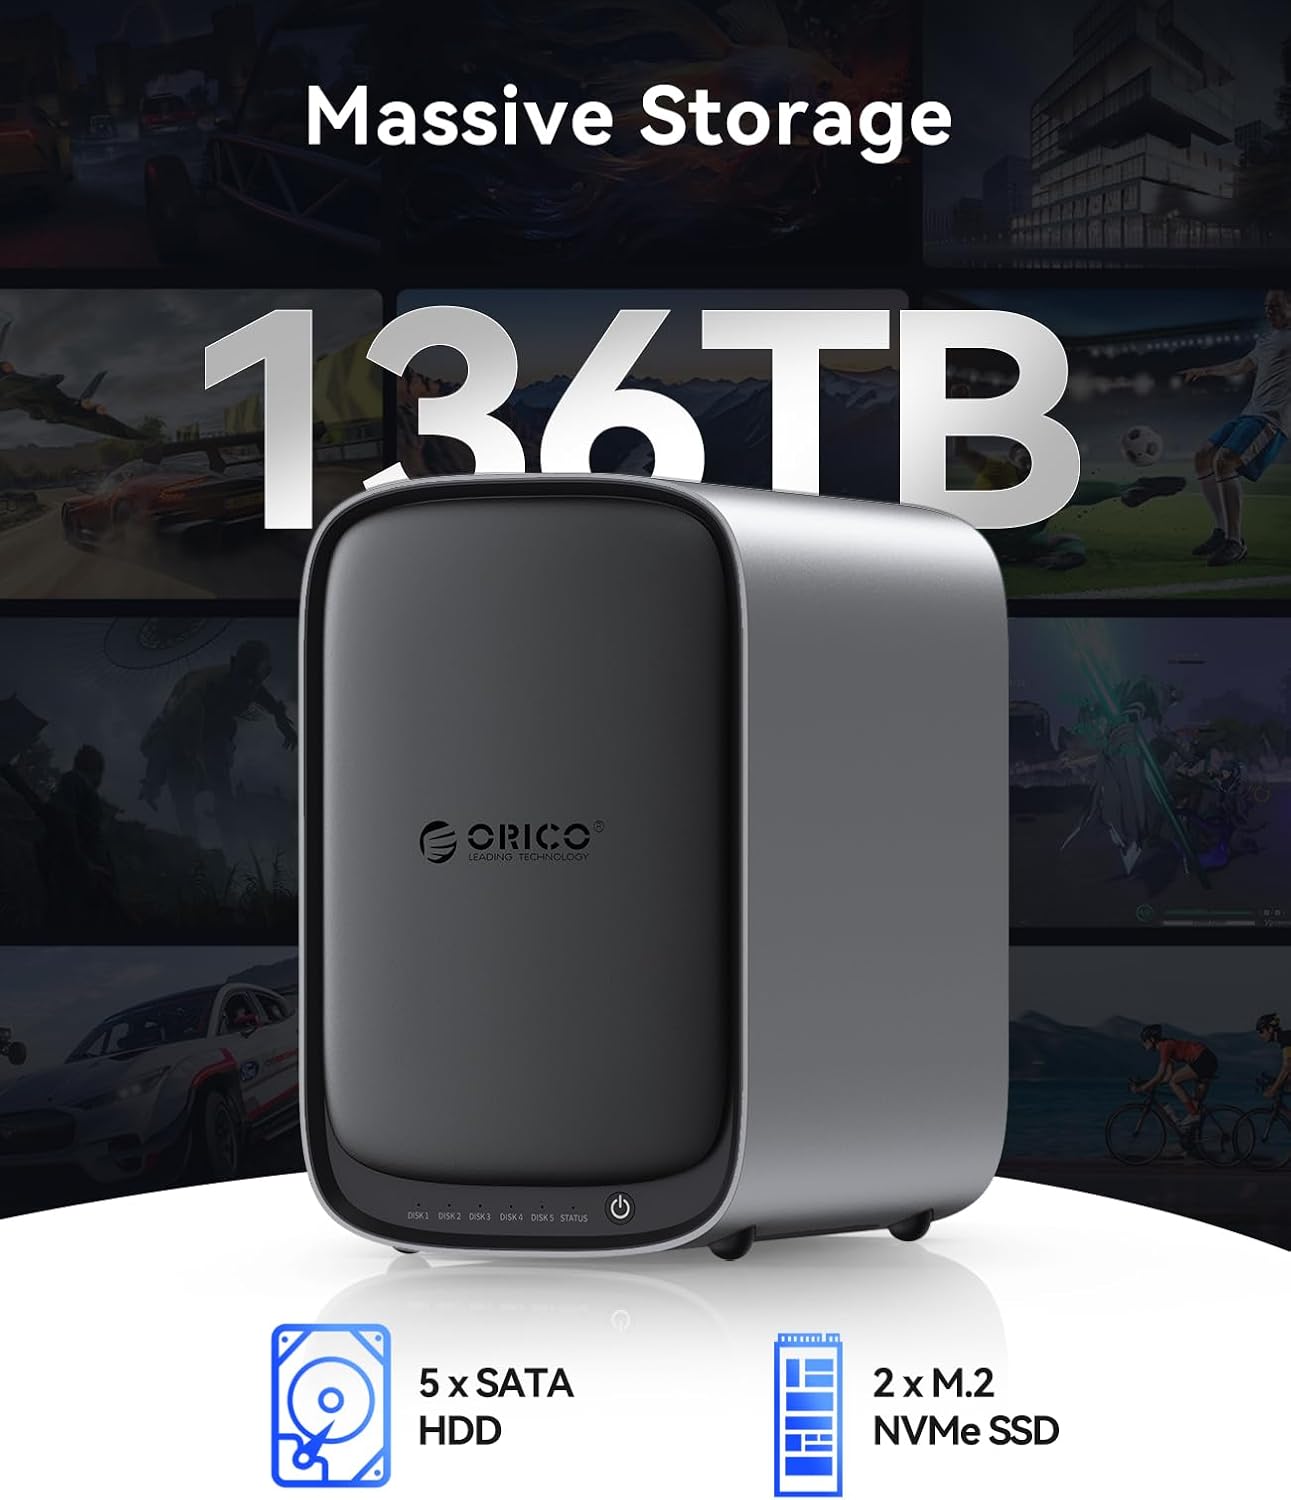
Image: The ORICO HS500 NAS Storage device, a compact and powerful network storage solution.
2. Setup
2.1 Package Contents
Verify that all items are present in the package:
- ORICO HS500Pro Device
- 12V Adapter Cable
- CAT 7 Network Cable (x2)
- Screwdriver + Screws
- User Manuals

Image: Contents of the ORICO HS500 NAS package, including the device, cables, power adapter, and tools.
2.2 Product Interface
Familiarize yourself with the ports and buttons on the rear of the device:
- Power Port: For connecting the 12V power adapter.
- HDMI Port: For video output to a display.
- Internet Ports (LAN1, LAN2): Dual 2.5GbE ports for network connection.
- USB-A Ports (x2): For connecting USB devices.
- USB-C Port (5Gbps): For connecting USB-C devices.
- Reset Button: For system reset (use a pin to press).

Image: Rear view of the ORICO HS500 NAS, highlighting the various ports for connectivity.
2.3 Hard Drive Installation
The ORICO HS500 supports 2.5-inch and 3.5-inch SATA drives. Follow these steps to install hard drives:
- Remove the front magnetic cover of the NAS.
- Push the slider to the left to open a drive tray.
- Grab the handle and pull out the empty tray rack.
- Place your 2.5-inch or 3.5-inch SATA hard drive into the tray. For 2.5-inch drives, secure them using the screw holes on the bottom of the tray.
- Use the provided screws to fix the hard disk securely to the tray.
- Slide the tray back into the NAS until it clicks into place.
- Replace the front magnetic cover.
2.4 Memory & SSD Cache Installation
The device features two M.2 NVMe interfaces and two memory slots. It comes with 8GB DDR4 memory and supports up to dual-channel 32GB. It also supports up to 8TB SSD cache.
- Remove the screws on the bottom of the device and open the cover to access the internal components.
- Locate the M.2 NVMe interfaces and memory slots.
- Carefully insert your M.2 NVMe SSDs or additional DDR4 memory modules into their respective slots.
- Secure the SSDs with the provided screws.
- Replace the bottom cover and secure it with screws.
2.5 Device Connection
Connect your ORICO HS500 NAS to power and network:
- Connect the 12V power adapter to the power port on the back of the NAS and plug it into a power outlet. The device will automatically power on.
- Connect one or both CAT 7 network cables from the NAS's Internet ports (LAN1/LAN2) to your router or network switch.
- Optionally, connect an HDMI cable from the NAS to a display for direct video output.
- Connect any USB devices (e.g., external drives, keyboards) to the available USB-A or USB-C ports.
2.6 Device Binding and Initialization
To begin using your NAS, you need to bind it to your account and initialize the storage pool. This process is typically done via the CyberData client application.
- Download and install the CyberData client application on your computer (Windows/macOS) or mobile device (Android/iOS). You can find download links on the ORICO official website or by searching "CyberData" in your app store.
- Run the CyberData client. If no devices are bound, click "Bind New Device" to start the process.
- The client will scan your local network for NAS devices. Select your ORICO HS500 from the discovered devices.
- Once the device is successfully bound, the application will guide you to the setup page.
- The app will check for system updates. Install any available updates before proceeding.
- Proceed to the storage pool setup. You can choose between "Simple Mode" (recommended for beginners) or "Advanced Mode" (for complex disk array modes). Simple mode is selected by default. Click "Next."
- Review the setup steps and risks, then click "Confirm" to start the initialization. You may need to enter a password to confirm.
2.7 Account Registration and Login
After device binding and initialization, register your account:
- After completing device binding, return to the client login page and click "Register."
- Fill in the required details, including username, password, and secure contact information (email or phone number) for password recovery.
- Click "Register." You will receive a confirmation upon successful registration.
- After registration, you will be automatically returned to the client login page. Enter your newly created account name and password.
- Click "Login" to access and use your ORICO HS500 NAS.
Video: ORICO NAS User Manual - A comprehensive guide to setting up your ORICO HS500 NAS, including hardware installation, device connection, and initial software configuration.
3. Operating
3.1 CyberData OS App
The ORICO HS500 runs on the self-developed CyberData OS, featuring a powerful enterprise ZFS file system. The CyberData App is available on Google Play for Android, the App Store for iOS, and the ORICO website for PC, providing cross-platform multi-user sharing and AI-enhanced functionalities.

Image: The CyberData OS interface, showcasing various applications and system features.
3.2 AI Album
The AI Album feature allows for intelligent photo management:
- Semantic Search: Find target pictures using natural language queries.
- Intelligent AI Classification: Photos are automatically categorized into albums based on faces, scenes, and locations.
- Face Recognition: Groups photos of the same person into a collection.

Image: AI Album demonstrating intelligent photo classification.

Image: Semantic search functionality within the AI Album.
3.3 Media Center
The Media Center displays your movie and TV show collection as a visual poster wall, delivering a 4K Ultra HD viewing experience. It supports convenient screen casting/mirroring and direct HDMI playback.

Image: The Media Center displaying a collection of movies and TV shows.
3.4 Virtual Machine
Install different operating systems as needed. The NAS comes pre-installed with multiple operating system options (TrueNAS, Windows 11, Ubuntu 24, and Debian 12). Simply click "Create" to set up a virtual machine quickly.

Image: Virtual Machine setup interface with various OS options.
3.5 Docker
The NAS includes a rich set of application tools and supports one-click rapid deployment of local containers. For example, with Plex pre-installed, it enables smooth video playback for a premium entertainment experience.

Image: Docker application interface with various container options.
3.6 Multi-User Remote Access
Access data from anywhere at any time via Wide Area Network (WAN). Team members can also share important files, photos, and videos stored on the NAS.

Image: Illustration of multi-user remote access to the NAS.
3.7 Group Space
The Group Space feature allows for organized, secure, and efficient data storage with triple-tiered granular control. You can create different spaces (Personal, Private, Group, Public) and manage user permissions for each.
- Log in to your NAS via the CyberData client.
- Navigate to Settings > Admin.
- Under "Group Space Management," click "Create" to set up a new group space.
- Provide a name for the group space and allocate a storage quota. Click "Submit."
- To manage permissions, locate the created group and click "Permission Policy."
- Assign appropriate permissions (Read, Modify, Delete) to users based on your requirements. Unauthorized users will not be able to access restricted content.
Video: ORICO NAS Permission Management - Demonstrates how to create and manage group spaces and assign user permissions.
3.8 Password Vault
The Password Vault allows you to centrally store and manage all your account credentials, enhancing security and convenience.
- Open the CyberData client and navigate to "All Apps."
- Find and open the "Password Vault" application.
- Create your master password for the vault.
- After verification, you can start storing all your passwords securely within the vault.
4. Maintenance
4.1 Device Monitoring
The Device Monitoring feature allows you to track real-time device status to ensure system stability and security. You can monitor CPU/memory usage, control fan speeds, and monitor hard disk temperatures.
- Open the CyberData client and launch the "Device Monitor" application.
- View real-time CPU, memory, and cooling status.
- Adjust fan speeds (Auto, Silent, Standard, Turbo) for CPU and chassis fans as needed.

Image: Device Monitoring interface displaying system performance and fan controls.
4.2 RAID Modes
The ORICO HS500 supports multiple RAID modes (RAID 0 / 1 / 5 / 6 / 10 / Basic) to optimize for capacity, performance, or data protection. Choose the appropriate RAID configuration based on your needs during storage pool setup.
| RAID Mode | Capacity Utilization | Data Protection | Minimum Drives |
|---|---|---|---|
| RAID 0 | 100% | None (no redundancy) | 2 |
| RAID 1 | 50% | Mirroring (high protection) | 2 |
| RAID 5 | (N-1)/N | Parity (good protection) | 3 |
| RAID 6 | (N-2)/N | Dual Parity (higher protection) | 4 |
| RAID 10 | 50% | Striping + Mirroring (high performance & protection) | 4 |
| Basic | 100% | None (single disk) | 1 |
Note: Mode selection does not affect system functionality; it only determines the complexity of initialization. It is strongly recommended to select at least one redundant disk for data protection.

Image: Visual representation of various RAID modes and their benefits.
4.3 Snapshot Rollback
The Snapshot Rollback feature allows you to instantly recover data lost from accidental deletions with minimal effort, providing a safety net for your files.
- Open the CyberData client and launch the "Storage Manager" application.
- Click on "System Pool" and then select "Snapshot Management."
- You can create new snapshots manually or configure auto-creation.
- To rollback, select a previous snapshot and confirm the action. Be aware that rolling back will delete all files and snapshots generated after the selected snapshot.
Video: ORICO NAS Function - Demonstrates device monitoring, space permissions, snapshot rollback, and password vault features.
5. Troubleshooting
5.1 LED Indicator Introduction
The front panel of the NAS features LED indicators to provide status information:
- Power Indicator: Indicates the power status of the device.
- Hard Drive Indicators (DISK 1-5): Each disk slot has an indicator.
- Network/System Indicator (STATUS): Indicates network and system status.
Indicator Behavior:
- During startup, the indicator lights will be blue.
- When the lights turn off and then back on, it indicates that the self-check is complete.
- A red status light means there is a network issue. A blue light indicates a normal network.
- If a disk indicator light flashes red during the first installation, the hard drive needs to be formatted.
- A blue disk light indicates the hard drive is functioning normally. A red disk light indicates a hard drive issue.
5.2 Problem Reporting Feature
If you encounter any software issues or have suggestions, you can submit them directly to the technical team through the CyberData app:
- Open the CyberData client and navigate to Settings > Feedback.
- Describe the issue, including content and reproduction steps.
- Provide contact information (WeChat, Phone, QQ, Email) if you wish to be contacted.
- Optionally, upload screenshots or recording attachments.
- Click "Submit."
6. Specifications
| Feature | Detail |
|---|---|
| Brand | ORICO |
| Model Number | HS500 |
| Color | Black |
| Material | Metal |
| Compatible Devices | Server |
| Mounting Type | Tabletop |
| Storage Capacity | Up to 136TB (5x 24TB HDDs + 2x 8TB NVMe SSDs) |
| HDD Slots | 5 (supports 2.5"/3.5" SATA drives) |
| M.2 NVMe SSD Slots | 2 |
| Memory | 8GB DDR4 (expandable up to dual-channel 32GB) |
| Network Interface | 2x 2.5GbE (500MB/s LAN, 10MB/s WAN) |
| Video Output | 1x 4K HDMI |
| USB Ports | 2x USB-A, 1x USB-C (5Gbps) |
| RAID Modes | RAID 0 / 1 / 5 / 6 / 10 / Basic |
| Operating System | CyberData OS (ZFS file system) |
| Virtual Machine Support | TrueNAS, Windows 11, Ubuntu 24, Debian 12 |
| Docker Support | Yes (e.g., Plex pre-installed) |
| AI Features | AI Album (semantic search, classification, face recognition) |
7. Warranty & Support
7.1 Manufacturer Warranty
The ORICO HS500 NAS Storage comes with an 18-month manufacturer warranty. Please retain your proof of purchase for warranty claims.
7.2 Customer Support
For technical assistance, product inquiries, or to provide feedback on the CyberData OS, please use the in-app feedback feature (CyberData → Settings → Feedback) or visit the official ORICO website for support resources.