1. Introduction
This instruction manual provides essential information for the proper installation, usage, and maintenance of your YHNNH replacement filters. These filters are designed to be compatible with various iLife robot vacuum cleaner models, ensuring optimal performance and air quality. Please read this manual thoroughly before replacing your vacuum's filter.
2. Product Overview
The YHNNH replacement filter is a crucial component for your iLife robot vacuum, designed to capture dust, allergens, and other airborne particles, preventing them from recirculating into your home. Regular replacement of this filter is vital for maintaining your vacuum's suction power and the cleanliness of your environment.
Compatibility: This filter is compatible with iLife V3, V3S, V5, V5S, V50 Pro, V55, and X5 robot vacuum cleaner models.
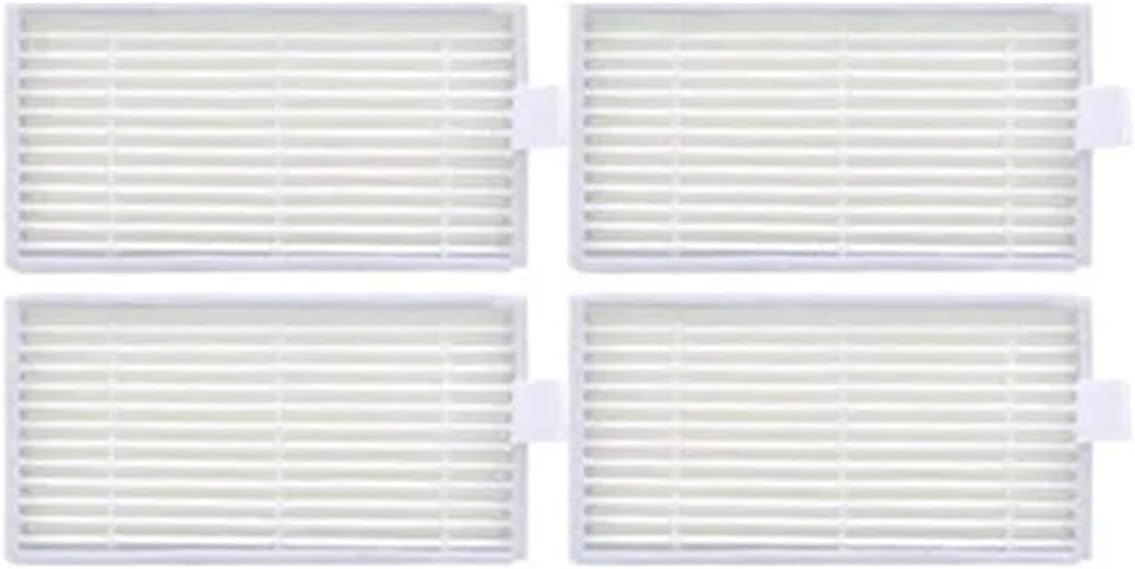
Image 2.1: YHNNH Replacement Filter. This image shows a single white pleated filter, designed to fit into compatible iLife robot vacuum cleaners.
3. Installation (Filter Replacement)
Follow these steps to replace the filter in your iLife robot vacuum cleaner:
- Power Off: Ensure your robot vacuum cleaner is powered off and disconnected from its charging base before beginning.
- Locate Dust Bin: Open the top cover of your iLife robot vacuum to access the dust bin compartment. Remove the dust bin.
- Remove Old Filter: The filter is typically located within the dust bin. Carefully remove the old filter by pulling it upwards or unlatching any clips holding it in place. Dispose of the old filter responsibly.
- Clean Dust Bin: Empty any debris from the dust bin and wipe it clean with a dry cloth to remove fine dust particles.
- Insert New Filter: Place the new YHNNH replacement filter into the designated slot within the dust bin. Ensure it is seated firmly and correctly, with no gaps.
- Reinstall Dust Bin: Slide the dust bin back into the vacuum cleaner until it clicks into place. Close the top cover of the vacuum.
- Power On: You can now power on your robot vacuum cleaner and resume normal operation.

Image 3.1: Close-up view of the YHNNH filter, showing its pleated structure. This detail is important for correct orientation during installation.
4. Usage Considerations
The primary function of this filter is to maintain the air quality and performance of your robot vacuum. Consider the following:
- Improved Suction: A clean filter ensures optimal airflow, which is critical for your vacuum's suction performance. Clogged filters can significantly reduce cleaning effectiveness.
- Reduced Wear and Tear: By maintaining proper airflow, the filter helps reduce strain on the vacuum motor, potentially extending the lifespan of your appliance.
- Odor Control: Old, dirty filters can accumulate odors. Regular replacement helps keep the vacuum's internal components clean and prevents unpleasant smells during operation.
- Enhanced Cleaning Effect: A functional filter intercepts fine dust and debris, preventing it from escaping the vacuum and ensuring a more thorough cleaning of your floors.
5. Maintenance
To ensure your iLife robot vacuum operates at its best, regular filter maintenance is essential:
- Replacement Frequency: It is recommended to replace the filter every 1 to 3 months, depending on usage frequency and the amount of dust and pet hair in your home. For homes with pets or allergy sufferers, more frequent replacement may be necessary.
- Filter Cleaning: While these filters are not typically washable, you can gently tap the filter over a trash can to dislodge loose dust and debris between replacements. Avoid washing the filter with water, as this can damage the filter material and reduce its effectiveness.
- Dust Bin Cleaning: Always empty and clean the dust bin thoroughly each time you replace the filter or as needed during regular use.

Image 5.1: Side view of the YHNNH filter, highlighting the pleated design that maximizes surface area for dust capture.
6. Troubleshooting
If you encounter issues after replacing your filter, consider the following:
- Reduced Suction: Ensure the new filter is correctly installed and fully seated in the dust bin. Check that the dust bin itself is properly reinstalled in the vacuum.
- Unusual Noise: Verify that the filter is not bent or damaged and is securely in place. An improperly seated filter can cause vibrations.
- Persistent Odor: If odors persist after replacing the filter, thoroughly clean the dust bin and check for any trapped debris or moisture within the vacuum's internal components.
- Filter Does Not Fit: Double-check the compatibility list in Section 2 to ensure you have the correct filter for your specific iLife robot vacuum model.
7. Specifications
| Product Type | Robot Vacuum Cleaner Replacement Filter |
| Brand | YHNNH |
| Manufacturer | YHNNH |
| Compatible Models | iLife V3, V3S, V5, V5S, V50 Pro, V55, X5 |
| ASIN | B0FNLPR9FN |
8. Warranty and Support
For any questions regarding the YHNNH replacement filters or for technical support, please contact the manufacturer or your retailer. Please refer to your original purchase documentation for specific warranty details, as warranty terms may vary.