1. Introduction
The Hover Star Nano is a compact, motion-controlled flying toy designed for interactive play. This manual provides essential information for safe operation, setup, and maintenance of your device. Please read it thoroughly before first use.

Image 1.1: The Hover Star Nano Motion Controlled UFO Toy. This image displays the product in its packaging, highlighting its compact design and key features such as motion control and LED lights.
Key Features:
- Compact and portable design.
- Motion sensor control for hand gestures.
- Ability to perform 360-degree flips and stunts.
- Integrated 36 colorful LED lights.
- Rechargeable via USB-C.
- Obstacle avoidance technology.
2. Safety Information
To ensure safe operation and prevent damage to the device or injury, please observe the following safety guidelines:
- This product is recommended for users aged 6 and above.
- Keep fingers, hair, and loose clothing away from the rotating propellers.
- Do not operate near people, animals, or fragile objects.
- Avoid operating in strong winds or adverse weather conditions.
- Do not modify or disassemble the device.
- Use only the provided charging cable.
- Do not expose the device to water or extreme temperatures.
- Supervise children during operation.
3. Setup
3.1. Unboxing
Carefully remove all components from the packaging. Ensure the Hover Star Nano and the USB-C charging cable are present.
3.2. Charging the Device
Before first use, fully charge the Hover Star Nano. The device features a built-in rechargeable battery.
- Locate the USB-C charging port on the side of the Hover Star Nano.
- Connect the provided USB-C cable to the device.
- Plug the other end of the USB-C cable into a compatible USB power source (e.g., computer USB port, USB wall adapter).
- The LED indicator on the device will illuminate during charging and turn off or change color when fully charged.
- Charging typically takes approximately 30-40 minutes.
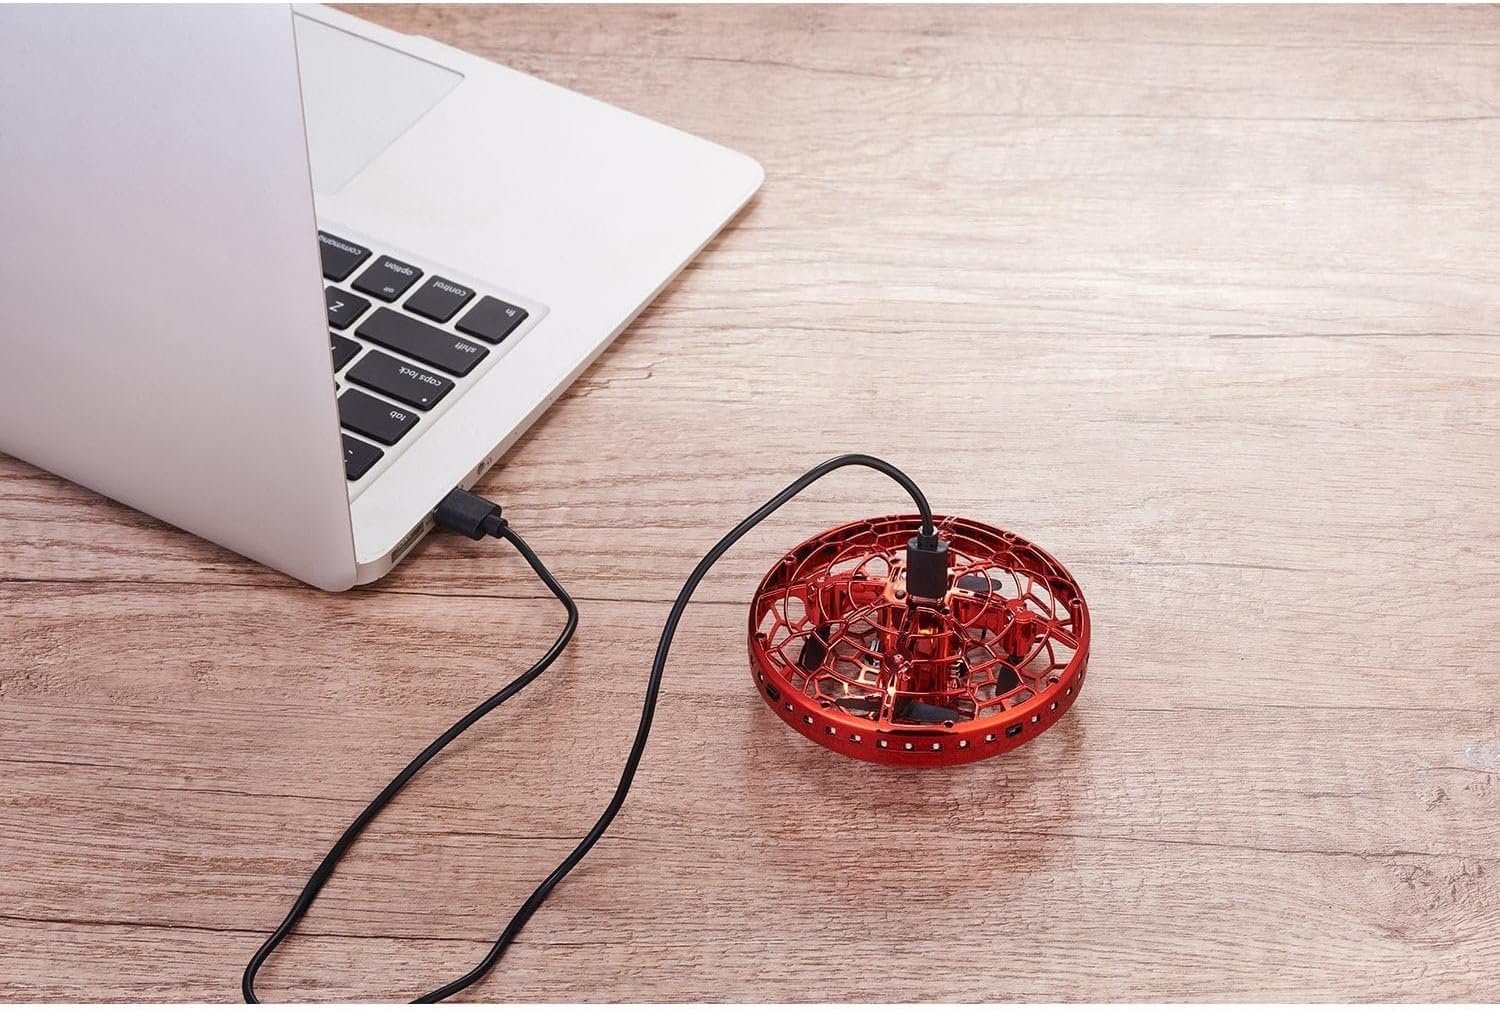
Image 3.1: The Hover Star Nano connected to a laptop via its USB-C charging cable. This illustrates the charging process of the device.
4. Operating Instructions
4.1. Powering On/Off
- To power on: Locate the small power button (often labeled I/O) on the side of the device and press it. The LED lights will illuminate.
- To power off: Press the power button again. The LED lights will turn off.
4.2. Launching the Hover Star Nano
The Hover Star Nano is designed for easy activation:
- Ensure the device is powered on.
- Gently toss the Hover Star Nano into the air. The propellers will automatically start spinning, and the device will begin to hover.

Image 4.1: The Hover Star Nano hovering above an open palm. This demonstrates the device's ability to hover and be controlled by hand gestures.
4.3. Motion Control
The Hover Star Nano responds to hand gestures:
- Guiding Movement: Place your hand underneath the device. The built-in sensors will detect your hand, causing the UFO to ascend. Move your hand to guide its direction.
- Descending: To make the UFO descend, move your hand away from the bottom of the device.
- Stopping: To stop the propellers, gently catch the device or allow it to land on a soft surface. Some models may also stop if flipped upside down.

Image 4.2: A person interacting with the Hover Star Nano, demonstrating hand-controlled flight. The device is shown in mid-air, guided by hand movements.
4.4. Performing 360-Degree Flips
To execute a 360-degree flip:
- Ensure the Hover Star Nano has sufficient altitude (at least 3-5 feet).
- Quickly move your hand under the device and then swiftly pull it away. This rapid motion can trigger the flip function. Practice may be required to master this maneuver.
4.5. Obstacle Avoidance
The Hover Star Nano is equipped with obstacle avoidance sensors. It will attempt to detect and avoid nearby objects to prevent collisions. However, this system is not foolproof, and direct supervision is always recommended.
4.6. LED Lights
The device features 36 colorful LED lights that illuminate during operation, enhancing visibility and visual appeal. These lights may change color during flight.
5. Maintenance
5.1. Cleaning
To clean the Hover Star Nano:
- Ensure the device is powered off and disconnected from any charging source.
- Gently wipe the surface with a clean, dry, soft cloth.
- Do not use liquid cleaners or solvents.
- Remove any debris from the propellers or protective cage carefully.
5.2. Storage
When not in use, store the Hover Star Nano in a cool, dry place, away from direct sunlight and extreme temperatures. Ensure the battery is not fully depleted before long-term storage.
6. Troubleshooting
| Problem | Possible Cause | Solution |
|---|---|---|
| Device does not power on. | Battery is depleted. | Charge the device fully using the provided USB-C cable. |
| UFO does not fly or flies erratically. | Low battery; propellers obstructed; sensors dirty; improper launch. | Ensure battery is charged. Check for debris in propellers. Clean sensors. Toss gently and evenly. |
| Motion control is unresponsive. | Sensors obstructed or dirty; hand too far away. | Clean sensors. Ensure hand is within detection range (approx. 1-3 inches below). |
| LED lights are not working. | Device not powered on; internal fault. | Ensure device is powered on. If problem persists, contact support. |
7. Specifications
| Model | Hover Star Nano |
| Product Dimensions | 3.75 x 3.75 x 1.6 inches (9.53 x 9.53 x 4.06 cm) |
| Item Weight | 11.2 ounces (317.5 grams) |
| Power Source | Rechargeable Battery (USB-C charging) |
| Recommended Age | 6+ years |
| Manufacturer | Generic |
8. Warranty and Support
For warranty information or technical support, please refer to the documentation included with your purchase or contact the retailer from whom the product was acquired. As this product is manufactured by "Generic," specific warranty terms may vary by seller.
Please retain your proof of purchase for any warranty claims.


