Introduction
Welcome to the Kinglucky ClipFree A20 Open-Ear Earbuds. These earbuds are designed for comfort and style, featuring an open-ear design and detachable crystal earrings. This manual provides essential information for setting up, operating, maintaining, and troubleshooting your new earbuds.
What's in the Box
Upon opening your Kinglucky ClipFree A20 package, you should find the following items:
- Kinglucky ClipFree A20 Open-Ear Earbuds
- Charging Case
- Detachable Crystal Butterfly Earrings (if included with your model)
- USB-C Charging Cable
- User Manual (this document)

Image: The Kinglucky A20 earbuds, charging case, detachable butterfly earrings, and USB-C charging cable as packaged.
Setup
1. Charging the Earbuds and Case
Before first use, fully charge your Kinglucky A20 earbuds and charging case. Connect the provided USB-C cable to the charging port on the case and a power source. The digital display on the case will show the battery level. A full charge provides up to 8 hours of playtime for the earbuds, with the case extending total playtime to approximately 50 hours.
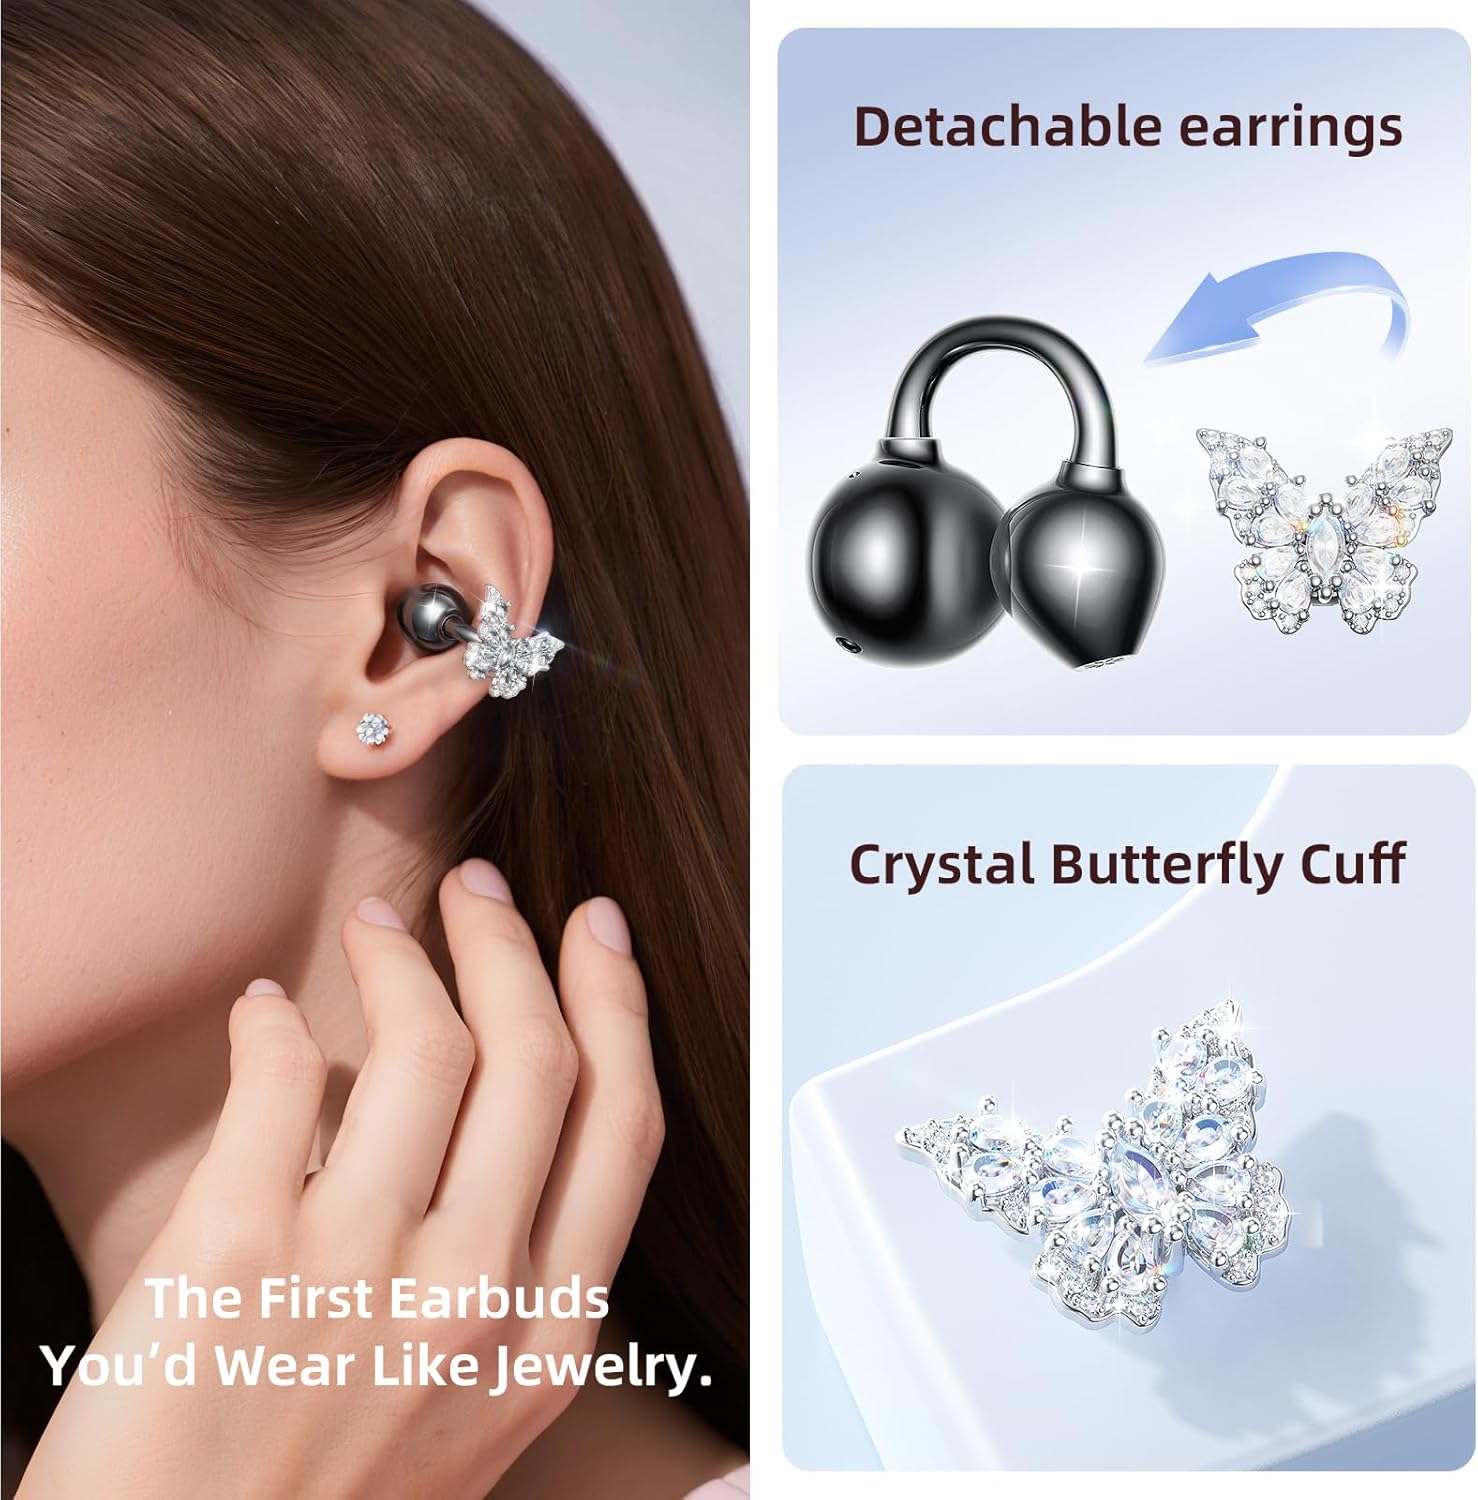
Image: The Kinglucky A20 earbuds resting in their charging case, displaying the battery percentage on the front.
2. Bluetooth Pairing
- Open the charging case. The earbuds will automatically enter pairing mode.
- On your device (smartphone, tablet, etc.), go to Bluetooth settings.
- Select "Kinglucky A20" from the list of available devices.
- Once connected, you will hear an audio prompt, and the indicator light on the earbuds will change.
The Kinglucky A20 supports Bluetooth 5.4 for a stable connection and multipoint pairing, allowing connection to two devices simultaneously.
3. Wearing the Earbuds
The A20 earbuds feature an open-ear clip design for comfort and stability. They do not enter the ear canal, resting gently on the ear.
- Gently open the ear cuff of the earbud.
- Position the earbud over your ear, ensuring the speaker is aligned with your ear canal for optimal sound.
- Adjust for a secure and comfortable fit.
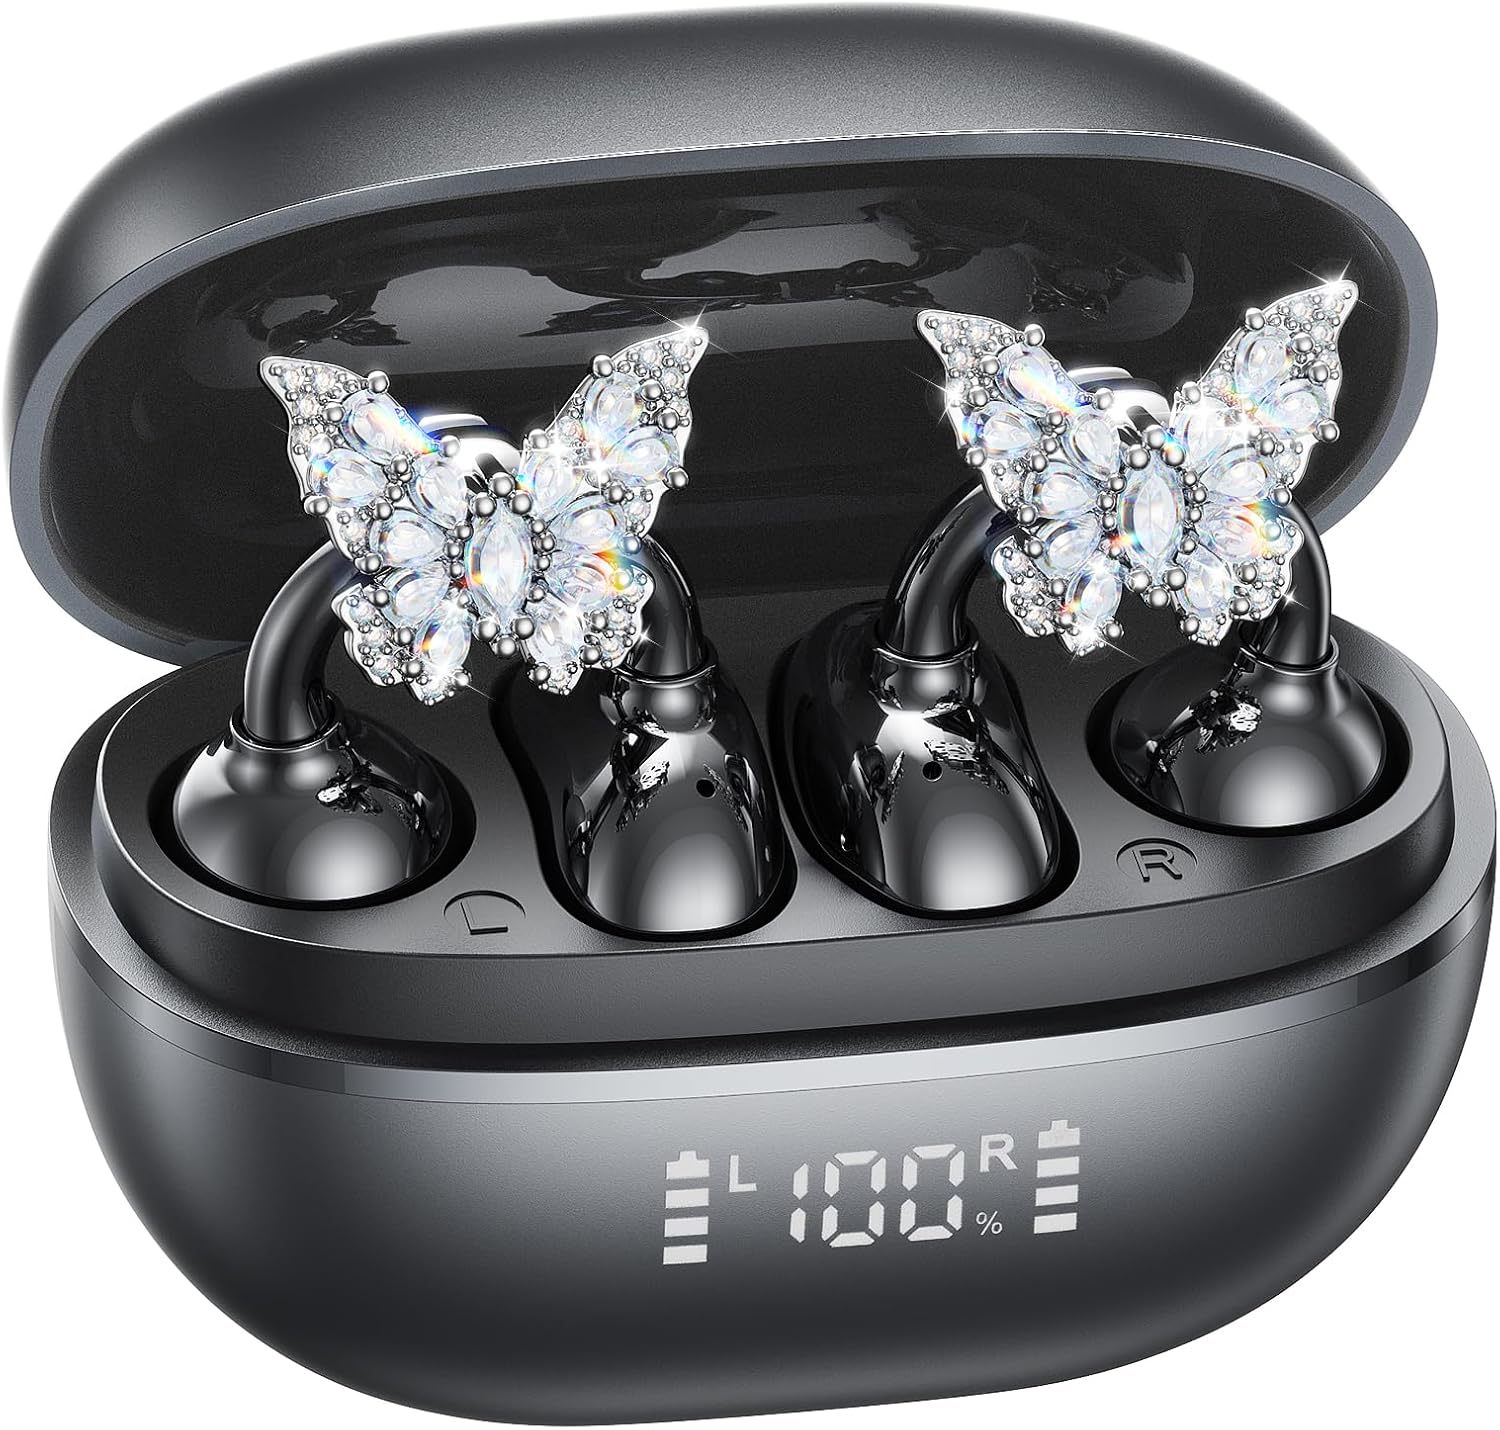
Image: A woman wearing the Kinglucky A20 earbuds with the detachable butterfly earrings, demonstrating the clip-on fit.
4. Attaching/Detaching Crystal Earrings
The crystal butterfly earrings are detachable. To attach, gently clip them onto the earphone stem. To detach, carefully unclip them. Remove the decorative earrings before storing the earbuds in the charging case to prevent damage.

Image: A visual guide illustrating the process of attaching the crystal butterfly accessory to the earbud stem.
Operating Instructions
Touch Controls
The Kinglucky A20 earbuds feature intuitive touch controls on the outer surface of each earbud.
- Play/Pause Music: Double-tap either earbud.
- Answer/End Call: Double-tap either earbud during an incoming call or active call.
- Reject Call: Press and hold either earbud for 2 seconds during an incoming call.
- Activate Voice Assistant: Press and hold either earbud for 3 seconds.

Image: A visual representation of the touch control functions for music playback and call management on the earbuds.
Sound Quality and Call Clarity
The A20 earbuds are engineered to deliver clear and balanced sound for various audio content, from podcasts to music. They feature AI-powered call clarity with 2 beamforming microphones and advanced noise-canceling technology for crisp conversations.

Image: An exploded diagram showing the internal components of the Kinglucky A20 earbud, highlighting its sound engineering.
Maintenance
- Cleaning: Use a soft, dry cloth to wipe the earbuds and charging case. Avoid using harsh chemicals or abrasive materials.
- Storage: When not in use, store the earbuds in their charging case to protect them and ensure they remain charged.
- Water Resistance: The earbuds are IP56 water-resistant, meaning they can withstand sweat and light rain. Do not submerge them in water.
Troubleshooting
| Problem | Solution |
|---|---|
| Earbuds not pairing | Ensure earbuds are charged. Turn off and on Bluetooth on your device. Forget "Kinglucky A20" in your device's Bluetooth settings and re-pair. |
| No sound from one earbud | Place both earbuds back in the charging case, close the lid, wait a few seconds, then open and try again. Check device audio balance settings. |
| Charging case not charging | Verify the USB-C cable is securely connected to both the case and the power source. Try a different cable or power adapter. |
| Poor call quality | Ensure earbuds are properly seated on your ears. Move closer to your connected device to avoid interference. |
Specifications
- Model Name: A20
- Connectivity: Wireless, Bluetooth 5.4
- Ear Placement: Open Ear
- Battery Life: Up to 8 hours (earbuds), up to 50 hours total with charging case
- Water Resistance: IP56
- Weight: Approximately 4.0g per earbud
- Included Components: Earbuds, Charging Case, USB-C Cable, User Manual, Detachable Crystal Earrings
Warranty and Support
Kinglucky products are manufactured to high standards and undergo rigorous quality checks. For warranty information, technical support, or customer service inquiries, please refer to the contact details provided on the Kinglucky official website or your purchase documentation. Keep your proof of purchase for warranty claims.
For further assistance, you may visit the Kinglucky Store on Amazon.


