1. Introduction
Thank you for choosing the LOUVIXA Narrow Shoe Storage Cabinet, Model 17-BLXG. This freestanding shoe cabinet is designed to organize your footwear efficiently in entryways or hallways. Please read this manual thoroughly before assembly and use to ensure proper installation and safe operation.
2. Safety Information
WARNING: To prevent tipping and ensure stability, always secure the cabinet to the wall using the provided anti-tipping hardware. Failure to do so may result in serious injury.
- Keep all small parts and packaging materials away from children and pets to avoid choking hazards.
- Assemble the unit on a soft, clean surface to prevent scratches.
- Do not overload the shelves. Distribute weight evenly.
- Ensure all screws and fasteners are tightened securely before use. Periodically check and re-tighten if necessary.

3. Package Contents
Before beginning assembly, verify that all components listed below are present and undamaged. If any parts are missing or damaged, please contact customer support.
- Cabinet Panels (labeled for easy identification)
- Shelves (2 included)
- Hardware Kit (screws, dowels, anti-tipping devices, handles)
- Assembly Instructions
- Sturdy Support Legs (Base Type: Legs)
4. Assembly Instructions
This shoe cabinet is designed for simple and quick assembly. All components are labeled, and detailed instructions are provided in the included guide. Follow the steps carefully to ensure correct and stable construction.
- Unpack and Identify: Carefully unpack all parts and lay them out on a clean, soft surface. Identify each component using the labels and the parts list in your separate assembly guide.
- Assemble the Frame: Connect the main cabinet panels according to the diagrams in your assembly guide, ensuring all connections are secure.
- Install Support Legs: Attach the sturdy support legs to the base of the cabinet.
- Insert Shelves: Place the shelves into the designated slots. The cabinet features 4 compartments with 2 shelves.
- Attach Handles: Secure the horizontal metal handles to the flip-down doors. The hardware color is silver or black.
- Install Anti-Tipping Device: This is a critical safety step. Securely attach the anti-tipping hardware to the back of the cabinet and to a wall stud. Refer to the detailed instructions and diagrams in your assembly guide for proper installation.


5. Setup
Once assembled, place the LOUVIXA shoe cabinet in your desired location, such as an entryway or hallway. Ensure the floor is level and stable. The cabinet is designed to be freestanding but must be secured to the wall using the anti-tipping hardware for safety.
6. Operating the Cabinet
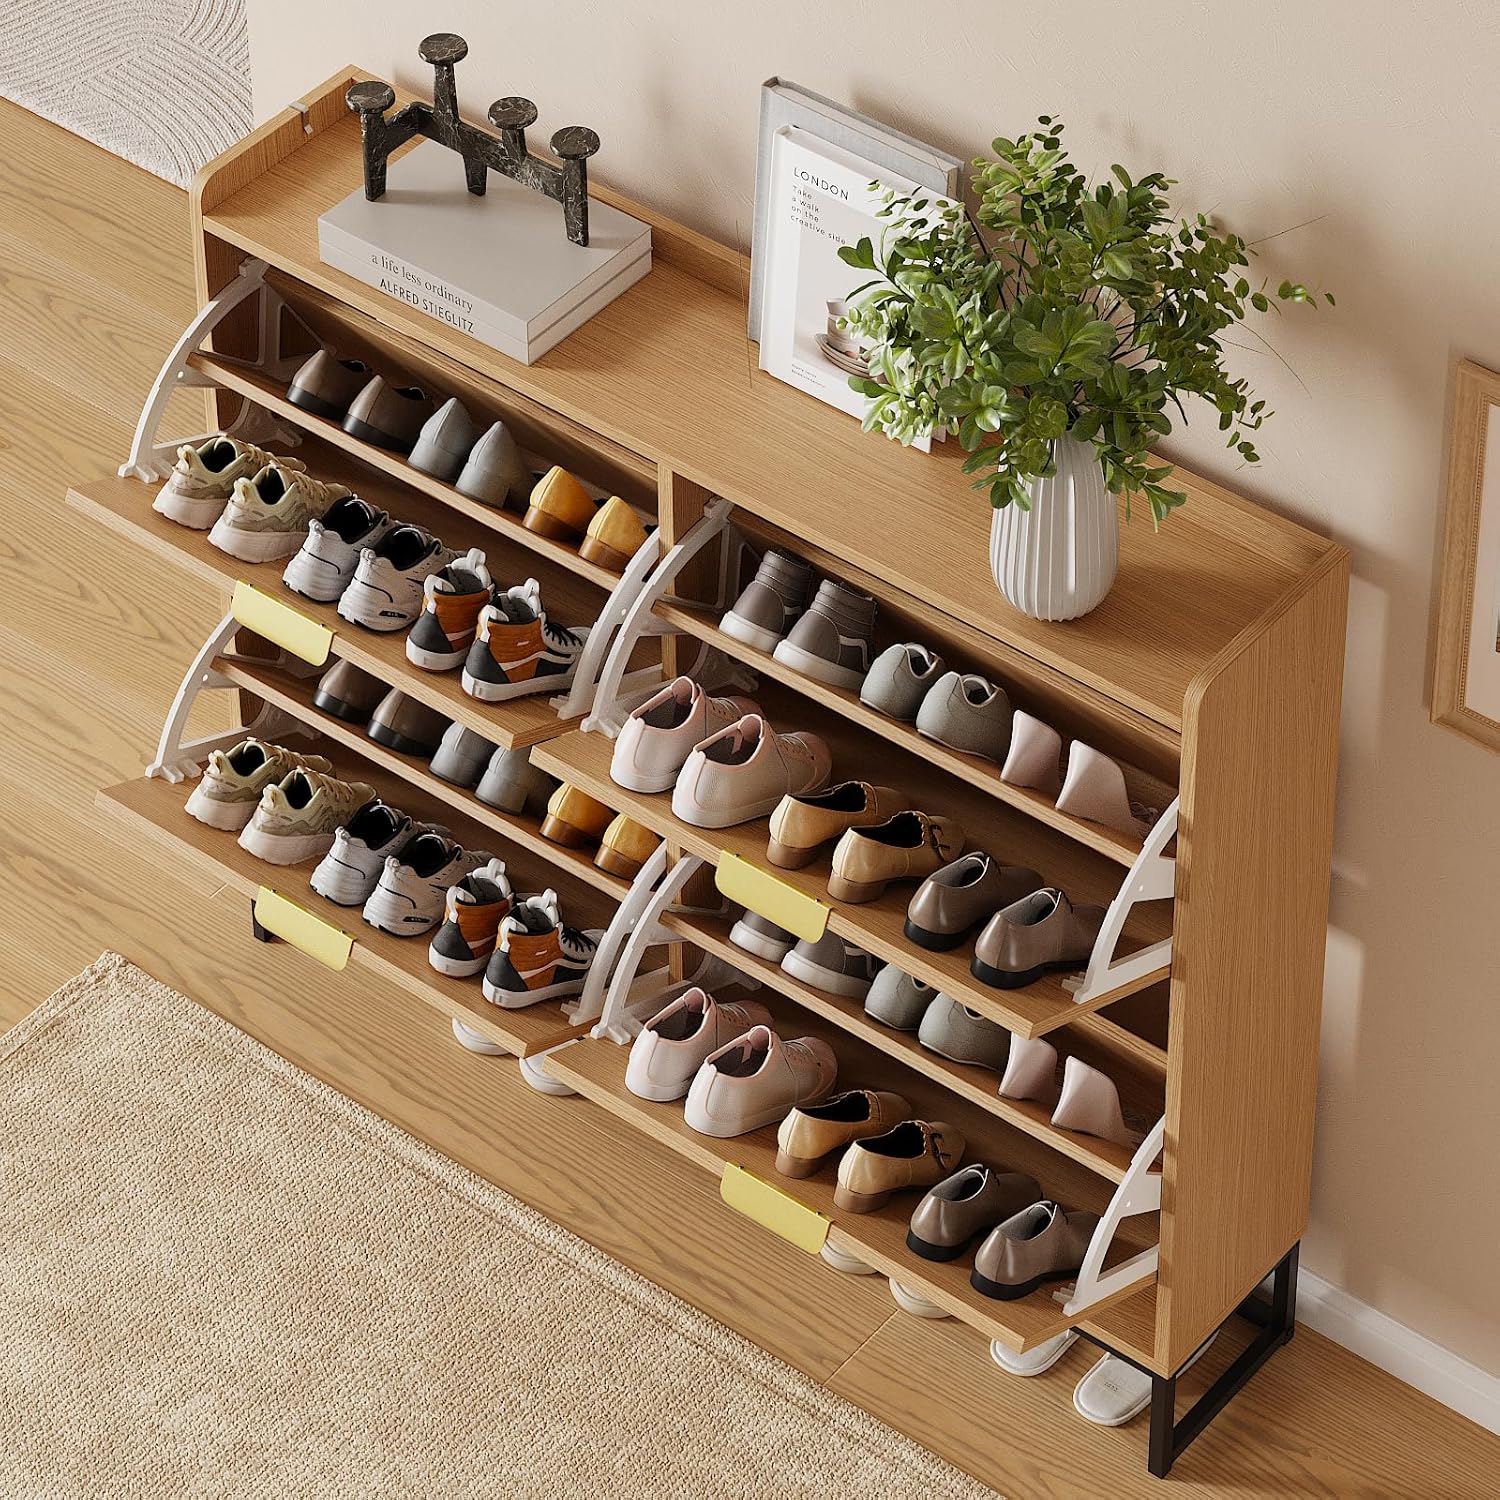
The LOUVIXA shoe cabinet features flip-down doors for easy access to your shoes.
- Opening: Gently pull the horizontal metal handle to open the flip-down door. The internal mechanism will allow the door to tilt forward, revealing the shoe compartments.
- Storing Shoes: Place shoes on the adjustable shelves. The shelves can be adjusted to two positions to accommodate various shoe sizes, including high heels, leather shoes, slippers, sneakers, casual shoes, and sports shoes.
- Closing: Push the flip-down door back into the cabinet until it is fully closed and flush with the cabinet front.

7. Maintenance
- Cleaning: Wipe the cabinet surfaces with a soft, damp cloth. Avoid using harsh chemicals or abrasive cleaners, which can damage the wood finish or rattan accents.
- Dusting: Regularly dust the cabinet to maintain its appearance.
- Hardware Check: Periodically check all screws and fasteners to ensure they remain tight. Re-tighten if necessary to maintain stability.
- Rattan Care: The hand-woven rattan elements can be gently cleaned with a soft brush or vacuum cleaner attachment to remove dust.

8. Troubleshooting
- Doors not closing properly: Ensure no shoes are obstructing the closing mechanism. Check if the internal flip mechanism is correctly aligned. If the doors tend to flop open, consider adding small magnets to the inside of the cabinet and the door to help them stay securely closed.
- Cabinet feels unstable: Verify that the anti-tipping device is correctly installed and securely fastened to the wall. Ensure all assembly screws are tightened.
- Difficulty during assembly: Refer back to the detailed installation instructions. Ensure all labeled components are used in the correct order. Incorrect assembly can lead to instability or damage to the material.
9. Specifications
| Brand | LOUVIXA |
| Model Name | Shoe Storage Cabinet |
| Item Model Number | 17-BLXG |
| Product Dimensions | 8.7"D x 33.5"W x 39.1"H |
| Item Weight | 46.9 Pounds |
| Material | Engineered Wood (Frame Material: Wood) |
| Color | Rattan Color |
| Mounting Type | Floor Mount (Installation Type: Freestanding) |
| Special Feature | Anti-Tipping |
| Number of Compartments | 4 |
| Number of Shelves | 2 |
| Assembly Required | Yes |
| Recommended Uses | Shoes |
10. Warranty Information
Specific warranty details for the LOUVIXA Narrow Shoe Storage Cabinet are not provided in the product information. Please refer to your purchase receipt or contact the retailer/manufacturer directly for warranty terms and conditions.
11. Support
If you have any questions regarding the assembly, operation, or maintenance of your LOUVIXA Narrow Shoe Storage Cabinet, please contact LOUVIXA customer support. Refer to the contact information provided with your purchase or visit the official LOUVIXA website for assistance.