Introduction
This manual provides comprehensive instructions for the LINKLIFE Heated Towel Warmer Rack, Model B250062-1. Please read this manual thoroughly before installation and use to ensure safe and efficient operation. Keep this manual for future reference.
Safety Instructions
Important Safety Information:
- Read all instructions before using this appliance.
- This appliance is designed for warming towels and similar items. Do not use it for other purposes.
- Ensure the power outlet is easily accessible and the cord is not pinched or damaged.
- Do not immerse the towel warmer in water or other liquids.
- This product has an IPX4 waterproof rating, indicating resistance to splashing water. However, it should not be exposed to direct water jets or submerged.
- Unplug the appliance when not in use or before cleaning.
- Keep out of reach of children and pets. The surface can become hot during operation.
- Do not attempt to repair or modify the appliance yourself. Contact qualified service personnel for any repairs.
Package Contents
Verify that all components are present before beginning installation:
- Heated Towel Warmer Rack (Main Frame)
- Floor Stands (2)
- Wall Mounting Hardware Kit (screws, anchors, brackets)
- Instruction Manual

Figure 1: The LINKLIFE Heated Towel Warmer Rack can be used freestanding or wall-mounted.

Figure 2: Included wall mounting hardware for secure installation.
Product Features
- Dual Installation Options: Can be used as a freestanding unit for portability or securely mounted to a wall to save space.
- Smart LED Touchscreen Control: Customize warmth with adjustable temperature settings from 100-140°F (in 10°F increments) and a timer from 1-8 hours (in 1-hour increments).
- Rapid Heating: Achieves ideal warmth in 1-3 minutes.
- Safety Certified: ETL certified and IPX4 waterproof rated for safe operation in humid environments.
- 8 Heating Bars: Provides ample space for warming multiple towels or other items.
- Durable Construction: Made from Carbon Steel with a Powder Coated finish.

Figure 3: Overview of the LINKLIFE Heated Towel Warmer Rack.

Figure 4: The intuitive LED touch display for easy control.
Setup
The LINKLIFE Heated Towel Warmer Rack offers two installation methods: freestanding or wall-mounted. Choose the method that best suits your space and needs.
Freestanding Installation
- Carefully unpack all components and ensure they are free from damage.
- Attach the two floor stands to the bottom of the main frame using the provided screws. Ensure they are securely fastened.
- Place the assembled towel warmer on a flat, stable surface. The elevated feet help maintain stability.
- Ensure the power cord can reach a suitable electrical outlet without being stretched or obstructed.
Video 1: Step-by-step guide for freestanding towel warmer installation.

Figure 5: Raised bottom handles with non-slip feet for enhanced stability in freestanding mode.
Wall-Mounted Installation
- Carefully unpack all components and ensure they are free from damage.
- Select a suitable wall location, ensuring it is near an electrical outlet and away from direct water spray.
- Use the provided wall mounting hardware (brackets, screws, anchors) to secure the towel warmer to the wall. Follow the detailed instructions included in the hardware kit for proper and secure mounting.
- Ensure the towel warmer is level and firmly attached to the wall before use.
Figure 6: Illustration of the wall mounting process using the provided hardware.
Operating Instructions
The LINKLIFE Heated Towel Warmer Rack features an intuitive LED touchscreen for easy control of temperature and timer settings.
Power On/Off
- Plug the power cord into a standard electrical outlet.
- Press the Power button () on the LED touchscreen to turn the unit on or off.
Temperature Control
- With the unit powered on, press the Temperature button () to cycle through available temperature settings.
- Temperatures can be set from 100°F to 140°F in 10°F increments. The selected temperature will be displayed on the LED screen.
Timer Setting
- Press the Timer button () to set the operating duration.
- The timer can be set from 1 to 8 hours in 1-hour increments. The selected duration will be displayed on the LED screen.
- The unit will automatically shut off once the set timer expires.
Video 2: Demonstration of the towel warmer's features and controls.
Usage Tips
- For optimal warming, fold towels to create layers, which helps trap heat more effectively.
- The towel warmer is designed for warming and drying towels, robes, and other small fabric items. Avoid placing excessively wet or dripping items on the rack.
- Place the towel warmer in a smaller, enclosed space for better heat retention and efficiency. Large, airy rooms may reduce the perceived warmth.
- Allow 1-3 minutes for the rack to reach its operating temperature.
- Avoid overloading the rack to ensure even heat distribution.
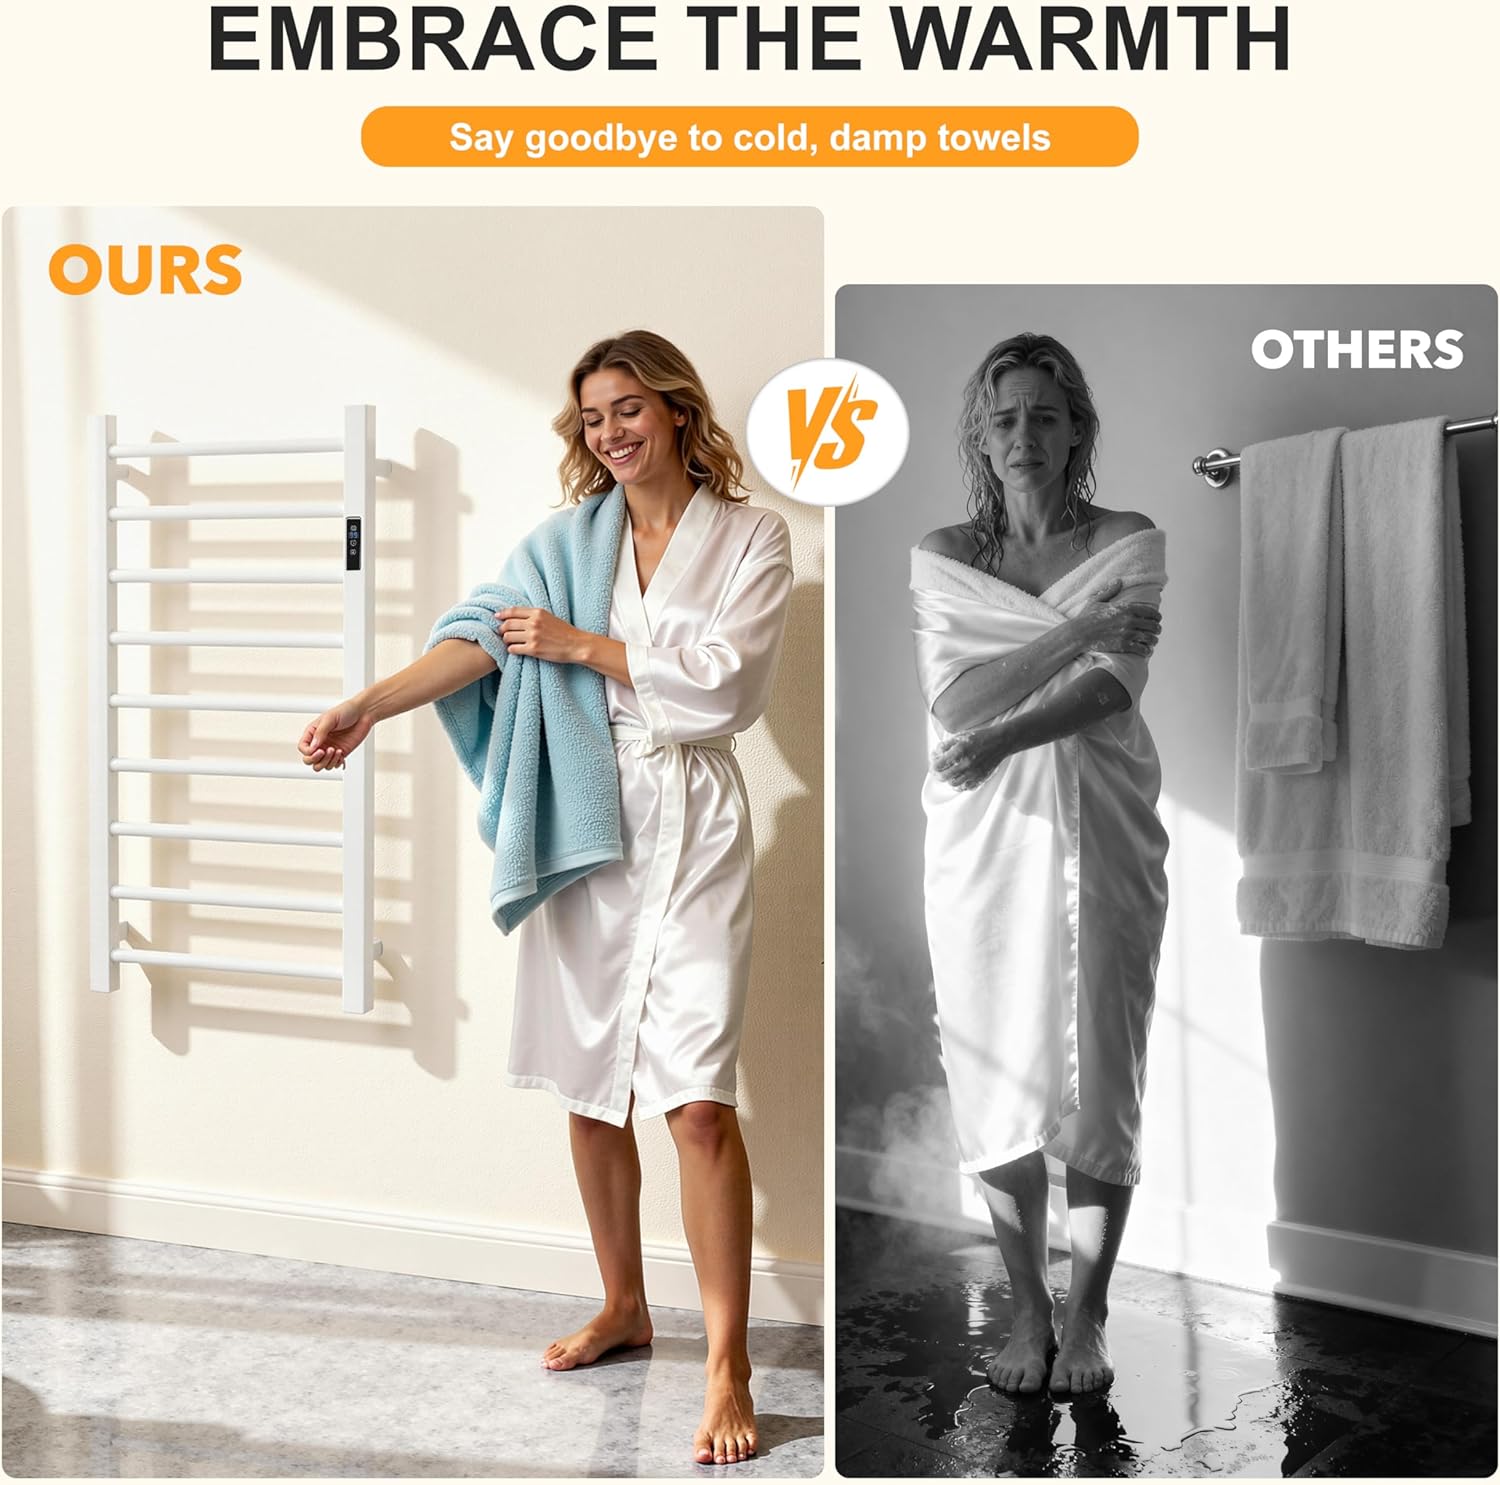
Figure 7: The rapid heating technology ensures quick warmth.

Figure 8: The versatile design allows for warming various fabric items.
Maintenance
Regular maintenance helps ensure the longevity and optimal performance of your towel warmer.
- Cleaning: Disconnect the power before cleaning. Wipe the surface with a soft, damp cloth. Do not use abrasive cleaners, solvents, or harsh chemicals, as these can damage the finish.
- Storage: If storing the unit for an extended period, ensure it is clean, dry, and unplugged. Store in a cool, dry place.
- Inspection: Periodically check the power cord for any signs of damage. If the cord is damaged, discontinue use and contact customer support.
Troubleshooting
If you encounter issues with your towel warmer, refer to the following common problems and solutions:
| Problem | Possible Cause | Solution |
|---|---|---|
| Towel warmer does not heat. | No power supply. Unit is not turned on. | Check if the power cord is securely plugged into a working outlet. Press the Power button on the touchscreen. |
| Towels are not warm enough. | Temperature setting is too low. Towels are not folded properly. Room is too large/airy. | Increase the temperature setting using the Temperature button. Fold towels to create more layers to trap heat. Consider placing the unit in a smaller, more enclosed space. |
| Unit unexpectedly turns off. | Timer has expired. Overheating protection activated. | Check the timer setting and reset if needed. Unplug the unit, allow it to cool down, then plug it back in and restart. Ensure proper ventilation. |
Specifications
- Model Number: B250062-1
- Color: White
- Material: Carbon Steel
- Product Dimensions: 31.5"L x 23.6"W x 3.14"H
- Finish Type: Powder Coated
- Installation Type: Freestanding / Wall Mounted
- Shape: Rectangular
- Item Weight: 12.67 pounds
- Temperature Control: 100-140°F (in 10°F increments)
- Timer: 1-8 hours (in 1-hour increments)
- Waterproof Rating: IPX4
- Certifications: ETL
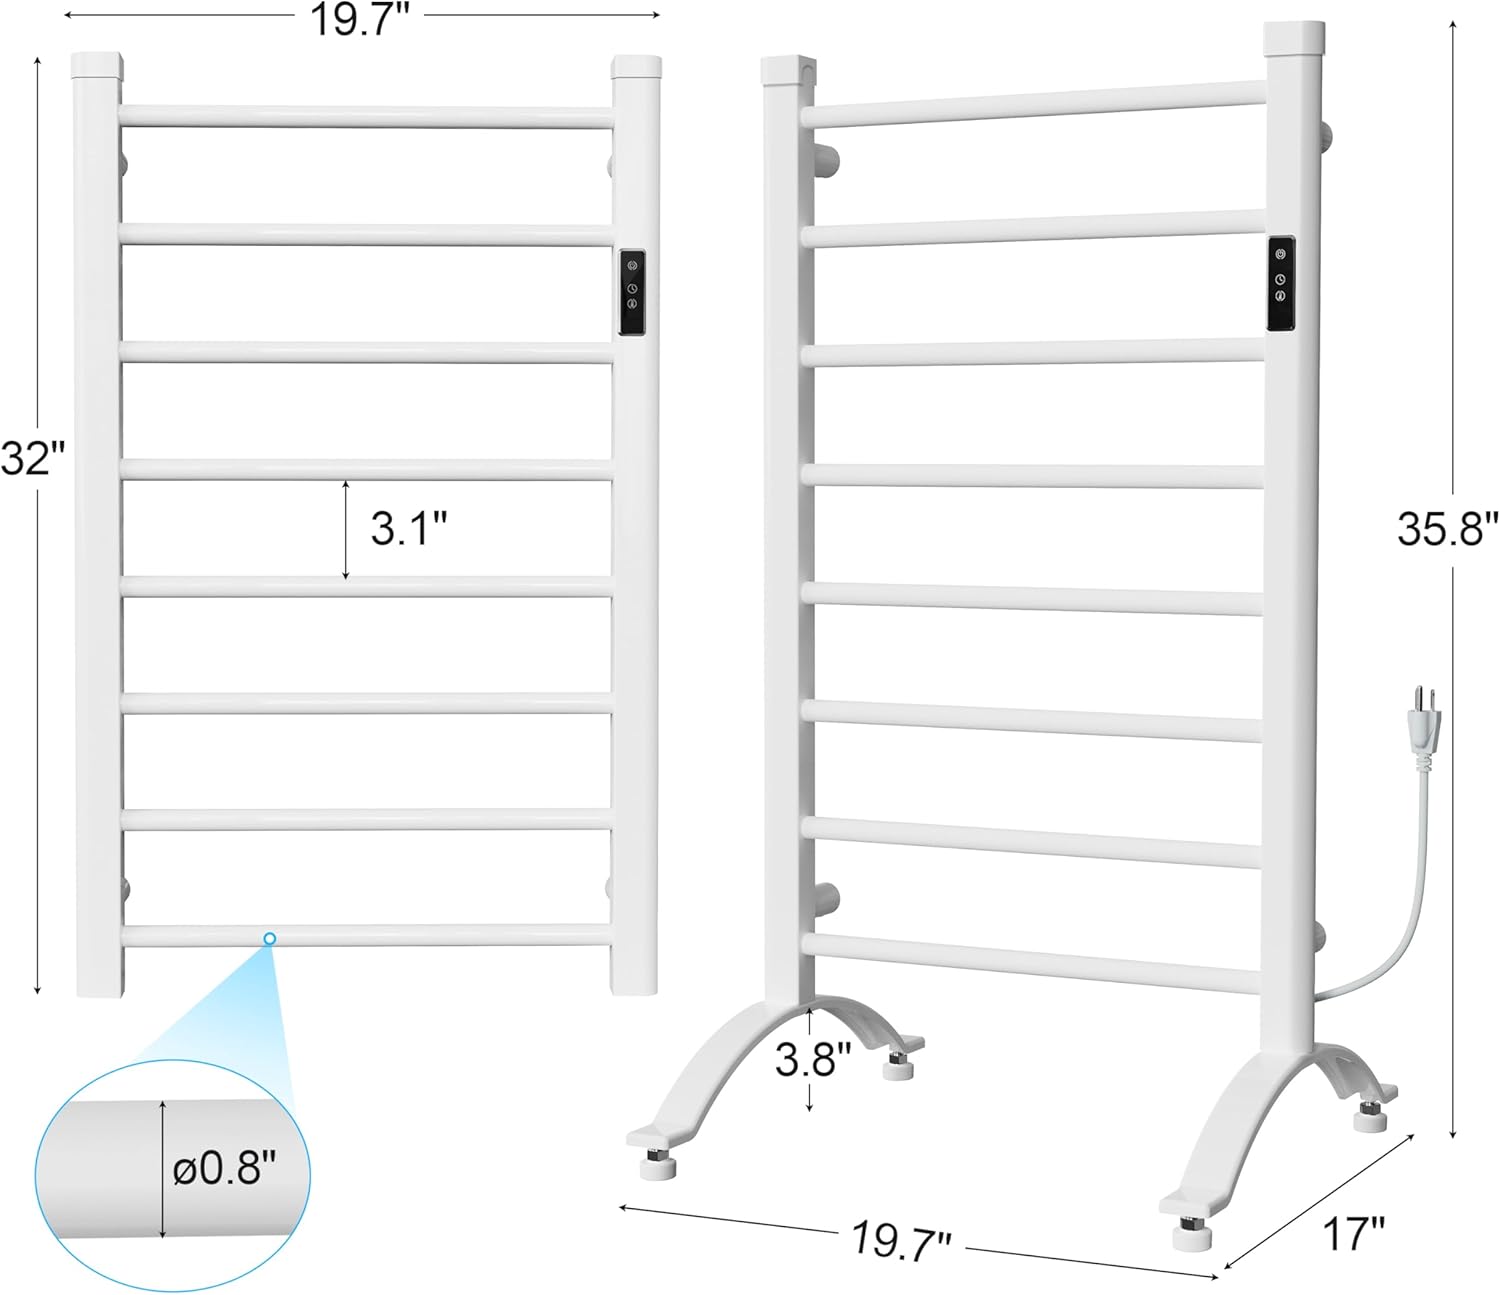
Figure 9: Detailed dimensions of the towel warmer rack.
Warranty and Support
For warranty information, technical support, or any questions regarding your LINKLIFE Heated Towel Warmer Rack, please contact the manufacturer directly through their official channels. Retain your proof of purchase for warranty claims.