
Introduction
Thank you for choosing the Outvita 7.5 ft Wooden Garden Bridge Arch. This manual provides essential information for the safe assembly, proper use, and effective maintenance of your new garden bridge. Please read these instructions thoroughly before beginning assembly and retain them for future reference.
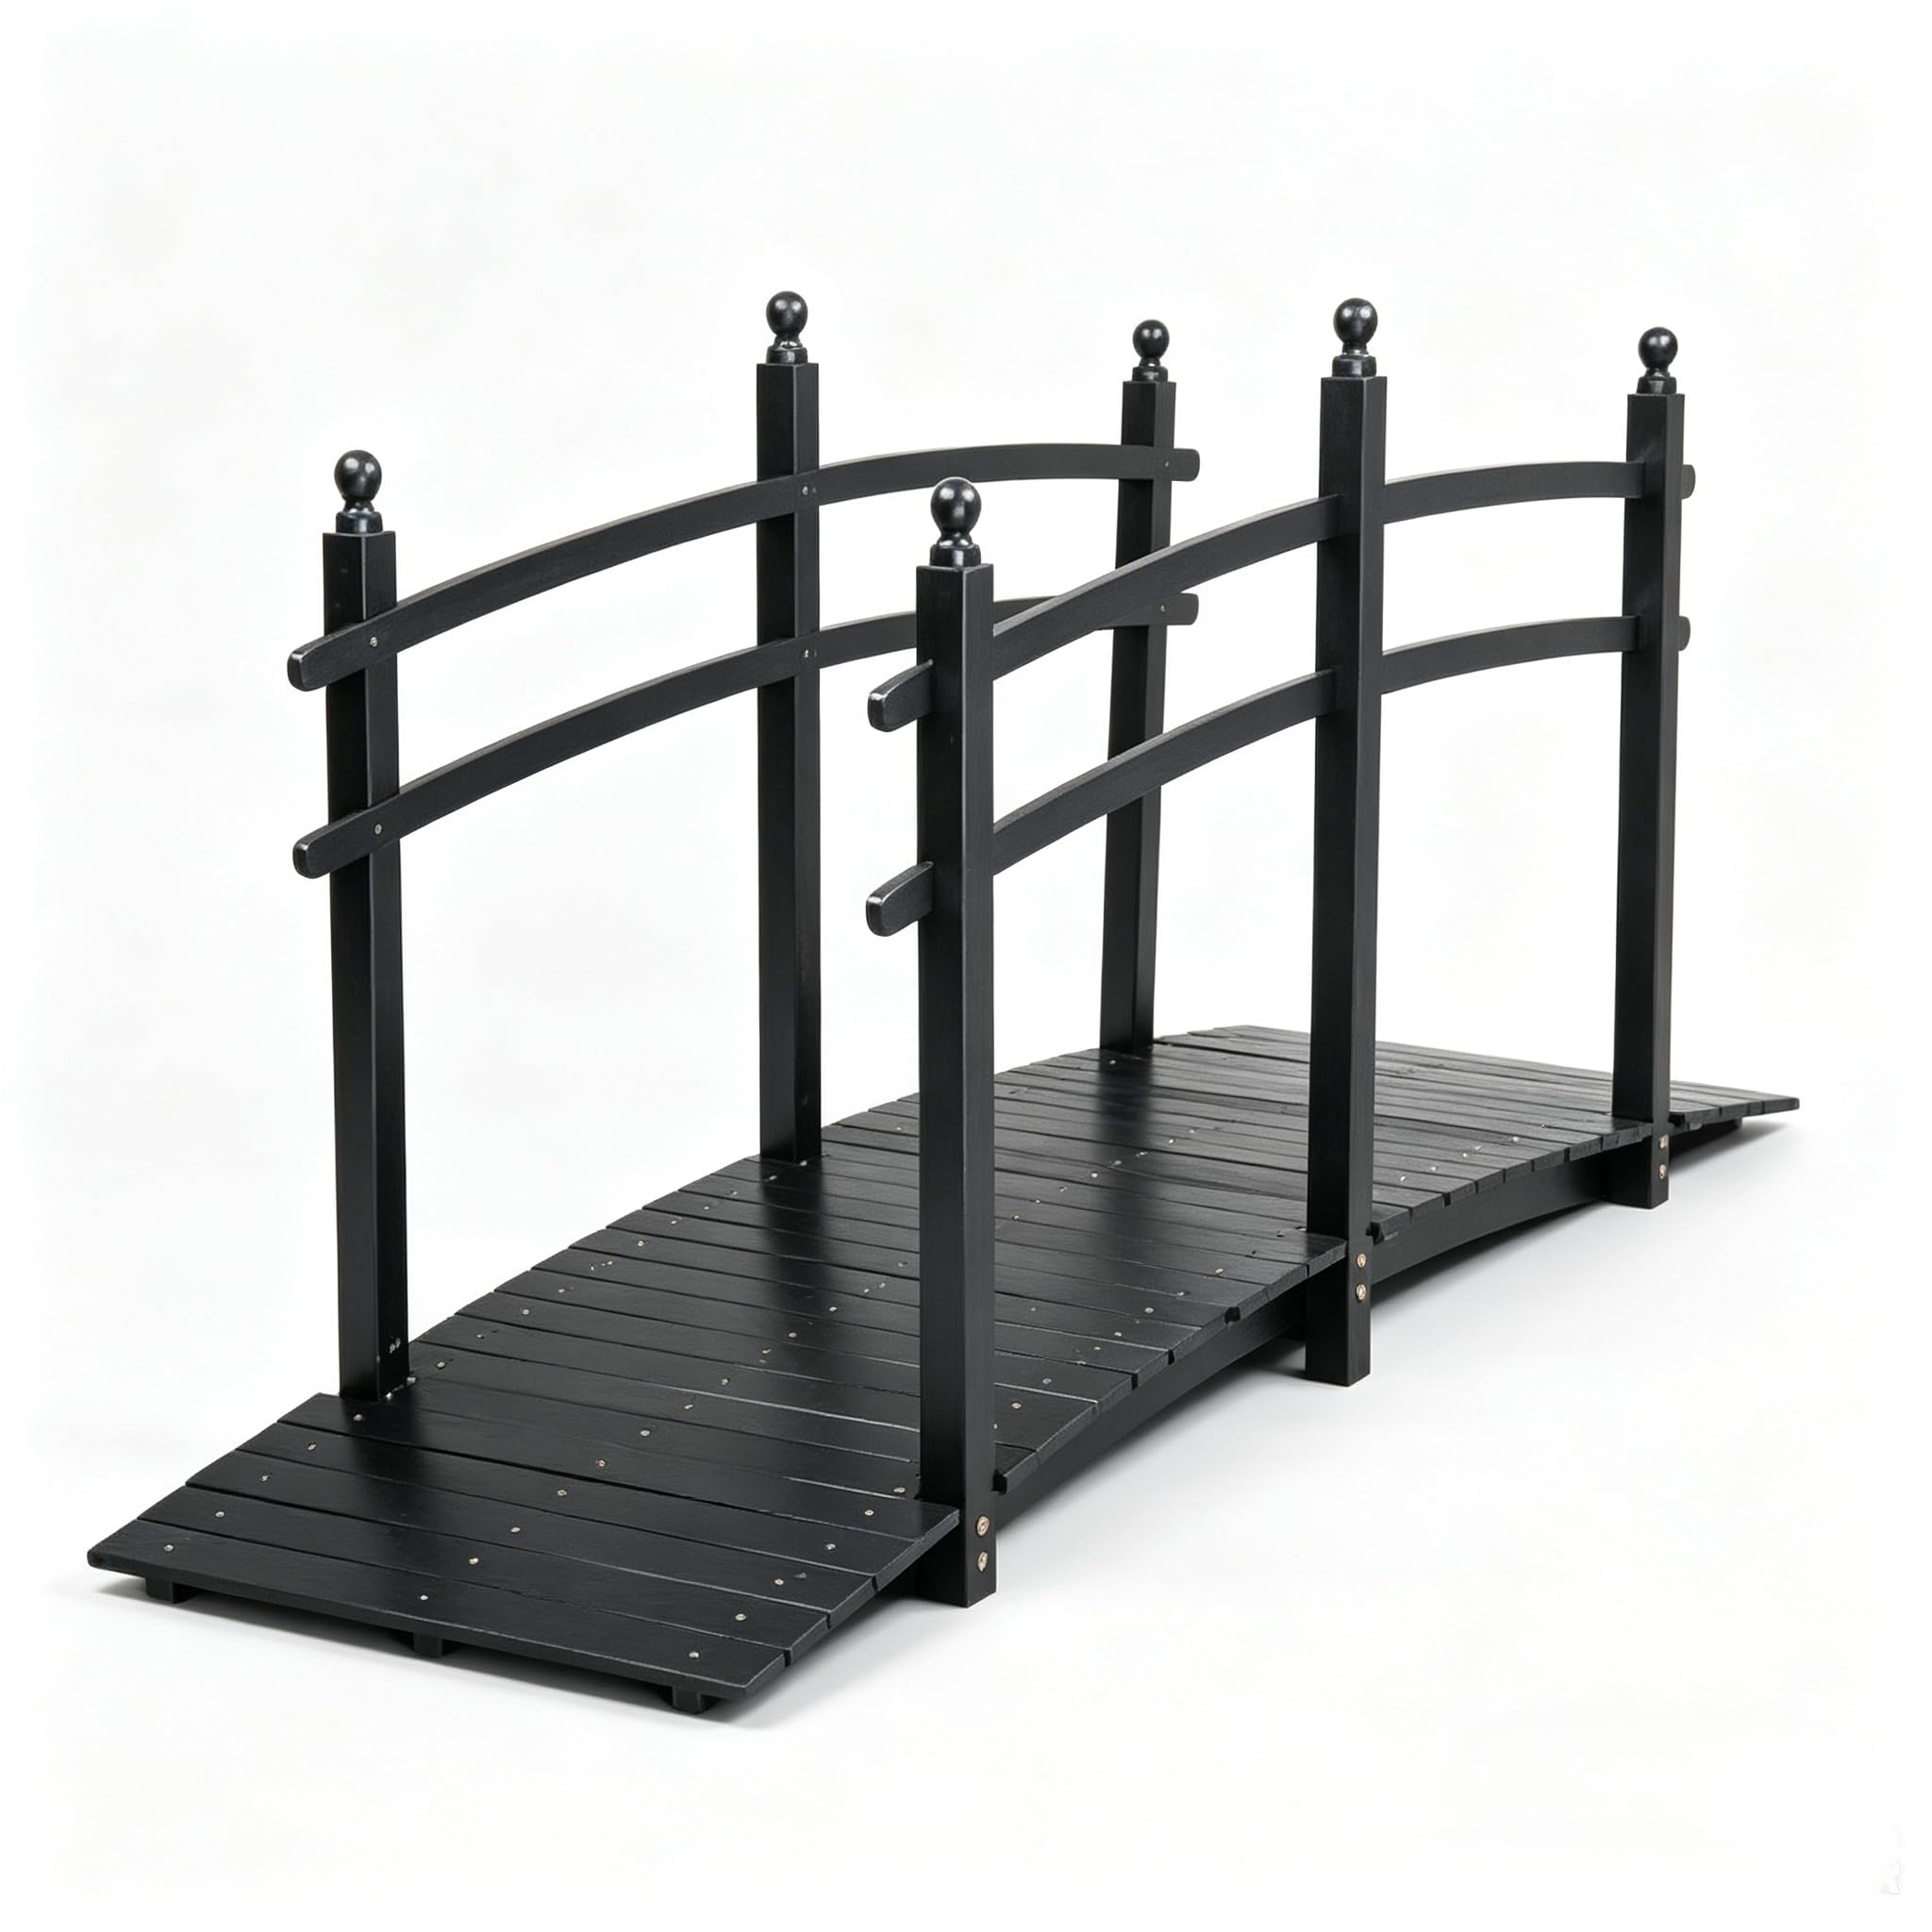
Image: The Outvita 7.5 ft Wooden Garden Bridge Arch, featuring its black stained finish and safety rails, positioned over a small stream in a landscaped garden.
Safety Information
To ensure safe use of your garden bridge, please observe the following precautions:
- Weight Capacity: Do not exceed the maximum weight capacity of 450 lbs (approximately 204 kg).
- Assembly: Ensure all components are securely fastened according to the assembly instructions. Loose parts can lead to instability.
- Placement: Place the bridge on a stable, level surface. Uneven ground can compromise stability.
- Inspection: Regularly inspect the bridge for any signs of wear, damage, or loose fasteners. Address any issues promptly.
- Children: Supervise children when they are on or near the bridge.
- Weather Conditions: Exercise caution when using the bridge in wet or icy conditions, as surfaces may become slippery.
Package Contents
Before beginning assembly, verify that all parts are present and undamaged. If any parts are missing or damaged, please contact customer support.
The package should include:
- Wooden bridge deck sections
- Arch frame components (rails and posts)
- Reinforcing boards (3 pieces)
- All necessary hardware (screws, bolts, nuts)
- Assembly instructions
Setup and Assembly
Assembly typically requires two people and an electric drill for efficiency. Please follow these steps carefully:
- Prepare the Area: Choose a flat, stable surface for assembly. Unpack all components and lay them out to ensure easy access. Note that some ash may be present on the surface of the carbonized wood; this is normal.
- Assemble the Bridge Deck: Connect the wooden bridge deck sections using the provided hardware. Ensure all connections are tight and secure.
- Attach Arch Frames: Securely attach the arch frame components (posts and rails) to the bridge deck. Pay close attention to the orientation of the arch for proper aesthetic and structural integrity.
- Install Reinforcing Boards: Add the three extra reinforcing boards underneath the bridge deck. These boards are crucial for improving stability and safety. Use an electric drill for efficient and secure fastening of the numerous screws.
- Final Tightening: Once all components are in place, re-check and tighten all screws and bolts. Ensure there is no wobble or looseness in the structure.

Image: Detailed view of the bridge construction, highlighting the smooth solid wood handrail, the shatterproof carbonized fir wood, and the stable reinforcing screws used in assembly.
Operating Instructions
The Outvita Garden Bridge is designed for decorative and light pedestrian use in garden, pond, or backyard settings. To ensure longevity and safety:
- Intended Use: Use the bridge solely for crossing small streams, garden paths, or decorative purposes. It is not intended for heavy loads, vehicles, or as a play structure.
- Load Distribution: Distribute weight evenly when multiple individuals are on the bridge, ensuring the total weight does not exceed 450 lbs.
- Footwear: Wear appropriate footwear to prevent slips, especially when the bridge surface is wet.

Image: The Outvita garden bridge gracefully spanning a small stream in a vibrant garden, demonstrating its intended decorative and functional use.
Maintenance
Regular maintenance will extend the life and preserve the appearance of your wooden garden bridge:
- Cleaning: Clean the bridge periodically with a soft brush and mild soap solution. Rinse thoroughly with water and allow to air dry. Avoid harsh chemicals or abrasive cleaners.
- Inspection: Annually, or more frequently in harsh climates, inspect all wooden components for cracks, splinters, or signs of rot. Check all fasteners (screws, bolts) for tightness and re-tighten as necessary.
- Wood Treatment: The carbonized fir wood is designed to be rust-resistant and resist cracking, splitting, chipping, and peeling. However, applying a wood sealant or stain annually can further protect the wood from UV damage and moisture, enhancing its durability and appearance.
- Winter Storage: In areas with severe winters, consider covering the bridge or storing it indoors to protect it from extreme weather conditions.
Troubleshooting
| Problem | Possible Cause | Solution |
|---|---|---|
| Bridge feels unstable or wobbly. | Loose fasteners; uneven ground; reinforcing boards not installed. | Ensure all screws and bolts are fully tightened. Verify the bridge is placed on a level surface. Confirm the three reinforcing boards are securely attached underneath the deck. |
| Difficulty during assembly. | Instructions unclear; lack of proper tools. | Review the assembly instructions carefully, paying attention to diagrams. An electric drill is highly recommended for fastening screws. If issues persist, contact customer support. |
| Wood appears faded or worn over time. | Exposure to sun and weather. | Apply a suitable outdoor wood sealant or stain to protect the wood and restore its appearance. Regular maintenance is key. |
Specifications
| Feature | Detail |
|---|---|
| Model Number | BRD001 |
| Product Dimensions (L x W x H) | 90 x 28 x 43 inches (228.6 x 71.1 x 109.2 cm) |
| Item Weight | 57.3 pounds (25.99 kg) |
| Material | Carbonized Fir Wood |
| Maximum Weight Capacity | 450 lbs (204 kg) |
| Color | Black Stained Finish |
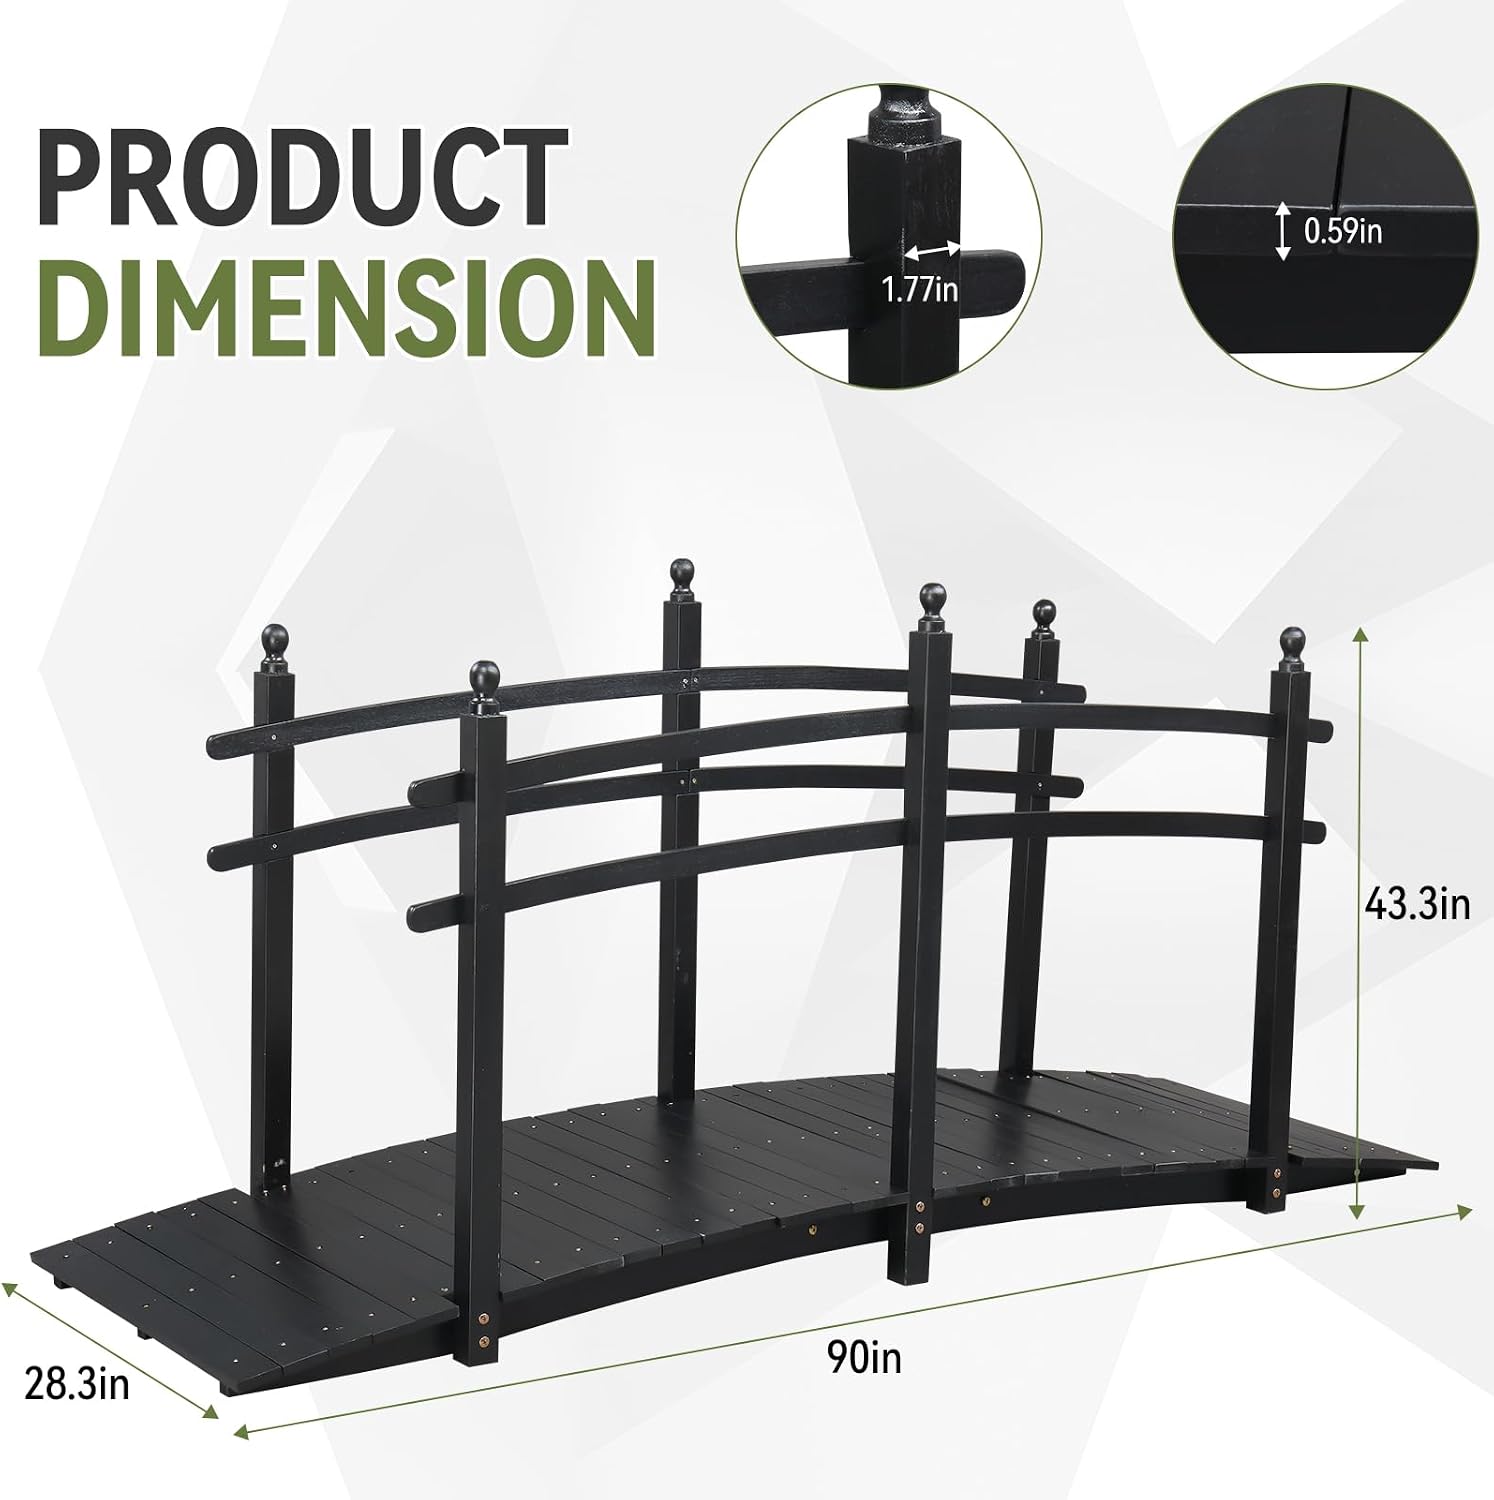
Image: A detailed diagram illustrating the overall dimensions of the Outvita garden bridge, including its length, width, and height.
Warranty and Support
For warranty information or customer support, please refer to the purchase documentation or contact Outvita customer service directly. Keep your proof of purchase for any warranty claims.
Contact Information:
- Manufacturer: Outvita
- Website: Visit the Outvita Store on Amazon
- For specific support inquiries, please use the contact methods provided at the time of purchase.