1. Introduction
Thank you for purchasing the VELATEMOR 16MP Digital Camera. This compact and portable camcorder is designed for capturing high-quality photos and videos with ease. Featuring a 2.4-inch rotatable screen, 16X digital zoom, and a built-in fill light, it is suitable for various recording scenarios, from family events to travel adventures.
Please read this manual thoroughly to understand the camera's functions and ensure optimal performance and longevity.
2. Product Overview
2.1 Key Features
- Image Resolution: Up to 16MP
- Video Resolution: Up to 1080P
- Screen: 2.4-inch rotatable display
- Zoom: 16X digital zoom
- Fill Light: Integrated for low-light conditions
- Functions: Selfies, electronic anti-shake, loop recording, time watermarking, recording while charging
- Connectivity: USB port for computer connection
- Storage: Supports up to 128GB standard memory card (not included)
2.2 Camera Components and Controls

Figure 1: Front view of the camera, highlighting the video lens and integrated fill light.

Figure 2: Side view of the camera, illustrating the SNAP button for capturing photos and the zoom lever for adjusting magnification.
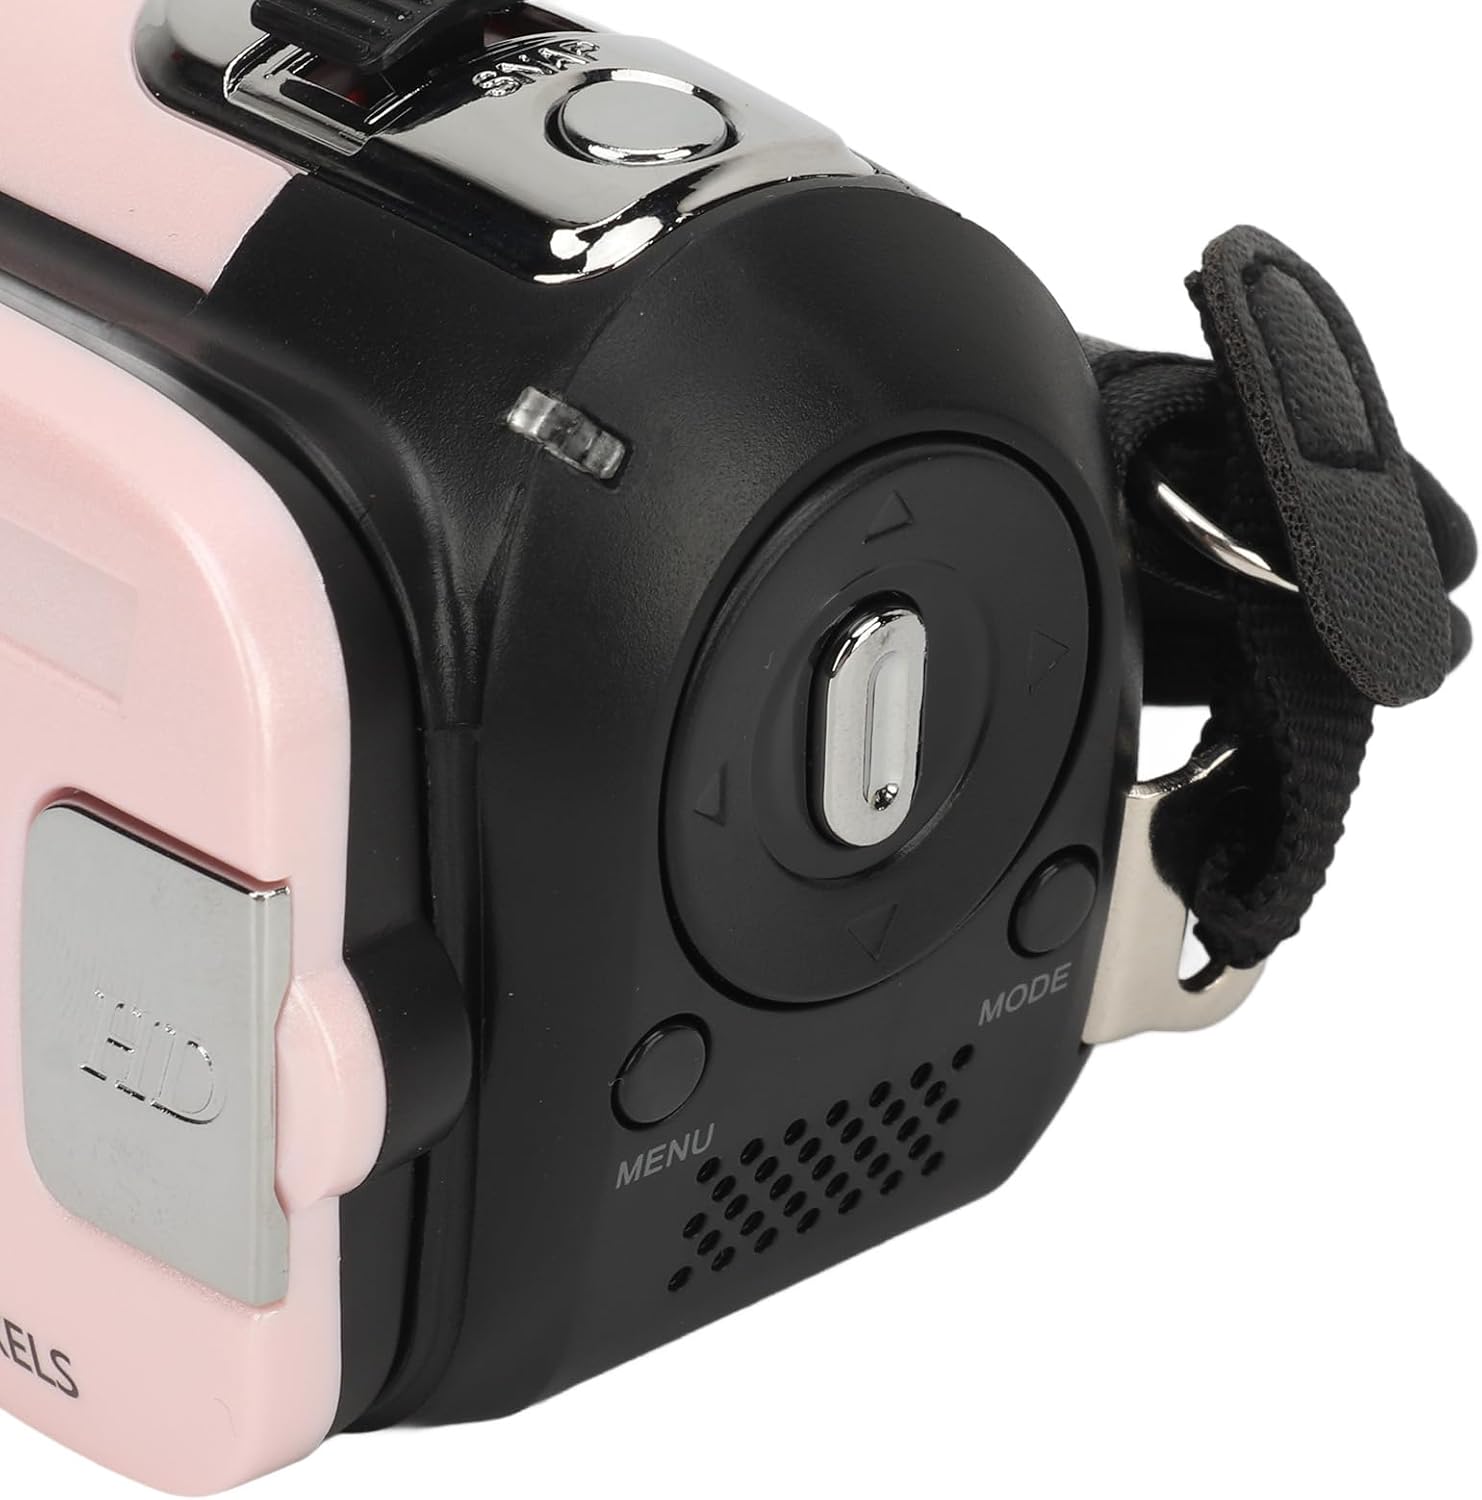
Figure 3: Back view of the camera, displaying the 2.4-inch rotatable screen, MENU button, MODE button, and directional navigation controls.
Familiarize yourself with the camera's physical layout. The front features the video lens and fill light. The top includes the SNAP button for taking pictures and a lever for 16X digital zoom. The back houses the 2.4-inch rotatable screen, along with buttons for menu access, mode selection, and navigation.
3. Setup
3.1 Charging the Battery
- Locate the USB port on the camera.
- Connect the provided USB charging cable to the camera's USB port.
- Plug the other end of the USB cable into a compatible USB power adapter (not included) or a computer's USB port.
- The charging indicator light will illuminate. Once fully charged, the light may change color or turn off.
The camera supports recording while charging, allowing for extended use.
3.2 Inserting a Memory Card
This camera requires a standard memory card (up to 128GB, not included) for storing photos and videos.
- Locate the memory card slot, typically on the side or bottom of the camera.
- Ensure the camera is powered off before inserting or removing the memory card.
- Insert the memory card into the slot with the metal contacts facing the correct direction (refer to the diagram near the slot if available) until it clicks into place.
- To remove, gently press the card inward until it springs out.
4. Operating Instructions
4.1 Powering On/Off
- To Power On: Press and hold the Power button (usually located near the screen or on top) for a few seconds until the screen illuminates.
- To Power Off: Press and hold the Power button again until the screen turns off.
4.2 Basic Operation
- Mode Selection: Press the MODE button to switch between photo mode, video recording mode, and playback mode.
- Taking Photos: In photo mode, frame your shot using the screen. Press the SNAP button (shutter button) to capture a photo.
- Recording Videos: In video recording mode, press the SNAP button to start recording. Press it again to stop recording.
- Zoom: Use the zoom lever (often located near the SNAP button) to digitally zoom in or out (16X digital zoom).
- Rotatable Screen: The 2.4-inch screen can be rotated to face forward for selfies or vlogging.
- Fill Light: To activate the built-in fill light for low-light conditions, locate the dedicated button or menu option (refer to the on-screen menu for specific controls).

Figure 4: The camera's rotatable screen in selfie mode, demonstrating its flexibility for various shooting angles.
4.3 Menu Settings
Press the MENU button to access camera settings. Use the navigation buttons to scroll through options and the SNAP button (or a dedicated OK button) to confirm selections. Common settings include:
- Image Resolution (1MP, 2MP, 3MP, 5MP, 8MP, 10MP, 12MP, 16MP)
- Video Resolution (1080P maximum)
- Electronic Anti-Shake (EIS)
- Loop Recording
- Time Watermarking
- Date/Time Setting
- Language (17 languages supported)
4.4 Connecting to a Computer

Figure 5: The camera and its USB cable, used for charging and data transfer.
To transfer photos and videos to your computer:
- Ensure the camera is powered on.
- Connect the camera to your computer using the provided USB cable.
- The camera should appear as a removable disk or media device on your computer.
- Open the camera's folder to access and transfer your files.
5. Maintenance
- Cleaning the Lens and Screen: Use a soft, lint-free cloth specifically designed for optical surfaces. Avoid abrasive materials or harsh chemicals.
- Battery Care: Store the camera in a cool, dry place. If not used for extended periods, charge the battery periodically to maintain its health.
- Storage: Keep the camera away from extreme temperatures, humidity, dust, and strong magnetic fields.
- Memory Card: Regularly back up your data and format the memory card periodically within the camera's settings to ensure optimal performance.
6. Troubleshooting
| Problem | Possible Solution |
|---|---|
| Camera does not power on. | Ensure the battery is fully charged. Connect the camera to a power source using the USB cable and try again. |
| Cannot take photos or record videos. | Check if a memory card is inserted and has sufficient free space. Ensure the camera is in the correct mode (photo or video). |
| Images/videos are blurry. | Clean the camera lens. Ensure there is adequate lighting. Hold the camera steady or use a tripod. Check if electronic anti-shake is enabled. |
| Camera not recognized by computer. | Ensure the USB cable is securely connected to both the camera and the computer. Try a different USB port or cable. Ensure the camera is powered on. |
| Fill light not working. | Check if the fill light function is enabled in the camera's settings or via its dedicated button. |
7. Specifications
| Feature | Detail |
|---|---|
| Image Resolution | 1MP, 2MP, 3MP, 5MP, 8MP, 10MP, 12MP, 16MP |
| Image Format | JPG |
| Video Resolution | 1080P (maximum) |
| Video Format | AVI |
| Screen Size | 2.4 Inch (Rotatable) |
| Digital Zoom | 16X |
| Shutter | Electronic |
| Storage | Supports up to 128GB standard memory card (not included) |
| Battery | 1 x BL-5C Li Battery, 600mAh (built-in) |
| Languages | 17 Languages |
| Tripod Mount | Bottom 1/4 inch thread hole (tripod not included) |
8. Warranty and Support
8.1 Warranty Information
This VELATEMOR digital camera comes with a manufacturer warranty for 90 days from the date of purchase. Please retain your proof of purchase for warranty claims. The warranty covers manufacturing defects but typically excludes damage caused by misuse, accidents, or unauthorized repairs.
8.2 Customer Support
For technical assistance, troubleshooting beyond this manual, or warranty inquiries, please contact VELATEMOR customer support through the retailer where the product was purchased or refer to the official VELATEMOR website for contact information.