Leadsign 10.1-inch Double Din Car Stereo User Manual
Model: LDS-DA10F
1. Introduction
This manual provides detailed instructions for the installation, operation, and maintenance of your Leadsign 10.1-inch Double Din Car Stereo. Please read this manual thoroughly before using the product to ensure proper function and safety. Keep this manual for future reference.

Image 1.1: Front view of the Leadsign 10.1-inch Double Din Car Stereo displaying its main user interface with various application icons.
2. Safety Information
- Do not operate the system in a way that distracts you from driving safely. Always prioritize road safety.
- Ensure proper installation by a qualified professional to prevent damage to the vehicle or the stereo unit.
- Avoid exposing the unit to extreme temperatures, direct sunlight for prolonged periods, or excessive moisture.
- Do not attempt to disassemble or modify the unit. This may cause damage and void the warranty.
- Keep the volume at a level that allows you to hear outside traffic sounds.
3. Package Contents
Verify that all items listed below are included in your package:
- LDS-DA10F Car Stereo Unit
- Power & Audio Cables
- External Microphone
- Flat Head Screws (8 pieces)
- Round Head Screws (8 pieces)
- User Manual (this document)

Image 3.1: Illustration of the Leadsign car stereo unit and its included accessories: power and audio cables, external microphone, mounting screws, and the user manual.
4. Installation
Professional installation is recommended for this product. Incorrect wiring or mounting can cause damage to the unit or your vehicle's electrical system.
4.1 General Installation Steps
- Disconnect the vehicle's battery to prevent electrical shorts.
- Remove the existing car stereo or dashboard panel to access the mounting area.
- Connect the power and audio cables from the new stereo to the vehicle's wiring harness. Ensure all connections are secure and correctly matched.
- Mount the external microphone in a suitable location for clear voice pickup.
- Secure the LDS-DA10F unit into the double din opening using the provided mounting screws.
- Reconnect the vehicle's battery and test the unit's functionality.
- Reassemble the dashboard panels.

Image 4.1: Comparison showing a car dashboard before installation with a standard radio, and after installation with the Leadsign 10.1-inch car stereo seamlessly integrated.
5. Operating Instructions
5.1 Power On/Off
Press the power button (usually a physical knob or a touch icon on the screen) to turn the unit on or off. The system features ultra-fast boot times, typically starting in 10 seconds.
5.2 Wireless Apple CarPlay
Connect your iPhone wirelessly to access CarPlay features on the stereo's display.
- On your iPhone, enable Bluetooth.
- On the car stereo, navigate to the Bluetooth settings and search for your iPhone. Select it to pair.
- Accept the pairing request on both devices.
- Once paired, the system may prompt you to allow contacts synchronization and other permissions. Confirm as desired.
- Select the CarPlay icon on the stereo's main menu to launch CarPlay.
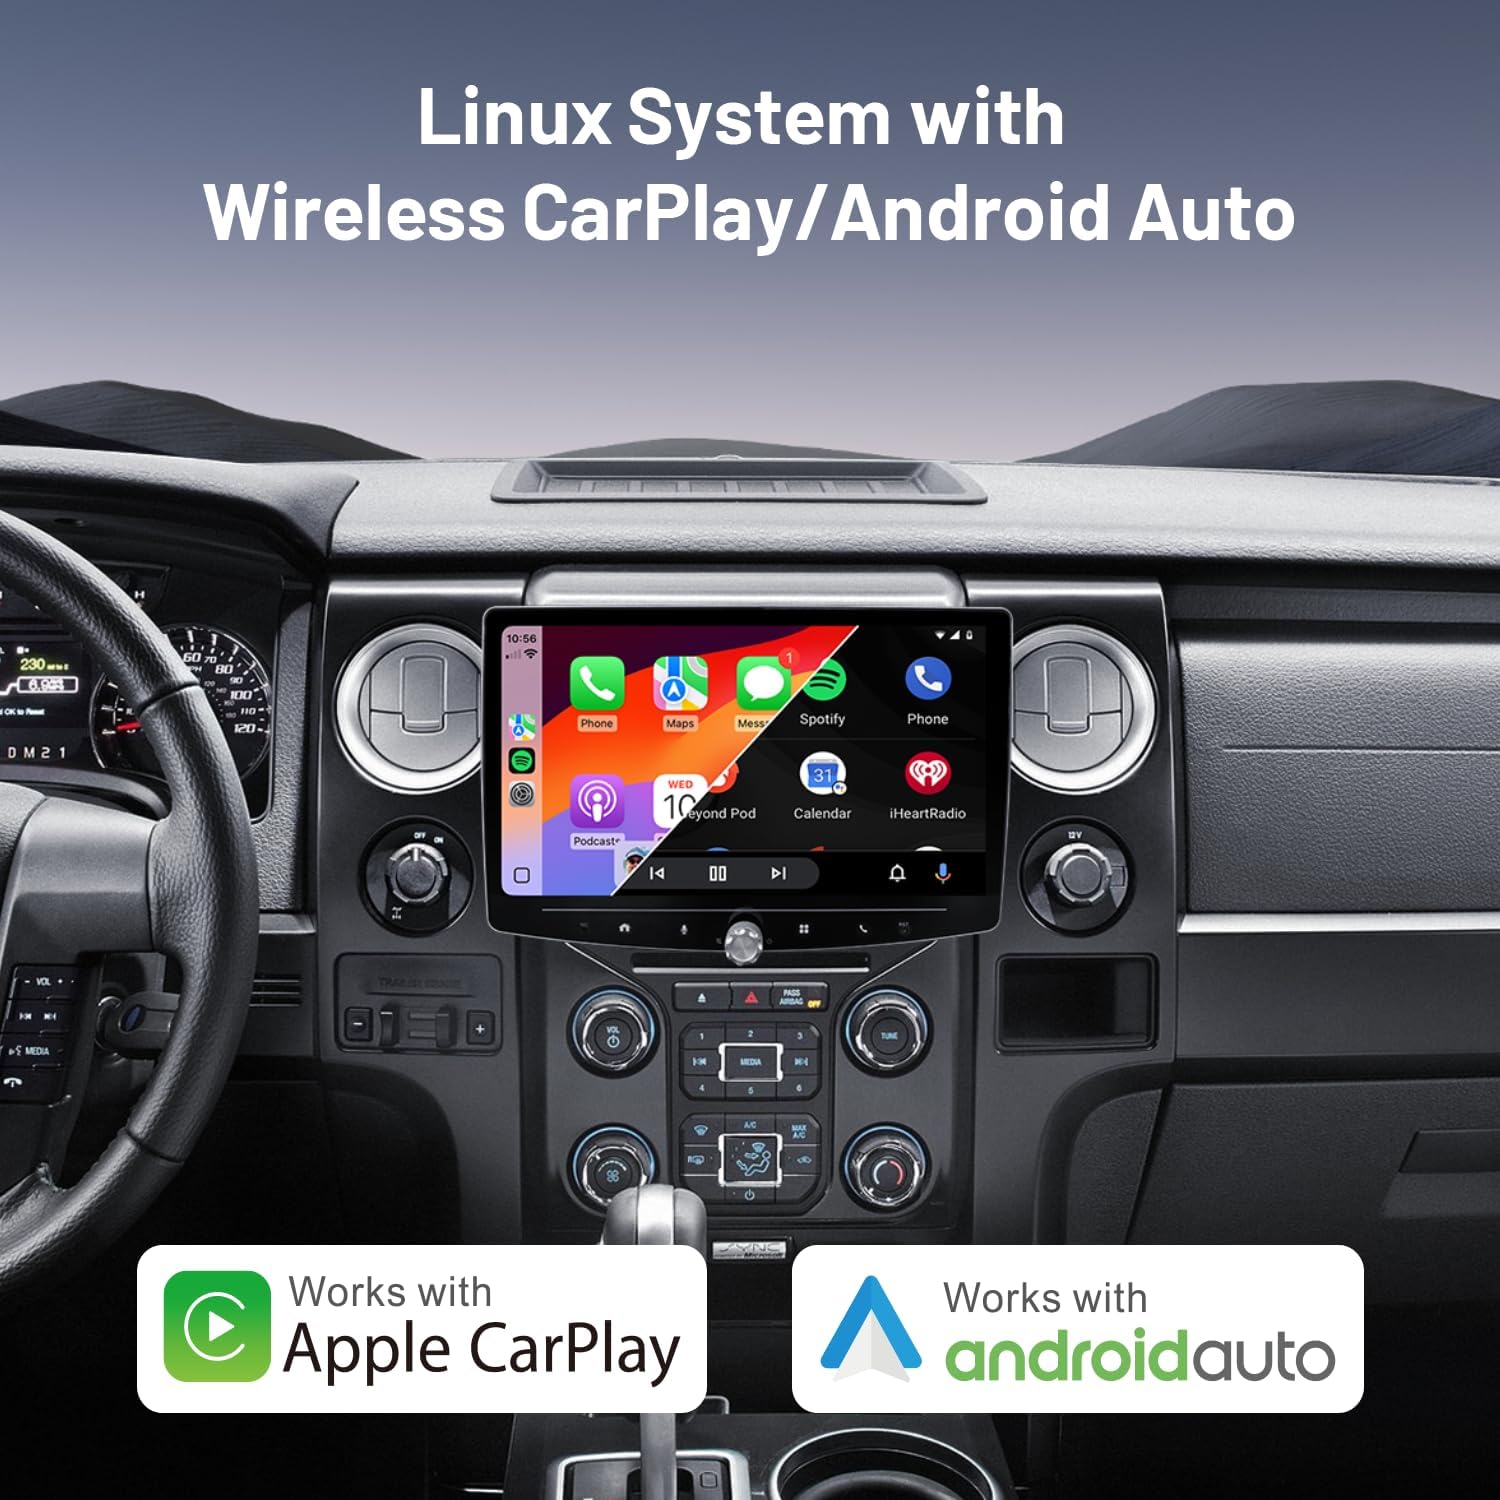
Image 5.1: The car stereo display showing the Apple CarPlay interface, integrated into a car dashboard.
5.3 Wireless Android Auto
Connect your Android smartphone wirelessly to access Android Auto features.
- On your Android phone, enable Bluetooth.
- On the car stereo, navigate to the Bluetooth settings and search for your Android phone. Select it to pair.
- Accept the pairing request on both devices.
- The system may request access to contacts and call history. Grant permissions as desired.
- Select the Android Auto icon on the stereo's main menu to launch Android Auto.
5.4 Bluetooth Audio and Hands-Free Calling
After pairing your smartphone via Bluetooth (as described in 5.2 or 5.3), you can:
- Stream Music: Select 'Bluetooth Audio' from the main menu to play music from your phone.
- Hands-Free Calls: Use the 'Phone' application to make or receive calls. The external microphone ensures clear communication.
5.5 MirrorLink (Screen Mirroring)
Mirror your smartphone's screen onto the car stereo display.
- Ensure your phone's screen mirroring function is enabled (e.g., Smart View, Screen Cast, AirPlay).
- On the car stereo, select the 'MirrorLink' or 'AirPlay' option.
- Follow the on-screen prompts to connect your device.

Image 5.2: A visual representation of the car stereo's compatibility with Apple CarPlay, Android Auto, and MirrorLink, showing smartphones connected to the display.
5.6 FM Radio
Select the 'Radio' application from the main menu. You can scan for stations, save presets, and manually tune frequencies.
5.7 USB Playback
Insert a USB drive into the designated USB port. The system will automatically detect and allow playback of compatible audio and video files.
5.8 Audio Equalizer (EQ)
Access the 'EQ' settings to customize your audio experience. The 16-band equalizer allows for precise adjustments of sound frequencies to match your preferences.
5.9 Steering Wheel Control (SWC)
The unit supports steering wheel controls for convenient operation. Refer to the system settings to program the buttons according to your vehicle's specifications.

Image 5.3: The car stereo display showing the Apple CarPlay interface, with an inset image demonstrating how steering wheel controls can be used to operate the unit.
5.10 Camera Support
The stereo supports both OEM (Original Equipment Manufacturer) and aftermarket cameras, including reverse cameras. The display automatically switches to the camera view when the vehicle is in reverse, typically within 2 seconds.

Image 5.4: The car stereo display showing a reverse camera feed with parking guidelines, indicating support for both OEM and aftermarket camera systems.
6. Troubleshooting
If you encounter issues with your car stereo, refer to the following common problems and solutions:
- No Power: Check all power connections and fuses. Ensure the vehicle's battery is properly connected.
- No Sound: Verify speaker connections. Check volume levels and EQ settings. Ensure the correct audio source is selected.
- Bluetooth Connection Issues: Ensure Bluetooth is enabled on both the stereo and your phone. Delete previous pairings and attempt to re-pair.
- CarPlay/Android Auto Not Connecting: Ensure your phone's operating system is compatible (iOS 10+ / Android 11+). Check Bluetooth and Wi-Fi connections. Restart both the stereo and your phone.
- Unresponsive Touchscreen: Try restarting the unit. If the issue persists, contact customer support.
7. Specifications
Key technical specifications for the Leadsign LDS-DA10F Car Stereo:
| Feature | Specification |
|---|---|
| Model Number | LDS-DA10F |
| Display Size | 10.1 inches |
| Display Resolution | 1280x720P HD Touchscreen |
| Operating System | Linux OS |
| Connectivity | Wireless Apple CarPlay, Wireless Android Auto, Bluetooth, USB, MirrorLink, FM |
| Audio Output Mode | Stereo |
| Surround Sound Channel Configuration | 4.1 |
| Output Power | 180 Volts |
| Control Method | App, Push Button, Touch, Voice |
| Compatible Devices | Amplifier, Smartphone, Speaker |
| Item Weight | 5.1 pounds |
| Package Dimensions | 13.4 x 9.44 x 7.1 inches |

Image 7.1: Diagram illustrating the physical dimensions of the Leadsign 10.1-inch car stereo unit, including screen size and chassis depth.
8. Maintenance
- Cleaning the Screen: Use a soft, lint-free cloth to gently wipe the touchscreen. Do not use abrasive cleaners or solvents.
- Software Updates: Periodically check the manufacturer's website for any available software updates to ensure optimal performance and new features.
- General Care: Avoid placing heavy objects on the unit or exposing it to sharp impacts.
9. Warranty and Support
For warranty information and technical support, please refer to the warranty card included with your product or visit the official Leadsign website. Keep your purchase receipt as proof of purchase.


