1. Introduction
This manual provides detailed instructions for the ALTOUMAN Wireless Dog Fence System. This system combines a wireless fence with a pet training collar, designed to help manage your dog's boundaries and behavior. Please read this manual thoroughly before use to ensure proper setup and operation.
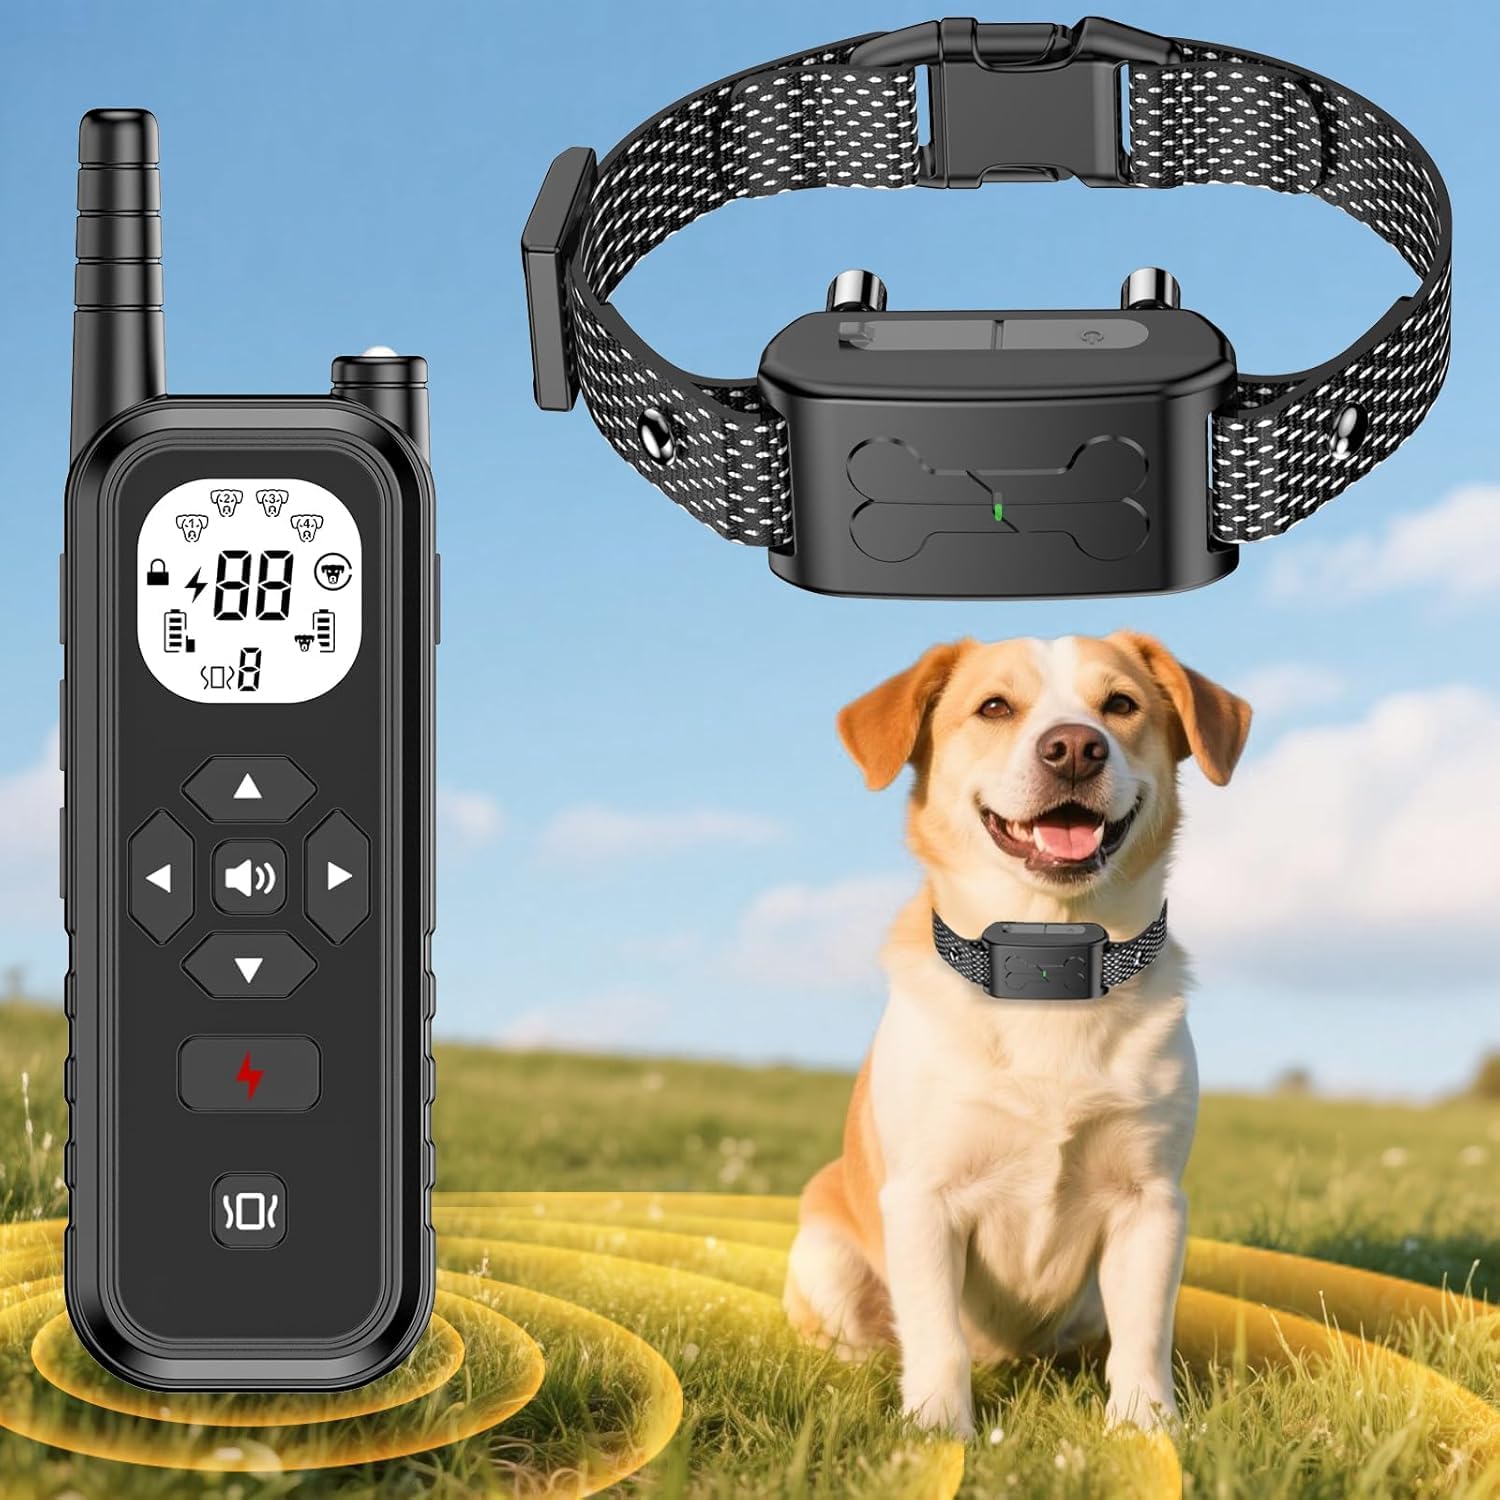
2. Product Overview
2.1 Components
- Wireless Remote Transmitter
- Dog Collar Receiver
- Adjustable Collar Strap
- USB Charging Cable
- Contact Points (short and long)
- Silicone Covers for Contact Points
- Test Light Tool
2.2 Key Features
- 2-in-1 System: Combines wireless fence and training functions.
- Adjustable Wireless Fence Range: 30 to 1300 feet.
- 3 Training Modes: Beep, Vibration, and Static Correction (0-9 levels).
- IPX7 Waterproof Collar: Suitable for various weather conditions and water activities.
- Long Standby Battery Life: Remote up to 185 days, Collar up to 180 days.
- Fast Charging: Both units fully charge in approximately 2 hours.
- Safety Design: Keypad lock on remote to prevent accidental operation.
- Integrated Flashlight: Dual-function LED light on remote for visibility.
- Adjustable Collar: Fits dogs from 8 to 110 lbs, up to 23.6 inches neck size.

3. Setup Instructions
3.1 Charging the Devices
Before initial use, fully charge both the remote transmitter and the collar receiver. Use the provided USB charging cable. A full charge typically takes about 2 hours.
- Connect the charging cable to the charging port on each device.
- Plug the other end into a standard USB power adapter (not included) or a computer USB port.
- The indicator light will show charging status and turn solid when fully charged.

3.2 Fitting the Collar Receiver
Proper collar fit is crucial for effective operation and your dog's comfort.
- Select the appropriate contact points (short for thin-haired dogs, long for thick-haired dogs) and attach them to the collar receiver. Optionally, place silicone covers over the contact points for added comfort.
- Place the collar receiver on your dog's neck, ensuring the contact points touch the skin.
- Adjust the strap so it is snug but not too tight. You should be able to fit two fingers comfortably between the strap and your dog's neck.
- The collar is adjustable up to 23.6 inches and suitable for dogs weighing 8-110 lbs. Excess strap can be trimmed if necessary.

3.3 Setting Up the Wireless Fence Boundary
The wireless fence creates a circular boundary around the remote transmitter.
- Place the remote transmitter in a central location within the desired containment area. Ensure it is not obstructed by large metal objects or dense foliage, which can interfere with the signal.
- Turn on the remote transmitter and the collar receiver.
- Use the remote to set the desired boundary distance. The system offers 10 adjustable levels, ranging from 30 to 1300 feet.
- Walk the perimeter of the set boundary with your dog (on a leash) to familiarize them with the warning zone. The collar will emit a beep and vibration when your dog approaches the boundary.

4. Operating Instructions
4.1 Wireless Fence Operation
When your dog approaches the set boundary, the collar receiver will activate a series of warnings:
- Warning Zone: As your dog nears the boundary, the collar will emit an audible beep.
- Correction Zone: If your dog continues past the warning zone, the collar will activate a vibration to encourage them to return to the safe area.
- The system is designed to provide consistent feedback to help your dog understand and respect the established perimeter.
4.2 Dog Training Modes
The remote transmitter offers three distinct training modes to address various behavioral needs:
- Beep Mode: Delivers an audible tone.
- Vibration Mode: Delivers a tactile vibration.
- Static Correction Mode: Delivers a static pulse.
Each mode has adjustable intensity levels (0-9 levels for vibration and static correction). It is recommended to start with the lowest effective level and gradually increase if needed, observing your dog's response.

4.3 Remote Transmitter Functions
- Keypad Lock: Activate the keypad lock feature to prevent accidental button presses, ensuring consistent training and safety.
- Flashlight LED: The remote includes a dual-function flashlight. Press once for a steady white beam, and press twice for a flashing strobe mode, useful for locating your dog in low light conditions.

5. Maintenance
5.1 Cleaning the Collar
Regularly clean the collar strap and receiver with a damp cloth. Ensure the contact points are free of dirt or debris to maintain proper function. The collar receiver is IPX7 waterproof, allowing it to withstand rain, splashes, and temporary submersion. The remote transmitter is not waterproof.

5.2 Battery Care
To prolong battery life, avoid fully discharging the devices frequently. Recharge them when the battery indicator is low. Store devices in a cool, dry place when not in use for extended periods.
5.3 Contact Point Inspection
Periodically check the contact points for wear or damage. Ensure they are securely attached to the receiver. If using silicone covers, ensure they are intact and properly seated.
6. Troubleshooting
- Collar not responding to remote: Ensure both devices are charged and powered on. Check if they are properly paired. Move closer to the collar to rule out range issues.
- Fence system not working or inconsistent: Verify the remote transmitter is placed in an open area, free from large metal objects or dense structures that could block the signal. Adjust the boundary level. Ensure the collar is fitted correctly with contact points touching the dog's skin.
- No static correction in fence mode: The wireless fence system primarily uses beep and vibration warnings to define boundaries. Static correction is typically available as a separate training mode via the remote, not automatically triggered by the fence boundary.
- Short battery life: Ensure devices are fully charged. Extreme temperatures can affect battery performance. If battery life significantly degrades, contact customer support.
- Dog not responding to corrections: Re-evaluate the collar fit and ensure contact points are making proper contact. Increase the intensity level of vibration or static correction gradually, observing your dog's reaction. Ensure training is consistent.
7. Specifications
| Feature | Detail |
|---|---|
| Model | B0FMYC9962 |
| Brand | ALTOUMAN |
| Material | Plastic |
| Item Weight | 10.9 ounces |
| Package Dimensions | 8.9 x 6.34 x 1.93 inches |
| Collar Adjustability | Up to 23.6 inches, suitable for dogs 8-110 lbs |
| Wireless Fence Range | 30 - 1300 feet (10 adjustable levels) |
| Training Modes | Beep, Vibration (0-9 levels), Static Correction (0-9 levels) |
| Collar Waterproof Rating | IPX7 |
| Remote Standby Time | Up to 185 days |
| Collar Standby Time | Up to 180 days |
| Charging Time | Approx. 2 hours for full charge |
| Batteries | 2 Lithium Ion batteries (included) |
| Manufacturer | Shenzhen Jingtong Technology Co.,Ltd |
8. Warranty and Support
ALTOUMAN offers a free warranty promise for this product. For any questions, concerns, or technical assistance, please contact our customer support team.
- Customer Support: Available 24 hours online.
- After-Sale Service: 365 days of support.
Please refer to your purchase documentation or the ALTOUMAN official website for specific warranty terms and contact information.