1. Introduction
This manual provides essential information for the safe and efficient operation of your new Wonder WL6204AI 6kg Front Load Washing Machine. Please read these instructions carefully before installation and use, and retain them for future reference.
2. Safety Information
For your safety and to ensure proper operation, always adhere to the following precautions:
- Ensure the appliance is properly grounded.
- Do not allow children to play with or operate the washing machine.
- Unplug the appliance before cleaning or performing any maintenance.
- Do not wash items that are soiled with flammable substances.
- Keep the area around the washing machine clear of obstructions.
- Refer to a qualified technician for any repairs.
3. Product Overview
The Wonder WL6204AI is a 6kg front-load washing machine designed for efficient and thorough cleaning. Key features include an Inverter motor, 1200 rpm spin speed, and a diamond-surface stainless steel drum.

Figure 3.1: Front view of the Wonder WL6204AI washing machine, highlighting its compact design and 6kg capacity.
3.1 Control Panel

Figure 3.2: Close-up of the LED control panel, showing program selector, temperature, deferred start, and start/pause buttons.
The electronic control system features an LED display for easy program selection and monitoring. The dial allows selection of 11 washing programs, while buttons control temperature, spin speed, and other functions.
3.2 Inverter Motor Technology
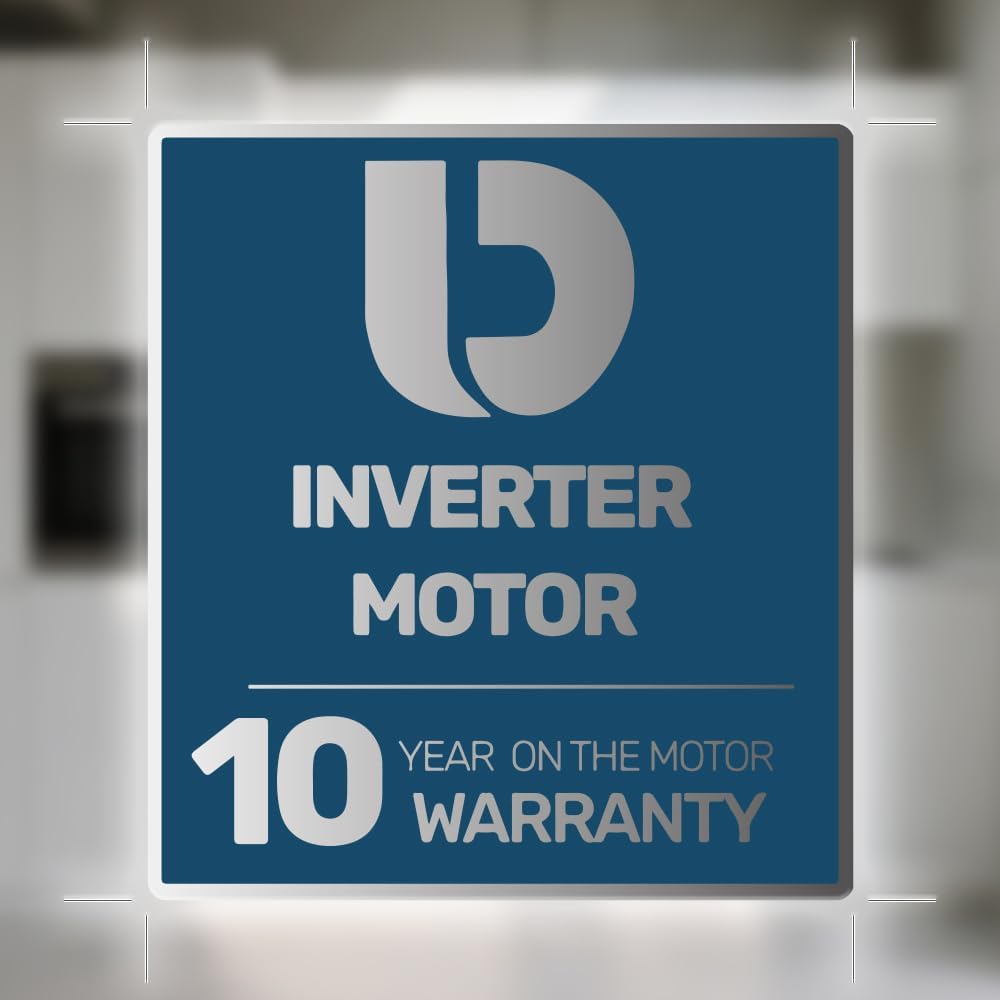
Figure 3.3: Illustration highlighting the Inverter Motor technology, known for its efficiency, durability, and quiet operation.
The Inverter motor provides enhanced efficiency, reduced noise levels (maximum 72 dB), and extended durability, backed by a 10-year warranty.
3.3 Diamond Drum

Figure 3.4: Interior view of the stainless steel drum, showcasing the diamond surface design for gentle yet effective washing.
The stainless steel drum features a unique diamond surface design, which helps to protect fabrics while ensuring thorough cleaning.
4. Setup and Installation
Proper installation is crucial for the performance and longevity of your washing machine. It is recommended to have the appliance installed by a qualified technician.
4.1 Unpacking
- Carefully remove all packaging materials.
- Remove all transport bolts from the rear of the machine. Keep them for future transport.
4.2 Positioning
- Place the washing machine on a firm, level surface.
- Adjust the leveling feet to ensure stability and prevent vibration.
- Ensure adequate space around the machine for ventilation and access.

Figure 4.1: The washing machine integrated into a kitchen setting, demonstrating typical installation space requirements.
4.3 Water and Electrical Connections
- Connect the water inlet hose to a cold water tap.
- Ensure the drain hose is properly positioned in a drain or sink.
- Plug the power cord into a grounded electrical outlet.
5. Operating Instructions
Follow these steps for optimal washing results:
5.1 Loading Laundry
- Sort laundry by fabric type, color, and degree of soiling.
- Open the door and load clothes, ensuring not to overload the machine (maximum 6kg).
- Close the door firmly.
5.2 Adding Detergent
- Pull out the detergent drawer.
- Add appropriate amounts of detergent and fabric softener to their respective compartments.
- Push the drawer back in.
5.3 Program Selection
Turn the program selector dial to choose one of the 11 available washing programs. The LED display will show the selected program and default settings.
| Program | Description | Typical Load |
|---|---|---|
| Eco 40-60 | Standard program for normally soiled cotton laundry washable at 40°C or 60°C. | Cotton, mixed fabrics |
| Mixed | For mixed loads of cotton and synthetic fabrics. | Mixed fabrics |
| Cotton 20°C | Gentle wash for cotton items at low temperature. | Delicate cottons |
| Rapid 15' | Quick wash for lightly soiled items. | Lightly soiled items |
| Rapid 30' | Fast wash for everyday items. | Daily laundry |
| Synthetics | For synthetic fabrics. | Polyester, nylon |
| Delicates | For delicate items requiring gentle care. | Silk, lace |
| Steam Cycle | Utilizes steam for enhanced cleaning and wrinkle reduction. | Various fabrics |
| Rinse & Spin | Additional rinse and spin cycle. | Extra rinsing |
| Spin | Drains water and spins laundry. | Water removal |
| Drum Clean | Special program for cleaning the washing machine drum. | Empty drum |
5.4 Adjusting Settings
- Temperature: Press the Temperature button to adjust the wash temperature.
- Spin Speed: Press the Spin button to select the desired spin speed (up to 1200 rpm).
- Deferred Start: Use the Deferred Start button to set a delay for the wash cycle (e.g., 2h, 4h, 6h, 8h).
- Stop&Go Function: This function allows you to pause the cycle, add or remove items, and then resume.
- Steam Cycle: Select programs that include the Steam Cycle for deeper cleaning and wrinkle reduction.
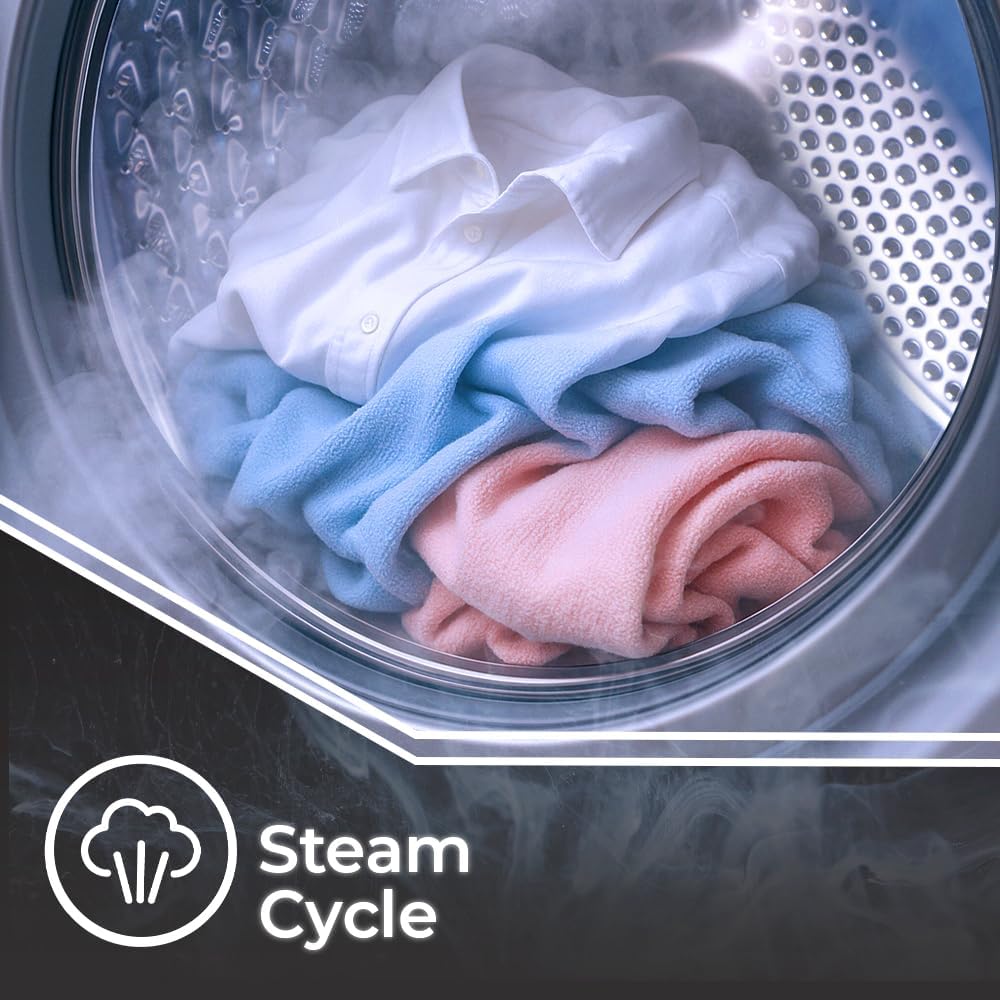
Figure 5.1: Inside the washing machine drum during a steam cycle, illustrating the steam's effect on clothes.
5.5 Starting the Wash Cycle
- Press the Start/Pause button to begin the selected program.
- The machine will automatically proceed through the wash, rinse, and spin cycles.
5.6 Ending the Wash Cycle
- Once the program is complete, the machine will signal its finish.
- Open the door and remove the laundry.
- Unplug the machine and turn off the water supply if not in continuous use.
6. Maintenance and Care
Regular maintenance ensures optimal performance and extends the lifespan of your washing machine.
6.1 Cleaning the Drum

Figure 6.1: Icon representing the Drum Clean function, essential for maintaining hygiene inside the washing machine.
Use the dedicated Drum Clean program periodically to remove detergent residue and prevent odors. Run this cycle with an empty drum.
6.2 Cleaning the Detergent Drawer
- Remove the detergent drawer and rinse it under running water.
- Clean any residue from the compartments.
- Reinsert the drawer.
6.3 Cleaning the Exterior
- Wipe the exterior surfaces with a soft, damp cloth.
- Do not use abrasive cleaners or solvents.
6.4 Filter Cleaning
Regularly check and clean the drain pump filter to prevent blockages. Refer to the full instruction manual for detailed steps on accessing and cleaning the filter.
7. Troubleshooting
Before contacting customer service, consult the following table for common issues and solutions:
| Problem | Possible Cause | Solution |
|---|---|---|
| Machine does not start | Power cord unplugged, door not closed, program not selected. | Check power connection, ensure door is latched, select a program and press Start. |
| No water intake | Water tap closed, inlet hose kinked, water supply issue. | Open water tap, straighten hose, check household water supply. |
| Machine vibrates excessively | Transport bolts not removed, machine not level, uneven load. | Remove transport bolts, adjust leveling feet, redistribute laundry. |
| Water not draining | Drain hose kinked, drain pump filter blocked. | Straighten drain hose, clean drain pump filter. |
8. Technical Specifications
- Model: WL6204AI
- Capacity: 6 kg
- Maximum Spin Speed: 1200 rpm
- Motor Type: Inverter
- Energy Efficiency Class: A
- Maximum Noise Level: 72 dB
- Dimensions (H x W x D): 84.5 x 59.8 x 40.5 cm
- Weight: 50 kg
- Programs: 11 (e.g., Eco 40-60, Mixed, Cotton 20°C, Rapid 15', Rapid 30', Synthetics, Delicates, Steam Cycle, Rinse & Spin, Spin, Drum Clean)
- Control System: Electronic with LED Display
- Drum Material: Stainless Steel (Diamond Surface)
- Color: White
9. Warranty and Customer Support
9.1 Warranty Information
Your Wonder WL6204AI washing machine comes with a standard manufacturer's warranty. The Inverter motor specifically benefits from a 10-year warranty, highlighting its durability and reliability.
Please retain your proof of purchase for warranty claims. For detailed terms and conditions, refer to the warranty card included with your product or visit the official Wonder website.
9.2 Customer Support
If you encounter any issues not covered in the troubleshooting section or require technical assistance, please contact Wonder customer support. Contact details can typically be found on the manufacturer's website or in the product packaging.