Introduction
This manual provides essential instructions for the safe and efficient operation, installation, and maintenance of your Luminus EVO D 1250 Pure Square Wave Inverter. Please read this manual thoroughly before using the inverter and retain it for future reference.
The Luminus EVO D 1250 is designed to provide reliable power backup for homes, offices, and small commercial applications. It features modified square wave technology, an advanced microprocessor, fast charging capabilities, and user-friendly LED indications.
Safety Instructions
- Ensure the inverter is installed in a well-ventilated area, away from direct sunlight, heat sources, and flammable materials.
- Do not expose the inverter to rain, moisture, or excessive dust.
- Always connect the inverter to a properly grounded electrical outlet.
- Do not open the inverter casing. Refer all servicing to qualified personnel.
- Keep children and unauthorized persons away from the inverter during operation.
- Ensure correct battery polarity connections (+ to + and - to -). Incorrect connection can damage the inverter and battery.
- Use only recommended battery types and capacities (80Ah - 250Ah, Tubular, SMF Flat plate).
Product Overview
The Luminus EVO D 1250 Inverter is a compact and efficient power backup solution. Key components include:
- Front Panel: LED indicators for status and fault conditions.
- Rear Panel: AC input, AC output, battery terminals, cooling fan.
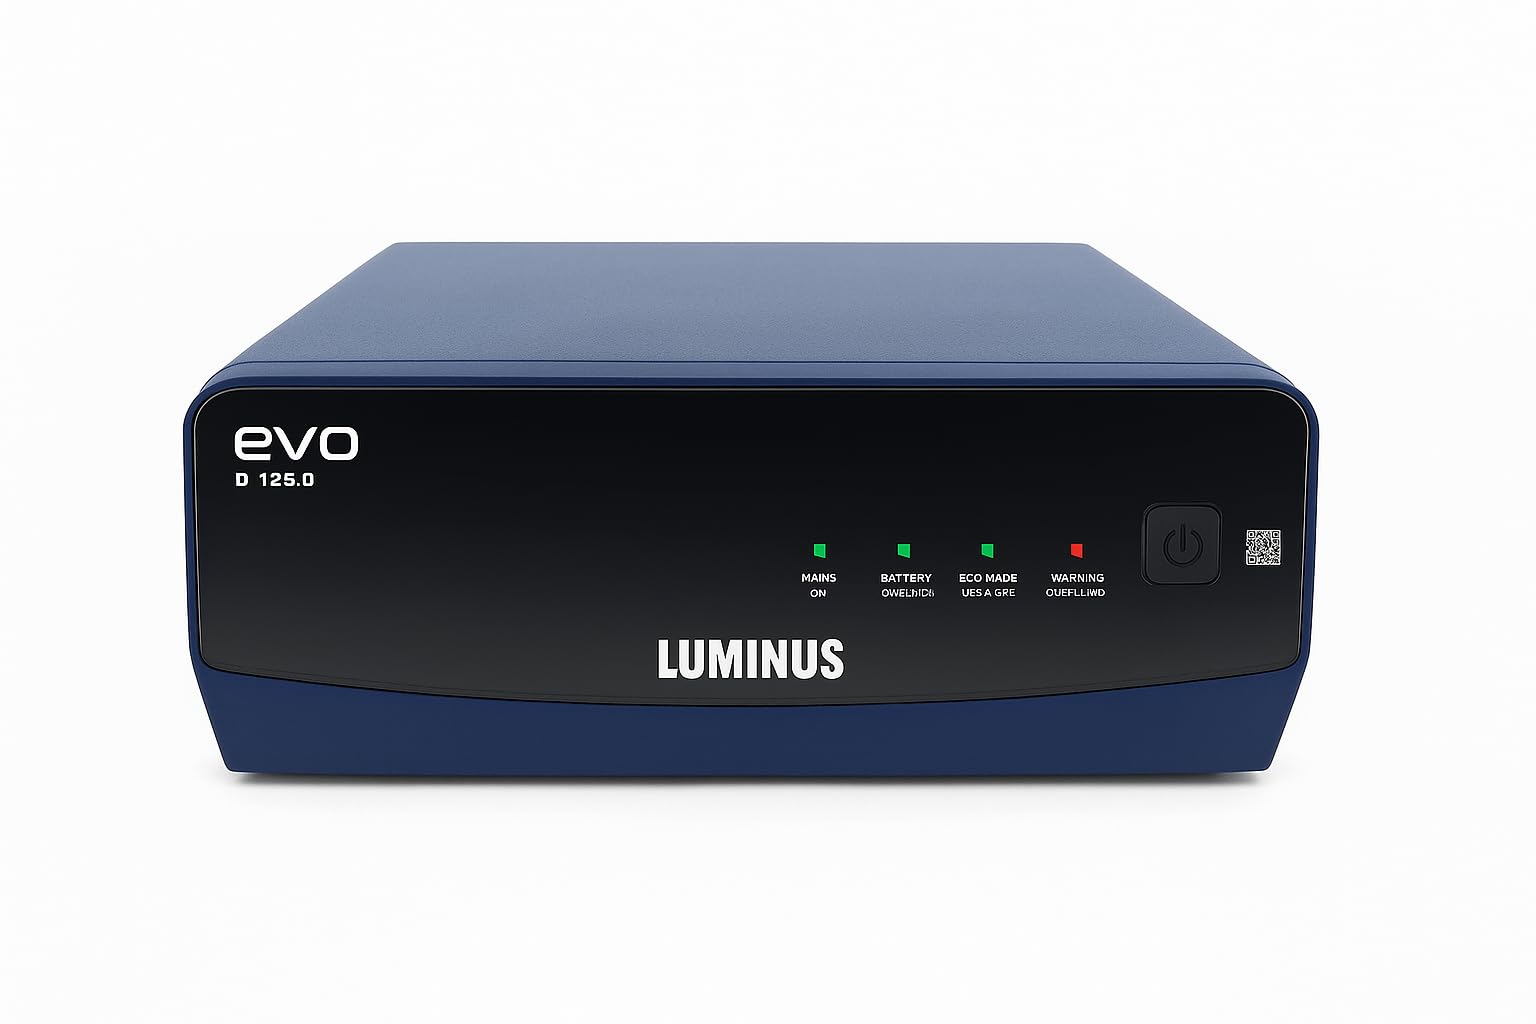
Figure 1: Front view of the Luminus EVO D 1250 Pure Square Wave Inverter, showing its compact design and LED indicators.
Setup and Installation
- Unpacking: Carefully remove the inverter from its packaging. Inspect for any damage.
- Placement: Place the inverter on a flat, stable surface in a well-ventilated area. Ensure adequate clearance around the unit for airflow.
- Battery Connection:
- Connect the red cable from the inverter to the positive (+) terminal of the 12V battery.
- Connect the black cable from the inverter to the negative (-) terminal of the 12V battery.
- Ensure connections are tight and secure to prevent sparking.
- AC Input Connection: Plug the inverter's AC input cord into a standard, grounded wall outlet.
- Load Connection: Plug your appliances (e.g., LED bulb, Ceiling Fan, Television, Set Top Box, Room Cooler) into the AC output sockets on the inverter. Do not exceed the inverter's rated capacity (1100VA/1100 Watts).
Operating Instructions
- Powering On: After connecting the battery and AC input, switch on the main power button located on the inverter. The LED indicators will illuminate to show the inverter's status.
- Normal Operation (Mains Mode): When AC mains power is available, the inverter will charge the connected battery and pass through the mains power to your appliances. The "Mains On" indicator will be lit.
- Backup Operation (Inverter Mode): In case of a power outage, the inverter will automatically switch to battery power, supplying electricity to your connected appliances. The "Inverter On" indicator will be lit. This transition is typically seamless.
- Battery Charging: The inverter features fast charging technology. The "Charging" indicator will show when the battery is being charged.
- Powering Off: To turn off the inverter, first switch off all connected appliances, then press the main power button on the inverter. Finally, disconnect the AC input and battery terminals if storing the unit.
Maintenance
- Cleaning: Keep the inverter clean and free from dust. Use a dry, soft cloth for cleaning. Do not use liquid cleaners.
- Ventilation: Ensure the ventilation openings are not blocked to prevent overheating.
- Battery Check: Regularly check battery terminals for corrosion. Clean them if necessary using a wire brush and apply petroleum jelly to prevent future corrosion.
- Battery Water Level (for Tubular/Flat Plate batteries): If using a battery that requires water, check the electrolyte level periodically and top up with distilled water as needed.
- Storage: If storing the inverter for an extended period, ensure the battery is fully charged and disconnect it from the inverter. Recharge the battery every 3-6 months to prevent deep discharge.
Troubleshooting
| Problem | Possible Cause | Solution |
|---|---|---|
| Inverter not turning on | Battery not connected or discharged; Main switch off; Loose connections. | Check battery connections and charge level; Turn on main switch; Secure all connections. |
| No output from inverter | Overload; Short circuit; Battery low. | Reduce load; Check for short circuits in appliances; Allow battery to charge. |
| Inverter beeping continuously | Overload; Low battery; Over-temperature. | Reduce load; Allow battery to charge; Ensure proper ventilation. |
| Appliances humming (modified square wave) | Normal for some sensitive equipment with modified square wave output. | This is expected behavior for certain devices. Consider using a pure sine wave inverter for highly sensitive electronics if this is an issue. |
Specifications
- Model: Luminus EVO D 1250
- VA Rating: 1100VA
- Wattage: 1100 Watts
- Battery Voltage: 12V
- Waveform: Modified Square Wave
- Supported Battery Types: Tubular, SMF Flat plate, Local (80Ah - 250Ah)
- Product Dimensions: 10 x 10 x 10 cm
- Item Weight: 5 kg
- Application Area: Home, Office & Small Commercial establishment
Warranty and Support
The Luminus EVO D 1250 Inverter typically comes with a manufacturer's warranty. Please refer to the warranty card included with your product for specific terms and conditions, including warranty period and coverage details.
For technical assistance, service, or warranty claims, please contact the manufacturer's customer support. Contact information can usually be found on the product packaging or the manufacturer's official website.
Note: Unauthorized opening or tampering with the inverter may void the warranty.


