1. Introduction
The Stebcece HT821A Thermal Imaging Camera is a precision instrument designed for accurate temperature detection across a wide range of applications. With its 96x96 high-resolution display and broad temperature measurement capabilities, it is an essential tool for identifying thermal anomalies in industrial, electrical, HVAC, and building inspection scenarios. This manual provides detailed instructions to ensure safe and effective use of your device.
2. Product Overview
The HT821A features a robust design and intuitive controls for ease of use in various environments.

Figure 2.1: Front view of the Stebcece HT821A Thermal Imaging Camera, showing the display screen and control buttons.
Key Features:
- High Resolution Imaging: 96x96 pixel infrared resolution for clear thermal images.
- Wide Temperature Range: Measures temperatures from -20°C to 550°C (-4°F to 1022°F).
- Fast Refresh Rate: 25Hz real-time refreshing rate for capturing dynamic temperature changes.
- Broad Field of View: 38.0°(H) x 50.0°(V) field of view for efficient area coverage.
- Durable Construction: Lightweight ABS material for prolonged fieldwork.
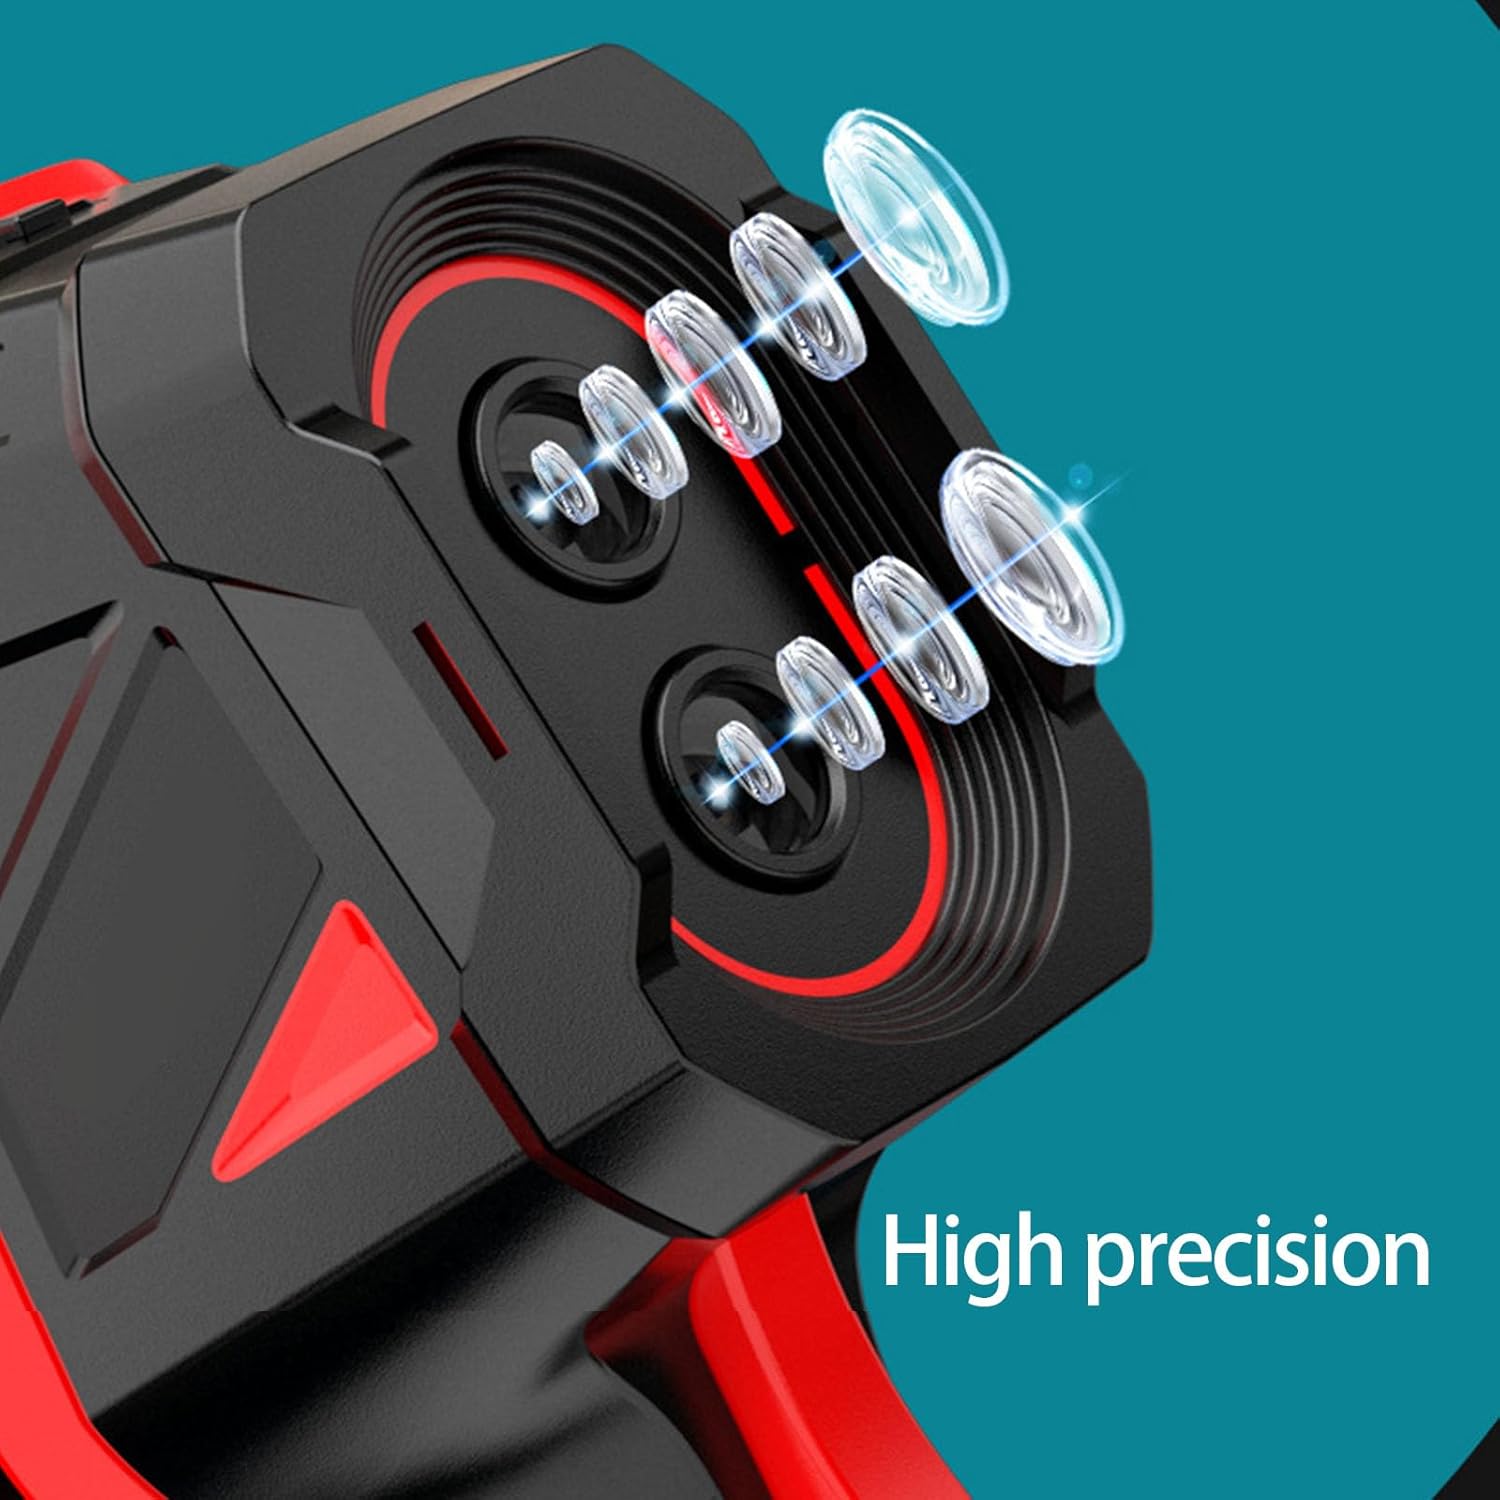
Figure 2.2: Detail of the high-precision lenses on the HT821A, indicating advanced optical components for accurate thermal detection.
3. Setup
3.1. Unpacking and Inspection
Carefully remove the thermal imaging camera and all accessories from the packaging. Inspect the device for any signs of damage. The package should include:
- 1 Piece Thermal Imaging Camera
- 1 Piece Data Line (USB cable)
- 1 Piece User Manual (this document)
3.2. Charging the Device
The HT821A is equipped with a 2600mAh battery. Before first use, ensure the device is fully charged. Connect the provided data line (USB cable) to the camera's charging port and to a suitable USB power adapter (not included) or computer USB port. The charging indicator will show the charging status.
3.3. Initial Power On
Press and hold the power button (usually marked with a power symbol) until the display screen illuminates. The device will perform a self-check and then display the main interface.
4. Operating Instructions
4.1. Powering On and Off
- To Power On: Press and hold the power button until the screen turns on.
- To Power Off: Press and hold the power button until the shutdown prompt appears, then confirm, or continue holding until the device powers down.
4.2. Navigating the Interface
Use the directional buttons (up, down, left, right) and the central selection button to navigate through menus and select options on the display. The 'U' button (likely 'back' or 'menu') can be used to return to the previous screen or access main menu options.

Figure 4.1: The HT821A in use, demonstrating its application in inspecting electrical panels for thermal anomalies.
4.3. Measurement Modes
The HT821A supports several imaging modes to suit different inspection needs:
- Thermal Imaging Mode: Displays only the infrared thermal image, showing temperature distribution.
- Visible Light Mode: Displays a standard visual image, similar to a regular camera.
- Picture-in-Picture Mode: Overlays a smaller thermal image onto a larger visible light image, combining both views.
- Binocular Fusion Mode: Blends thermal and visible light images for enhanced detail and context.

Figure 4.2: Examples of the various display modes available on the HT821A, illustrating how thermal and visible light images can be combined or viewed separately.
4.4. Temperature Measurement
The camera automatically detects and displays temperatures within its specified range. Hot and cold spots are typically highlighted with different colors based on the selected color palette.
4.5. Color Palettes
The HT821A offers several color palettes to visualize temperature differences, enhancing the clarity of thermal patterns. Common palettes include:
- Cinnabar
- White heat
- Kala-azar
- Rainbow
- Red-hot
- Cold Blue

Figure 4.3: A selection of color palettes available on the HT821A, demonstrating how different color schemes can highlight temperature variations.
4.6. Application Scenarios
The HT821A is suitable for a variety of professional and technical inspections:
- Electrical Inspections: Detecting overheating circuits, loose connections, and faulty components in electrical panels and systems.
- HVAC System Monitoring: Assessing efficiency, identifying blockages, and checking insulation integrity in heating, ventilation, and air conditioning systems.
- Building Diagnostics: Locating water pipe leaks, insulation gaps, and moisture intrusion.
- Industrial Maintenance: Monitoring machinery for abnormal heat signatures to prevent breakdowns.

Figure 4.4: Visual examples of the HT821A's diverse applications in automotive, HVAC, electrical, and building inspections.
5. Maintenance
5.1. Cleaning
To ensure optimal performance and longevity, keep the camera clean. Use a soft, dry cloth to wipe the exterior. For the lens, use a specialized lens cleaning cloth and solution to avoid scratches. Do not use abrasive cleaners or solvents.
5.2. Storage
When not in use, store the camera in a cool, dry place, away from direct sunlight and extreme temperatures. Ensure the battery is partially charged (around 50%) if storing for extended periods to preserve battery health.
5.3. Battery Care
Avoid fully discharging the battery frequently. Recharge the battery when the low battery indicator appears. If the device will not be used for a long time, charge it every three months to prevent deep discharge.
6. Troubleshooting
This section addresses common issues you might encounter with your HT821A Thermal Imaging Camera.
| Problem | Possible Cause | Solution |
|---|---|---|
| Device does not power on. | Low or depleted battery. | Charge the device using the provided data line. Ensure the charging indicator is active. |
| Image is blurry or unclear. | Dirty lens; incorrect focus (if adjustable); extreme temperature differences affecting sensor. | Clean the lens with a soft, lint-free cloth. Ensure the target is within the optimal measurement distance. |
| Temperature readings seem inaccurate. | Incorrect emissivity setting (if adjustable); reflective surfaces; distance to target too far. | Refer to the device settings for emissivity adjustment if available. Ensure proper measurement distance and angle. |
| Device freezes or becomes unresponsive. | Software glitch; low battery. | Perform a soft reset by holding the power button until it restarts. Ensure battery is charged. |
If you encounter issues not listed here or if the suggested solutions do not resolve the problem, please contact customer support.
7. Specifications
Detailed technical specifications for the Stebcece HT821A Thermal Imaging Camera:
- Model: HT821A
- Component Material: ABS
- Dimensions: Approx. 107mm (4.21'') x 74mm (2.91'') x 220mm (8.66'')
- Infrared Resolution: 96x96 pixels
- Temperature Measurement Range: -20°C to 550°C (-4°F to 1022°F)
- Refresh Rate: 25Hz
- Field of View (FOV): 38.0°(H) x 50.0°(V)
- Battery Capacity: 2600mAh
- Power Source: Battery Powered
- ASIN: B0FMPKG4QR
- Manufacturer: ABALAX

Figure 7.1: Physical dimensions of the HT821A Thermal Imaging Camera.

Figure 7.2: Illustration of the HT821A's broad temperature measurement capability, ranging from -20°C to 550°C.
8. Warranty and Support
8.1. Warranty Information
Specific warranty details for the Stebcece HT821A Thermal Imaging Camera are typically provided at the point of purchase or within separate warranty documentation. Please retain your proof of purchase for warranty claims. For information regarding protection plans, refer to the options available from your retailer.
8.2. Customer Support
For technical assistance, troubleshooting beyond this manual, or warranty inquiries, please contact the retailer or manufacturer's customer support. Refer to the contact information provided with your purchase or on the manufacturer's official website.