1. Introduction
Thank you for choosing the Qxpztk 16,000 BTU Portable Air Conditioner. This manual provides essential information for the safe and efficient operation, installation, and maintenance of your appliance. Please read it thoroughly before use and retain it for future reference.
2. Safety Information
- Always ensure the unit is placed on a stable, level surface to prevent tipping.
- Do not operate the unit with a damaged power cord or plug. Contact qualified service personnel for repairs.
- Keep children and pets away from the unit during operation. This appliance is not intended for use by persons with reduced physical, sensory, or mental capabilities unless supervised.
- Ensure proper ventilation around the unit. Do not block air inlets or outlets.
- Unplug the unit from the power outlet before cleaning, maintenance, or when not in use for extended periods.
- Do not insert objects into the air outlets or inlets.
- Use only the accessories provided or recommended by the manufacturer.
3. Product Overview
The Qxpztk 16,000 BTU Portable Air Conditioner is a versatile 6-in-1 cooling system designed for optimal comfort. It features multiple operating modes, fan speeds, and smart functions.
3.1 Key Features
- 6-in-1 Functionality: Cooling, Dehumidifier, Fan, Sleep Mode, Automatic Operation, Heat Production.
- 3 Fan Speeds: Low, Automation, High.
- Smart Features: 24H Timer, Ultra-Quiet Operation (50dB), Auto Shut-Off, Child Safety Lock, Wi-Fi Connectivity.
- Powerful Performance: 16,000 BTU Cooling Capacity, 700 sq.ft Coverage Area, 400m³/h Air Flow.

Figure 1: Overview of 6 modes and 3 fan speeds.

Figure 2: Cooling capacity and coverage area details.
3.2 Component Identification

Figure 3: Labeled components of the portable air conditioner.
- Superstructure
- Control panel
- Air intake
- Air outlet
- Exhaust vent
- Lighting Display Board
- Coil winding
- Strainer
- Water blockage (top)
- Metal netting
- Water blockage (bottom)
4. Setup & Installation
Proper installation is crucial for the efficient operation of your portable air conditioner. Follow these steps carefully.
4.1 Unit Placement
Place the unit on a firm, level surface in the desired room. Ensure there is at least 20 inches (50 cm) of space around the unit for proper airflow. Do not place the unit near heat sources or in direct sunlight.
4.2 Window Panel Assembly & Hose Installation
The portable air conditioner requires an exhaust hose to vent hot air outside. The included window kit is designed for both horizontal and vertical sliding windows.

Figure 4: Window installation examples for different window types.
For a visual guide on quick installation, please refer to the official seller video below:
Video 1: ZAFRO Portable Air Conditioners Quick Installation Guide. This video demonstrates the step-by-step process of assembling the window panels and connecting the exhaust hose to the unit and window.
- Assemble Window Panels: Select the appropriate window panels (A, D, E) based on your window size. Connect them using the provided butterfly bolts. Ensure the air outlet is not covered.
- Apply Sealing Foam: Cut the non-adhesive sealing foam to match the window dimensions and place it at the bottom of the window. Cut adhesive sealing foam for the sides and top of the window.
- Install Window Panel Assembly: Place the assembled window panels into the window opening. Adjust and fasten them securely with the butterfly bolts.
- Attach Exhaust Hose: Align the exhaust hose with the mounting port on the back of the AC unit and install it. Extend the hose and attach the other end to the window panel. Align and clamp the connection tightly.
5. Operating Instructions
Your portable air conditioner can be operated using the control panel on the unit or the included remote control.
5.1 Control Panel & Remote Control
The control panel features various buttons for different functions. The remote control offers convenient operation from a distance.
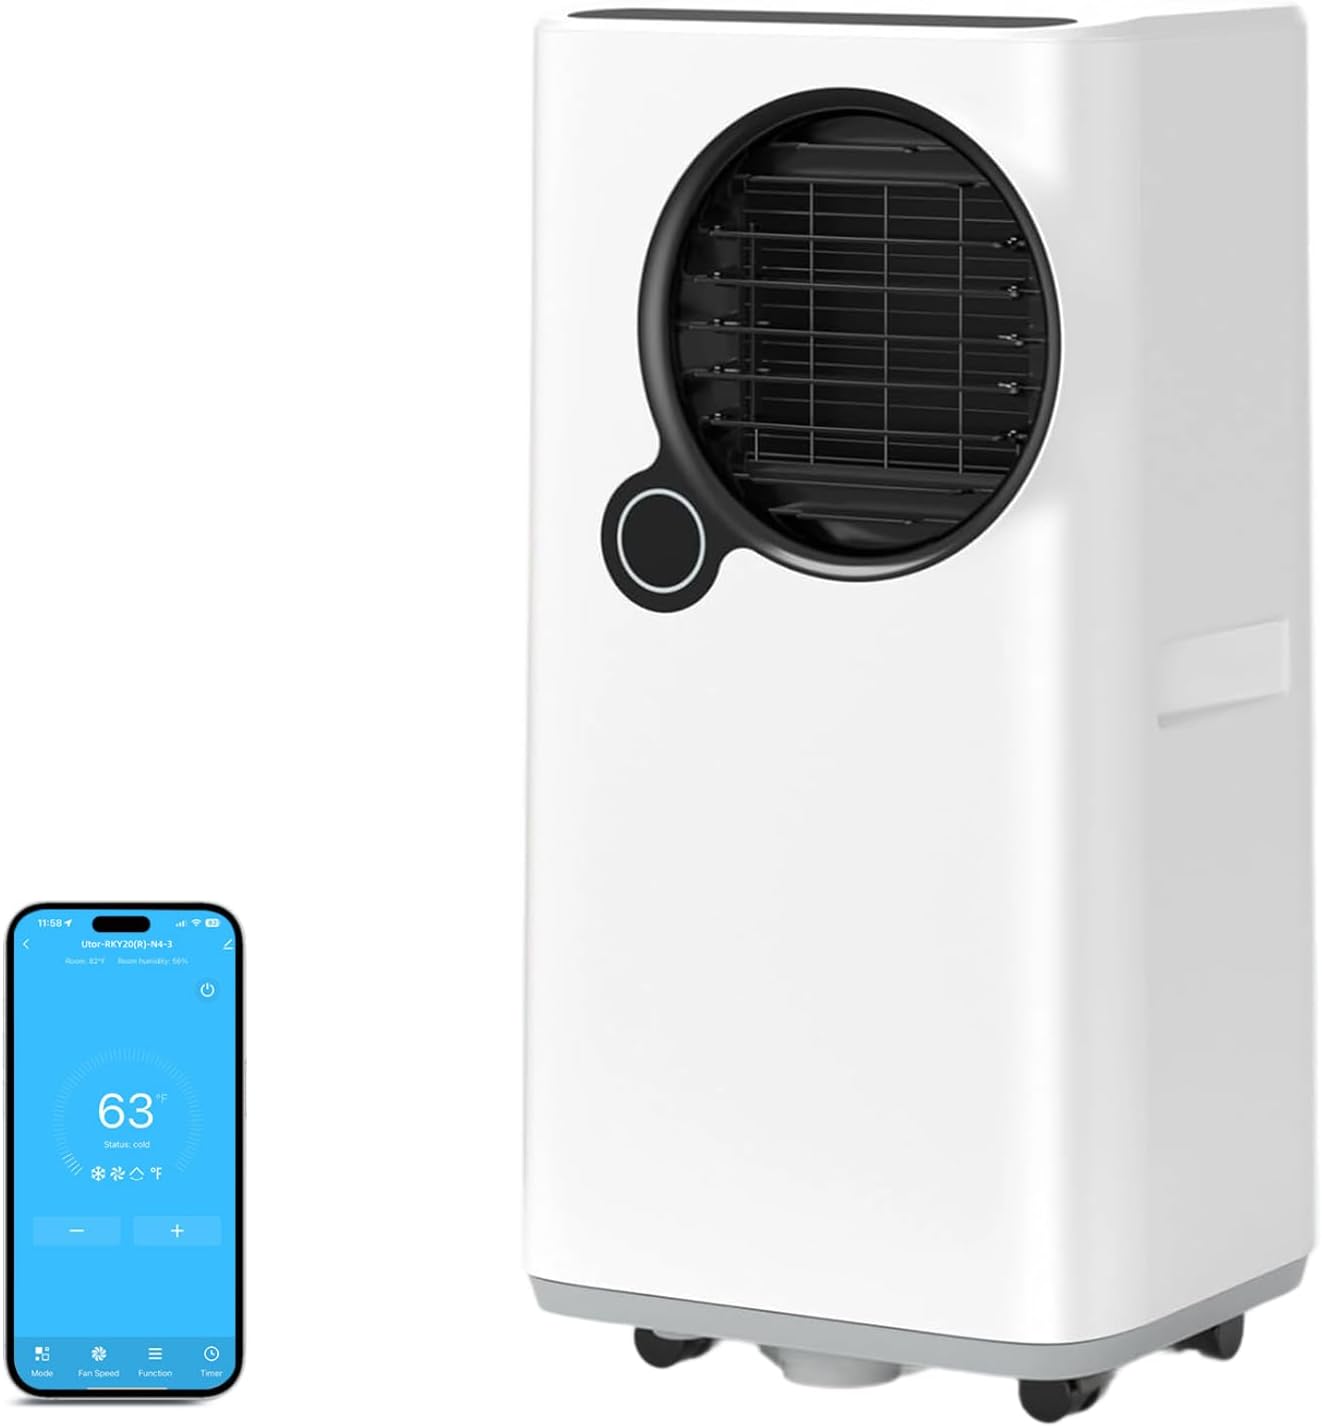
Figure 5: Portable Air Conditioner with Wi-Fi app control interface.
5.2 Operating Modes
- Cool Mode: Provides powerful cooling. Adjust the desired temperature using the Up/Down buttons.
- Dehumidify Mode: Reduces humidity in the room.
- Fan Mode: Circulates air without cooling. Select from Low, Automation, or High fan speeds.
- Sleep Mode: Operates quietly with reduced fan speed and adjusted temperature for comfortable sleep.
- Automatic Operation: The unit intelligently determines the optimal operating mode (Cooling or Fan) based on the room temperature.

Figure 6: Intelligent Automatic Function adjusts mode based on room temperature.

Figure 7: High-efficiency dehumidification feature.
5.3 Timer Function
The 24-hour timer allows you to set a specific time for the unit to turn on or off automatically. Press the Timer button and use the Up/Down buttons to set the desired duration.
5.4 Wi-Fi Connectivity
The unit supports Wi-Fi connectivity, allowing you to control it remotely via a smartphone application. Refer to the separate Wi-Fi setup guide for detailed instructions on connecting your device.
6. Maintenance
Regular maintenance ensures the longevity and optimal performance of your air conditioner.
For a visual guide on cleaning and maintenance, please refer to the official seller video below:
Video 2: ZAFRO Portable Air Conditioners Cleaning And Maintenance. This video demonstrates how to clean the filter, drain the unit, and prepare it for storage.
6.1 Filter Cleaning
To maintain efficiency, clean the air filter once a month.
- Turn off and unplug the unit.
- Remove the air filter from the back of the unit.
- Use a slightly damp cloth to wipe down the filter, then dry it with a clean cloth. Alternatively, rinse the filter directly with water.
- Ensure the filter is completely dry before reinserting it into the unit.
6.2 Water Drainage
The unit features an auto shut-off protection when the water tank is full. The water full indicator light will illuminate, and all keys will be invalid until the water is drained.

Figure 8: Auto Shut-off Protection when water tank is full.
- Manual Draining: Turn off and unplug the unit. Remove the bottom drain plug and tilt the unit slightly backward to drain completely into a container.
- Continuous Draining (for Dehumidifying Mode): Unplug the unit. Remove the middle drain plug and connect the drain hose. Direct the hose to a floor drain or a container. Plug the unit back in and turn it on.
6.3 Storage
When storing the unit for an extended period:
- Ensure the unit is completely drained of water.
- Clean the air filter.
- Wrap the power cord neatly.
- Cover the unit to protect it from dust and moisture.
7. Troubleshooting
If you encounter issues with your air conditioner, refer to the table below for common problems and solutions.
| Problem | Possible Cause | Solution |
|---|---|---|
| Unit does not turn on | No power, power cord unplugged, water tank full. | Check power connection, plug in securely, drain water tank. |
| Unit not cooling effectively | Air filter dirty, room too large, windows/doors open, exhaust hose not properly installed. | Clean air filter, ensure room size is within capacity, close windows/doors, check exhaust hose installation. |
| Water leakage | Drain plug loose, unit not level. | Ensure drain plugs are secure, place unit on a level surface. |
| Unusual noise | Unit not on a level surface, foreign object inside. | Place unit on a level surface, check for and remove any foreign objects. |
8. Specifications
- Brand: Qxpztk
- Model: 16,000 BTU Portable Air Conditioner
- ASIN: B0FMNXC4RG
- Color: White
- Cooling Capacity: 16,000 BTU
- Coverage Area: Up to 700 sq.ft
- Air Flow: 400m³/h
- Noise Level: <50dB
- Timer: 24-Hour On/Off
- Special Features: Dehumidifier, Fan, Sleep Mode, Auto Shut-Off, Child Safety Lock, Wi-Fi
9. Warranty & Support
This product comes with a manufacturer's warranty. Please refer to the warranty card included in your package for specific terms and conditions. For technical support, troubleshooting assistance, or to inquire about replacement parts, please contact Qxpztk customer service through the retailer's platform or the contact information provided in your warranty documentation.


